Runrig Muffatees
A knitsofacto design
To fit Adult/Teen/Child
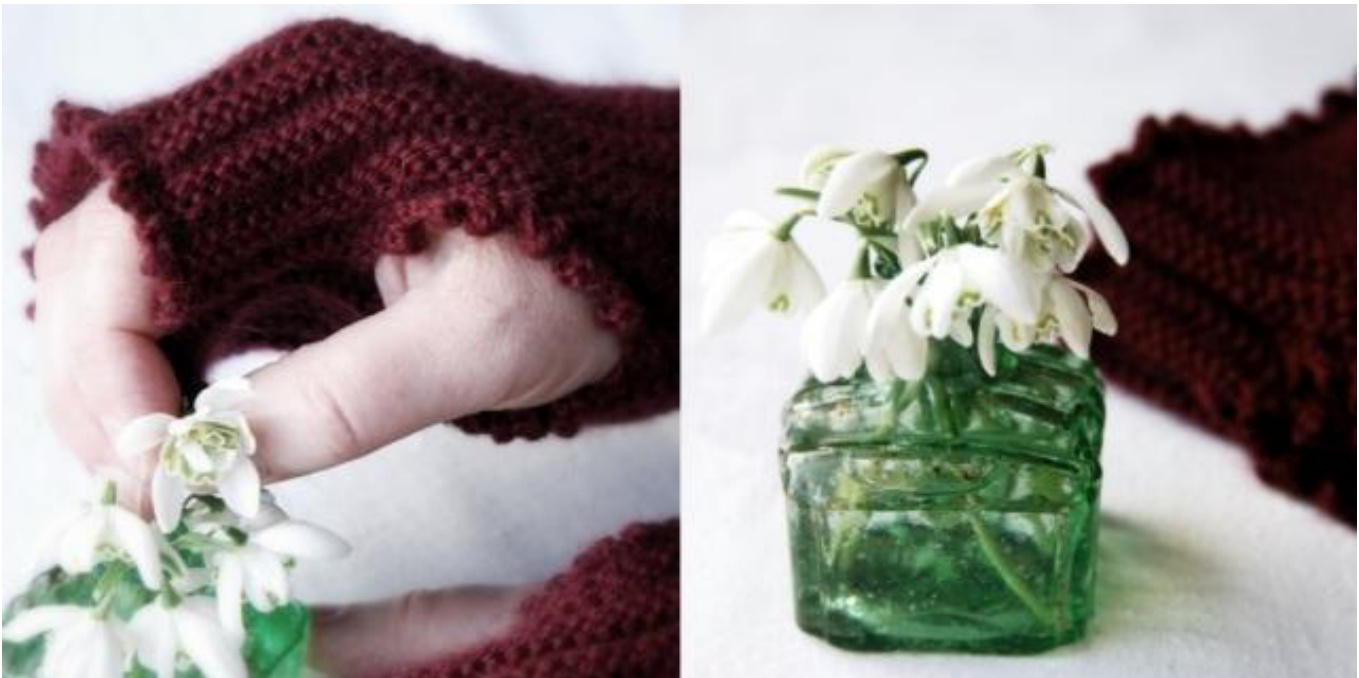
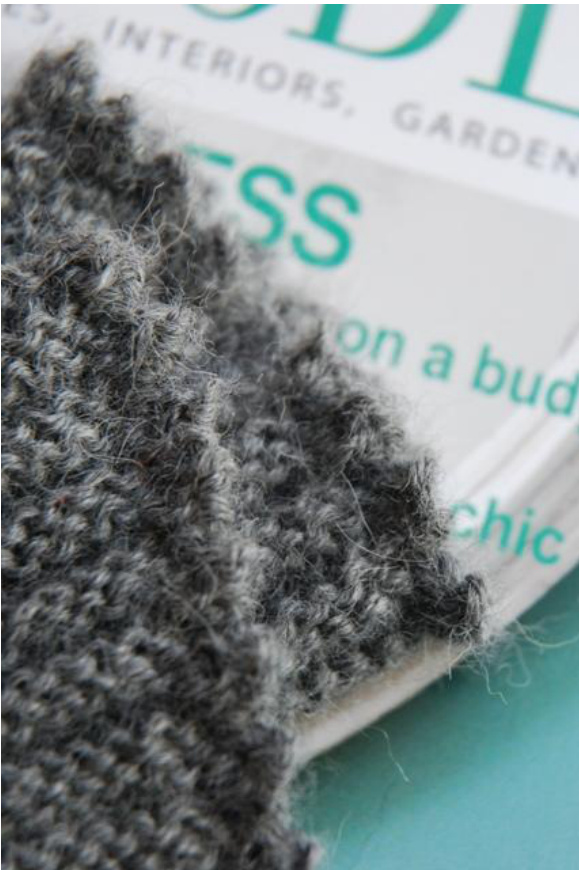
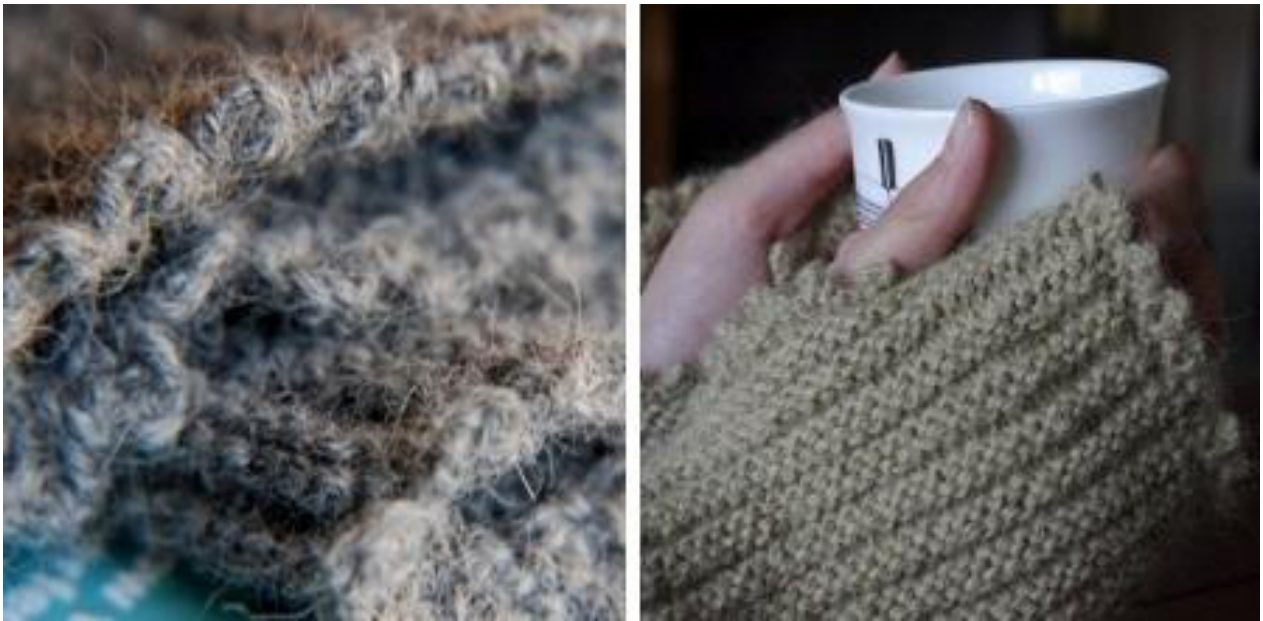
Muffatees, the simplest kind of mitt, no fingers or thumbs, just an open-ended tube of knitting with a thumb-hole in the side. Runrig muffatees - named for the ploughed ridges and dividing runnels that characterized the early agricultural landscape in the UK and that are echoed in the mitt's construction - are knitted from side to side in one piece, in either Aran or DK weight yarn. The Aran yarn gives a sturdy, practical mitt, the DK a longer, softer, more elegant mitt. The pretty picot-point edging at fingers and thumb is easy to work, and the three needle bind off gives a seamless comfort. Uses just 100g of yarn.
Yarn suggestions
Debbie Bliss Fez Aran 2x 50g (Red model) ·King Cole Baby Alpaca DK 2x 50g (Grey model)
Needles
· 2.75 mm (US 2) straight needles, 2 pairs
Notions
· Waste yarn for provisional cast on ·Tapestry needle Gauge (approximate) · Aran yarn 28 stitches and 56 rows to 4"/10cm, measured over welted pattern. · DK yarn 24 stitches and 54 rows to 4"/10cm, measured over welted pattern. Always work a gauge sample and if necessary adjust needle size to obtain correct gauge. Special skills required · Provisional cast on ● Three needle bind off See Techniques at end
Sizing variations
The pattern as written will fit the average female adult hand. Notes on how to size up or down will be found on page 3.
Abbreviations
Three needle bind off
K Knit P Purl KFB Knit into front and back of next stitch S1K Slip one stitch knitwise PSSO Pass the slipped stitch over the stitch just worked YFWD Bring yarn to front of work between needles PKSO Pass the last knit stitch over the stitch just worked CC Cable cast on BO Bind off RHN Right hand needle TNBO Three needle bind off \*\* Repeat the instructions between asterisks \*\*\* and \*\*\*\* See alternative sizes
Pattern
Work both mitts as follows. The instructions are the same for both left and right mitts. DK yarn instructions are in [ ] brackets. Provisional cast on 53 stitches using a scrap of contrast yarn. Join garment yarn and K 1 row Row 1 wS: K to end Row 2 RS: K1, P to last 2 stitches, KFB, KFB (55 stitches on needle) Row 3 S1K, K1, PSSO, YFWD, P1, PKSO, P to last stitch, K1 (53 stitches on needle) Row 4 K to end Repeat rows 1-4 another 18 [16] times \*\*\* Repeat rows 1-2 once more (Note: fewer repeats are needed for the DK yarn as the fabric will have more stretch.) First thumb hole row: S1K, K1, PSSO, P1, PKSO, P11 [12], K10, P30 [29], K1 Second thumb hole row: K31 [30], now, working reasonably tightly, complete the picots as follows, \*\*CC2, B04, slip the stitch remaining on the RHN to the LHN\*\*, repeat 5 times in total, K12 [13] Total rows: 80 [72]; total picots: 20 [18] Leave the ‘mitt' on the needle (secure stitches by wrapping a rubber band around the point if desired) . Undo the provisional cast on and retrieve 53 stitches, using a third 2.75mm needle and starting at the cuff. With right sides together, and working from picot edge to wrist, TNBO11 [12] stitches \*\*\*\* (Ilf your tension is tight you may wish to use a a working needle a size or two larger to prevent puckering of the seam.) Slip the stitch remaining on the RHN to the closer to you of the LHNs. Now, working the stitches on this needle only, and remembering to change the working needle back to 2.75mm if using a larger size for the TNBO, complete the picots tightly as before, \*\*CC2, BO4, slip the stitch remaining on the RHN to the LHN\*\*, repeat 5 times in total. Pull tight the last stitch you slipped back to the LHN, slip the second stitch on the LHN over the first, tightened, stitch on the LHN. 31 [30] stitches remain on each LHN. Now, switching back to a larger working needle if desired, TNBO to end. Break yarn and pull through last stitch. Sew in ends to complete.
Instructions for alternative sizes
Runrig muffatees are quite stretchy and will fit most women's hands. Altering the circumference is simple however, just knit more or fewer 4 row repeats, remembering that the mitts have negative ease. Don't forget the final repeat that includes the two thumb hole rows when making your calculation. You may, however, wish to alter the other dimensions of the mitt. I have been asked to provide stitch and row variations for child, teen/small adult, and larger adult sizes. For simplicity the numbers for the average adult size given above are also included. Please note that not all of these variations have been test knitted at this time. 1 Provisional cast on 37 (45, 53, 57) stitches. Continue as above. 2 stitches will be added to your total in Row 2. After Row 3 your total stitches return to the number you cast on. 2 At \*\* total repeats of Rows 1-4 should be 14 [12] (17 [15], 19 [17], 21 [19]), with 1 to go. 3 First thumb hole row: S1K, K1, PSSO, P1, PKSO, P22 [21] (25 [24], 30 [29], 31 [30]), K 6 (8, 10, 12), P7 [8] (10 [11], 11 [12], 12 [13]), K1 4 Second thumb hole row: K23 [22] (26 [25], 31 [30], 32 [31]), now, working reasonably tightly, complete the picots as follows, \*\*CC2, BO4, slip the stitch remaining on the RHN to the LHN\*\*, repeat 3 (4, 5, 6) times in total, K8 [9] (11 [12], 12 [13], 13 [14]) 5 TNBO: As given above with the following variations. When undoing the provisional cast on retrieve 37 (45, 53, 57) stitches. At \*\*\*\* TNB0 7 [8] (10 [11],11 [12], 12 [13]) stitches. Repeat the picot 3 (4, 5, 6) times in total. 23 [22] (26 [25], 31 [30], 32 [31]) stitches remain on each LHN. TNBO to end and finish as above
Techniques
If you do not already have a favourite provisional cast on there are a number of excellent online tutorials. For example, try Eunny Jang's Knitting Daily TV: Provisional Cast Ons · Three needle bind off Knit the first stitches on both left needles together as one. One stitch on the right needle. Repeat with the second pair of stitches on the left needle. Two stitches on the right needle. Pass the first worked stitch on the right needle over the second to cast off. Continue to knit together the stitches from the left needle, casting off the stitches on the right needle as you go. Pull the end of the yarn through the last loop to finish. If you need pictures Knitty has an excellent three needle bind off tutorial.
With particular thanks to my good friend Alison Hill for all her help with pattern testing.


