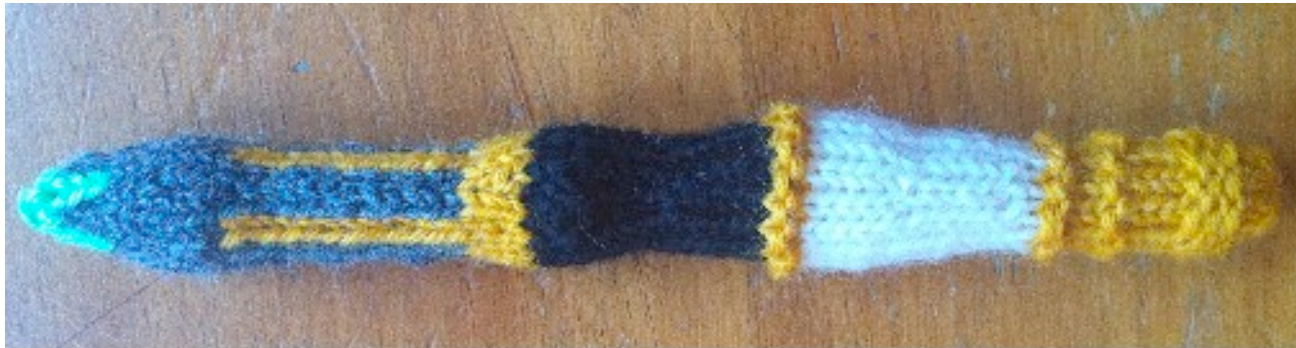
Eleven's Sonic Screwdriver By Kristen Danley
Materials
Small amounts of worsted weight yarn in gold /bronze, off-white, black, silver, and green. Size 4 dpns Fiberfill YarnNeedle
Abbreviations
CO = cast on, sts=stitches, rnd=round, k=knit, p=purl, k2tog=knit two together, m1=pick up the strand between the two stitches from the front and knit through the back loop, Ox#=repeat the instructions between the parentheses # times Mb=make bobble: knit into the front, then the back, then the front of a single stitch before taking the stitch off the needle. Turn the work and purl back across the three stitches you just made. Turn again, knit the first stitch, knit the next two stitches together, and pass the first stitch over to end up with a single stitch. Optional: Wrap the turns as if you're Working short rows to hold the bobble more tightly to the body of the screwdriver. If you've never tried this before, see the tutorial at http: / / www.knittinghelp.com /videos / advancedtechniques; there's also a good tutorial on small diameter knitting.
Instructions
Knit in the round. Stuff as you go, as the screwdriver is narrow at several points. When switching colors, I started knitting with the new color, then, when I had knit a full round, cut the old yarn and tied the two ends tightly so that the knot Was hidden on the inside of the screwdriver. CO 9 sts in Gold, divide over three needles, and join to knit in the round, being careful not to twist sts. Rnds 1-2: k all sts Rnds 3-5: p all sts Rnds 6-10: k all sts Rnd 11: p all sts Rnds 12-15: k all sts Rnd 16: p all sts Change to White Rnd 17: k all sts
Kristen Danley 2011 Sonic Screwdriver BBC Rnd 18: k1, m1, k to end of rnd (10sts) Rnd 19: k all sts Rnd 20: k5, m1, k to end of rnd (11sts) Rnd 21: k all sts Rnd 22: k9, m1, k to end of rnd (12sts) Rnd 23: k all sts Rnd 24: k2, m1, k to end of rnd (13sts) Rnd 25: k all sts Rnd 26: k7, m1, k to end of rnd (14sts) Rnd 27: k all sts Rnd 28: k 12, m1, k to end of rnd (15sts) Rnds 29-31: k all sts Change to Gold Rnd 32: k all sts Rnd 33: p all sts
Change to Black
Rnd 35: k1, k2tog, k to end of rnd (14sts) Rnd 36: k5, k2tog, k to end of rnd (13sts) Rnd 37: k9, k2tog, k to end of rnd (12sts) Rnd 38: k1, k2tog, k to end of rnd (11sts) Rnd 39: k4, k2tog, k to end of rnd (10sts) Rnd 40: k7, k2tog, k to end of rnd (9sts) Rnd 41: k1, m1, k to end of rnd (10sts) Rnd 42: k5, m1, k to end of rnd (11sts) Rnd 43: k9, m1, k to end of rnd (12sts) Rnd 44: k2, m1, k to end of rnd (13sts) Rnd 45: k7, m1, k to end of rnd (14sts) Rnd 46: k7, mb [kfbf, turn, p3, turn, k1, k2tog, pass k st over to make bobble], k4, m1, k to end of rnd (15sts) Rnd 47: k all sts Change to Gold Rnd 48: k all sts Rnd 49: k1, k2tog, k to end of rnd (14sts) Rnd 50: k5, k2tog, k to end of rnd (13sts) Rnd 51: k9, k2tog, k to end of rnd (12sts) Add in Silver Rnds 52-63: (k1 gold, k2 silver)x4 Change to Silver Rnd 64: k all sts Rnd 65: (k1, m1, k3)x3 (15sts) Rnds 66-67: k all sts Rnd 68: k1, k2tog, k to end of rnd (14sts) Rnd 69: k5, k2tog, k to end of rnd (13sts)
Rnd 70: k9, k2tog, k to end of rnd (12sts)
Add in Green
Rnd 71-72: k1 gray, (k1 green, k2 gray)x3, k1 green, k1 gray Rnd 73: k1 gray, (k1 green, k2tog gray)x3, k1 green, transfer last stitch onto needle to start next rnd (9sts) Rnd 74: k2tog gray, k green to end of rnd Change to Green Rnd 75: k2tog around (4sts)
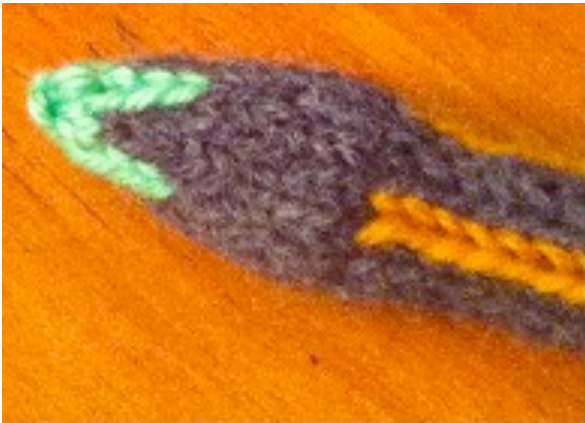
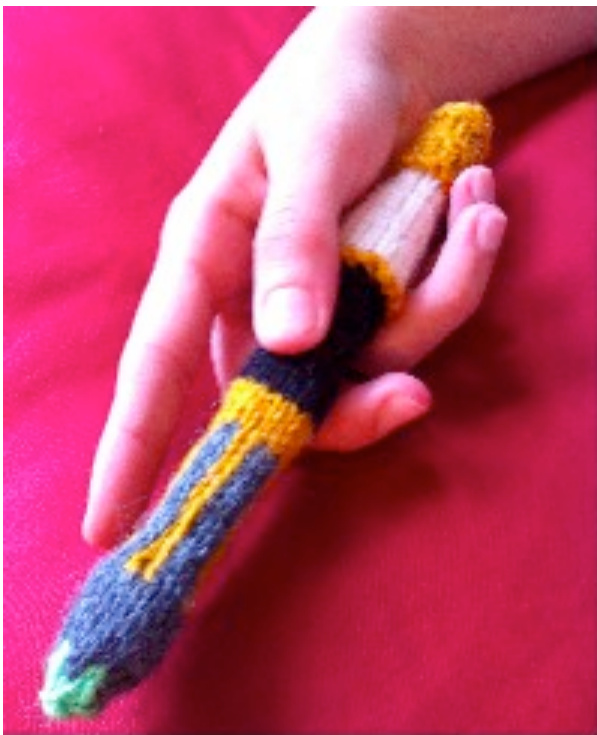
Cut yarn and pull through remaining sts; draw tight and tie off. Thread end back into body of screwdriver. Use CO edge tail to draw through CO sts and tighten; thread into body of screwdriver. And that's it! Have fun, and if you have any suggestions for how to improve the pattern or find any mistakes, I'd love to hear from you. Please do not sell this pattern or a screwdriver made using it - it's for free use only. Enjoy your sonic screwdriver!