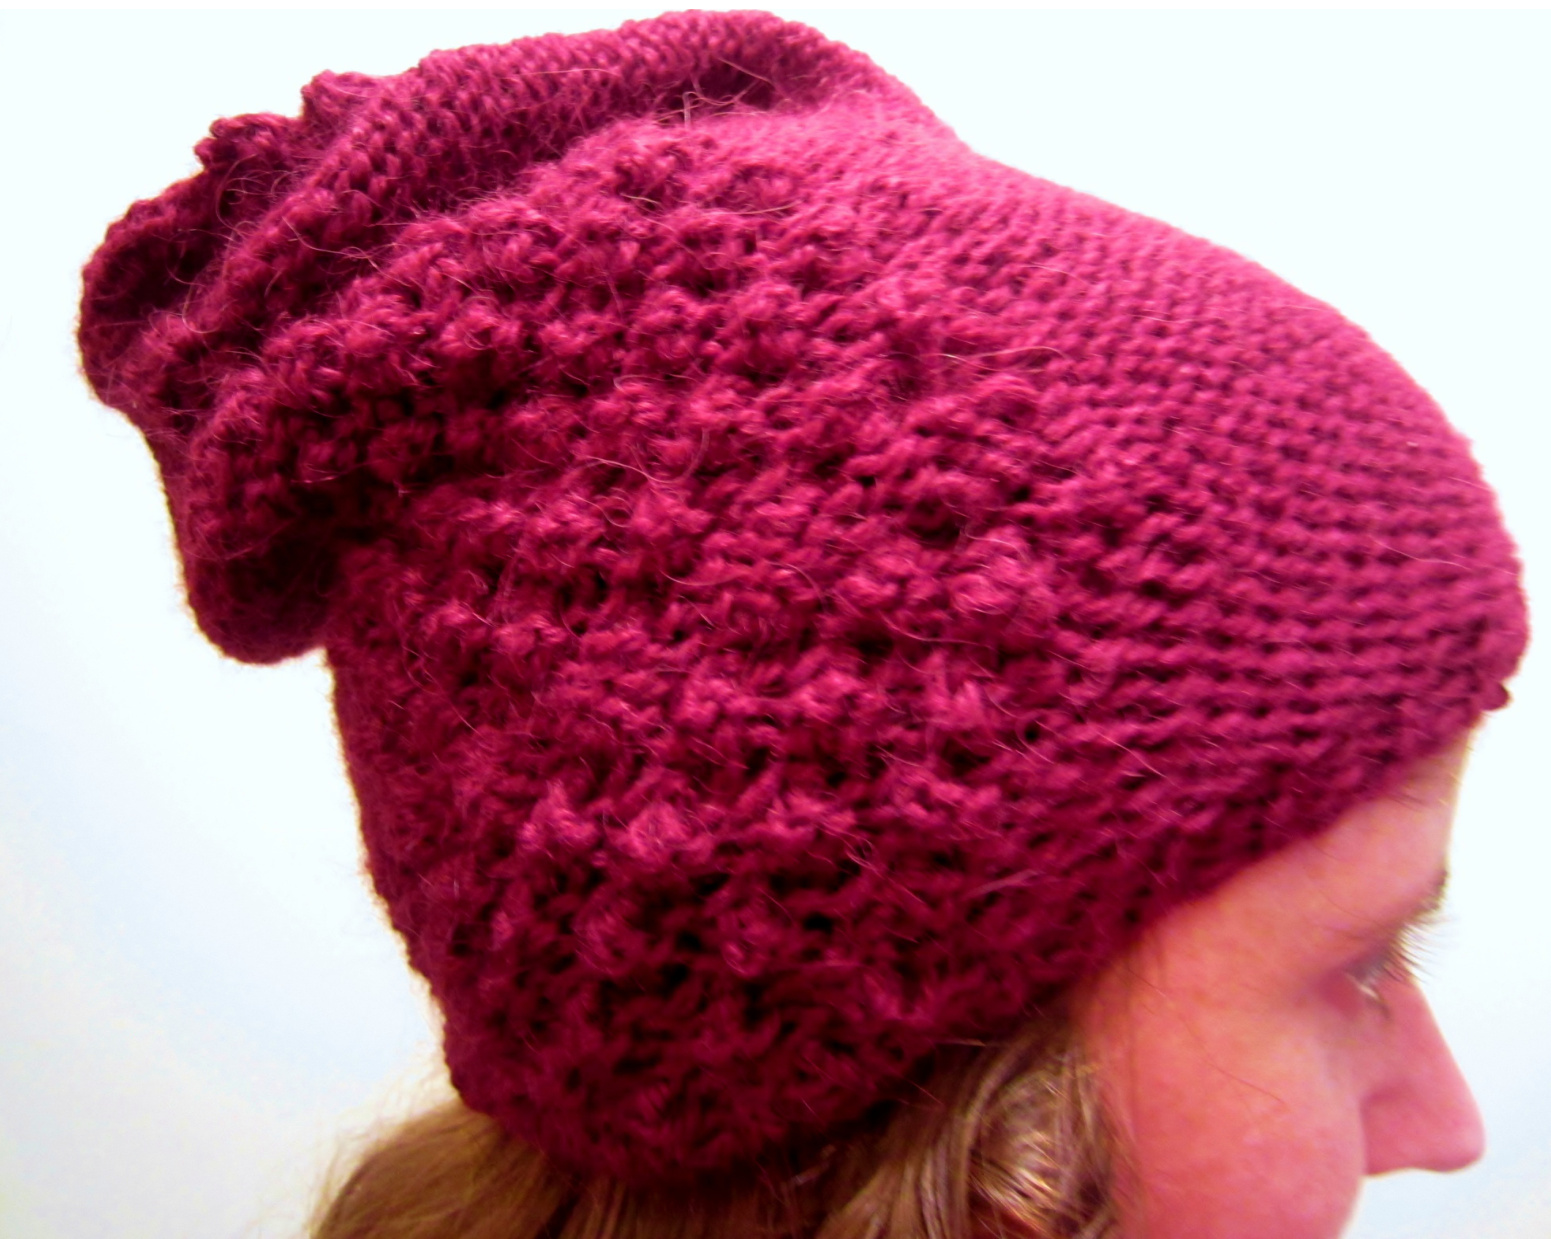
Raspberry Merlot
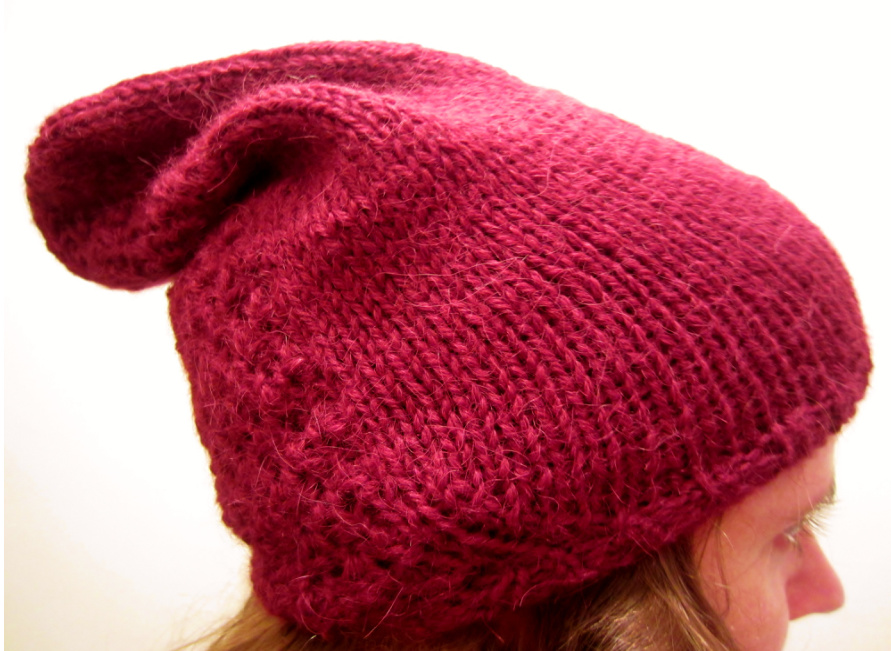
By Christina Loman Raspberry Merlot by Christina Loman This slouchy cap is made with panels of raspberry stitch and reverse stockinette. The soft, rich alpaca blend recommended is perfect for keeping toasty on a brisk autumn day in the vineyard. CREDITS Model: Christina Loman Photographer and Editor: Sean Loman SIZE S[M, L] FINISHED MEASUREMENTS Brim Circumference: 20[22, 24] inches lightly stretched Cap length: 11.25[11, 10.75] inches MATERIALS Plymouth Yarn Suri Merino [55% alpaca, 45% merino; 110 yd/m per 50g skein]; color: Raspberry (3430); 2[2, 2] skeins 1 set(s) US #6/4 mm double-point needles 1 16-inch US #6/4 mm circular needle Notions: stitch markers GAUGE 21 sts/26 rows = 4" in stockinette stitch 21 sts/25 rows = 4" in raspberry stitch PATTERN NOTES Feel Good Knitting's list of standard abbreviations can be found here. This hat is a combination of raspberry stitch and reverse stockinette. It is worked inside out to minimize purling; if you use more than one skein of yarn be sure to weave in ends on the side facing you. If worked with one skein or spit-splicing, this hat is reversible.
Crown
Using dpns, CO 4. Rnd 1: Kfb, pm. Repeat 3 more times (8sts). Rnd 2: Join, being careful not to twist. Kfb each st (16 sts). Rnd 3: \*\*Kfb, k1\*\* to end (24 sts). Rnd 4: \*\*Work in st st to first marker, work in increasing raspberry stitch to next marker\*\* to end. Rnd 5: \*\*Kfb, work in st st to first marker, kfb, work in increasing raspberry stitch to next marker\*\* to end. Repeat rnds 4 and 5 until your piece measures approx 9 inches across, ending with Rnd 8 of the Raspberry Stitch. You may wish to switch to a circular needle as your beret grows (84 sts).
Main Body
Work even for 4 inches, maintaining the st st and raspberry panels. End with rnd 2 of the raspberry repeat. If you would like an even slouchier hat, make the main body longer than 4 inches. This option will require more yarn, of course!
Lower Body
Rnd 1: \*\* K2tog, work in st st to first marker, k2tog, work in decreasing raspberry stitch to next marker\*\* to end. Rnd 2: \*\*Work in st st to first marker, work in decreasing raspberry stitch to next marker\*\* to end. Repeat these 2 rnds until your piece measures approx 20 [22, 24] inches around, or the circumference of the wearer's head (52 [56, 66] sts). Brim Work in 1x1 ribbing for 1 inch. BO loosely. FINISHING Break yarn and weave in ends. Wet block. SPECIALSTITCHES Increasing Raspberry Stitch Rnd 1: \*(K1, p1, k1) into the next st, p3tog, repeat from \* to last st, k1. All even rnds: K. 3: K1, \*p3tog, (k1, p1, k1) into the next st, repeat from \* to last stitch, k Rnd 5: K1, p1, \*(k1, p1, k1) into the next st, p3tog, repeat from \* to last st, k1. Rnd 7: K1, p1, k1, \*p3tog, (k1, p1, k1) into the next st, repeat from \* to last stitch, k1. Raspberry Stitch Rnd 1: \*(K1, p1, k1) into the next st, p3tog, repeat from \* to last st, k1. Rnds 2 and 4: K. Rnd 3: \*P3tog, (k1, p1, k1) into the next st, repeat from \* to last stitch, k1. Decreasing Raspberry Stitch Rnd 1: P1, \*(k1, p1, k1) into the next st, p3tog, repeat from \* to 2 sts from end, (k1, p1, k1) in next st, k1. All even rnds: K. Rnd 3: \*P3tog, (k1, p1, k1) into the next st, repeat from \* to 4 sts from end, p3tog, k1. Rnd 5: \*P3tog, (k1, p1, k1) into the next st, repeat from \* to last st, k1. Rnd 7: \*P3tog, (k1, p1, k1) into the next st, repeat from \* to 4 sts from end, p3tog, k1. (NOTE - End large size here) Rnd 9: \*P3tog, (k1, p1, k1) into the next st, repeat from \* to last st, (k1, p1, k1) in next st. (Medium and Small sizes only) Rnd 11: \*P3tog, (k1, p1, k1) into the next st, repeat from \* to last st, k1, p1, k1. (Small size only)
ABOUT THE DESIGNER

Christina Loman learned to knit at age 8 while watching her brother's swim practices, and began designing in college. In addition to knitting, she teaches elementary school and travels every chance she gets.


