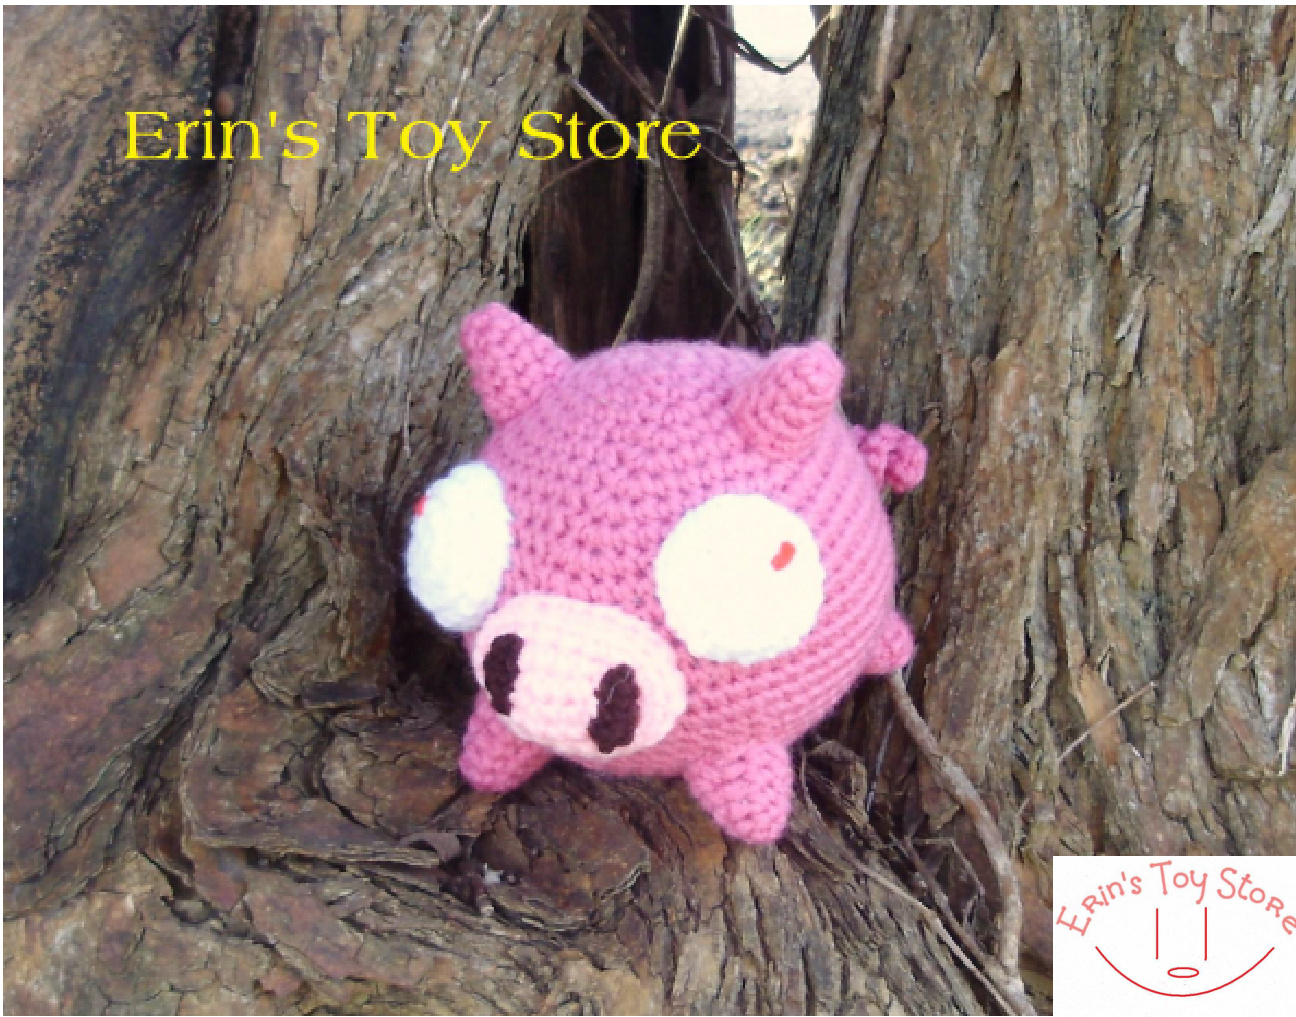
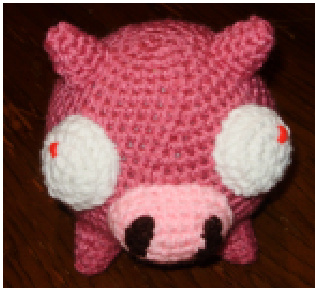
The Pig
A Crochet Pattern by Erin Scull copyright 2oun
Materials: (Red Heart Super Saver 4 Ply) Lt. Raspberry Baby Pink Poly-Fill White Coffee (very little needed) Hot Red (only 6" needed) You'll Need: Size G Crochet Hook Large Sewing Needle Scissors Straight Pins Approx. 5" tall and wide when complete This is a work licensed under the Creative Commons AttributionNoncommercial-No Derivative Works 3.o, if you need more information about this go to: http://creativecommons.org/licenses/by-nd/3.0/us/ Please do not share, copy, reproduce or sell this pattern or any doll made by this, thanks! Abbreviations: Rnd./Rnds.- round/rounds Sc- single crochet Sc Dec- single crochet decrease Hdc- half double crochet Hdc Dec- half double crochet decrease Dc- double crochet Ch- chain Sl St- slip stitch Sk- skip BLO- back loops only FLO- front loops only Tog- together F/O- fasten off Magic Ring- (ch2, sc # in lst ch from hook If you need help with any of these stitches you can check this wonderful site out for some help: http://www.anniesattic.com/crochet/content.html?type_id=s
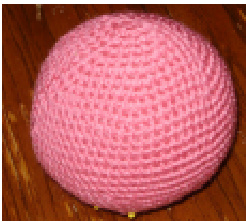
Using Lt. Raspberry (Note: When working in rnds. After joining a rnd., in the next rnd your first st starts in joining st. This principle applies to whole pattern.) Rnd. 1: 6sc in magic ring, join w/sl st, chl (6) Rnd. 2: (2sc in each sc), around, join w/sl st, chl (12) Rnd. 3: (2sc in Ist sC, sc in next sc), around, join w/sl st, chl (18) Rnd. 4: (2sc in lst sC, sc in next 2 sC), around, join w/sl st, chl (24) Rnd. 5: (2sc in Ist sC, sc in next 3 sc), around, join w/sl st, chl (30) Rnd. 6: (2sc in lst sC, sc in next 4 sc), around, join w/sl st, chl (36) Rnd. 7: (2sc in Ist sC, sc in next 5 sc), around, join w/sl st, chl (42) Rnd. 8: (2sc in lst sC, sc in next 6 sc), around, join w/sl st, chl (48) Rnd. 9: (2sc in Ist sC, sc in next 7 sc), around, join w/sl st, chl (54) Rnd. 1o: (2sc in Ist sC, sc in next 8 sC), around, join w/sl st, chl (60) Rnds. ll-13: (sc in each sc), around, join w/sl st, chl (60) Rnd. 14: (2sc in Ist sC, sc in next 9 sc), around, join w/sl st, chi (66) Rnds. 15-17: (sc in each sc), around, join w/sl st, chl (66) Rnd. 18: (sc dec ist 2 sc tog, sc in next 9 sc), around, join w/sl st, chl (60) Rnd. 19: (sc dec lst 2 sc tog, sc in next 8 sc), around, join w/sl st, chl (54) Rnd. 2o: (sc dec Ist 2 sc tog, sc in next 7 sc), around, join w/sl st, chl (48) Rnd. 2l: (sc in each sc), around, join w/sl st, chl (48) Rnd. 22: (sc dec Ist 2 sc tog, sc in next 6 sc), around, join w/sl st, chl (42) Rnd. 23: (sc dec Ist 2 sc tog, sc in next 5 sc), around, join w/sl st, chl (36) Rnd. 24: (sc dec Ist 2 sc tog, sc in next 4 sc), around, join w/sl st, chl (30) begin stuffing the body Rnd. 25: (sc dec Ist 2 sc tog, sc in next 3 sc), around, join w/sl st, chl (24) Rnd. 26: (sc dec Ist 2 sc tog, sc in next 2 sc), around, join w/sl st, chl (18) continue stuffing Rnd. 27: (sc dec Ist 2 sc tog, sc in next sc), around, join w/sl st, chl (12) finish stuffing Rnd. 28: (sc dec Ist 2 sc tog), around, join w/sl st, F/O (6) leave 4" to synch closed. To synch: weave 4" through remaining sC, pull tight, fasten down, and hide remaining yarn.
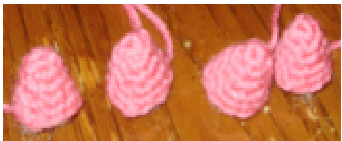
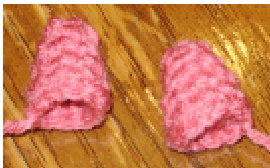
Leg: (Make 4)
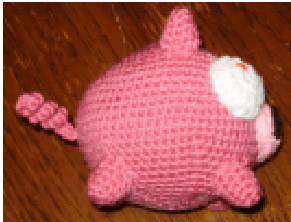
Using Lt. Raspberry Rnd. 1: 4sc in magic ring, join w/sl st, chl (4) Rnd. 2: (2sc in lst sC, sc in next sc)2x, join w/sl st, chl (6) Rnd. 3: (2sc in lst sC, sC in next 2 sC)2x, join w/sl st, chl (8) Rnd. 4: (sc in each sc), around, join w/sl st, chl (8) Rnd. 5: (2sc in Ist sc, sc in next 3 sc), around, join w/sl st, F/O (10) leave 5" to sew legs to body. (NOTE: I strongly suggest pinning your pieces in place before sewing them on. To ensure you are happy with the placement.) Stuff, then sew the legs to the body between rnds. 19 & 24 of the body. Space them out as you like.
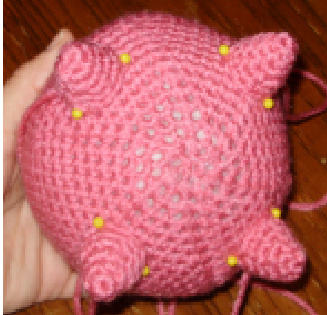
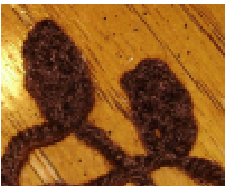
Ear: (Make 2) Using Lt. Raspberry Repeat Rnds. 1-5 of the leg Stuff, then sew the ears to the body between rnds. 4 & 9 of the body, I have around thirteen sc between the ears on the forehead of the pig.
Nostril: (Make 2) Using Coffee Ch4, sc in lst ch from hook and last 2 ch, F/O (3) leave 4" to sew with. Tie the beginning and ending yarn tog in a knot. Set to side for now...
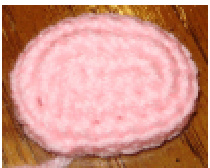
Snout:l
Using Baby Pink Rnd. 1: ch5, sc in lst ch from hook and next 2 ch, 3sc in next ch, (working on opposite side of ch5) sc in next 3 ch, 3sc in last ch, join W/sl st, ch1 (12) Rnd. 2: sc in Ist 4 sC, 2sc in next 2 sC, sc in next 4 sC, 2sc in last 2 sC, join w/sl st, ch1 (16) Rnd. 3: sc in Ist 5 sC, 2sc in next 3 sC, sc in next 5 sC, 2sc in last 3 sC, join w/sl st, chl (22) Rnd. 4: BLO (sc in each sC), around, join w/sl st, F/O (22) leave 8" to sew snout to body, first sew the nostrils to the snout. Sew the nostrils to outer side of rnd. 2 on the snout. Now the your snout is complete, stuff, then sew the snout between rnds. ll & 19 on the body. Rnd. 1: 6sc in magic ring, join w/sl st, chl (6) Rnd. 2: (2sc in each sc), around, join w/sl st, chl (12) Rnd. 3: (2sc in lst sC, sc in next sc), around, join w/sl st, chl (18) Rnd. 4: (sc in each sc), around, join w/sl st, F/O (8) leave 6" to sew eyes to body. First add the pupil using the 6" piece of Hot Red, I just put a litle line over a single sc, then repeated. Now you can stuff, then sew the eyes between rnds. 7 & 15 on the body, with about one sc between the eye and the snout.
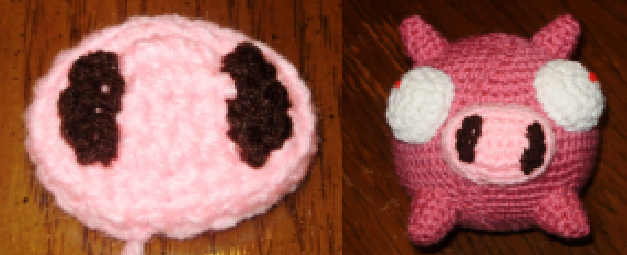
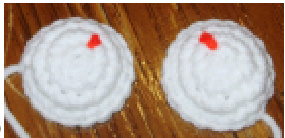
Eye: (Make 2) Using White
Using Lt. Raspberry
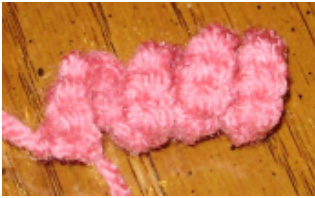
Tail:
Chl6, 2sc in lst ch from hook and last 14 ch, F/O (30) leave 4" to sew tail to body. Sew the tail to the back of the body on rnd. 15
Finishing:
There is no finishing for this doll. This is a section I put in all my patterns. If any thing this tells you that you are FINISHED! And that's it! I hope you've enjoyed my Pig. I know I have. Have a great one! If you have any problem with this pattern please contact me at: Erins_ToyStore@yahoo.com Please do not share, reproduce or sell this pattern or any doll made from this pattern. COPYRIGHT NOTICE: All my works are protected by the following Creative Commons license: Attribution-NonCommercial-NoDerivs 3.o. You may not use this pattern, or the dolls produced following this pattern for commercial/retail purposes. These patterns are intended for personal use only. Other uses are strictly prohibited. All rights reserved.


