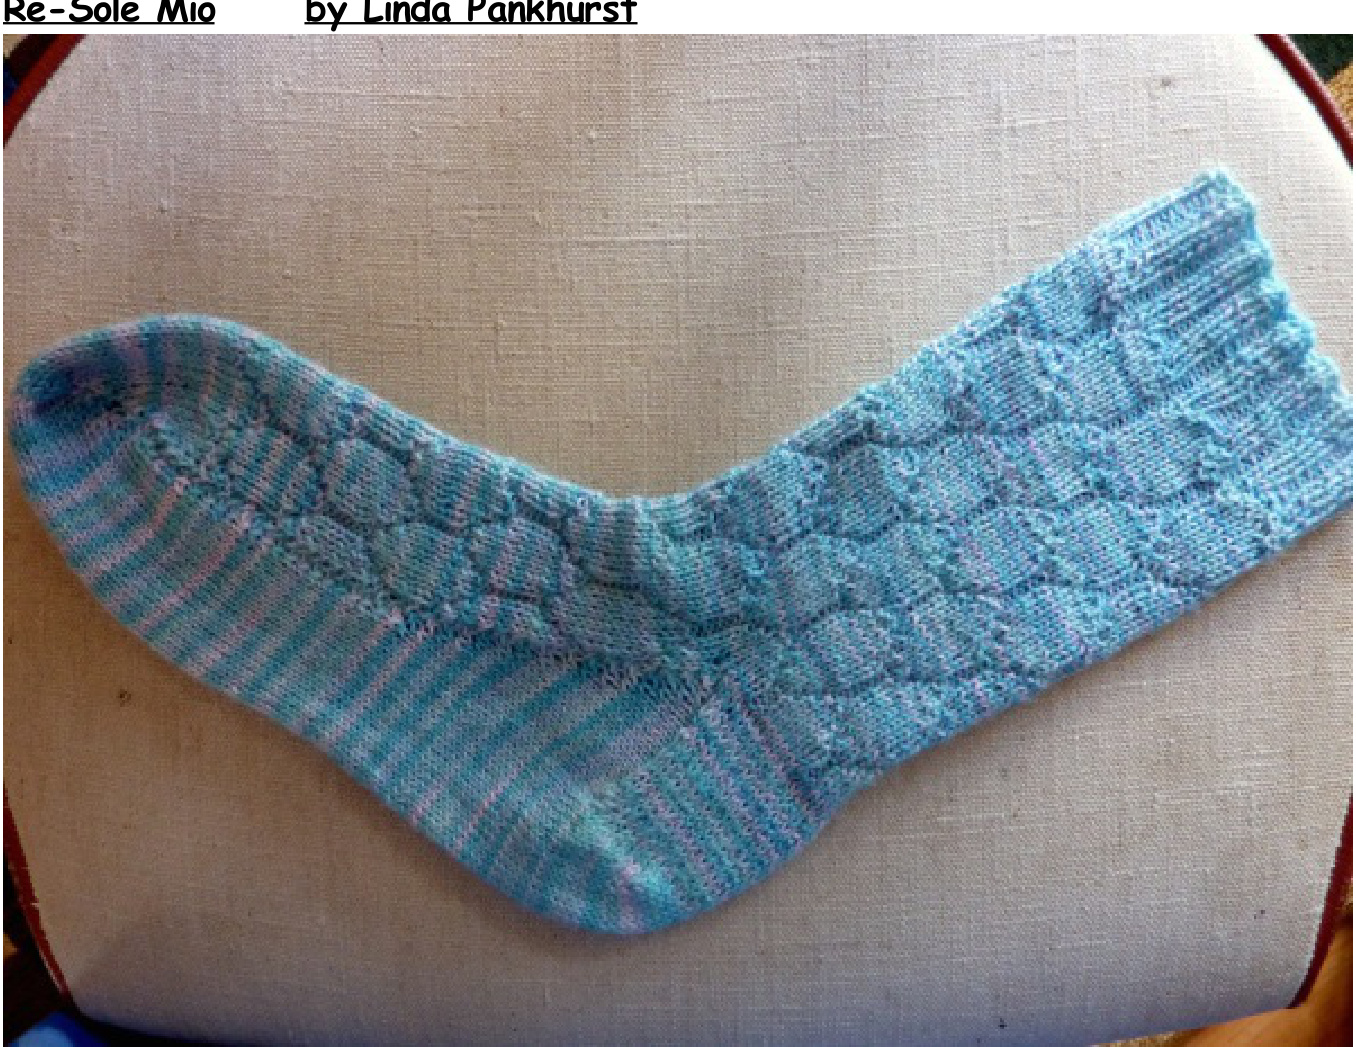
These socks are really quite simple, but have a useful feature. The toes, soles and heels are reknittable without affecting the leg and instep of the sock. The feature is useful for those who's sock recipients are hard on their socks, and for folks who like to use yarns for the leg and instep which won't wear well for the heels and toes. The socks are cast-on at the cuff. When the bottom of the leg is reached the heel stitches are reserved for later, and the instep is knit back and forth until the toe is reached. The toe is worked using the Mock Short Row Heel method, then the sole is worked back and forth and attached to the instep at the end of every row. The heel is a toe-up flap heel. The top of the heel is grafted to the reserved stitches. When the heels or soles show signs of wear, rather than darning they are easily re-knit by cutting a thread in the grafting stitches, remounting the back leg stitches onto a stitch keeper, unravelling the heel and sole stitches as far as necessary to get rid of the worn part, and re-knitting them. The separate sole/heel feature also easily accommodates using a re-inforcing thread in just the toe, sole and heel for as far as wished. This would increase wear time and may obviate the need to unravel and re-knit. It would also allow for the whole sock to be knit in precious yarns, being strengthened in just the necessary areas with the extra thread. Requirements: 4ply...any good sock yarn should do. I used a skein from "Yarn to Knit"colourway "Jake". 75% superwash wool, 25% nylon. 72 grammes used from a 100 gram ball. 288 m used. I have also tried it in Regia Extra Twist Merino 85 g Size 2mm or 2.25mm circular needles (If you use 2.5mm these will fit a man!) I use 80cm ones and found them long enough for this pattern. Guage: 10 st and 12 rows per inch in stocking stitch...on 2.5mm needles Measurements: Foot length laid flat...10" back of heel to toe. Foot circumference: Un-stretched 7", stretched 11". Leg circumference: Un-stretched 7.25", stretched 11.5". Leg length: 8" The arch/ heel measurement stretches to 15" around the sock.
Instructions:
Cuff: Using your favourite stretchy cast-on, cast on 64 stitches arranged evenly on both needles. Rib cuff as follows P1, (K2, P2) to last stitch, P1. (Repeat for the back needle) Repeat for a total of 18 rounds. Leg: Follow Chart 2. Do rows 1 to 28 once, then rows 5 to 28 twice, then rows 5 to 20 (Five and a half lozenge shapes)
Instep:
Now we will just knit the instep stitches on the front needle. The heel stitches will rest on the back loop of the circular until later. nitting back and forth on the front needle continue in pattern as set. Increasing one stitch at the beginning of the next two rows (to 34 stitches) continue in pattern as set but the extra first and last stitch (just added) should always be kni...forming a prominent "bead" on the edge of the knitting. Continue thus until 11 lozenge shapes are completed counting from the cuff...plus two rows. (This will be row 18 on the chart) The Toe: Continue in stocking stitch, remembering that the first and last stitches on all rows (knit and purl rows) should be knitted. The toe is the Mock Short Row Heel and is worked as follows.. Row 1: Knit Row 2: K1, P to last st, K1 Row 3: Knit, Row 4: as Row 2 Row 5: K1, K2tog, K to last 3 st, SSK, K1. Row 6: as Row 2. Repeat rows 5 and 6 until 14 stitches remain. Row 13: Knit to end, pick up "bead" and knit it, turn. Row 14: Purl to end, pick up "bead" purl it turn. Repeat until you have 32 stitches on the needles again. At this point you will have joined the front of the toe to the back of the toe and will now carry on along the sole, joining it to the instep as you go. In order to stay at 32 stitches on the needles there have to be decreases on every row until the gusset is reached, thus.. Next row: Knit to last 2 stitches, SSK, pick up "bead" and knit it, turn. (Please make sure to pick up and knit through the centre of the "bead". If you examine it closely Y will have two loops of yarn over the needle before knitting through it. If you pick up only one loop you will have a holey join!)
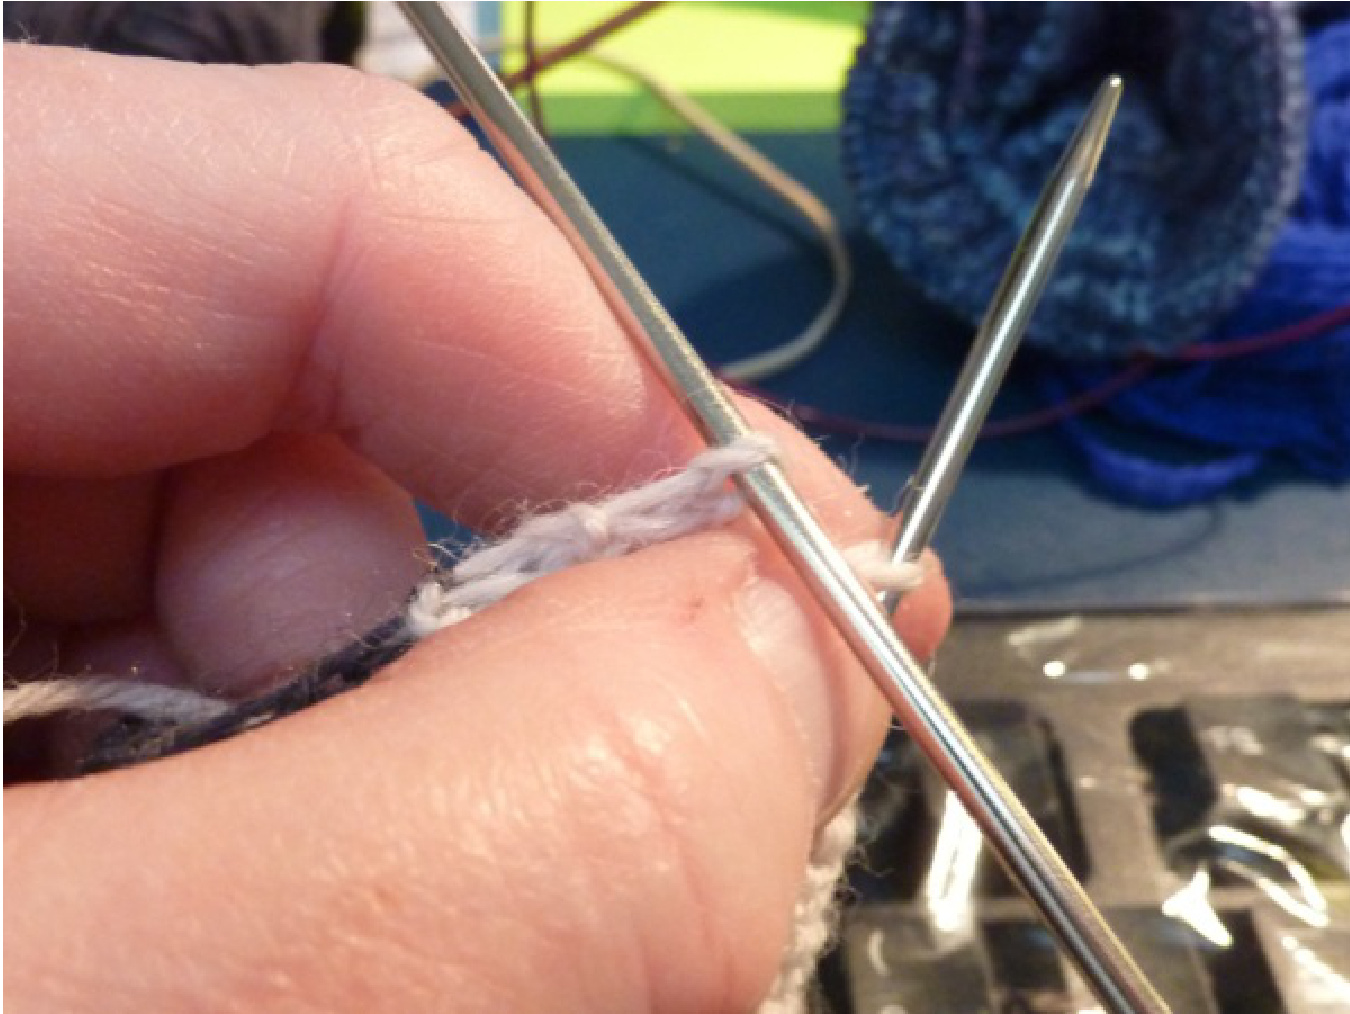
Next row: Purl to last 2 stitches, P 2 tog, pick up "bead" and purl it, turn. (By doing the decreases just before the stitch that joins the sole to the instep it forms a smoother join than it does if you just purl or knit the last st together with the "bead") [At this point it is a good idea to plan the knitting of the sole. We will be increasing the sole by 16 stitches each side to form the gussets. So we need to mark the first 16 "beads" on each side of the sole starting from the heel stitches. Count off 16 and mark somehow. I use one of the Clover plastic safety-pin type stitch markers through each one. Then I usually count the rest of the beads down to the toe on each side to make sure they are an ever number. Sometimes I miss a bead on the toe and whe I get to here the sole stitches are off by a row...a quick count of the beads left is insurance against " frogging"!] Repeat last two rows until you reach the marked "beads" on either side.

Commence the gusset:
Next row; Knit to end, pick up "bead" and knit it, turn Next row: Purl to end, pick up bead and purl it. This increases the stitch count by one each row. Continue until there are 64 stitches on the needle. You should now have exhausted all the "beads" on the edge of the instep and arrived at the heel.
Commence the heel turn as follows:
With the knit side facing (if you end up with the wrong side facing then just purl one row, slipping the first stitch) Row 1. Slip the first stitch, knit 15, place marker, K30, W&T, Row 2. purl to 2 stitches before the marker, W&T Row 3, Knit to last stitch before W&T, W&T. Continue doing short rows thus, doing the new W&T operation a stitch earlier on each row, until there are 14 unwrapped stitches left in the middle. Knit across the 14 stitches then start to pick up the wrapped stitches. To do this the neatest way lift the front loop of the wrap onto the needle, then push the needle through this loop and the stich that it wrapped ( from R to L) and knit them together. Continue for the other 7 wrapped stitches. Then SSK, turn. Next row. purl to wrapped stitches. Lift the wrap on the next stich by the back of the loop. Place on the needle and purl through it and the stitch it was wrapped around. Continue for the next 7 wrapped stitches. Then P2 together. Turn. (Slip 1, Knit 1,) repeat across to the previous SSk, SSk turn. (This actaully looks and performs better if the stitches that are slipped are offset each subsequent repeat....but I get lost doing that so I do this version that ends up a bit ribby looking. If you do the proper "eye-of-partridge" slipped stitch version it is easier to follow but doesn't produce such a smooth fabric. Do that version if you prefer...I) Continue until there are 32 stitches left...all the gusset stitches will have been taken up. The join. Kitchener stitch the top of the heel flap to the reserved stitches to close the leg.
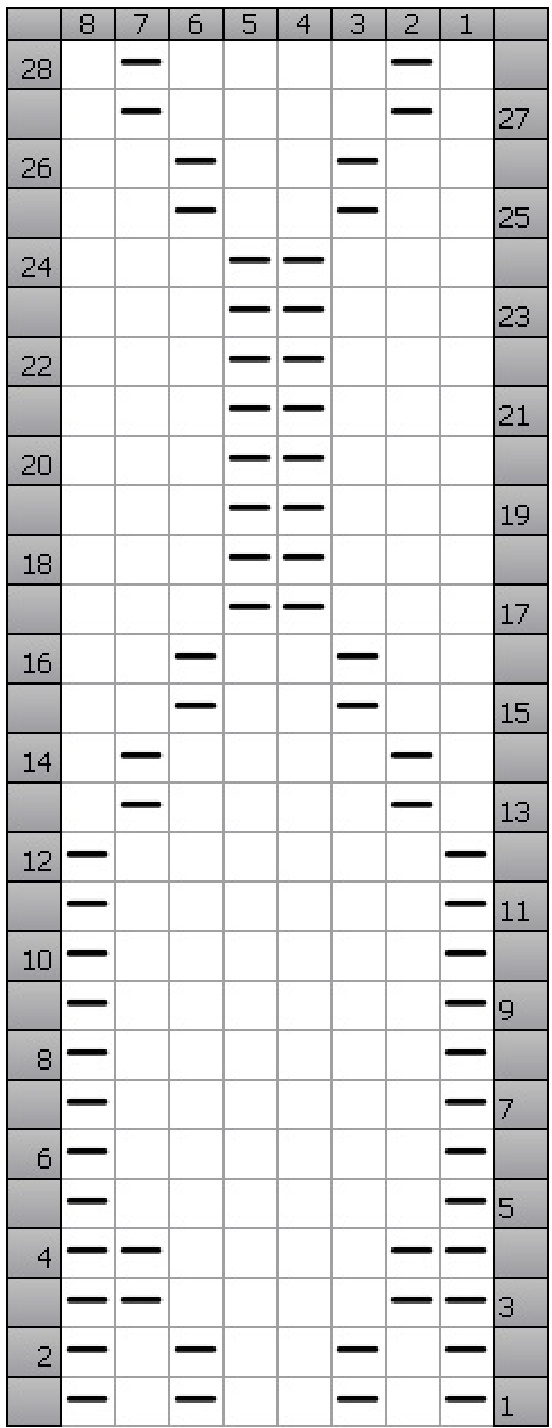
Key: Squares with dashes in are purled. Empty squares are knit


