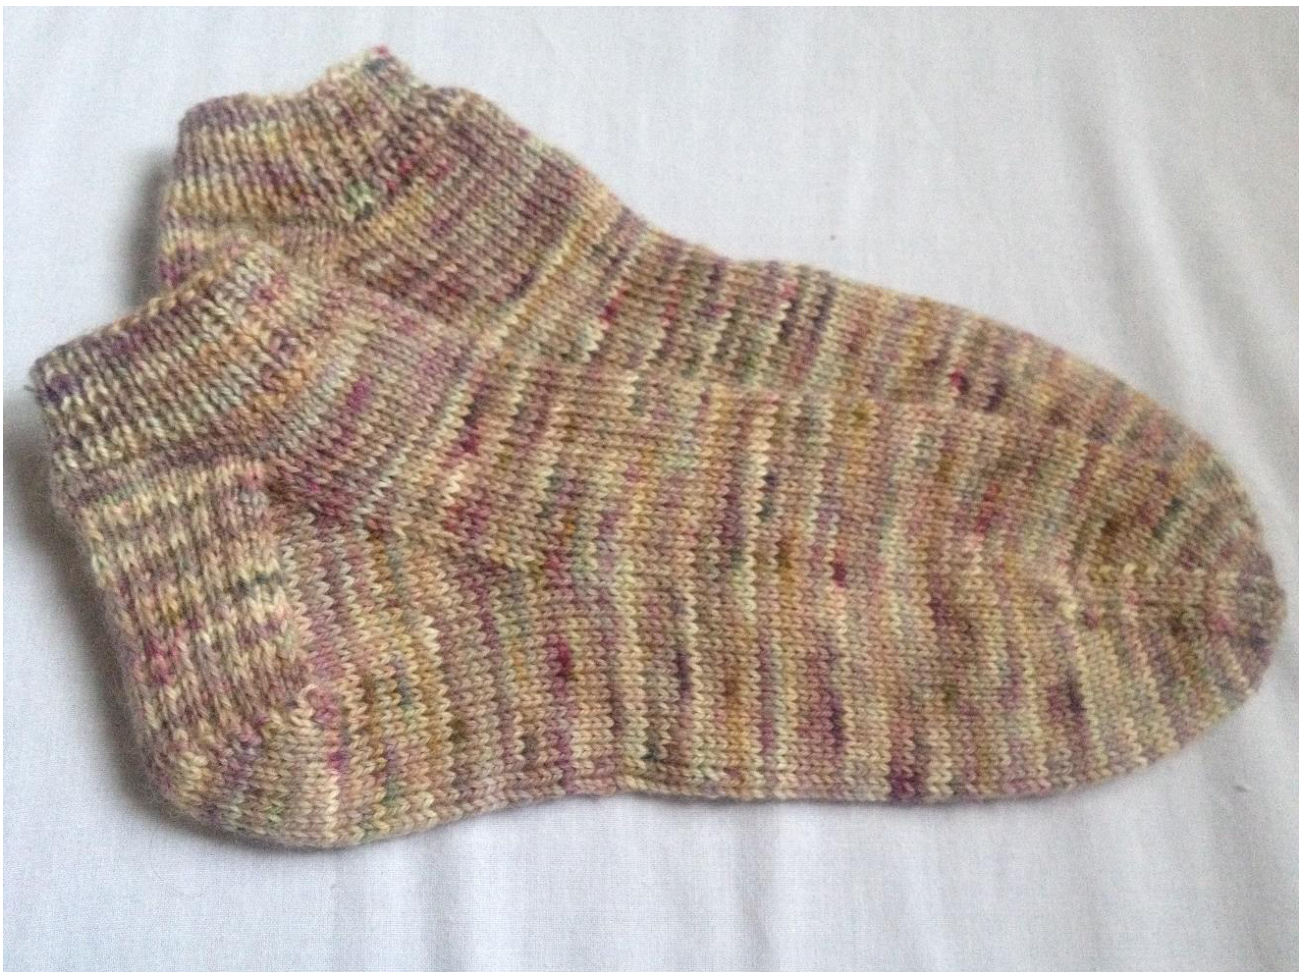
Purple shade socks
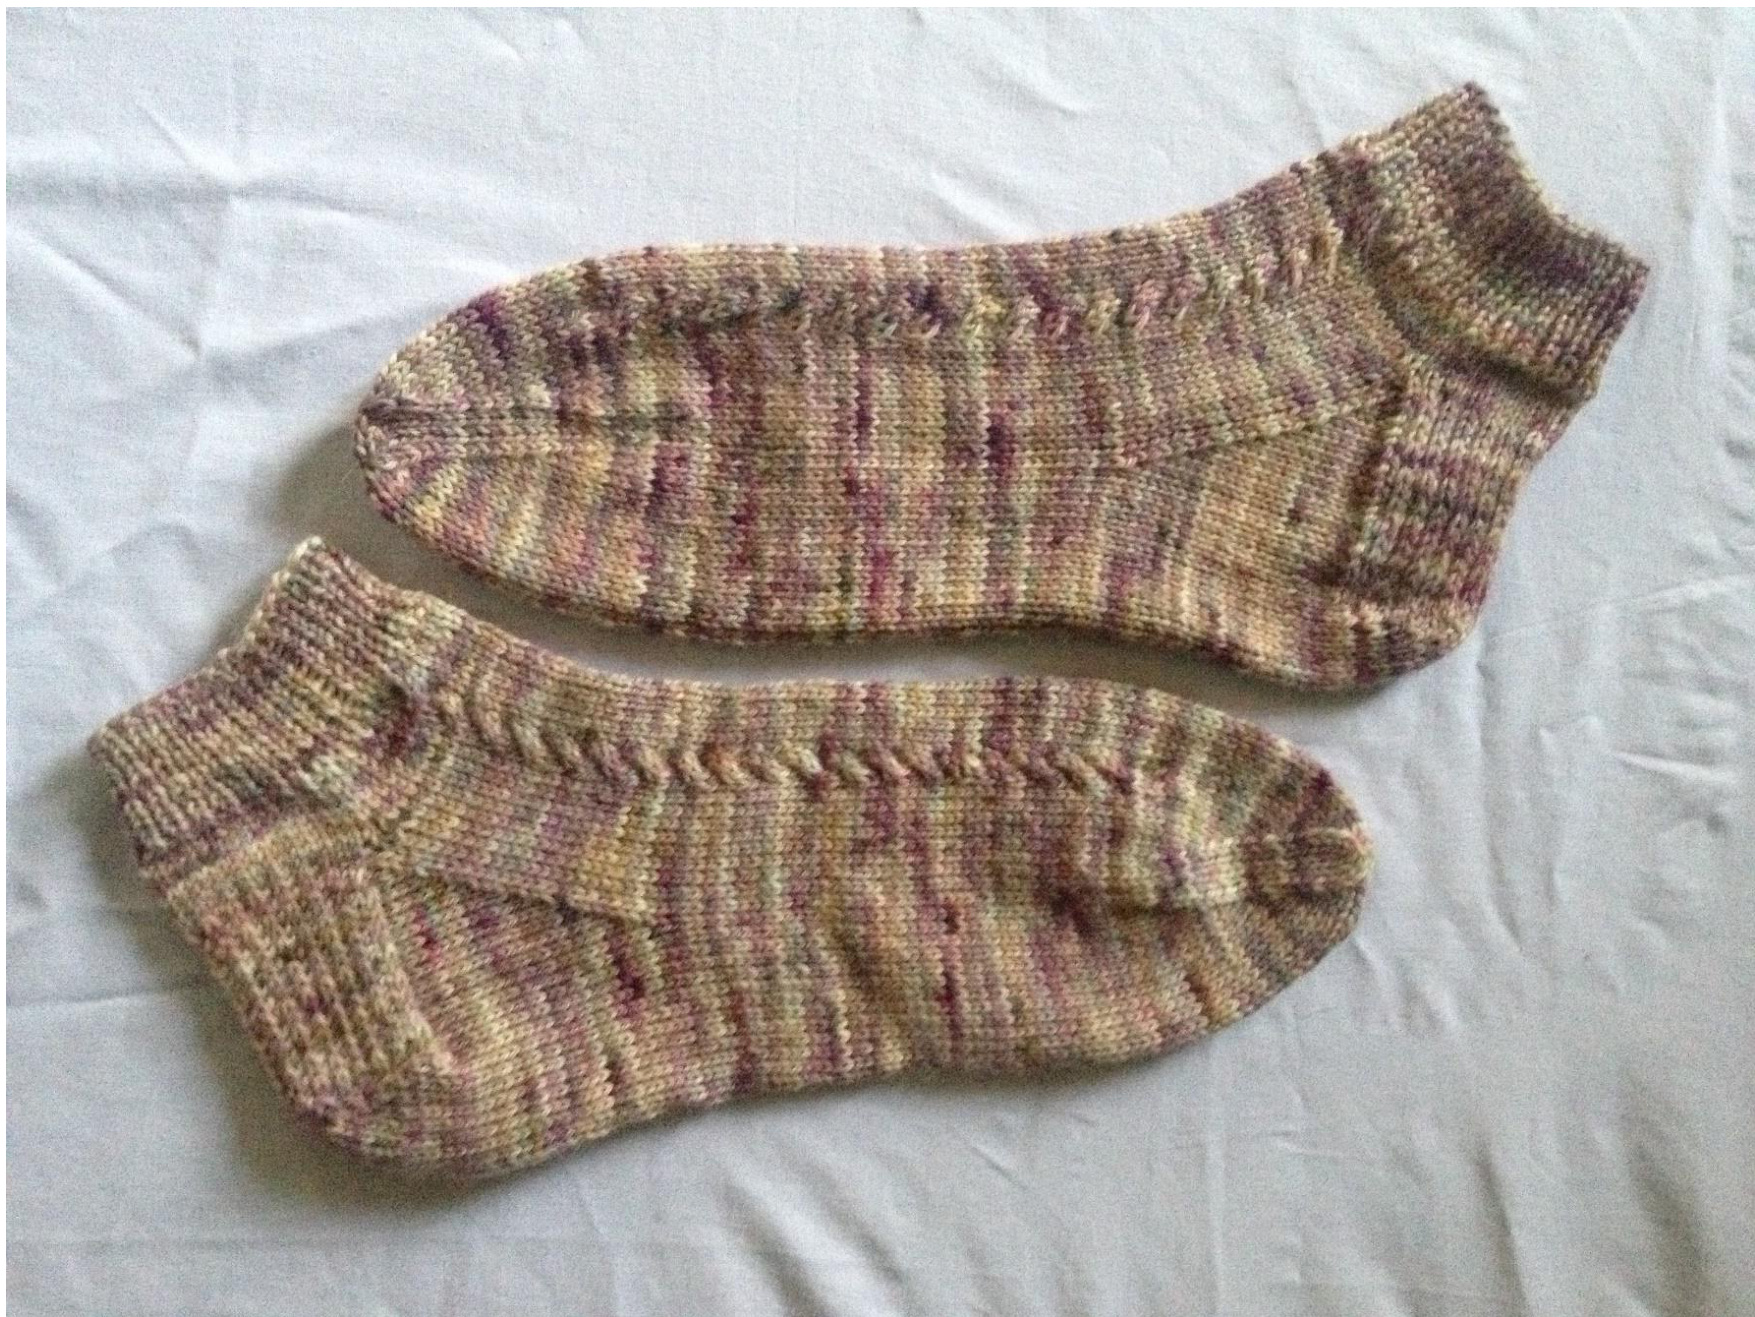
Sometimes you came by beautiful yarn that is knit out so well in plain stockinette stitch, but you don't wanna get bored by plain vanilla sock, here is two version of Spontaneous Sock Yarn with purple shade colors (plain vanilla sock and with small cable), Enjoy.
MATERIALS
1 skeins of Spontaneous Sock Yarn, Fingering / 4 ply (14 wpi). . US 21/2 - 3.0 mm double knitting needle(s). Tapestry needle Measuring tape
Gauge
32 stitchs = 4 inc in stockinette stitch using 2.75 mm needle.
Finished size
Fit most women: 7 1/2 inches in circumference and adjustable length. Instructions for cable sock and plain sock in between (), instructions for both versions are the same when only one number appears.
Instep pattern
Work cable row every 4th row Cable right side sock: k8 , sl2 sts on cable needle and hold it in back of work , k2 , (k2 from cable needle), k20. Cable left side cock: k20, sl2 sts on cable needle in front of work, k2, (k2 from cable needle), k8. For plain sock just knit all instep stitches.
Abbreviations
k- knit p- purl sts - stitches st sts - stockinette stitch dpn - double pointed needle sl- slip stitch purlwise k2tog - knit two stitches together p2tog - purl two stitches together ssk - slip one stitch knitwise, slip the next stitch knitwise, knit slipped stitches together N#- needle number
Cuff
Cast on 64sts (60) using German twisted cast on method, divided the sts over 3 DPN N1:16 sts (15) N2:32 sts (30), N3:16 sts (15), join in the round, be careful not to twist your stitches, Work in 1\*1 ribbing for 12rows. Knit 8 rows (3rows) On the next row, begin heel flap.
Heel flap
Work heel flap on half the sts: 32sts (30 sts) Set up row: k 16 sts (15) from needle #1, turn the work and purl 32 sts (32) from needles 1&3, turn and work the following rows back and forth, turning the work betweeneachrow, Row1 (right side): sl1, k1, repeat and turn your work Row2 (wrong side): sl1 purlwise, purl to the end Repeat those two rows for 32 rows (when heel flap measure 2.5 inc or length your prefer)
Turning the Heel
Still just working the heel flap stitches: (The gab is the wide space between the last active sts and held sts ) Row 1 (right side): K18 (17), ssk, k1, turn the work so the wrong side is facing you and there are 21 (19) stitches on the left needle and 10 stitches on the right needle. Row 2 (wrong side): Slip 1 purlwise, p7 (5) , p2tog, p1, turn the work. 20 (18) stitches on the left needle and 10 stitches on the right needle) Row 3: Slip 1 purlwise, knit to 1 stitch before the gap, ssk (with the stitch before the gap and the stitch after the gap), k1, turn Row 4: Slip 1 purlwise, purl to 1 stitch before the gap, p2tog, p1, turn. Repeat Rows 3 and 4 until all the heel stitches have been worked and 16 stitches remain on the needle
Gusset
Knit across the 18 (16) heel stitches, pick up 17 stitches along the heel flap (N#1), knit instep pattern over 32 sts (N#2), with a new needle (N#3) pick up another 16 stitches along the heel flap and knit 8 sts from needles #1, now you have 24 sts on needles # 1&3 and 26sts on needle #2. Note: now your rows begin in the middle of the heel sts. Row1: N#1 - knit to last 3 stitches, k2tog, k1. N#2 - knit instep pattern over all the stitches. N#3 - k1, ssk, knit to end. Row2: Knit. Repeat Rows 1 and 2, 11 times, until 52 total stitches remain (13 stitches on Needle #1, 26 stitches on Needle #2, and 13 stitches on Needle #3)
The Foot
Maintaining 13 stitches on Needles #1 & #3 and 26 stitches on Needle #2, knit evenly until the piece measures 2 inches less than the desired final length, measuring from the back edge of the heel
The Toe
Row1: N#1 - knit to last 3 stitches, k2tog, k1. N#2 - K1, ssk, knit to last 3 stitches, k2tog, k1. N#3 - k1, ssk, knit to end. Row2: Knit. Repeat Rows 1&2 7tims until 24 total stitches remain. Then, repeat Row1 4times until 8 total stitches remain. With N#3, knit the 2 stitches from N#1 so that there are 4 stitches on each of two needles, Use the Kitchener Stitch to close the toe.