SliPPerish SOCkS py janelle serio
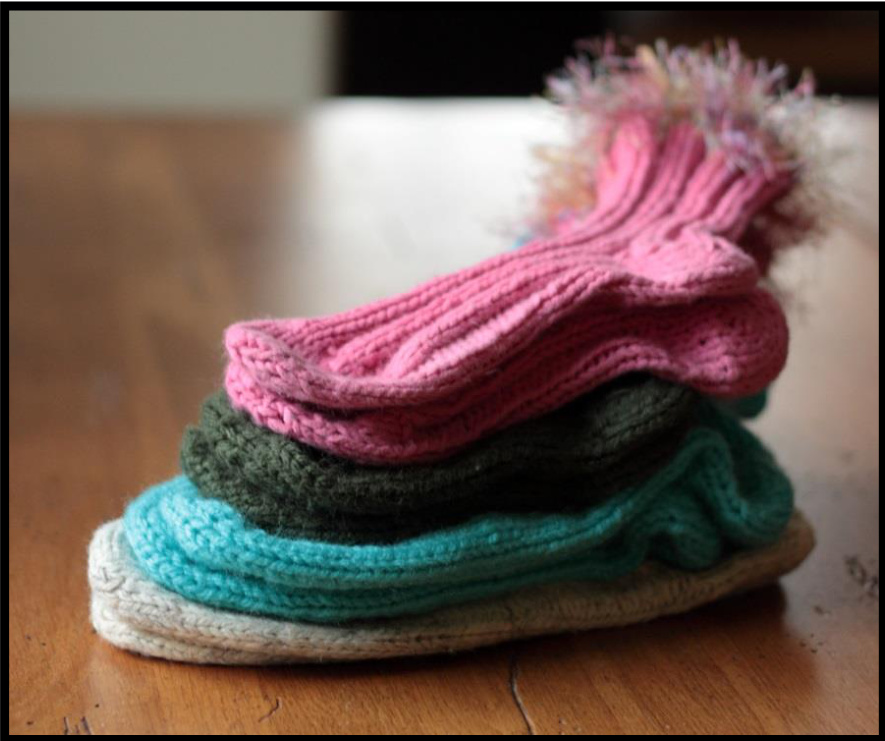
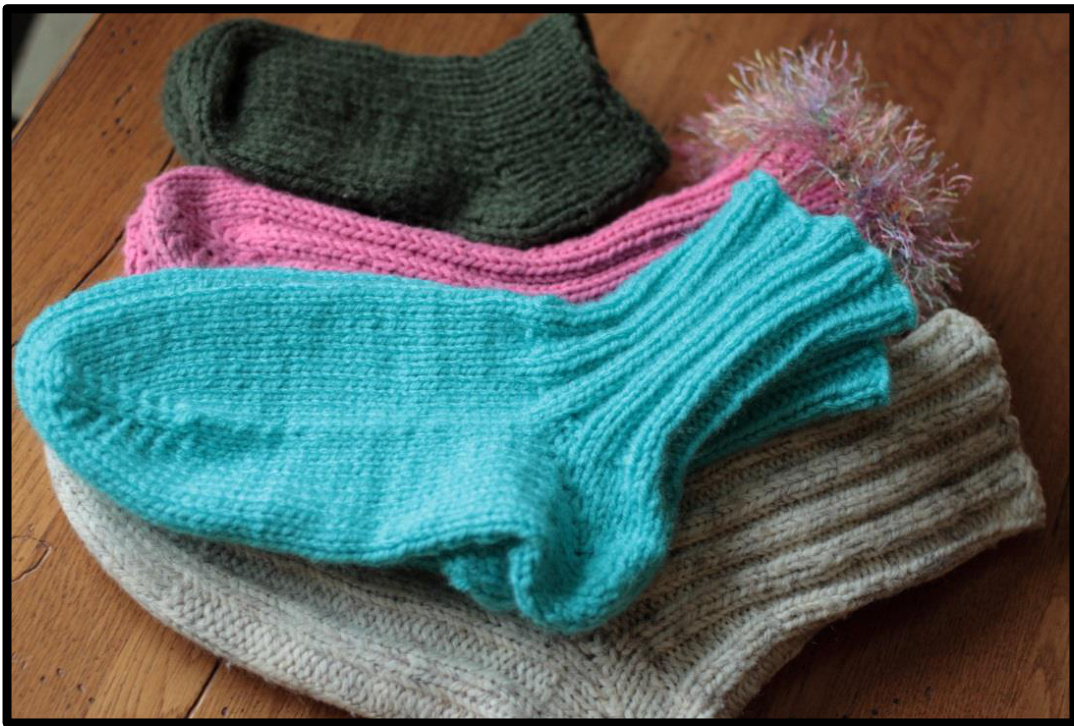
These simple toe-up slipper socks make great gifts. With 10 sizes ranging from toddler's to men's, this pattern has a size for nearly everyone on your list. And since they are knitted in worsted weight yarn, they will work up in no time!
Notes:
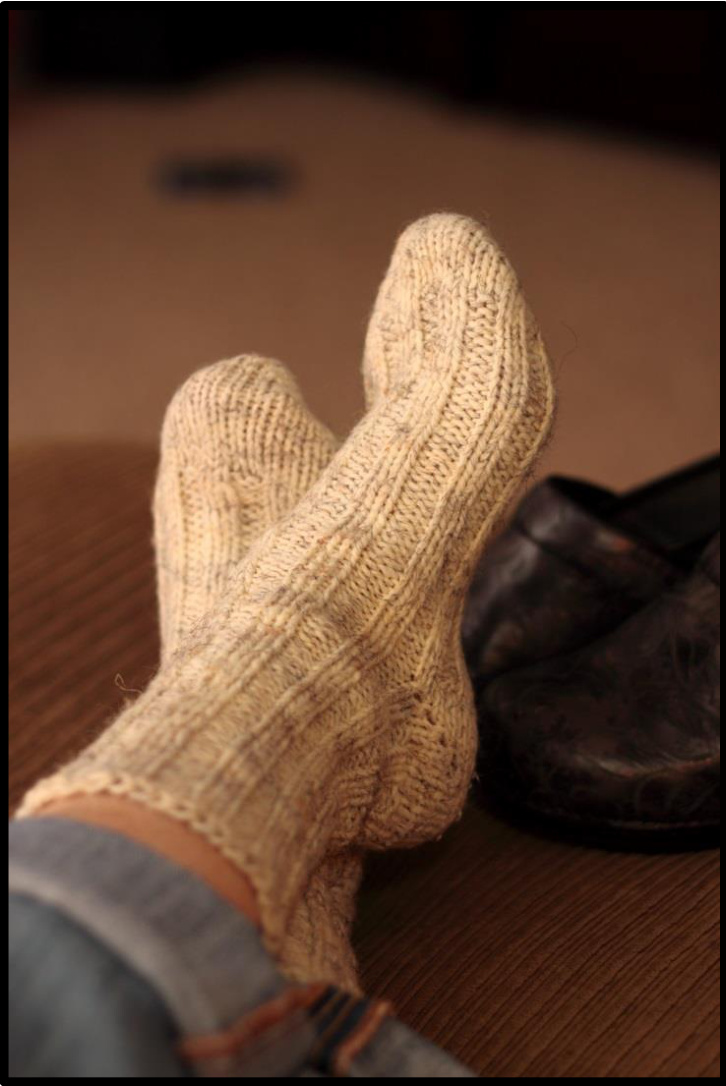
These socks are worked toe-up, with stitch options for stockinette or simple ribbing. Using stockinette stitch will create socks that may be worn as slippers, but also may fit inside a larger, more forgiving shoe, such as certain types of boots or clogs. Using the ribbing option will create a thicker fabric, which may be best suited for use as slippers alone, but will be more forgiving size-wise. Leg length is up to you, handy knitter. You may even add some novelty yarn at the end of the leg section and fold it over into a cute cuff. This pattern is written with two circular needles in mind, but could be adapted for one long circular needle.
Skill Level:
Easy for very experienced sock knitters Intermediate for knitters venturing into socks or toe-up socks for the first time
Materials:
45(70, 95, 135, 160, 205, 260, 285, 320, 365) yards worsted weight/10ply yarn, less needed for shorter sock height. Optional: One skein novelty yarn such as eyelash yarn for cuff (approximately 40 yards). Sock samples are knitted in Red Heart Classic in various colors, Lion Brand Fisherman's Wool in Natural, and Sierra Crafts Little Grins in Pink. The cuff trim is Lion Brand Fun Fur in Confetti. U.S. size 5/3.75mm circular knitting needles or needle size needed to achieve gaug Gauge: 5 stitches and 8 rows per inch To Fit Foot Circumference: 4(5, 6, 6%2, 7, 8, 9, 9%2, 10, 11) inches To Fit Estimated Foot Length: 4(5, 6, 7%2, 8, 9 12, 10%/2, 11, 11%2, 12) inches Note: for best results, be sure to measure sock recipient's actual foot length. Estimated Height for Crew Sock: 21/2 (312, 412, 512, 61, 7, 8, 8/2, 9, 9%2) inches
Stitch Abbreviations and Definitions
k: Knit p: Purl BO: Bind off k-fb: Knit into the front and then into the back of the same stitch. Creates one new stitch. w&t: Wrap and turn. Bring working yarn between the needles either to the front or to the back, whichever is opposite its working position at the time. Slip presenting stitch from the left needle to the right and move the working yarn back to its original position, creating one wrapped stitch. Slip newly wrapped stitch from the right needle back onto the left needle. Turn work. Lift wrap: Using the tip of the right needle, gently lift the wrap from its position on the right side of the work (the wrap always appears on the right side of the work) and onto the left needle. It will now be just next to the stitch it was wrapped around and ready to be worked along with it. ssp: As they present, slip the next two stitches—knitwise and one at a time——-to the right needle. Place them back onto the left needle in this new orientation. Purl them together as in a p2tog (purl two together) Stitch.
Toe
Using Judy's Magic Cast-On (or your personal fave toe-up cast on), cast on 8(8, 8, 8, 8, 12, 12, 12, 16, 16) stitches, divided as 4(4, 4, 4, 4, 6, 6, 6, 8, 8) instep stitches and 4(4, 4, 4, 4, 6, 6, 6, 8, 8) heel stitches. Round 1: Knit all stitches Round 2: k-fb into the first stitch, knit up to the last two instep stitches, k-fb, k1; repeat on heel stitches. Tip: If your sock recipient has a broader toe, try casting on a few more stitches at the beginning for a better fit. Repeat rounds 1 and 2, 2(3, 4, 5, 6, 6, 7, 8, 8, 9) times more. You will have a total of 20(24, 28, 32, 36, 40, 44, 48, 52, 56) stitches. They will be divided as 10(12, 14, 16, 18, 20, 22, 24, 26, 28) instep stitches and 10(12, 14, 16, 18, 20, 22, 24, 26, 28) heel stitches. Knit one round.
Foot: Stockinette or Simple Ribs Options
Stockinette:
Knit all stitches as established until work is % (1, 114, 114, 1/2, 13%4, 1%, 2, 21%4, 2%4) inches less than total desired foot length.
Simple Ribs:
Round 1: k2, p2 across instep stitches; knit across all heel stitches. Repeat round 1 until work is 3%(1, 1 %4, 1 14, 1 %2, 1 %, 1 3, 2, 2 14, 2 %4) inches less than total desired foot length.
Short Row Heel Shaping
Knit across instep stitches as established. You are now set up to work the 10(12, 14, 16, 18, 20, 22, 24, 26, 28) heel stitches. They will be worked back and forth instead of in the round.
Shape the bottom of the heel:
Row 1 (RS): Knit up to the last stitch on the needle, w&t. Row 2 (WS): Purl up to the last stitch on the needle, w&t. Row 3: Knit up to the stitch before the last wrapped stitch, w&t. Row 4: Purl up to the stitch before the last wrapped stitch, w&t. Repeat Rows 3 and 4 until you have 4(4, 4, 6, 6, 6, 8, 8, 8, 10) unwrapped stitches in the center and 3(4, 5, 5, 6, 7, 7, 8, 9, 9) wrapped stitches on either side of the unwrapped center stitches. This completes the total foot length of the sock. You will now start knitting up the back of the heel.
Shape the top of the heel:
Row 1 (RS): Knit up to the first wrapped stitch. Lift wrap (see stitch abbreviations and definitions). Knit the stitch and the wrap as one through the back loops. Turn work. Row 2 (WS): Sl1. Purl up to the first wrapped stitch. Lift wrap. Purl the stitch and the wrap together as one. Turn work. Row 3 (RS): Sl1. Knit up to the next wrapped stitch. Lift wrap. Knit the stitch and the wrap as one through the back loops. Turn work. Tip: If while shaping the top of the heel, your right and left lifted wraps are looking very differently from one another (or your purl side p2togethers are just not as tidy as you might like them to be), try using ssp (slip, slip, purl) instead of simply purling the indicated stitch and its accompanying wrap together as one (as indicated in instructions at left). The ssp technique is a little more difficult, but may be well worth the learning. Find it under stitch abbreviations and definitions. Row 4 (WS): Sl1. Purl up to the next wrapped stitch. Lift wrap. Purl the stitch and the wrap together as one. Turn Work. Repeat rows 3 and 4 until there is one wrapped stitch left. At this point, you will have just finished row 3 and you will be on the right side of the work positioned at the beginning of the instep stitches. Do not turn the work and do not do the final row 4. Instead, knit across instep stitches as previously established. You will now resume working in the round. At the first heel stitch, lift the final wrap. Knit the stitch and the wrap together as one through their back loops.
Knit across the remaining heel stitches. Heel complete.
Leg
If using Stockinette option:
Knit all stitches as established until 2 inches less than desired leg height.\*\* Switch to k2, p2 ribbing as given below for the final 2 inches of the leg, BO all stitches in pattern. Weave in ends.
If using Simple Ribs option:
Round 1: \*K2, p2; repeat from \* to the end of the round. Repeat round 1 until desired leg height is reached\*\*; BO all stitches in pattern. Weave in ends. \*\*Optional Folded Cuff: If planning for a folded cuff, knit 2 1/2 to 3 inches in established leg pattern following heel completion (or a bit more if you like). Then, work 2 %2 to 3 inches in k2p2 ribbing. If using a novelty yarn for the edge, use it for the last 5 rounds of k2p2 ribbing; BO in pattern.
A special thanks to all the lovely knitters who tested this pattern!


