Plisse by Jocelyn Viernes
Wandering inside a Marks and Spencer's recently , I came across a machine-knitted sweater which was nothing more than a series of ribbing from the hem to the neckline. "I can do that!" was my first thought. And then said to myself, "What if I put that series of ribbing onto a pair of socks?" So begins myfirst attempt at designing a pair of socks. Ihope you enjoy knitting this as much asIhad fun figuring out the ribbing!
Materials:
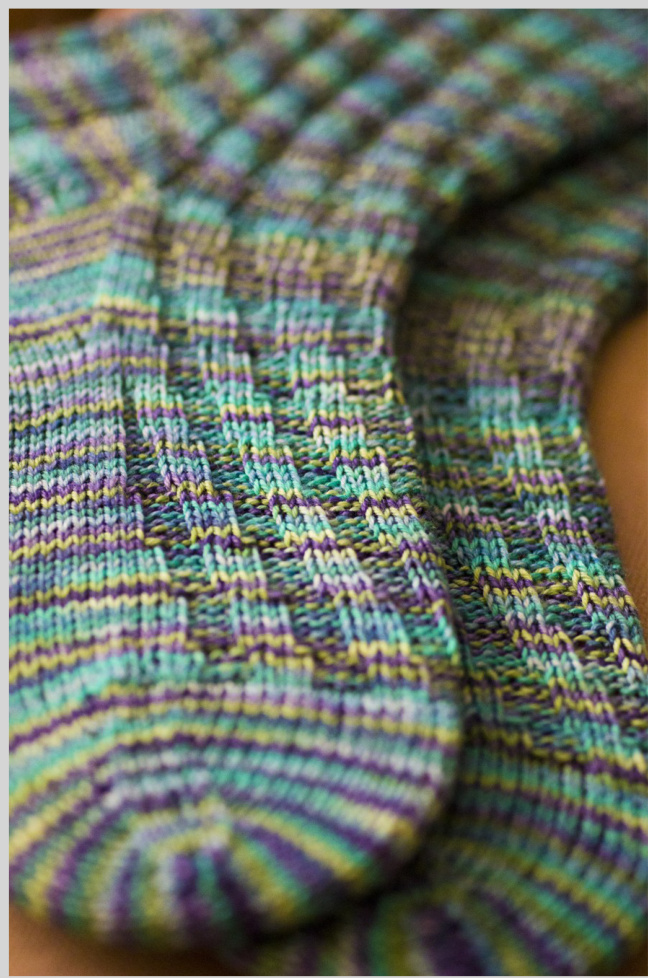
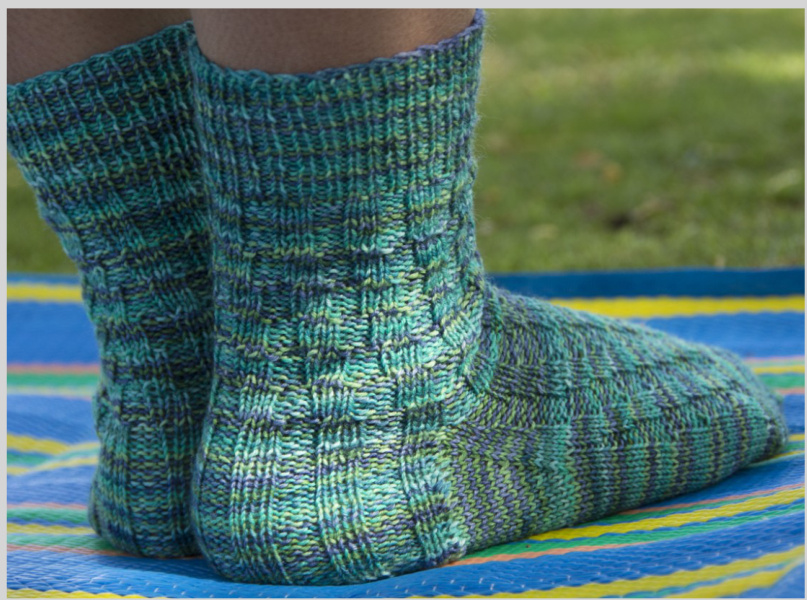
Yarn: The Knitting Goddess 4-ply BFL Superwash, 100% sUperwash British BFL, fingering weight, 437 yards (1 skein) - shown in colourway Lavender Field (blue green) Yarn suggestions: Madelinetosh Sock (shown here in Jade, green), Dubai Knits Squishy (shown here in You Are My Sunshine) Needles: US1 / 2.25mm, 1oocm cable needle for magic loop Notions: darning needle, waste yarn or stitch holder, stitch markers Gauge: 10 stitches per inch on 1x1 rib, 8 stitches per inch in stockinette stitch Sizes: S (M, L) To fit ankle circumference 8 (9.5, 11) inches Foot lengths of more than 7.25 (7.5, 9.25) inches are possible.
Abbreviations:
k - knit p-purl ssk - slip slip knit k2tog - knit 2 stitches together p2tog - purl 2 stitches together
Notes:
· This pattern is written using Magic Loop method. · When using DPNs, distribute the stitches evenly in whatever way would make knitting comfortable for you. Make sure you use stitch markers to indicate the beginning of your row. · You can place a stitch marker or waste yarn to mark the beginning of your row. Personally I use the cast on tail to tell me where the beginning of my row is. · I recommend using Tillybuddy's vey stretchy cast on for double or single ribbing. It takes a bit of practice to get it just right but once you do, you will never go back to any other stretchy cast on methods. · You can adjust the finished size of the socks by using a smaller or larger needle. · The toe l used here has a rounded finish, my preferred method. Feel fre to use the toe that you like. It should not affect the final look of the socks. · You may choose to knit the instep as plain ribbing instead of staggered, or even plain stockinette. It's really up to you!
Pattern Instructions:
Cast on 6o (66, 72) stitches. Join for working in the round being careful not to twist your stitches. Cuff: \*k1, p1\* around until the end of the round. Repeat for 25 rows or until desired length. Leg: Section 1: \*k3, P3\* around until the end of the round. Repeat for 10 rows. Section 2: p1, \*k3, P3\* around until 5 stitches from the end ofthe round, k3, p2. Repeat for 6 rows. Section 3: p2, \*k3, P3\* around until 4 stitches from the end ofthe round, k3, p1. Repeat for 6 rows. Section 4: P3, \*k3, P3\* around until 3 stitches from the end of the round, k3. Repeat for 6 rows. Section 5: k1, P3, \*k3, p3\* around until 2 stitches from the end ofthe round, k2. Repeat for 6 rows. Section 6: k2, P3, \*k3, P3\* around until 1 stitch from the end ofthe round, k1. Repeat for 6 rows. Section 7: repeat Section 1 for 6 rows. For Small and Large sizes only: On the last row of Section 7, do not work the last stitch of the round. Slip it on to the beginning of the previous round ready to work the heel flap. Arrange stitches to work the heel flap. For Small and Large sizes only: Slip the last 31(37) sts you worked onto a waste yarn or stitch holder. This will be your instep stitches and willremain unworked until you begin working in the round again. The first 29(35) sts (including the 1 unworked stitch you transferred from the last row) will be your heel flap which will be worked flat, or back and forth.
Heel Flap for Small and Large sizes only:
The first and last stitch will be worked in garter (knit on everyrow). Row 1 (RS): k4, \*p3, k3\* until the last stitch, k1, turn Row 2 (WS): k1, \*p3, k3\* until the last 4 stitches, P3, k1, turn Repeat these two rows 15 times for a total of 30 rows. Work Row 1 one more time.
Heel Flap for Medium size only:
Row 1 (RS): \*k3, P3\* until the last 3sts, k3, turn Row 2 (WS): k1, p2, \*k3, P3\* until the last 6sts, k3, P2, k1, turn Repeat these two rows 15 times for a total of 30 rows. Work Row 1 one more time.
Heel Turn:
Row 1 (WS): slip 1, p18(20, 21), p2tog, p1, turn Row 2 (RS): slip 1, k10, k2tog, k1, turn Row 3 (WS): slip 1, purl to 1 stitch before the gap, p2tog, p1, turn Row 4 (RS): slip 1, knit to 1 stitch before the gap, k2tog, k1, turn Small size only: Repeat rows 3 and 4 a total of three times, then work the following rows: Row 1 (WS): slip 1, purl to 1 stitch before the gap, p2tog, turn Row 2 (RS): slip 1, knit to 1 stitch before the gap, k2tog All heel stitches would have been worked and you are left with 1gsts on the needle.
Large size only: Repeat rows 3 and 4 a total of five times until all heel stitches have been worked and you are left with 23sts On the needle. Medium size only: Repeat rows 3 and 4 a total of five times, then work the following rows: Row 1 (WS): slip 1, purl to 1 stitch before the gap, p2tog, turn Row 2 (RS): slip 1, knit to 1 stitch before the gap, k2tog All heel stitches would have been worked and you are left with 2ists on the needle. Gusset set-up: Now take time to re-arrange your stitches before we go on to the gusset. If using Magic Loop, your heel stitches should be on the needle and the instep on another. If using DPNs, make sure you mark the start ofthe instep and the heel respectively. All set?Now go. Gusset: Pick up stitches along the side of the heel flap using the purl bumps. Beginning with Section 4(5,4) ofthe Leg Pattern, work instep as established. Pick up stitches along the side of the heel flap. Proceed with gusset decreases instructions. Note: Continue working instep as established following Sections 2 t07.
Gusset Decreases:
Round 1: knit to 3 sts before the instep, k2tog, k1, work instep as established, k1, ssk Round 2: knit heel sts to end, work instep as established Work these two rounds until you have 6o (66, 72) stitches in total. Small: 31sts instep, 29sts sole, Medium: 33sts instep, 33sts sole, Large: 37sts instep, 35sts sole
Foot:
Continue knitting the instep as established and the sole in stockinette until sock measures 2 inches from the tip of the toe. If you are knitting the sock for yourself, try it on to see if the length is alright. Depending on the length of foot, you may or may not complete Sections 2 to 7 of the pattern in full.
Setup round for Toe:
Small and Large size only: beginning at the instep k1, ssk, k25 (31), k2tog, knit to end. 58 (7o) sts total. Medium size: Proceed to toe shaping.
Toe:
Divide stitches evenly between front and back needle, if using magic loop. Round 1: knit Round 2: \* k1, ssk, kto last 3sts on needle, k2tog, k1\* twice Rounds 3-5: knit Round 6: as Round 2 Round 7-8: knit Round 9: as Round 2 Round 10-11: knit Round 12: as Round 2 Round 13-14: knit Round 15: as Round 2 Round 16-17: knit Round 18-21: as Round 2, 22 (30,34) sts left.
Finishing:
1leaving at least 12"tail, kitchenerthetoe closed, weave in ends. Knit the second sock and enjoy
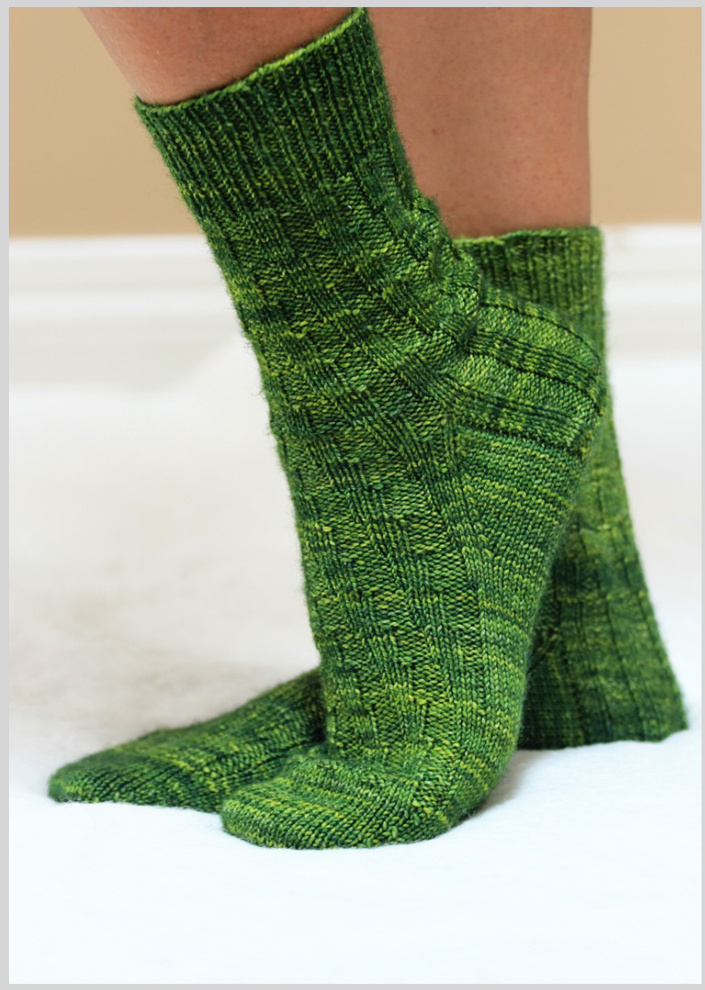
Sizesmall, shown in MadelinetoshSock,Jade
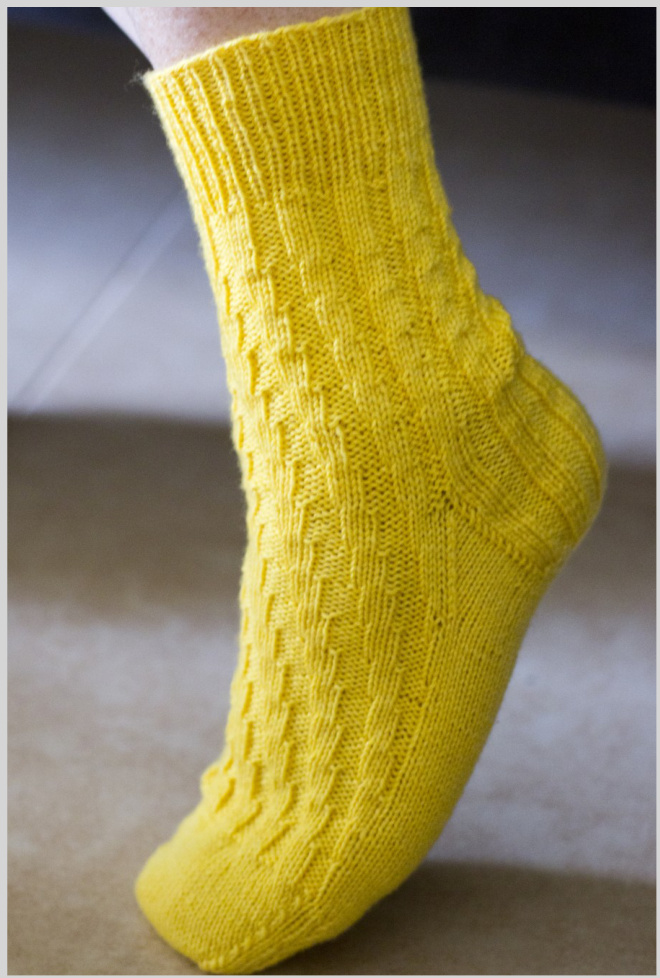
Size small, shown in Dubai Knits Squishy, You Are My Sunshine plis·sé also plis·se (pl-s), n. 1. A puckered finish given to fabric by treating it with a caustic soda. 2. Fabric having such a finish.
Notes & Credits
This pattern is for personal use only and may not be copied or sold. Items made using instructions in this pattern may not be sold without prior consent from the designer. Thanks to my wonderful friends and test knitters, Mel Wilson and Preeti Verghese for valuable feedback and mad knitting skills. For help with this pattern, please contact the designer via e-mail at jviernes@gmail.com Jocelyn Viernes - 2012


