Badgerlicious Sock Recipe
by Heather Anne Ordover
Skills
· knit and purl stitches · knitting in the round · use of stitch markers · knowledge of doubleknitting helps but is explained, regardless Size · Shown in women's 7.5 Gauge · 8 stitches and 11 rows = 1 inch in stockinette Yarn · Plymouth Yarn Sockotta Sock Yarn; DK/Sportweight; 400 - Needle · US 0 / 2.0 mm; sample on two circs Notions · stitch markers These socks were constructed for the Harry Potter Sock Swap. As a consequence I no longer own them and wasn't much of a blogger when I first took photos so I have precious few. Therefore, I list this as a recipe rather than a pattern. This might not be such a good place to start if you are a first-time sock knitter. If that is the case, you are welcome to refer to my free eBooks on top-down and toe-up sock knitting.
Begin Recipe:
General Notes
This is a toe-up sock using Judy's Magic Cast-on. Increase up to the stitches you need (measure around the ball of your foot, multiply by your gauge, subtract 10%—that is the number to increase to).
My Cast-on
Cast on in contrasting toe color using the awesome Knitty Cast-on for toe-up socks. After a number of socks I've found that I like to have at least 7-8 stitches on each needle (14-16 per side of the cast on, 28-32 sts total). Less makes for to0 pointy a toe, and I'm not sure what my secret pal's feet look like, so I thought I'd rely on the socks to stretch into pointy-ness if necessary. I was rather limited in sock yarn choice, though (bright yellow was easy to find, but a matching weight in black was a little tough this time of year), so my toe is less stretchy than I'd like...at least it is now. I alternated knit-only rounds Needle 1: k2, right increase, knit across Needle 2: knit across until there are two sts left, left increase, k 2 Needles 3-4: repeat 1 and 2 Continue increasing until 60 sts are reached. The sock will be knit in a continuous patterned ribbed stitch, so unless the foot is huge, 60 sts should be fine at this gauge.
Begin Foot
Begin Gusset and Heel Turn
Knit a stockinette foot and a k4p2 instep. I used the Sockulator V to calculate a toe-up heel with a flap which is necessary for the Badgerlicious socks I needed to be able to pattern the heel with the badger face and this was the easy way. All calculation images from the Sock-ULator. A toe-up heel flap means you have to add a gusset\* on the bottom of the foot. Step by step is provided here for my sock, but use the link to the Sockulator V to calculate for your own. PlaceMarker SlipMarker SlipslipKnit-slipping as if to knit K2tog-Knit two together P2tog-purl twotogether Now, for the gusset, which--unlike a normal top-down gusset, means you must EXPAND the bottom of the foot so you have enough stitches on each side to seam to the heel flap...that you'll create. It will make sense. Gusset: Worked circular. •Starting at the beginning of a round: •Round 1: Knit all stitches; Magic Turn. k2, L1A, work until 1 stitch remains, L1B, k2; Magic Turn. ·Round 2: Knit all stitches. •Alternated rounds 1 and 2 until there are a total of 76 stitches There will be2 stitches on the \*sole/bottom” of the sock and 34 on the top/instep, ending with a round 2 round.) \*L1A=lift one after, so when you've made a stitch and need to make a new one, you lift the next loop below the live left-needle stitch (after the gap, get it?). Stitch marker is dead center. \*L1B=lift one before, so when you've made a stitch and need to make a new one, you lift the next loop below the live right-needle stitch (before the gap, get it?).
Then you prep for and complete the heel turn:
Round Heel: Worked back and forth over the center 22 stitches of the sole. ▪Round 0 (set up): ·Before you begin,put the last1o stitches you knit on a string. (These are gusset stitches.) First half: Work across stitches of Top/Instep; place instep stitches just worked on a a thick strand of yarn. Note: Strictly speaking,placing all these stitches on the the strands of yarn ls optional, but my directions are worded as though you did this. ·Knit10 stitches. These are gusset stitches; place them on a string. ·Second half: K1, L1B, knit 21 , wrap and turn. (You should be wrapping and turning the edge stitch.) •Row 1: P1, L1B, puri 20 ,wrap and turn. (The second stitch from the edge should be wrapped.) ·Row 2:K1,L1B, knit 19 , wrap and turn. (The second stitch from the edge should be wrapped.) ·Row 3: P1, L1B,, purl 18 , wrap andturn. (The fourth stitch from the edge should be wrapped.) ·Row 4: K1, L1B,, knit |17 , wrap and turn. (The fourth stitch from the edge should be wrapped.) •Work in pattern established-- always working 1 stitch fewer stitch each row -- until you have worked a total of 1 short rows. (The final row in the pattern is: k1, m1, knit 10 stitches then wrap a stitch. There will be |10 ) stitches on the left tip when you turn while wrapping. Don’t forget to wrap and turn when you work the final purl row.) ·There are 33 stitches on the needle. •Note: this is one row short of where your heel willbe when you wear the sock. You can measure and verify the length of the sock if you like. Hang a marker to measure sock length; that will help you make sure both socks are the same length!.
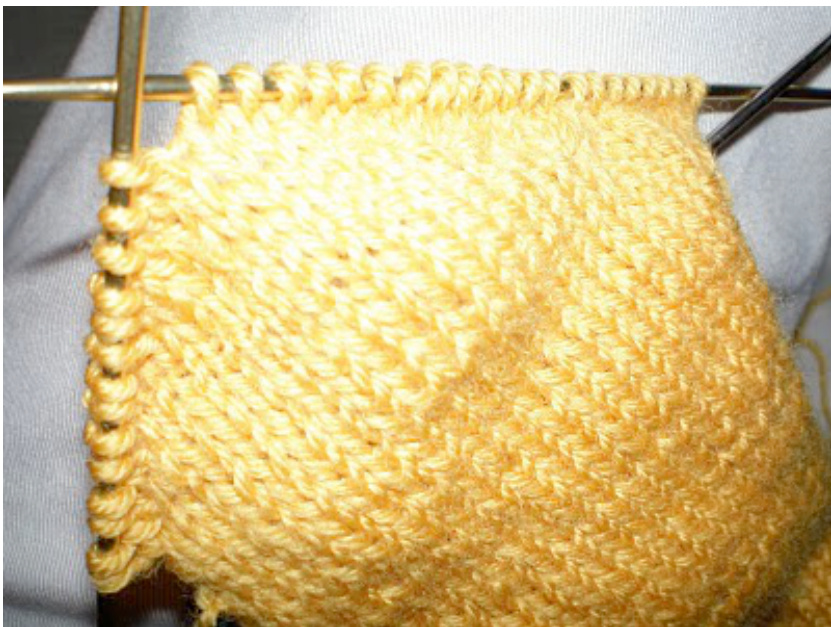
You can just start to see where the sock heel--which I bisected with two straights for ease of knitting--is bulging out around the middle from the added stitches. So, that's just fine. Now, you need to deal with the seaming. Heel Flap: Worked back and forth. You will \*seam\* the flap to gusset; the first two rows are a bit fiddly, the rest are fairly simple. (This gusset is stockinette. If you are an advanced sock knitter, you can substitute _heel stitch.) Row1:P1,L1B,Purl21 ;one stitch remains on left needle tip. (Optional: pick up wraps as you purl across; I don’t.) Slip stitch last stitch to right tip. You will see gusset stitches on a string to the left; transfer these to the left needle, orienting them so you can knit them. Slip the stitch on the right tip back to the left tip, then purl two stitches together. Turn so knit side faces. (You have seamed the edge flap stitch to the gusset; the flap stitch should cover the gusset stitch.) ▪Row 2: Slip 1;knit 32 ; 1 stitch remains on left needle tip. (Optional: pick up wraps as you purl across.) Slip last stitch knitwise.Transfer gusset stitches from string to left needle tip.Slip first stitch, knit together with previously slipped stitch. Turn so purl side faces.(You just worked an"ssk".) ▪Row 3: Slip 1, purl 32 ,p2tog; turn. ·Row 4:Slip1,Knit32 ,ssk; turn. ●Work in pattern establised by rows 3 and 4. Each time you turn, there will be one fewer stitch on the left tip. Continue until there are no stitches on the left tip when you turn to complete a knit row. •Pick up the instep stitches; begin knitting using Magic Loop method.
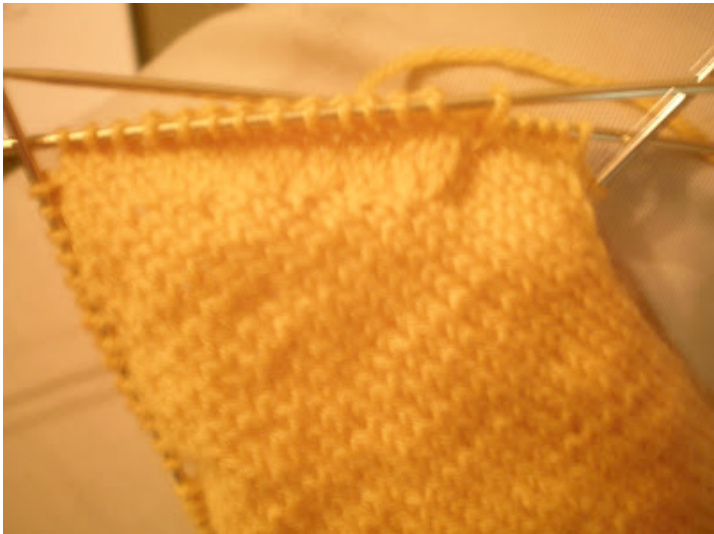
See the "heel flap seam" appear there to the right? Cool, no?
Begin Leg
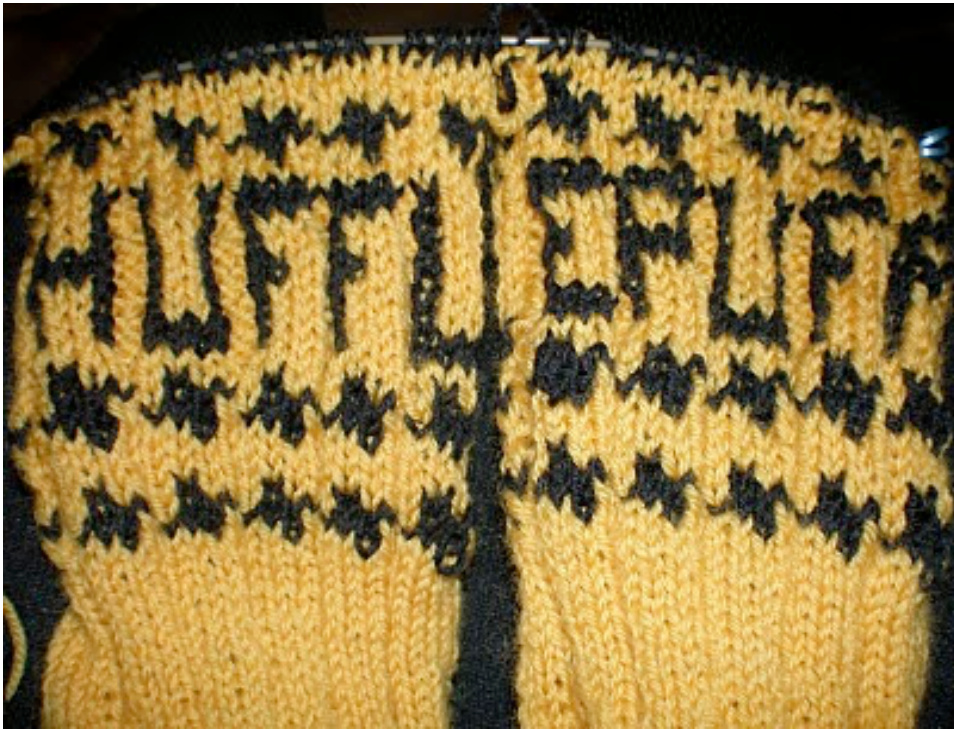
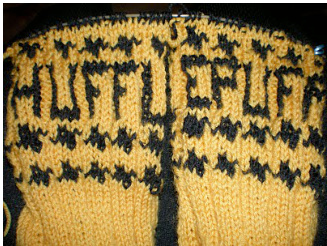
After the heel turn, I began the houndstooth motif, broken by two rows of regular stockinette, then I followed the Hufflepuff chart. I put HUFFL on the back the left sock and front of the right and ELPUFF on the back of the right sock and front of the left. That way the socks read HUFFLEPUFF from the back and the front. After two more rows of houndstooth, I placed a 2 inch black ribbing at the end.
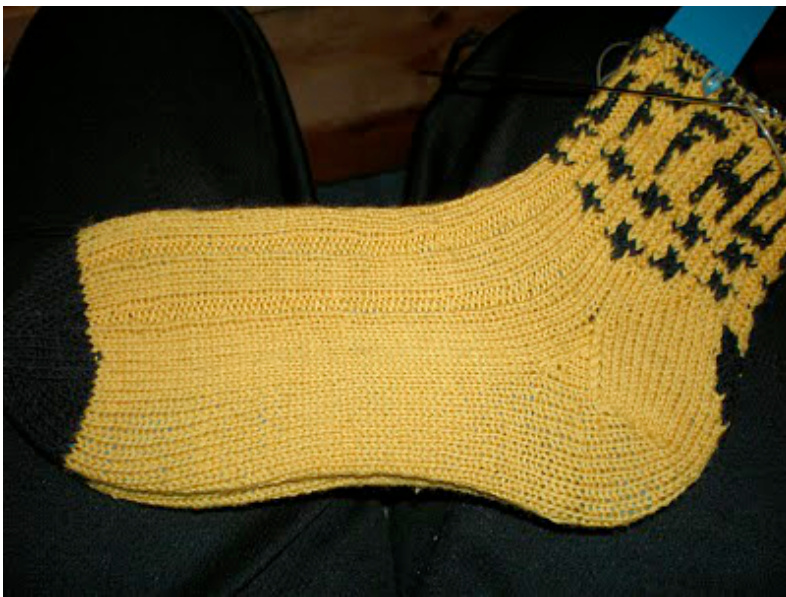
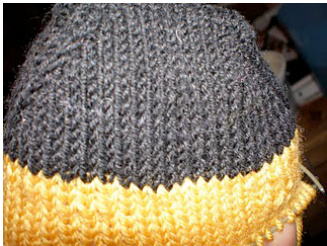
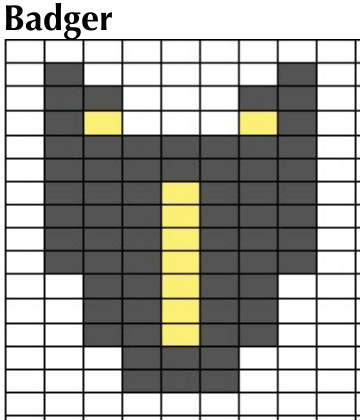
You can JUST see the badger face on the heel flap. I completely forgot to take a picture before sending it to my Harry Potter Sock Swap partner.
Hufflepuff Charts

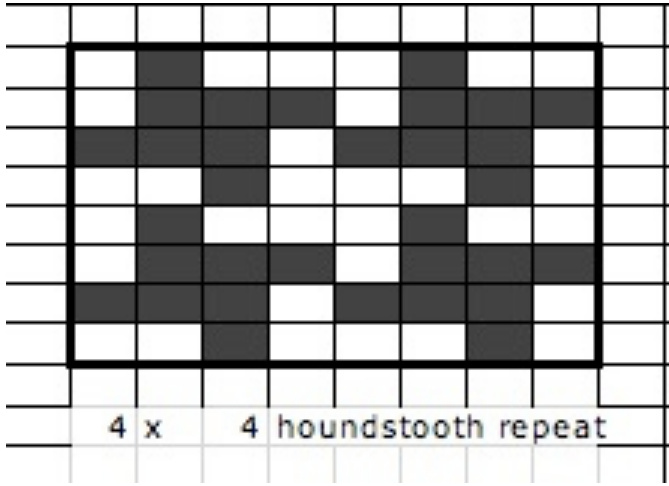
Houndstooth
For more information, see tutorials: http://mamaoknits.blogspot.com/2007/05/anatomy-lesson.html http://mamaoknits.blogspot.com/2007/04/more-on-badgerlicious-sock.html http://mamaoknits.blogspot.com/2007/05/sock-complete... shop without permission. Please be nice.


