Little Christmas Stockings
Designed by Julie Taylor Copyright Julie Taylor 2013-27-10 All rights reserved www.lovefibres.etsy.com
Little Christmas Stockings
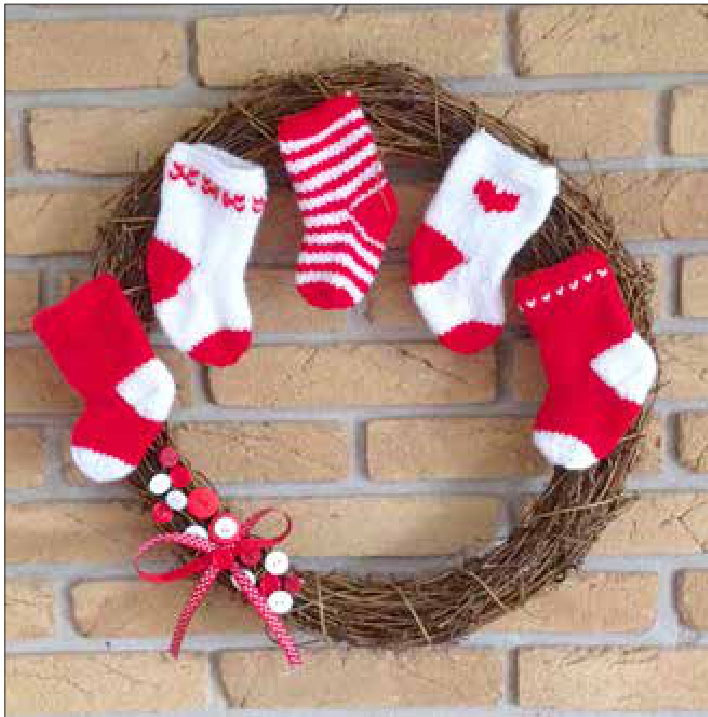
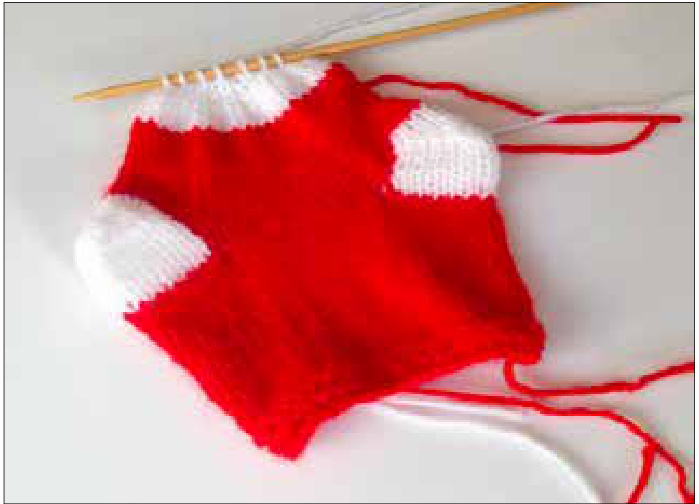
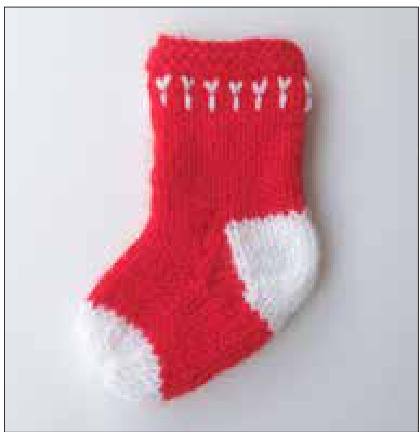
These delightful Christmas stockings are knit flat on two needles and seamed up the back. They make lovely tree decorations, bunting or a colourful Christmas wreath as shown at the end of the pattern. You can, of course, knit them in any weight yarn, using the needles recommended on the yarn band. The decoration is added once the knitting is complete using duplicate stitch (swiss darning)
Suggested yarns:
I have used Hayfield Bonus DK in Signal Red (977) and White (961) but oddments of any DK yarn will be suitable.
Materials Needed
19 metres (21 yards) main colour double knit yarn per stocking 9.5 metres (10 yards) contrast colour double knit yarn in for heel, toe and decoration per stocking 4mm (US size 6) straight knitting needles 2 stitch holders Tapestryneedle garter stitch=every row knit K = knit K2tog = knit two stitches together K2tog tbl = knit two stitches together through back loops P = purl P2tog = purl two stitches together P2tog tbl = purl two stitches together through back loops Sl = slip the stitch to the right hand needle without working it stocking st = 1 row knit, 1 row purl (this is stockinette in US) sts = stitches [ ] = work the instructions in the brackets by the number of times indicated Knit in DK yarn stockings are 14cm (5%2") tall
Tension (Gauge)
22sts and 28 rows to 10cm (4") square in stocking stitch on 4mm (US Size 6) needles This is given for information only. Tension is not important for this project
Knitting Instructions
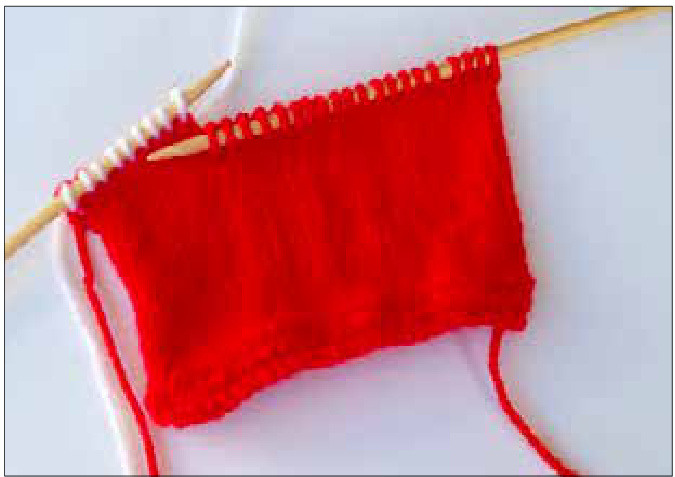
Using main yarn cast on 29sts Work 4 rows garter stitch. Work 17 rows stocking stitch, starting and ending with a knit row. Cut yarn leaving a length for sewing up. Left Heel Join in contrast yarn Next Row: Purl 9, turn
Next Row: Sl 1, K8, turn Repeat these two rows 3 times Next Row: P2, P2tog, P1 turn
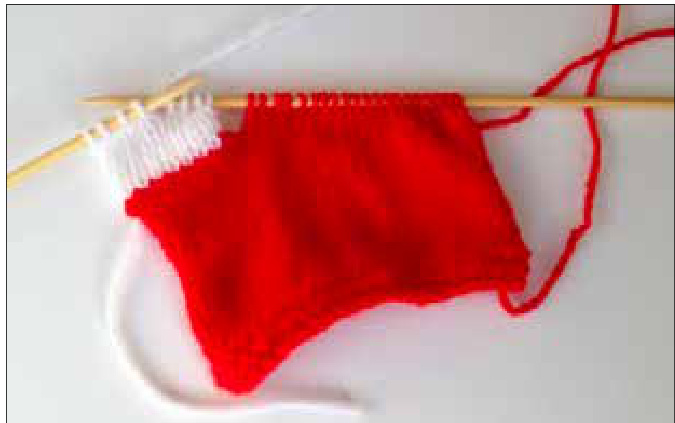
Next Row: Sl 1, K3, turn Next Row: P3, P2tog, P1, turn Next Row: Sl 1, K4, turn Next Row: P4, P2tog, P1, turn Next Row: Sl 1, K5 Place these 6 sts on a stitch holder and cut yarn, leaving enough to sew in later

Put the next 11 sts from the left hand needle on a stitch holder
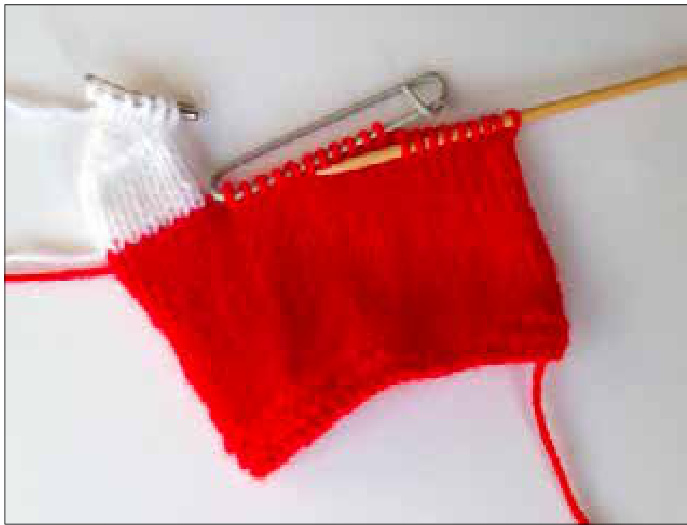
Right Half of Heel
Slide the remaining 9 sts onto your free needle so that the point of the needle is at the outside edge (what will be the back seam) of the stocking.
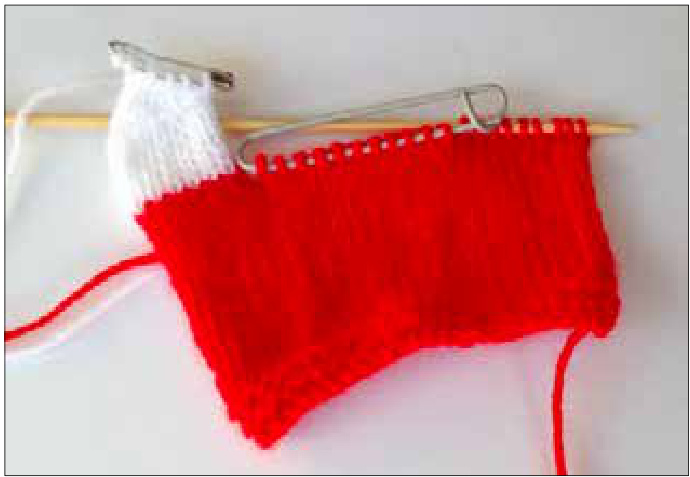
With the right side of stocking facing you, join ir contrast yarn and work as follows: Next Row: K9, turn Next Row: Sl 1, P8, turn Repeat these two rows 3 times Next Row: K2, K2tog tbl, K1, turn Next Row: Sl 1, P3, turn Next Row: K3, K2tog tbl, K1, turn Next Row: Sl 1, P4, turn Next Row: K4, K2tog tbl, K1, turn Next Row: Sl 1, P5 Cut contrast yarn, leaving a length for sewing up

With right side of work facing you, join in main yarn and knit the 6 stitches you have just been working on, pick up and knit 4 stitches along the inner edge of the heel, knit the 11 sts from the centre stitch holder (The stitches will be at the wrong end of the holder. You will need to transfer them first to the right hand needle and then back onto the left hand needle ready to knit), pick up and knit 4 stitches along the inner edge of the left heel, knit 6 stitches from the remaining stitch holder 31sts
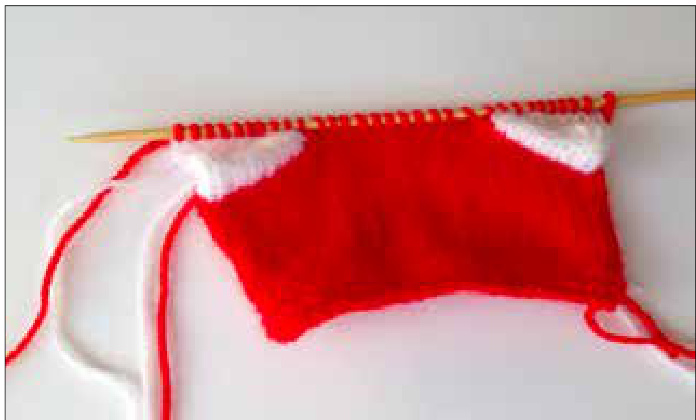
Purl 1 row Next Row: K8, K2tog, K11, K2tog tbl, K8 29sts Next Row: P7, P2tog tbl, P11, P2tog, P7 27sts Work 8 rows stocking stitch Break off main yarn, join in contrast and work 4 rows stocking stitch Next Row: K 1, [K2tog] to end 14sts Next Row: Purl Next Row: [K2tog] to end 7sts
Break yarn, leaving a good length, thread yarn through remaining stitches, draw up and fasten Off
Duplicate Stitch Decoration
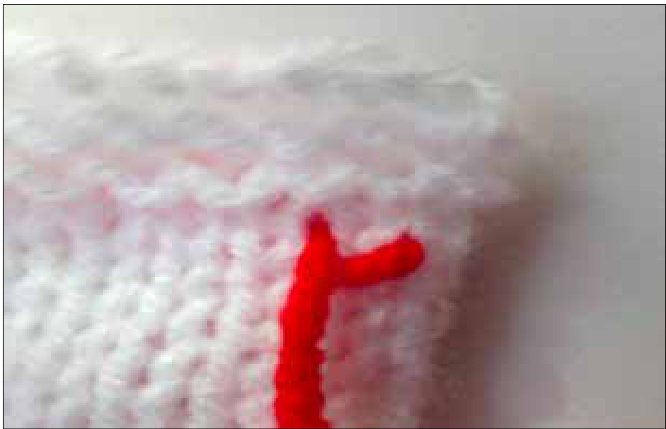
Cut a length of contrast colour yarn and using your tapestry needle, bring the yarn up from the back of the work into the top right leg of the first stitch you want to work
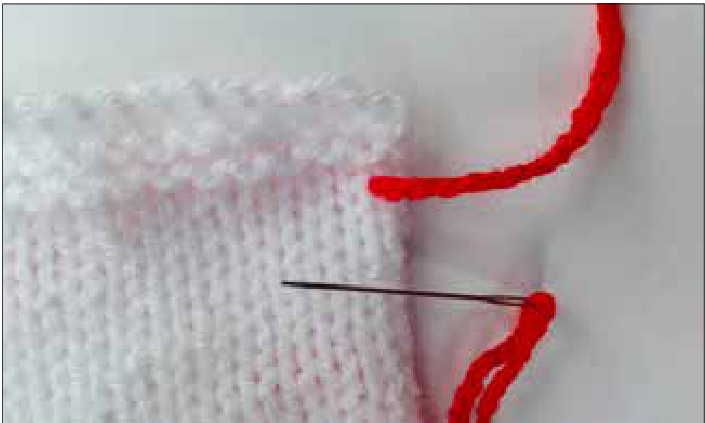
Leave a tail of yarn at the back of the work
Take the needle down into the base of the stitch you are working
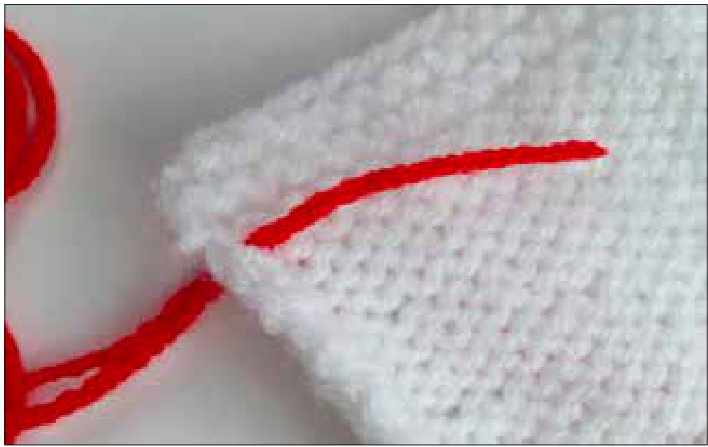
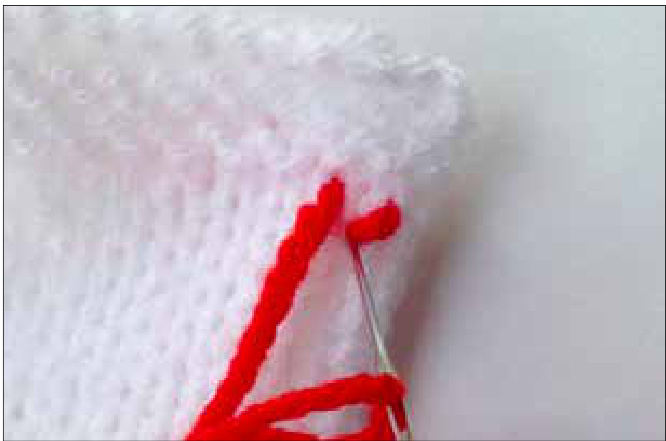
Bring your needle back up at the top of the left leg of the stitch
and back down into the base of the stitch
The first stitch is complete
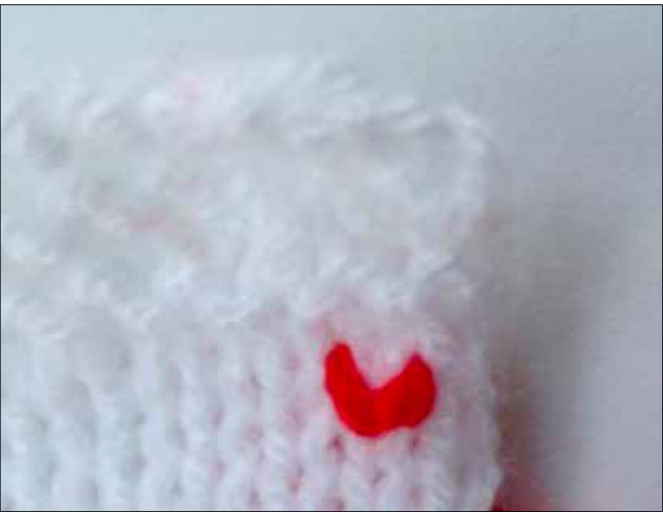
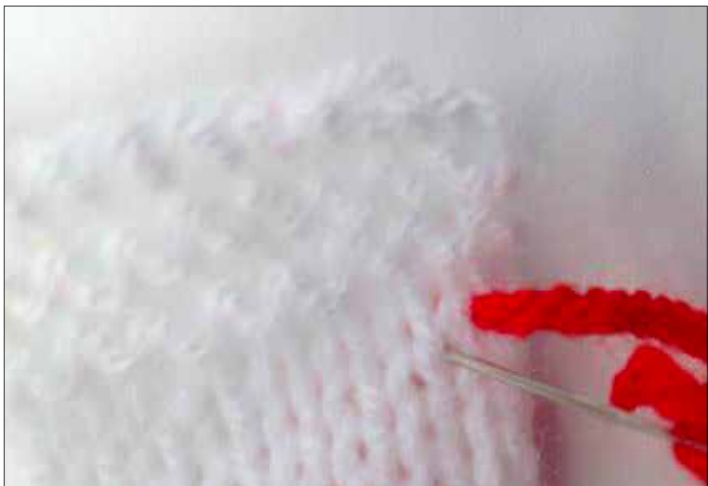
Continue making duplicate stitches following the pattern of your choice
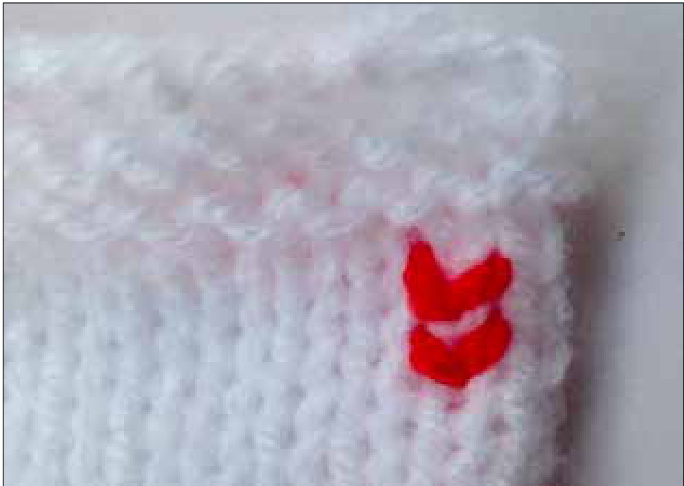

Weave the tails in at the back when the design is complete
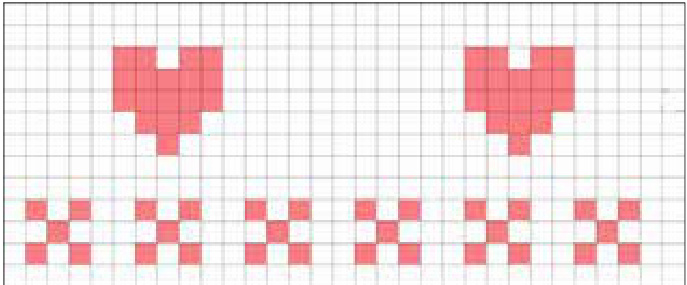
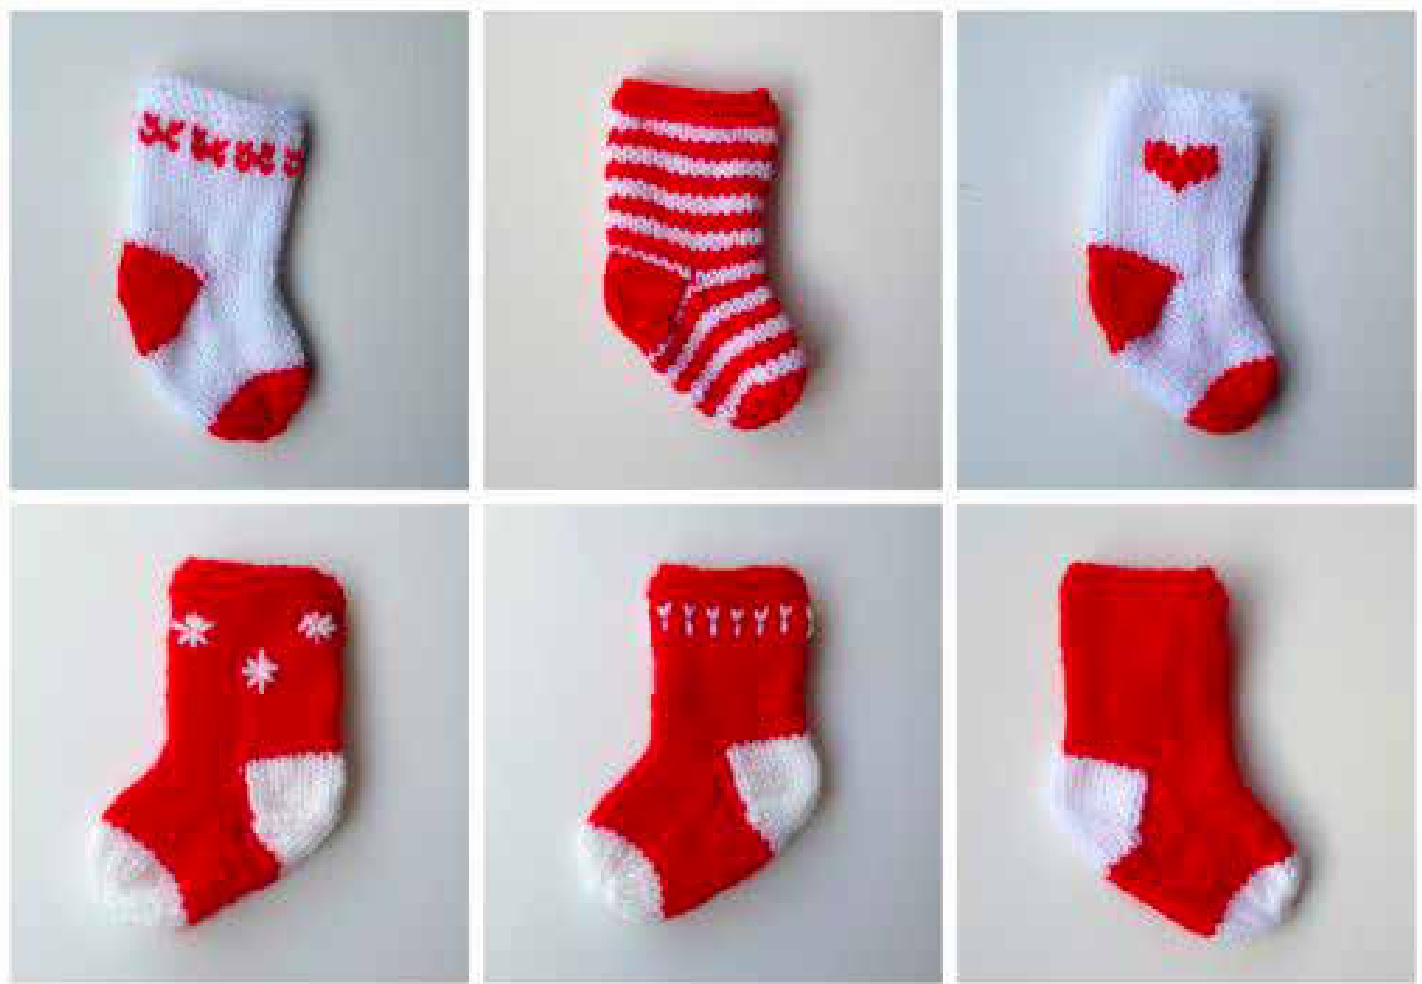
The grid shows the 31 sts that make up the width of the stocking and the placement of the duplicate stitches for these two stockings
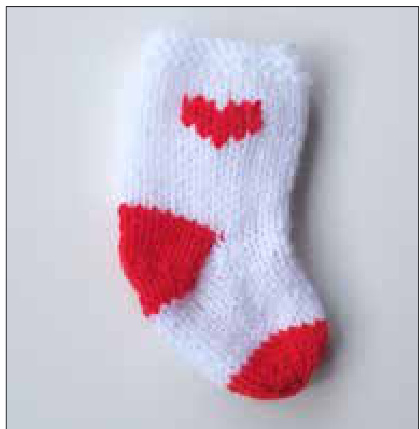
The above design is made by working a duplicate stitch into every alternate knitted stitch with a vertical stitch below each
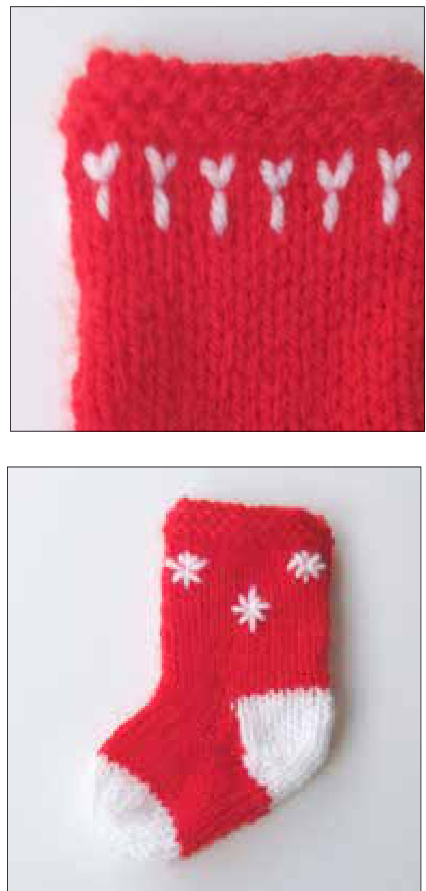
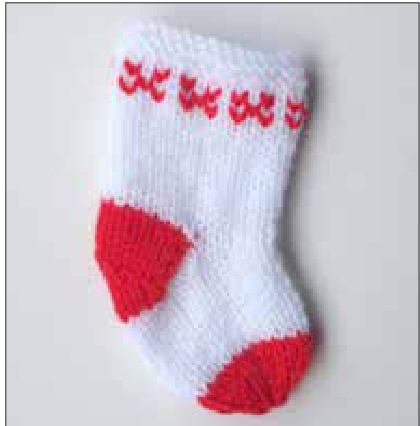
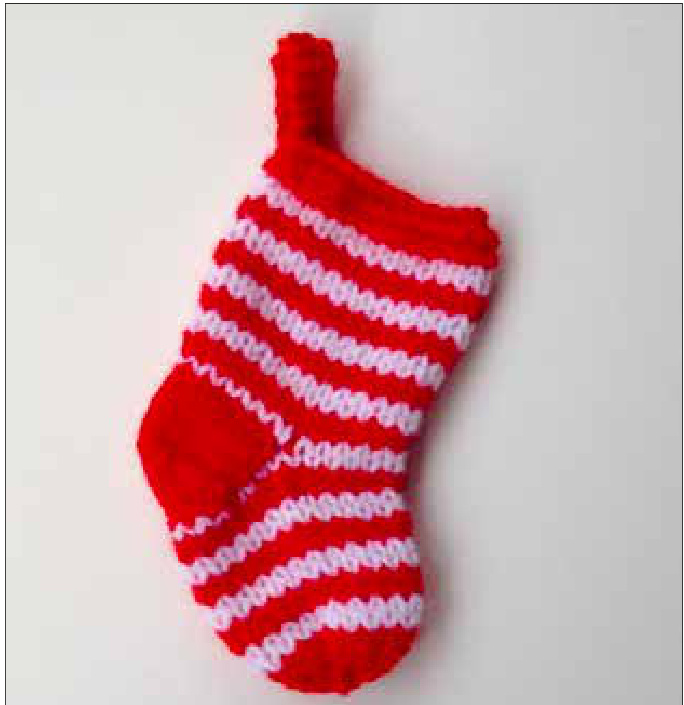
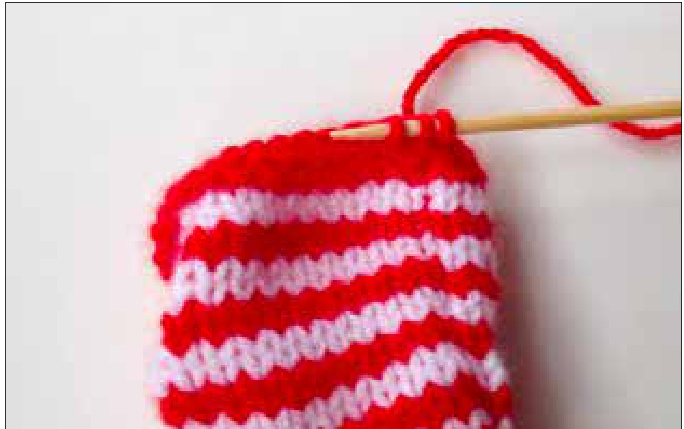
The stars are worked randomly around the stocking and are made by working 8 stitches radiating out from a central point If you wish to make a striped stocking, change colour every 2 rows. You will need to work 7 rows stocking st instead of 8 in the lower foot before changing yarn for the toe section in order to keep the stripe pattern correct
To Complete the Stocking
With right sides together, fold stocking in half and sew up back seam. Turn right side out. If you wish to add a loop to the top of your stocking, pick up 3 sts at the top centre seam.
Knit garter stitch for desired length

Cast off (bind off in US) and sew in place to complete the loop