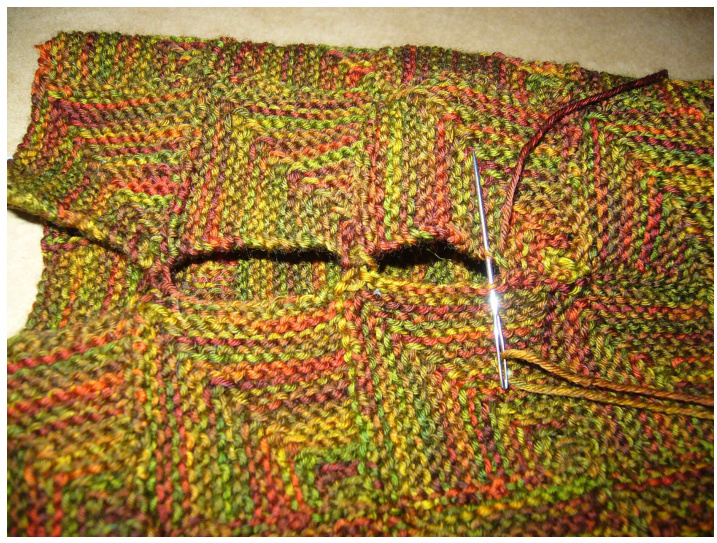
Tight cowl (mitered squares)

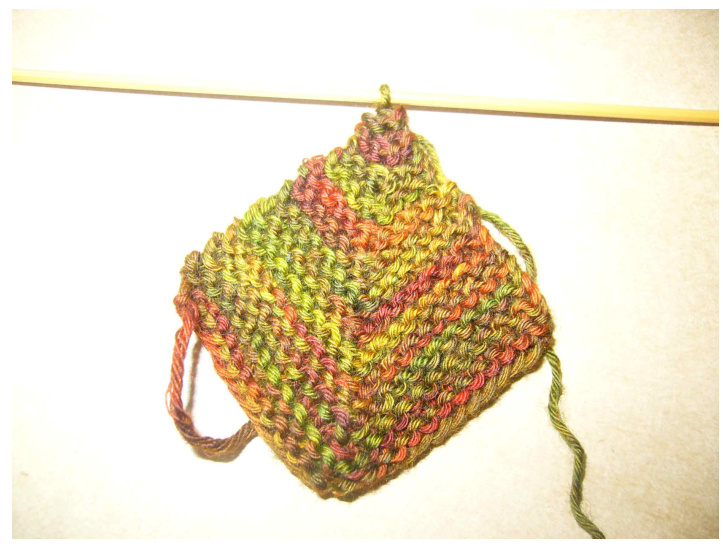
Take up 13 sts along the edge of the square and CO 13 sts WS: knit RS: k 12, SK2P, k 12 continue as you did at the first square. This cowl is made of mitered squares. You only have to weave in 4 (l) ends, Applied I-Cords make a good looking edge. I used only 70 grams of Wollmeise sock yarn (fingering weight), colour spice market. Size: 10 inches X 7 inches CO 27 sts WS: knit RS: k 12, SK2P, k 12 WS: knit RS: k 11, SK2P, k 11 WS: knit RS: k 10, SK2P, k 10 WS: knit RS: k 9, SK2P, k 9 Continue this way until there is only one stitch left. Do not cut yarn.
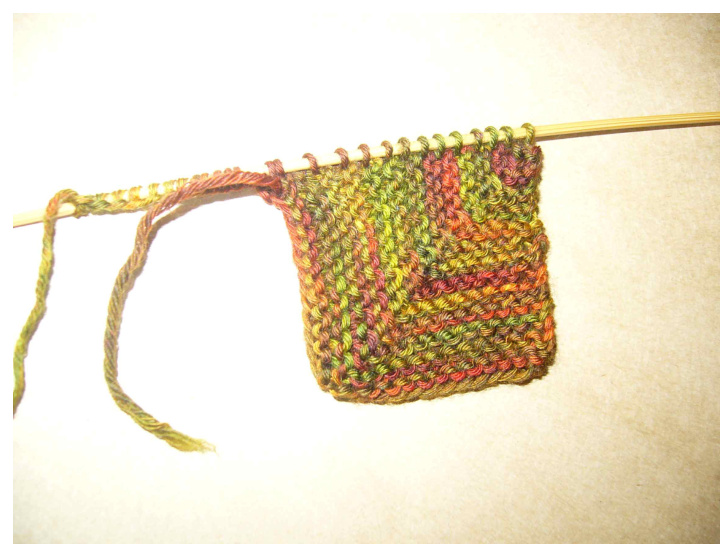
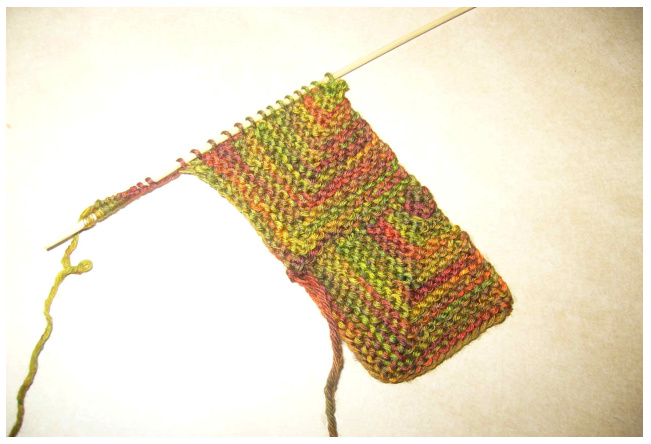
Add more squares the same way. I made 11 squares in one row. After finishing the $11^{\dag h}$ square, don't cut yarn, CO 13 sts. RS: k13 (the CO sts), k1 (the last sts from the $11^{\dag h}$ square and take up 13 sts along the edge of the first square. Add a second row of mitered squares on top of the first row: After finishing a square take up 12 sts along the edge of the recently finished square, take up one stitch from the corner and 13 sts from the next square of the first row (= 27 sts). Continue this way and finish the second row.

Add a third row. I added a fourth row with smaller mitered squares: At the beginning of the first square of the fourth row CO 12 sts, RS: knit 13, take up 12 sts from the first square of the third row $(=25s+s)$ WS:k25 RS: k 11, SK2P, k 11, continue. For all squares in the fourth row: Take up 11 sts from the recently finished square, 1 from the corner and 12 sts from the square below.
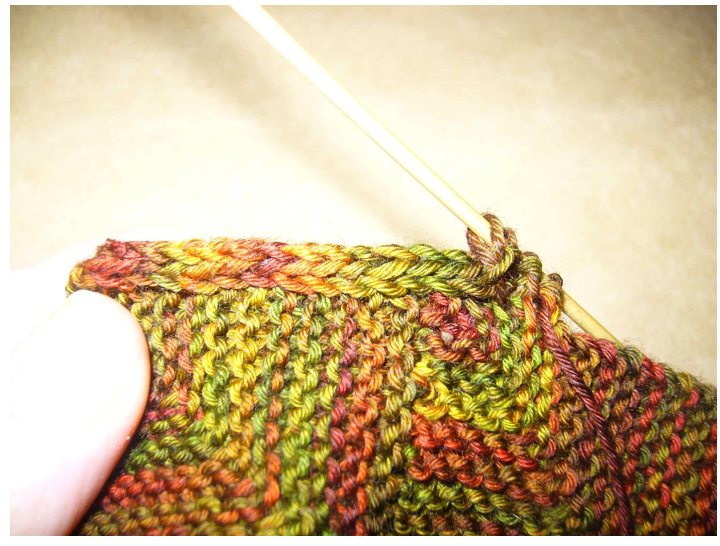
Add the applied I-Cord:
After finishing the $11^{\dag h}$ square in the fourth row CO 3 sts (= 4 sts on your needle), Work on WS of the cowl edge. - knit 3 sts - slip fourth stitch knitwise - pick up and knit one edge stitch of the cowl - pass the slipped stitch over the picked up stitch Don't turn work, but slide needle to the left so stitches are on the right end of the needle. Keep the working yarn behind your stitches to the right side of the needle. Repeat above 4 steps: Knit 3, slip one and take up next stitch from the edge, pass the slipped stitch over. (For each garter stitch ridge you have to take up one stitch for the I-Cord).
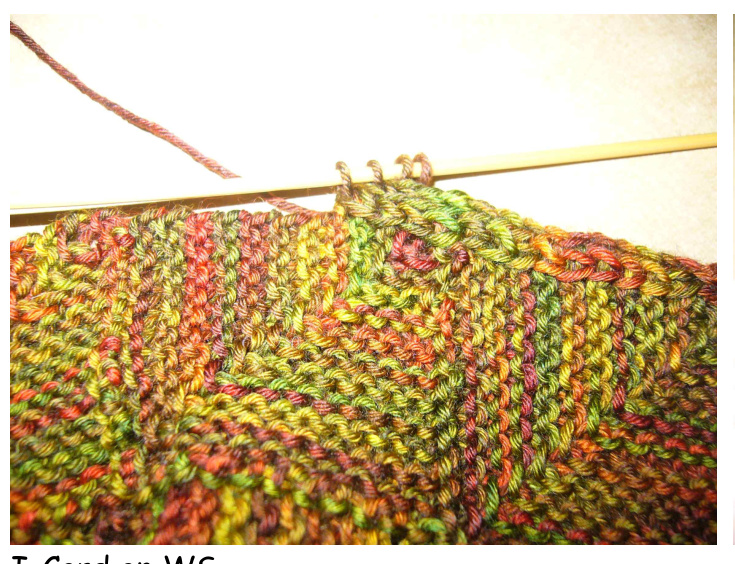
When you have finished the applied I-Cord cut yarn and leave a long tail. Use a fapestry needle and join the two ends of the I-cord ina kitchener stitch-like-way. Sew the cowl together. CO 4 sts and add an I-Cord on the other edge of the cowl.
Weave in all ends. Abbreviations: $k=$ knit $S K2P=$ Slip 1 stitch purlwise, knit 2 together, pass the slipped stitch over the end of the needle (decrease) CO $\underline{{\underline{{\mathbf{\delta\pi}}}}}$ Cast on st/sts $\underline{{\underline{{\mathbf{\delta\pi}}}}}$ stitch(es) WS $\underline{{\underline{{\mathbf{\delta\pi}}}}}$ Wrong side RS $\underline{{\underline{{\mathbf{\delta\pi}}}}}$ Right side I hope you enjoy this pattern.If you have any problems, please send a Ravelry message to Phazelia or an e-mail to phazelia@yahoo.de


