Explorers Fingerless Mittens (loom knitted)
Designed and loom knitted by HelenJacobs-Grant 02012 all rights reserved
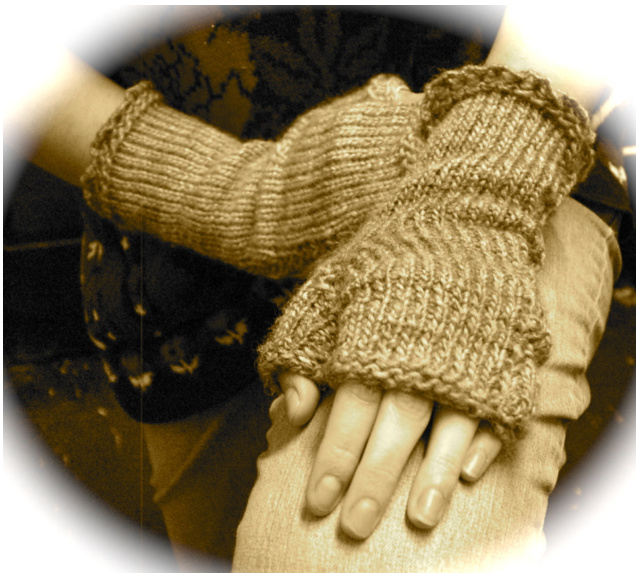
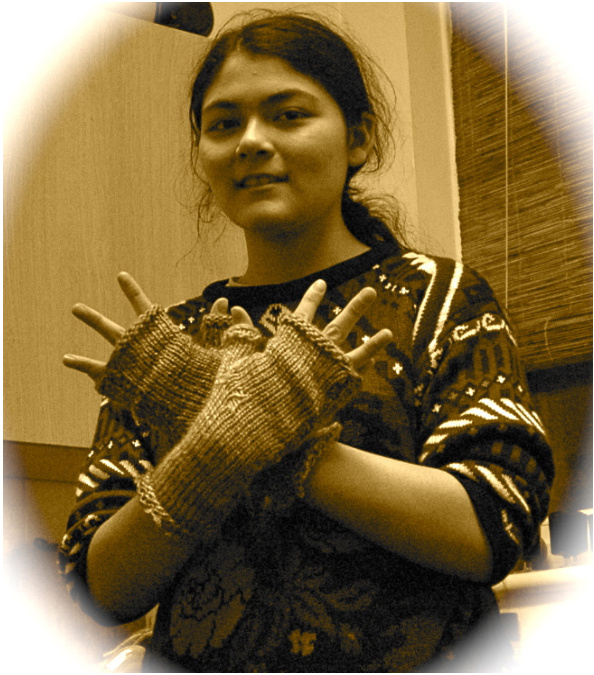
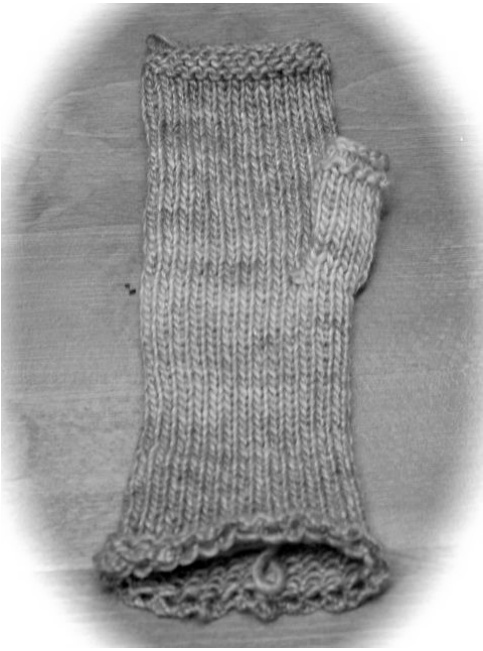
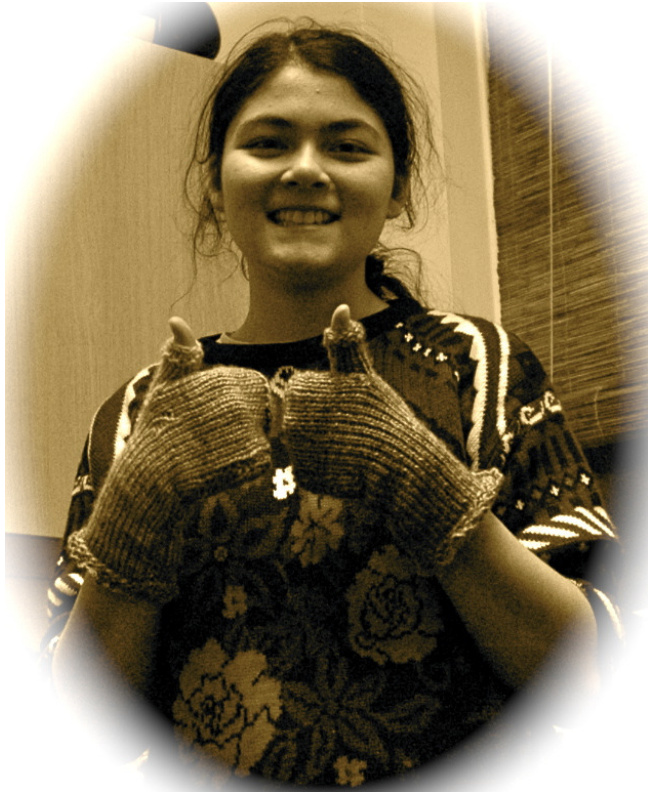
I designed these simple yet very elegant fingerless mitts with a fitted thumb piece loom knitted directly into the hand for my teenage daughter Angelica, who is an Explorer Scout, forever outside so her hands become very chilly. She'd asked me for something to keep her hands and wrists warm but didn't want her fingers restricted in any way so that she wouldn't have to keep taking off the gloves to take part in the various scouting activities she enjoys very much. Directions are given for both soft ruffle feminine edging and plain men's style. There are two mattress stitch seams : one small down the side and around the base of the thumb and a largeronedown thelengthof the hand to join the two sides together which form the shape of the fingerless glove. By knitting the fingerless gloves as flat panels instead of in the round, it makes it easierto adjust the sizemaking thispatternversatileto fit any size of hand from toddlers up to largest adulthandsize. IMPORTANT: Please read through all the information on tools, yarn and directions before starting to loom knit your fingerless gloves or mitts as lots of alternative information is given for various a few types of knitting loom.
Yarn : just 1/2 of one 100g skein of Colinette ART in shade 163 "Vincents Apron" was used in the exampleshown (ART is a 79%merino and 21%bambooblend which is super soft yet durable and easy to block into shape) You can use any 10ply 8-10wpi (wraps per inch) aran or worsted weight yarn with a needle size of 5.0mm stated on the label. Its best to choose a soft pure wool blend content for these fingerless gloves as this will give you a nicer fit which wont keep stretching out of shape across the hand, will last longer than ones made with 100% acrylic or synthetic yarn. If you have allergies towards animal fibers can I suggest a soft smooth cotton bamboo blend in the weight stated as a substitute, the resulting fingerless gloves will be luxurious and very flattering. Yardage of approx 80 meters needed for pair of generous medium to average large adult size fingerless gloves, adjust yardage accordingly for the size of gloves you are making.
Looms & Tools
loom hook large eye sewing needle CinDWood or Décor Accents Looms: 1/2 inch gauge round loom from CinDwood Crafts or Decor Accents RG (regular gauge) loom with enough pegs for the size of glove you want to make: 0 approx 21 pegs for smaller child size o approx 23 to 25 pegs for large child size o approx 27 to 29 pegs for small to medium teenage or ladies size o approx 31 pegs for adult generous. medium to average large size ladies o approx 33 to 35 pegs for nicely large mens size (31 pegs of a 51 peg 1/2 inch gauge round loom was used in example shown) For a non adjustable fit these can be made in the round using the 29 peg round 1/2 inch gauge loom Knifty Knitter Looms: If you do not have the 1/2 inch gauge looms, you can use any of the round Knifty Knitter looms using an odd number of pegs knitting as a flat panel. Slight adjustments will need to be made for the thumb row and the number of rows for the hand for a good fit. For example: Using the large adult purple hat size or smallest 24 peg round loom using 23 pegs, working in flat panels not in the round, instead of the 11 pegs stated for the thumb section row you will probably only need 8 to 9 pegs with only 6 to 8 rows for the length of the thumb. The rows of the hand will need to be adjusted as well otherwise the resulting fingerless glove will be way too long, its best to do this by sizing as you go along measuring against your own hand but remember to make a note of how many rows you do for both hand section parts of the pattern so you can make the second fingerless glove of the pair exactly the same as the first. Past experience shows me that the 24 pegs make a glove which is slightly on the large side for my hands, if that is the case for you as well then only use 23 pegs, as the first peg of each row is skipped and not worked, the flat panel will be smaller than if you worked all 24 pegs in the round. For a non adjustable fit these can be made in the round using the 24 peg round loom Martha Stewart Weaving and Loom Knitting Kit: 3/4 inch gauge larger pegs inserting every other hole use the same instructions as given for Knifty Knitter style looms. Working with the small pegs inserted into every hole you only need a very slight adjustment to the number of pegs needed in your cast on row, cast on 37 for example shown, thumb section row will be 15 instead of 11 stitches wide and the length of thumb and hand will be the more or less the same, these are just guesses as I haven't had time to make a pair on the MS loom yet so if you do make a pair using this loom, let me know how many stitches you used so I can add the info here.
For all types of loom to determine the number of pegs needed :
1. Using a soft measuring tape, measure around the hand across the palm at the widest point, 2. Hold the measuring tape across the pegs of your loom, 3. If, for example your hand measures 10 inches and the tape laid across the pegs of your loom shows 21 pegs only use 17 for your cast on knit row as if you use all 21 pegs the finished gloves would be too big, you want them to stretch slightly when you put them on for a snug fit not be saggy and loose fitting as these catch on everything while you are wearing them. 4. So using slightly less the number of pegs than shown with your measurement with tape laying across the pegs, cast on the number of stitches you think will be a good fit, 5. Knit eight rows then add one stitch at each end, 6. Knit a further six rows 7. Flat panel bind off, 8. Sew the sides together 9. Check to fit around your hand 10. If the fitting is too tight around the widest part of your hand on the part where you increased the number of stitches then you know you need to add a couple more stitches to your cast on row, if its too big you need to use a couple less. For example, if you tried 21 pegs and the size was too big, use 19 instead, or too small use 23 instead. Remember for a non adjustable fit these can be made in the round instead if you really do not want to sew a seam all theway down the side of each hand.
STITCHES
My own crochet style cast on :
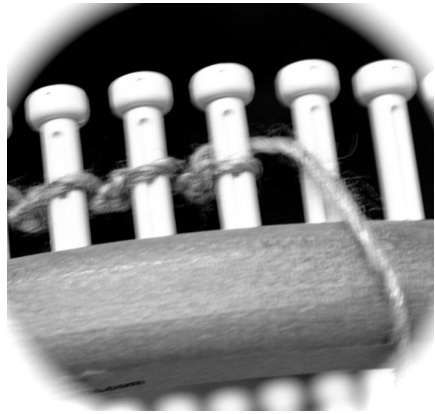
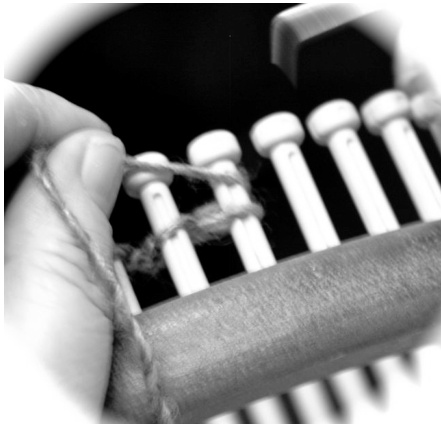
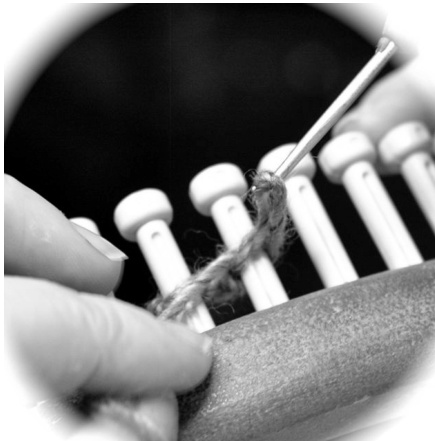
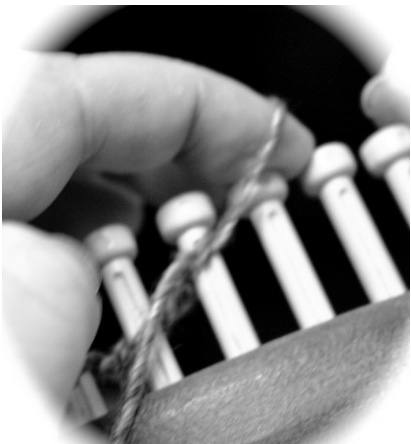
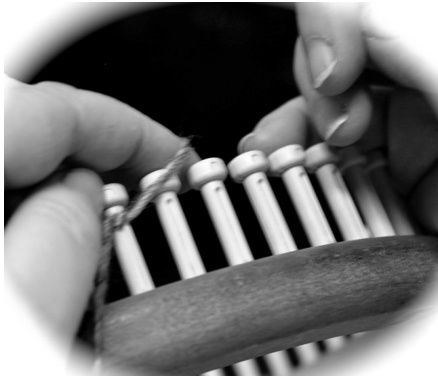
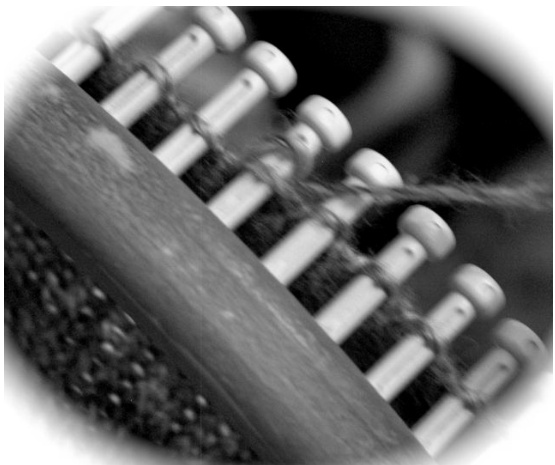
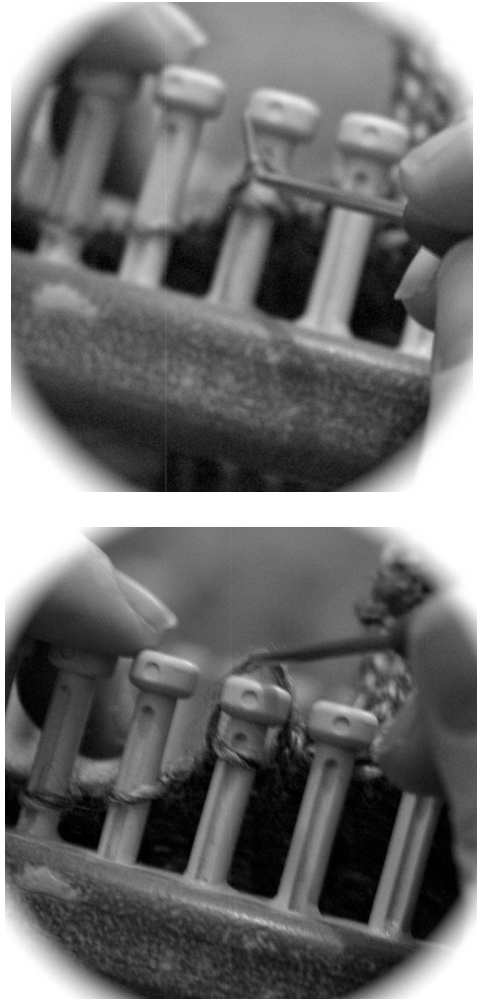
(This techniquewill becombinedwithknit stitchesfor feminineversion) Make a loop in your yarn and form a slip knot, place loop on peg 1 and pull working yarn to secure. With working yarn coming from behind the loop and in towards you from between pegs 1 and 2, catch the working yarn from the side of peg 1 by inserting your hook upwards into the first loop pulling the new loop down through the side of the stitch and back towards you from the side of the peg 1 and place the new loop on to peg 2 pulling the working yarn behind the pegs as you go along. (Note: You are not knitting the stitch as you add more stitches; the new loop for each new stitch comes from behind and along the side of the first loop on peg 1 straight on to the next peg without going over peg 1 at all - see photosbelowforclarification.)
True knit stitch :
Place working yarn across the pegs above the stitches going in the direction you are working in, insert your hook upwards into the first stitch, hook the working yarn and pull it downwards to form a loop sticking out from the stitch that is on the peg, hold this new loop firmly and gently lift everything off the peg replacing it with your new loop you are holding, tug working yarn to secure.
Flat panel bind off :
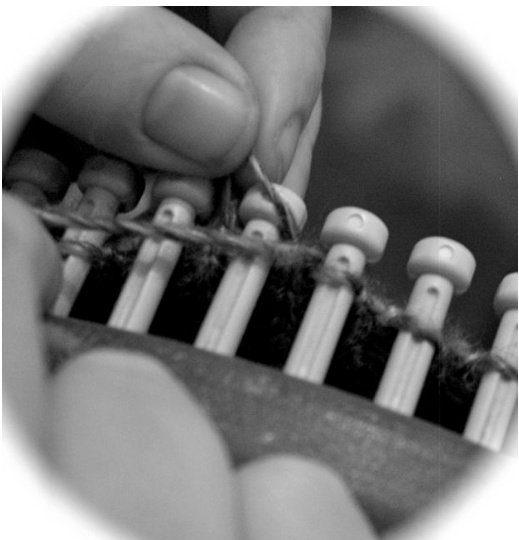
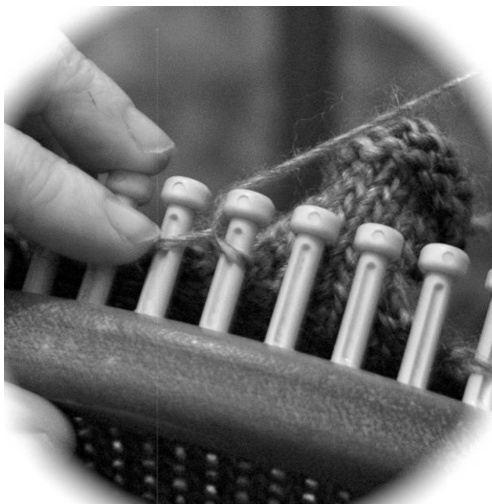
Knit first stitch; knit second stitch but whilst holding your new loop, instead of placing it back on the peg, pullit over to the previous stitch and place it on top of it; lift the bottom stitchoverthetoponeandoffthepeg.Move your remaining stitch over one place to the empty peg and repeat this process of knitting the next stitch moving the new loop back one place and lifting off the bottom stitch on that peg then moving your new stitch over to the empty peg along the row until all your stitches are bound off. Cut working yarn leaving a 4 to 6 inch long tail. Pull tail through last stitch lifting the stitch off the peg pulling yarn to secure. PATTERN INSTRUCTIONS (MAKE TWO THE SAME) Row 1 (men's or plain): Using my version of the crochet cast on, cast on 29 stitches or number needed to fit hand. (Go straight on to row2) Row 1 (feminine ruffled edge): This is both a cast on row and a knit rowsofollow the instructions exactly as stated for the next few steps which are all for row 1. The following set of photographs are to illustrate the process of using my own version of the crochet style cast on with knitting in between to give a soft feminine ruffled or slight frill to the edge:
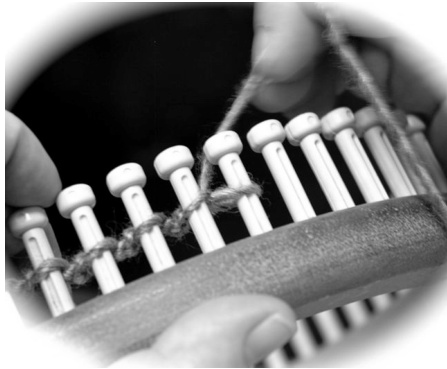
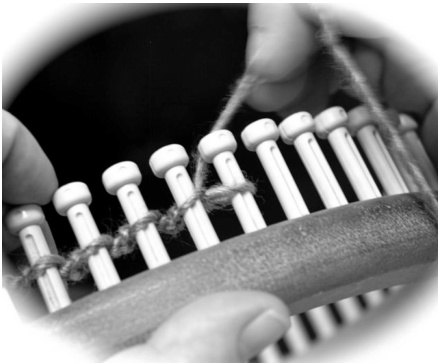
Helen Jacobs-Grant @2012 My Heart Exposed Designs (all rights reserved) Email with pattern feedback to: helen@myheartexposed.co.uk f. knit 3 on 2nd stitch g. cast on 3rd stitch h. bring working yarn back and round so its in position to knit, i. knit 3 on 3rd stitch
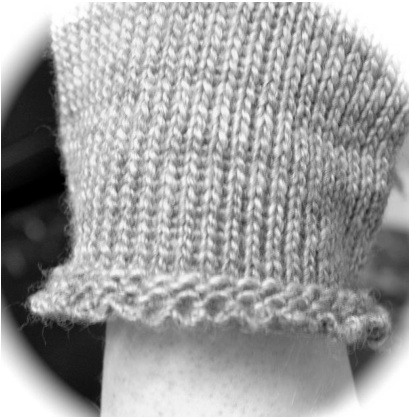
Keep going until there are 29 stitches in total See how the crochet style cast on knitting each stitch before adding another gives a soft feminine slight frill to the edge. For a bigger frilly ruffle simply knit 4, 5 or 6 stitches on each peg during your cast on row instead of just 3.
row 2 : skip 1, knit to end row 3 : skip 1, purl to end row 4 : cast on 1 stitch, knit to end row 5 : cast on 1 stitch, purl to end
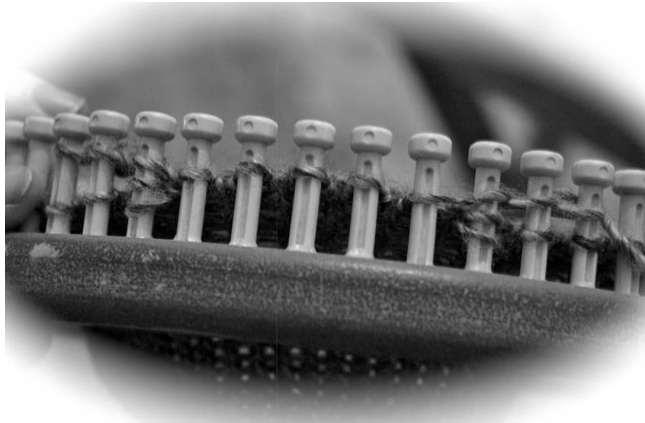
rows 6 to 41 : (36 rows)
Skip 1, knit to end (You can knit more or less rows here just measure the knitting against your hand below the thumb) a. using my version of the crochet style cast on, cast on 1 stitch, (make a loop with slip knot and place it on peg 1 for first stitch) b. bring working yarn back and round so its in position to knit, C. knit 3 on 1st stitch, d. cast on 2nd stitch e. bring working yarn back and round so its in position to knit,
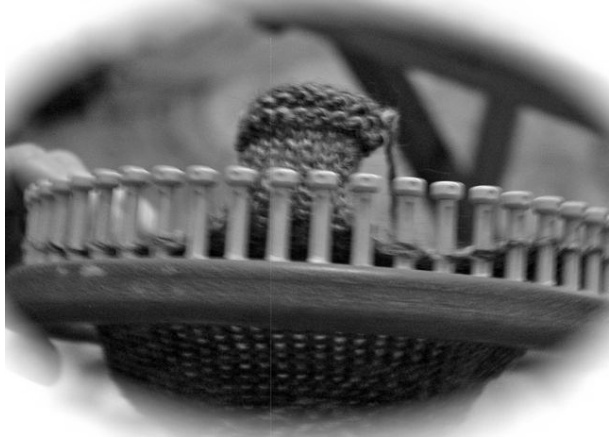
Start of Thumb Section
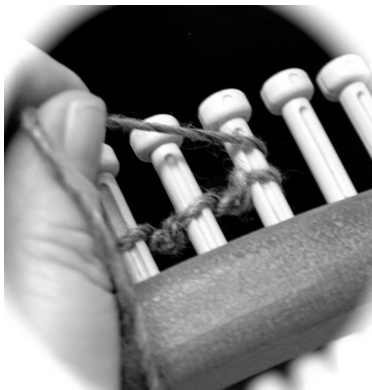
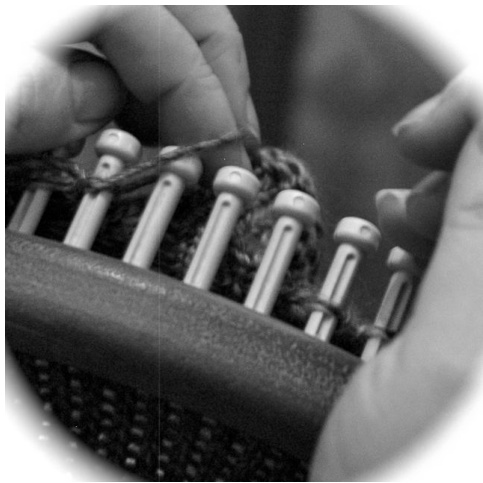
Helen Jacobs-Grant @2012 My Heart Exposed Designs (all rights reserved) Email with pattern feedback to: helen@myheartexposed.co.uk See how the thumb section is knitted above the flat panel you have already been knitting on the pegs, there will be a tiny seam on the back of the thumb to join later to make the flat panel square thumb piece into a tube shape where your thumb goes inside. row 42 : skip 1, knit 12, thumb row 1 : keep working in the same direction you just did your knit twelve stitches : knit 5, lift next stitch wrap peg replace stitch on top, cast on 3 stitches above the stitches already on the pegs below
thumb row 2 : knit 8, lift next stitch wrap peg replace stitch on top, cast on 3 stitches above the stitches already on the pegs below
(You should now have 11 stitches in your thumb row, five in the middle with three on each side above stitches already on the pegs for the hand section, pegs 13 and 19 now have two stitches below the top one on each in the thumbrow)
thumb row 3 to 13 : knit thumb row of eleven stitches for ten rows thumb row 14 : purl to end thumb row 15 : knit to end thumb row 16 : purl to end flat panel bind off thumb row of 11 stitches leave the stitches not worked for the thumb still on their pegs after bind off your row should look like this
You have reached the End of the Thumb Section
row 42 continued : lift bottom loop over top on pegs 13 and 19, attach working yarn to back of peg 19, knit to end Helen Jacobs-Grant @2012 My Heart Exposed Designs (all rights reserved) Emailwithpatternfeedbackto:helen@myheartexposed.co.uk
row 43 : knit 13, cast on 5, knit to end (Here are photos showing how to cast on in the middle of a row)
Bring working yarn around to side of peg.
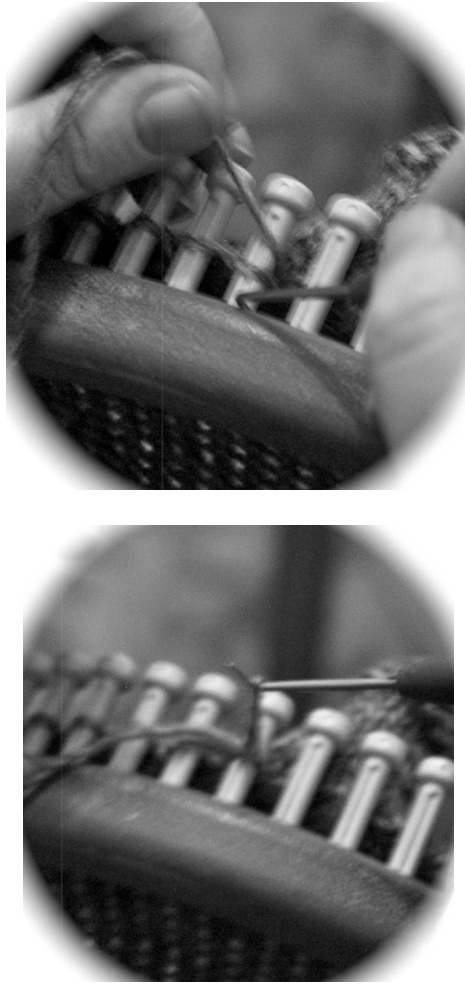
Insert hook as if to knit pulling a new loop downwards.
Knit up to the five empty pegs, cast on as you did before bringing the yarn around to the side catching it to form a new loop, place new loop on next peg without knitting it then bring working yarn around to the side again to cast onanother stitch row 44 : bind off 1, row 45 : bind off 1, knit to end Helen Jacobs-Grant @2012 My Heart Exposed Designs (all rights reserved) Email with pattern feedback to: helen@myheartexposed.co.uk row 46 to 73 : (28 rows) Skip 1, knit to end row 74 : bind off 1, purl to end row 75 : bind off 1, knit to end row 76 : skip 1, purl to end row 77 : flat panel bind off
Finishing :
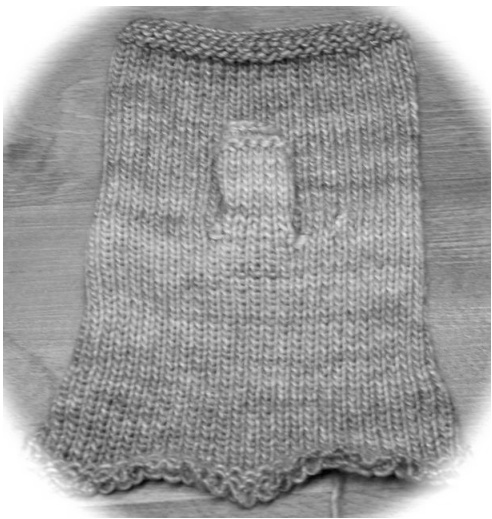
1. Turn thumb piece inside out, join the mattress stitch seam along the side of the thumb 2. Positioning the thumb to the side of the hand, mattress stitch seam down the opposite side of the hand to close the glove 3. (if you put the first thumb on the right as shown in the photo below, put the second glove's thumb on the left side) 4. Weave in any ends 5. Turn back the right way and block if necessary 6. Loom knit and finish your second fingerless glove
Take lots of photos to share with the Knifty Knitter Loom Knitting Group and enjoy your new fingerless gloves loom knitted with fitted thumb :)
\*\*\*\*\*\*\*\*\*\*\*\*\*\*\*\*\*\*\*\*\*\*\*\*\*\*\*\*\*\*\*\*\*\*\*\*\*\*\*\*\*\*\*\*\*\* Designed and loom knitted by Helen Jacobs-Grant 02012 My Heart Exposed Designs All rights reserved Emailwithpatternfeedbackto: helen@myheartexposed.co.uk Find me on facebook as MHEyarns and say "Hi!"" I would love to see photographs of your finished fingerless mittens, too!


