Top Down Loom Knitted Men's Beanie Hat 2008 Helen Jacobs-Grant
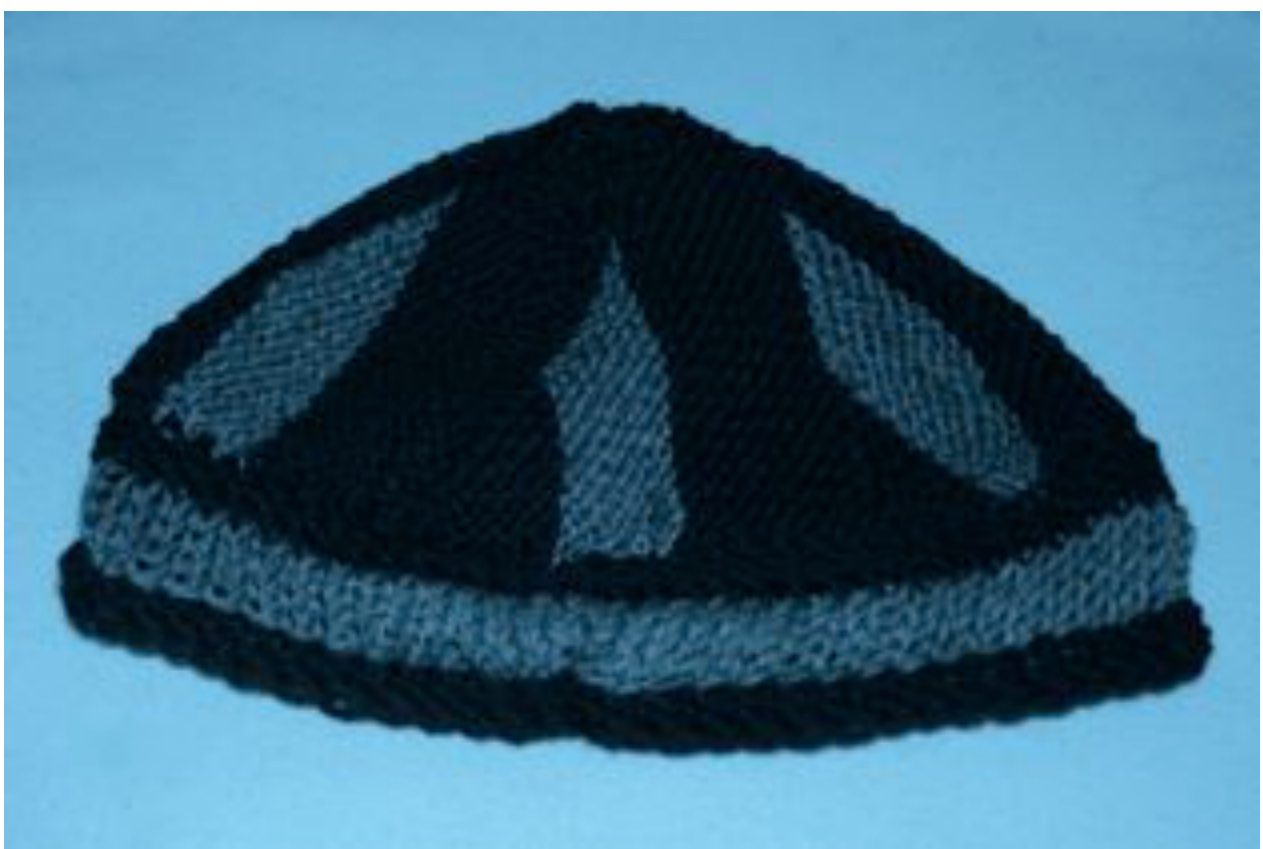
This style of Beanie hat can be made in any size by adjusting the number of pegs you cast on for your circle top piece at the beginning. In this example I have used a half an inch gauge loom and 25 pegs. This gives a beanie hat in a large man's size. Ladies and Teenagers I recommend using 20 to 22 pegs, Children aged between 7 and 12 years Ihave used 17 to 18 pegs, ages 1 to 11 years, 14 to 17 pegs and for babies under a year old 12 pegs. The size of the finished hat is largely dependent on your sides and how deep they are, and the most important part of the finished hat is your bind off row. For the hat pictured above I did not pull on the yarn much at all in between each knit stitch allowing the weight of the hat itself to dictate the tension. I also found it useful to hook parts of the hat which had already been cast off on the loom itself which helped to keep the bind off row from becoming too tight. Materials : 1/2 inch gauge adult hat loom loom hook tapestry needle
Yarn :
$1\mathrm{~x~}50\mathrm{g}$ ball Adriafil Regina $100\%$ merino in charcoal grey $1\mathrm{~x~}50\mathrm{g}$ ball Debbie Bliss Merino in black
Stitches :
crocnetcast on garter stitch (one garter stitch row is made up of one knit row followed by one purl row) short row shaping in garter stitch ewrap flat panel bind off
Instructions for large man size :
crocnet cast on Z5 suitcnes row 1 : knit row row 2 : purl row row 3 : knit til threeremaining stitches, lift next stitch, wrap peg, place stitch back on pg row 4 : turn, purl to end row 5 : knit ill four remaining stitches, lift next stitch, wrap peg, place stitch back on peg row 6 : turn, purl to end row 7 : knit til five remaining stitches, lift next stitch, wrap peg, place stitch back on peg row 8 : turn, purl to end continue decreasing each row until there are only three single stitches remaining (to create the colour changes as seen in the photograph, knit the first seven decrease rows in black, next seven in grey and last six in black) next row $:$ knit all pegs, any pegs with two stitches just knit them off together as one next row : purl you have completed one out of six sections of your circle top piece, congratulations. Repeat pattern again until you have completed six wedges Bind off loosely using the flat panel bind off method With wrong sides facing, carefully seam together the cast on and bind off rows. With the wrong side facing upwards, place the loops from around the edging of your circle onto your large hat loom. Please do not worry if the circle is completely stretched, yarn has memory and it will go back into its proper shape once you knit the sides. Using black, Thread working yarn through the last stitch on the row, pullto the back and tie in a secure knot, pull working yarn forwards in between the last peg and first peg on your loom. First row, wrap all the pegs once. There should now be two loops on each peg. Next row : knit row, knit the two stitches on each peg off together as one. Next row : purl Next row : knit Next row : purl Next row : knit Next row : purl Next row : knit Next row : purl Next row : knit Next row : purl change colour to grey Next rows : complete five rows of ewrap Next row : knit Next row : purl Next row : knit Next row : purl Next row : knit Next row : purl Next row : knit Next row : purl Bind off loosely as follows : knit first and second stitch, place second stitch on to first stitch, liftbottom loop over top then place the remaining stitch on peg 2. knit peg 3, place stith on peg 2,lift bottom loop over top, place remaining stitch on peg 3. Keep going until there is only one stith lft, cut working yarn and thread it through ast lop on the peg, pull snugly.
Finishing Up :
turn hat inside out and weave in all ends. seam along the top if necessary to create a nice neat shape. turn back the right way and take lots of photographs :) Every effort has been made to ensure that this pattern is correct and free of errors. However,if you dofind anything that needs to have changes applied, please forward the details on to me so that I may make the amendmentspersonally. HelenJacobs-Grant myheartexposed@me.com 2008HelenJacobs-Grant All rights reserved : please do not copy or reproduce this pattern or claim it as your own. You may save a download of this pattern to your computer and print it out for your own personal use only. Please do not reproduce the pattern in any other format.


