Juggling Pigs
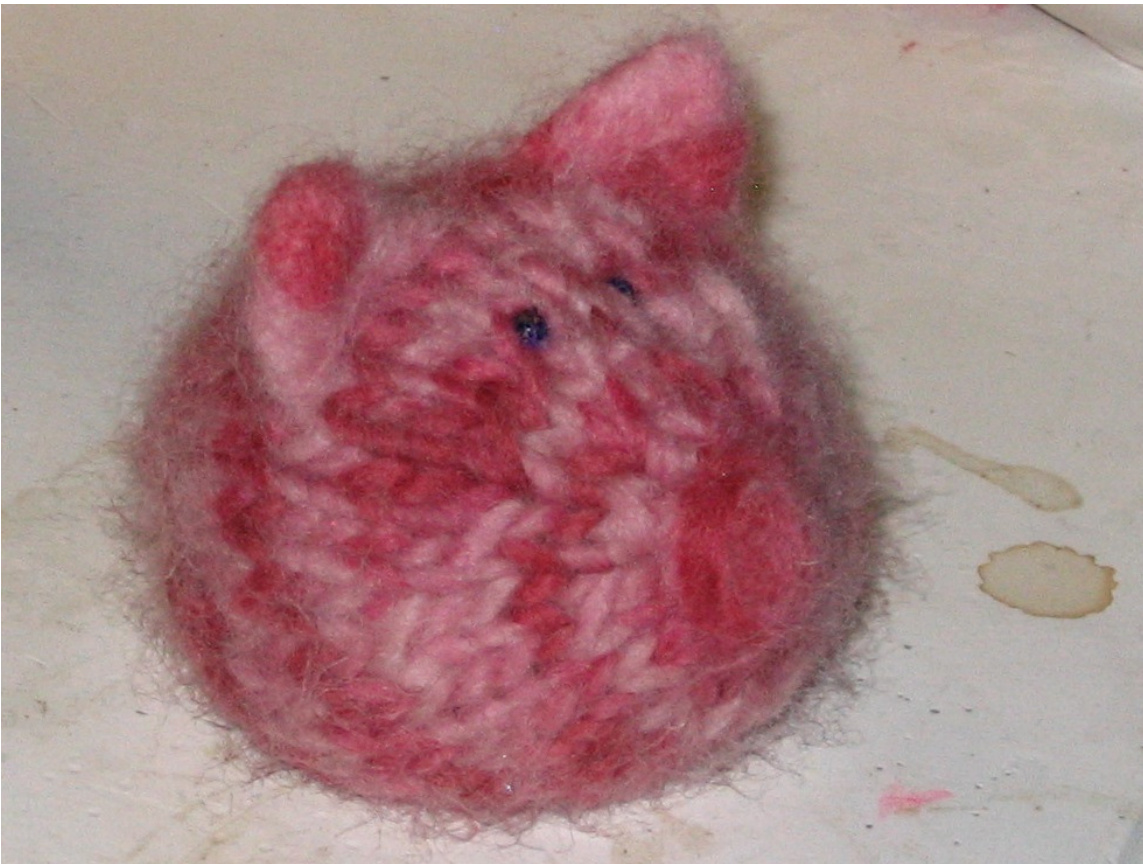
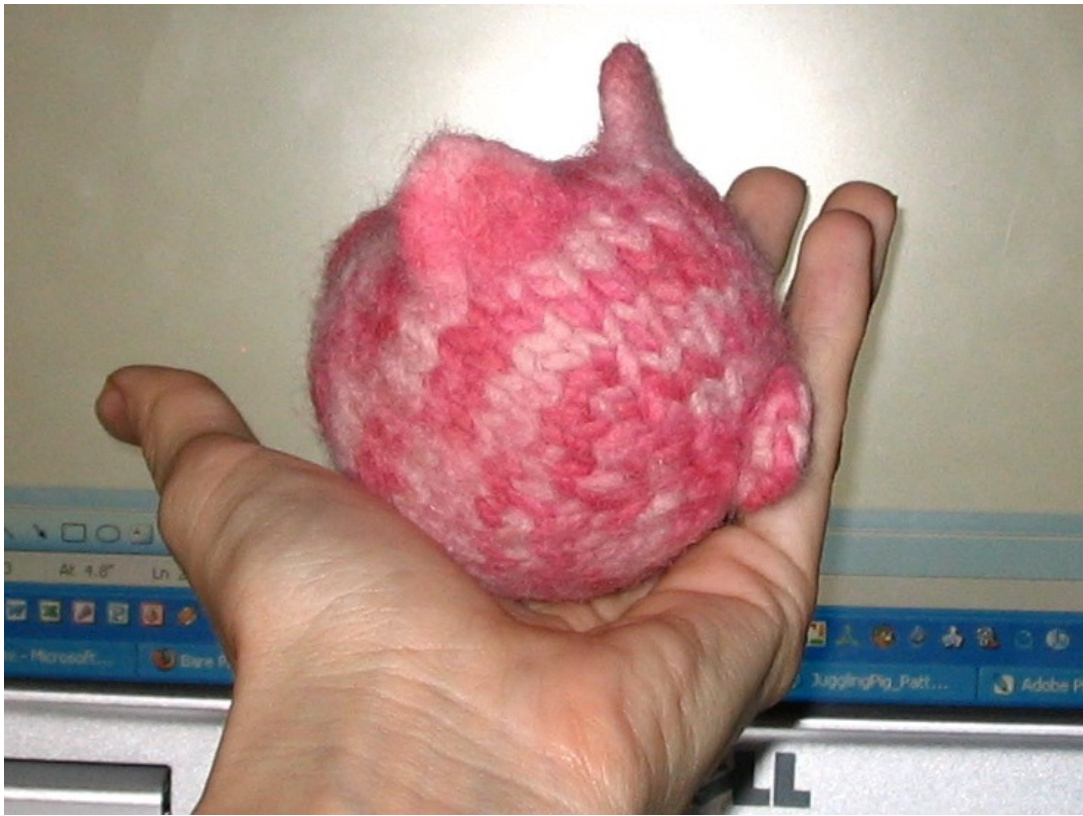
Please excuse my very messy table. This project (shown before its last round of felting) is being developed as a promotional item to be included in media and prize packs for special distribution. The game is Grimm, and it will come out on GameTap in early July of 2008. The pigs play into the game as items that go from Bright and Frolicsome and Happy to Dark and Dirty and Nasty - just like the rest of the world. This fun time is brought to you by us nice folks at Spicy Horse Games. Feel free to make this pig! Ideally, you'd make three so that you could juggle them.
MATERIALS:
Iceland from Crystal Palace Yarns - 100% wool in Rose Petal, 100g ball - 109 yd, Color 9576 (or comparable super-bulky weight all-wool yarn - variegated is best for continuity) 2 size-6 beads Quilting thread set of Size8DPNs Tapestry needle Needle-felting board and needles small crochet hook beading crochet hook
ABBREVIATIONS:
·K = knit P =purl LLI = lef-lifted increase. Pick up the left leg under the next stitch on the left needle, lift it to the left needle point, and knit into it as you would any other stitch. Increases one. SSK = slip, slip, knit; slip one stitch knit-wise (from the left), then another one in the same way, then slip the left needle in front of these two stitches on the right needle and knit together (makes a left-leaning decrease) K2TOG = knit two stitches together knit-wise. P2TOG = purl two stitches together purl-wise KFB = knit through the front of the stitch as normal, then knit through the back of the same stitch before slipping the new stitches off. Increases one stitch.
INStruCTIONS:
CO 6 stitches with long-tail method on Size 8 DPNs, making sure you have a pretty long tail left over (6 to 8 inches at least). Row 1: (k1, lli, k1) three times (9 st) Row 2 (and all even): knit around Row 3: (k2,Ili, k1) three times (12 st) Row 5: (k1, lli, k1, Ili, k1) three times (18 st) Row 7: (k2,Ili, k2, Ili, k2) three times (24 st) Row 9: (k2, Ili, k4,Ili, k2) three times (30 st) Rows 10-16: knit Row 17: (k1, ssk, k4, k2tog, k1) three times (24 st), TURN Row 18: purl to end of round, TURN Row 19: (k2, ssk, k2tog, k2) three times, TURN Row 20: purl to end of round, TURN Row 21: (ssk, k2, k2tog) three times, TURN Row 22: (p1, p2tog, p1) three times Leave the remaining 9 stitches on your DPNs and cut a very long tail (24 inches or better). Fill the cavity with a large dried bean (black-eyed peas, pinto beans, etc.) or heat-tolerate plastic bead, thread the tail onto a tapestry needle, run the yarn through the stitches sitting on the needles, pull tight, and then use a mattress stitch to close up the hole. Run the yarn on your thread through the pig to the starting point and pullit slightly tight before tying these pieces together in a square knot. DO NOT CUT THE YARN - you're going to use this later. You can drop a bit of Super-Glue on this knot if you so desire to keep it strong and weave the shorter yarn back into the body to hide it. The slight pull creates the face divo for the pig. This is where it gets just little tricky: With new yarn, make a small ball to go into the hole where we pulled the snout shut. Using your felting needles, lean the pig so that the snout is on its side and felt thought both sides of the snout opening and the ball, turning regularly. Once that's well established, run the yarn along the outside of the snout to make a little ridge, felting as you go, until it's a respectable size for a pig's snout. To sew on the eyes, use a good strong thread -like a quilter's or upholstery thread. It has to stand up to being juggled, after all. For the curly tail, take the yarn that you ran through the pig's body and use the reverse-loop method to cast on at least 4 stitches. KFB of each stitch going back towards the body and pick up one stitch near the original cast-on row. Using the crochet hook, pull each existing stitch over the next one, creating a false cast off (so called because there is no yarn to tie off the last stitch). You should have some yarn still available. Pull this through one of the middle stitches of the tail, loop it through the last open stitch, put it back through another middle stitch, and tie off around the base of the tail, pulling the end into the body. The last step is the ears. This is where using single-ply yarn comes in very, very handy because trying to match roving to a pre-wound commercial yarn is just crazy. Cut off about 28 to 30 inches of yarn. On your felting board, untwist about three inches of yarn and needle-felt it to the board, then untwist the next segment of the same length and needle-felt that to the board, slightly overlapping the first segment. Continue doing this until the entire section of yarn is attached to the board. Once you have it laid out flat, rollit up into a tube, needle-felting as you go. When that's done, cut it in half. Each side willbe an ear. Sculpt with your felting needles until you have two ears folded and felted to gentle points. These are going to be sewn on with only two stitches, and then felt them a little more to the pig. I rinsed my pig with soapy water and attacked him with an old electric toothbrush, then I threw him into the dryer for 15 minutes at a time until he was nice and smooth.