Tilted Neckwarmer
Design by Susanna IC
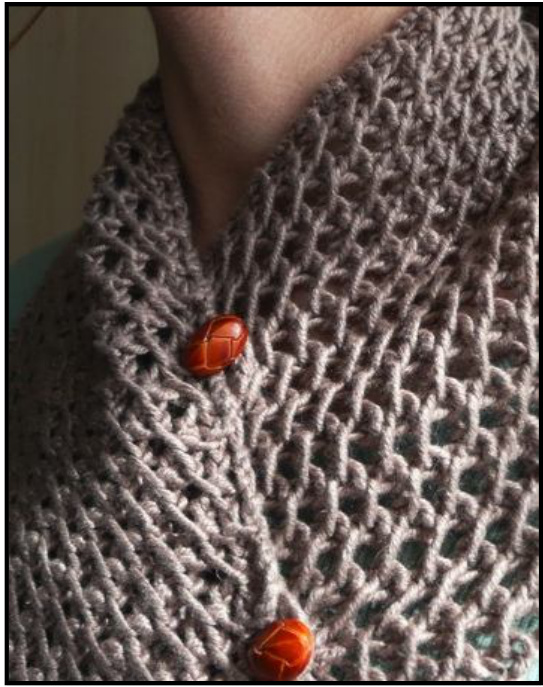
This elegant neckwarmer is a perfect showcase for a special luxury yarn and unique buttons. The original project was knitted with a sumptuous cashmere yarn for a lavish gift; however, the pattern can be easily customized to accommodate just about any yarn on appropriately sized needles, the possibilities are truly limitless. For example an ethereal slip of a scarf can be knitted with a laceweight, while one of a kind handspun or even a dramatic super bulky yarn can be used to create a cozy cold weather accessory. Also, the button closure can be omitted to make a feature of a stunning shawl pin. The design can be easily modified into a scarf or a shawl of just about any size simply by changing the number of cast on stitches and the length of the knit, making this an ideal stash-busting project.
Finished Size: 7" wide and $37^{\mathfrak{s}}$ long, after blocking
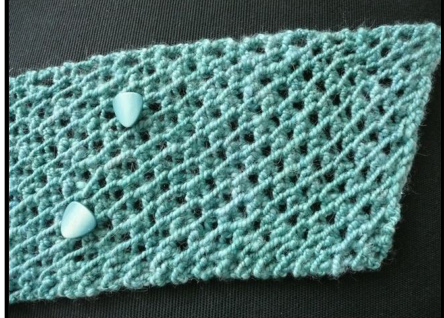
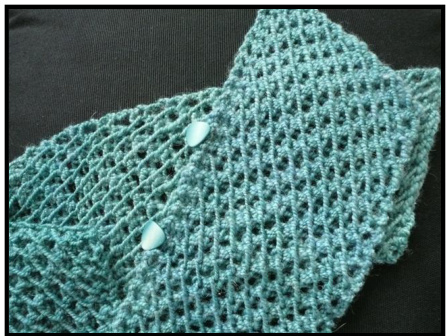
Yarn: Any aran weight yarn, approximately 140 yards; the stitch pattern is very stretchy so the exact gauge is not important. The original project (above, taupe) was knitted with Elsebeth Lavold SilkyCashmere $55\%$ silk, $45\%$ cashmere; 44 yards / 25 grams); color 001 Smoky, 3 skeins. The second project (below, blue) was knitted with only 89 yards of handspun merino/lama. Needles: Size 8 / 5.00 mm Notions: Blocking pins, blocking wires,tapestry needle, pins, crochet hook, two buttons
Neckwarmer
Cut approximately one yard long piece of yarn and set aside for the crochet button loops. Cast on 26 stitches - please note that a very tight cast on will prevent the project from stretching fully in width during blocking, therefore,it may be helpful to go up one needle size. Follow the Simple Diagonal Lace pattern until almost all of the yarn is knitted up; make sure to knit all stitches through the back loop to achieve the yarn floats on the right side of the work. Bind off loosely to match the cast on.
Finishing
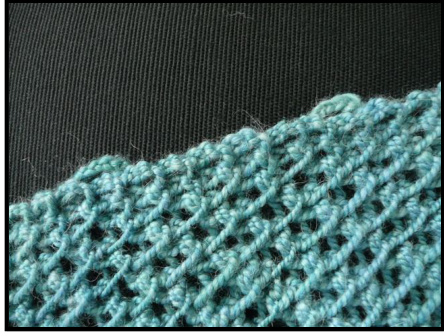
Weave in all loose ends; do not trim tails until after blocking. Soak the neckwarmer for at least 20 minutes. Wrap in a towel to remove excess water; then lay flat and smooth into shape. Carefully thread the blocking wires through the edge stitches, stretch and pin in place, making sure the diagonal ends are parallel to each other (form a parallelogram not a rectangle). When completely dry, trim yarn ends. Follow the instructions below for placement of buttons and loops.
Simple Diagonal Lace Pattern
(even number of stitches) Row 1 K1 tbl, \*yo, k2tog tbl; rep from \* to last st, k1 tbl. Row 2 Knit all stitches tbl. Row 3 K2 tbl, \*yo, k2tog tbl; rep from \* to last 2 sts, k2 tbl Row 4 Knit all stitches tbl. Rep rows 1-4
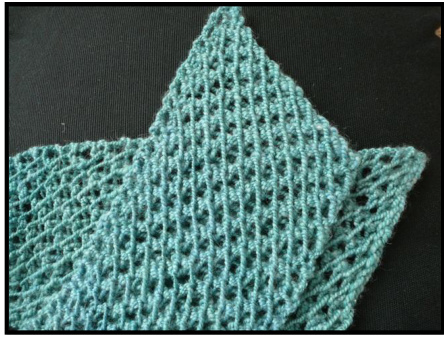
1. Cross the neckwarmer ends right side up on top of each other as shown. Make sure that the long edge of the top halfis parallel to the diagonal end of the bottom half.

2. Mark the button loop placement with pins on the top half of the scarf; in this example the pins are approximately $z^{,}$ from the side edges.
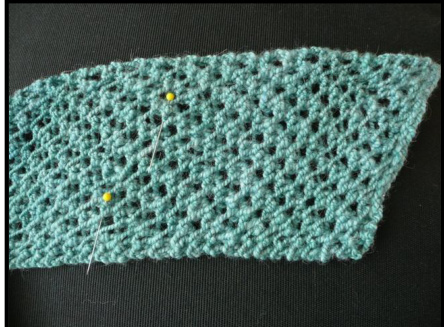
3. Mark the button placement on the bottom half of the scarf corresponding to the loop markers on the top half. In this example the pins are approximately $z^{,}$ from the side edges and 7" from the end.
4. Using the reserved yarn crochet chain loops long enough to accommodate the buttons; the loops in the sample scarf were made with seven chain stitches for 2/3" buttons. Weave in all the yarn ends.
5. Sew the buttons in place as marked, use project yarn if possible. Substitute matching thread if the yarn is too thick to pass through the button. Again, weave in all ends securely.
6. Enjoy your finished neckwarmer.


