- KnITS n KnOTSEasy EyeLeT & macrame scarF
Joy T. Bradley
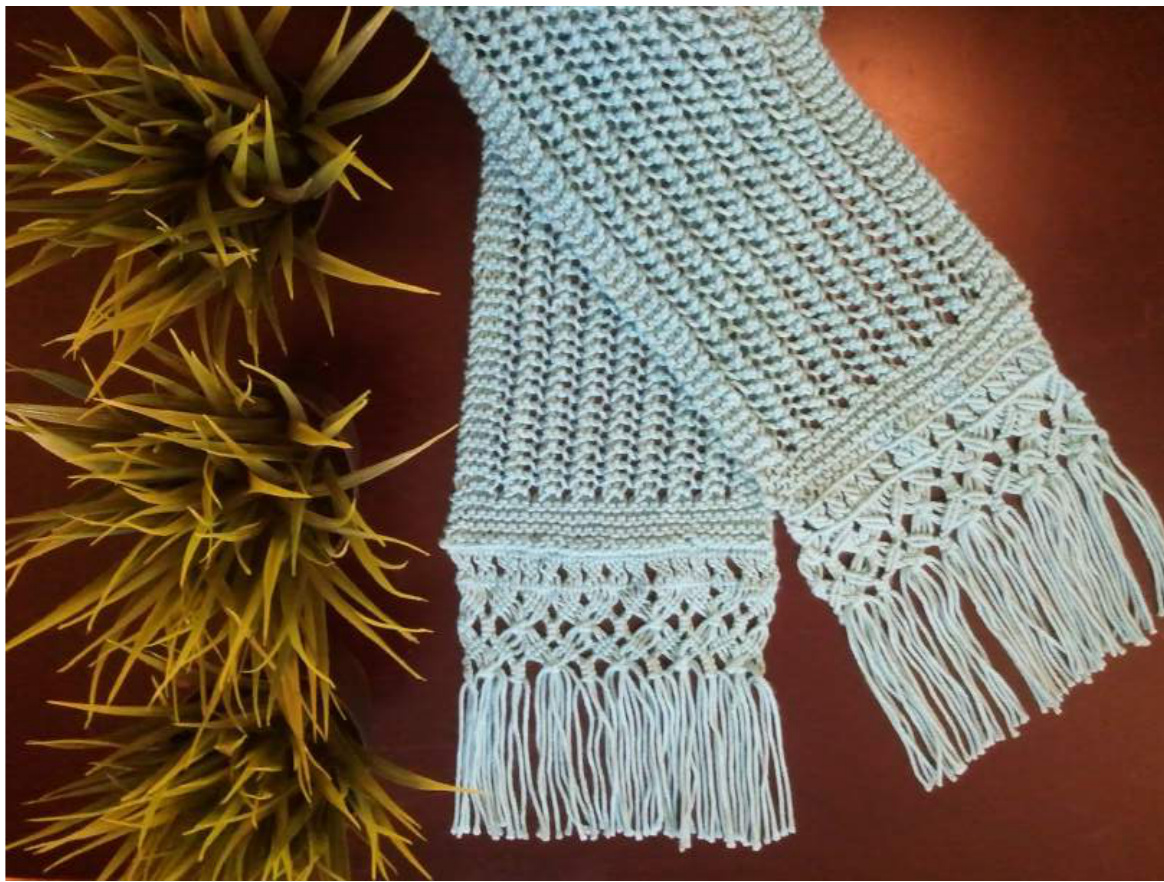
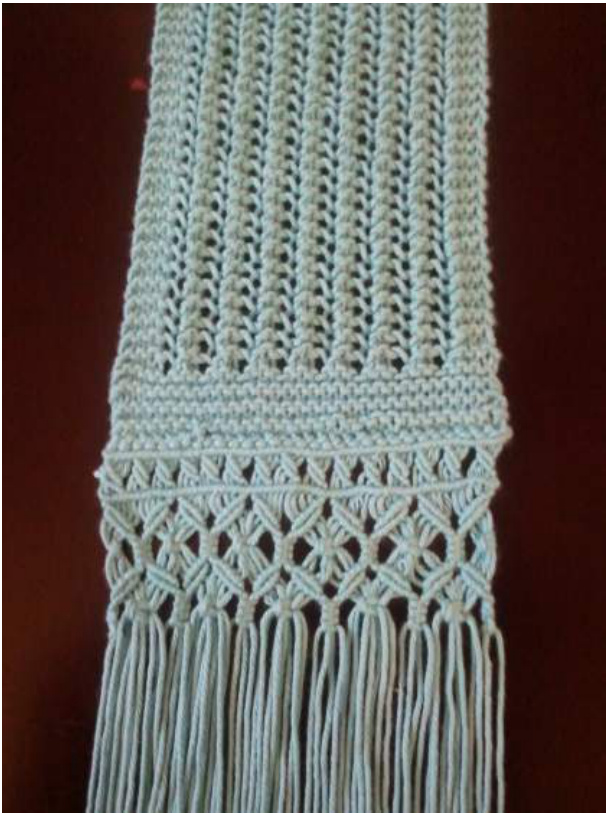
This scarf adds a taste of the exotic to any outfit. It's a delightful cinch to knit, with a repeated pattern of 3 stitches throughout the whole scarf. Once the scarf is completed, macrame is added in the fringe, adding a unique twist. The macrame is based on a pattern I found on youtube -“ABC macrame pattern sample 14" on the Macrame School channel (not mine). The video link is below. I have included detailed written instructions and pictures to explain the macrame process, however, I highly recommend you watch the instructional video first. Here it is: https: //www.youtube.com/watch?v=hR9AsKIUshQ Please email me with any questions. Happy knitting and knotting! CaST ON: 30 stitches SET UlP: 6 rows of all k stitch to create garter, then begin pattern. PaTTEFN: K3, \*K, YO, K2tog. Repeat from \* to last three stitches, K3. Repeat this pattern for each row to desired length. FlMlSH: 6 rows of K stitch for garter. Bind off. Weave in ends. Macrame: Step 1 - Cut 30 strands of yarn about 2 yards long. Step 2 - Bending each strand in half and using a crochet hook, pull the center of the strand through the end of the scarf. Then pull the ends through the loop, just as if you were making a tassel.
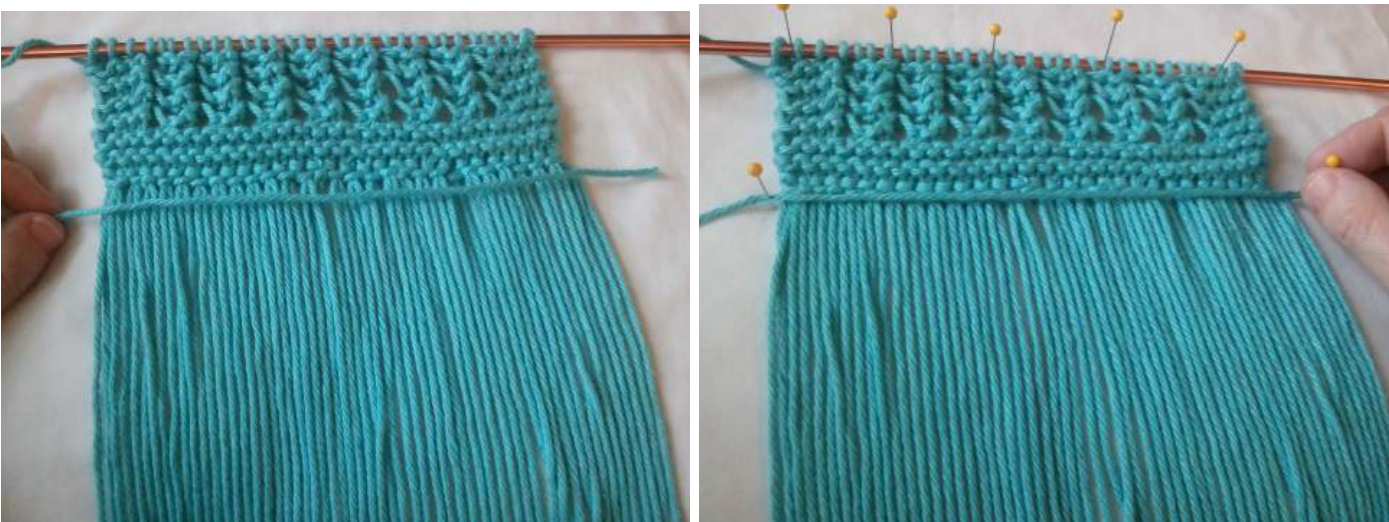
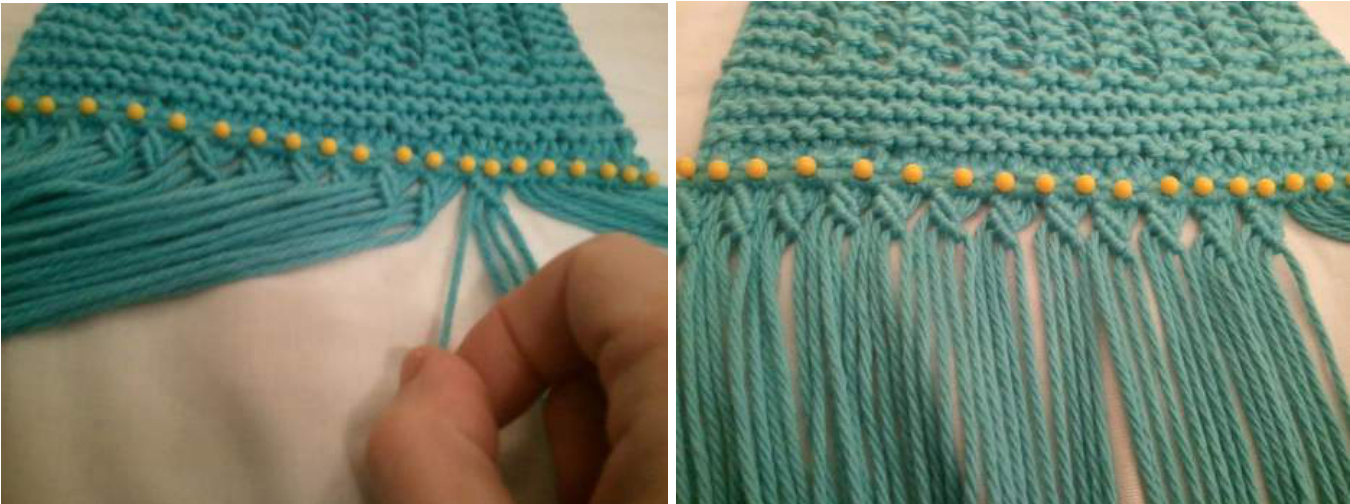
Put one “tassel" through each stitch. There are two tails per tassel, so when all 30 pieces are added, you'll have 6o yarn strands hanging from the end of the scarf. Step 3 - Cut a piece of yarn a few inches longer than the width of the scarf and lay it across the strands, just under where the strands connect to the scarf. We will call this the “bar." We are going to tie the strands onto this bar. Pin the scarf and bar down to keep it secure as you work. (I use a pillow.)
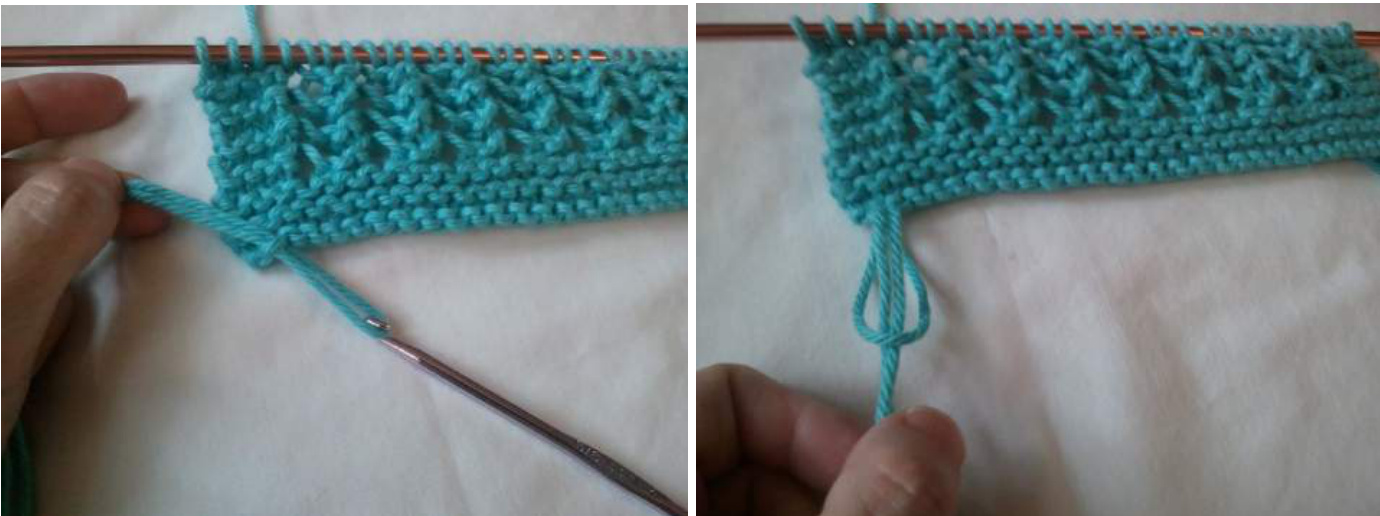
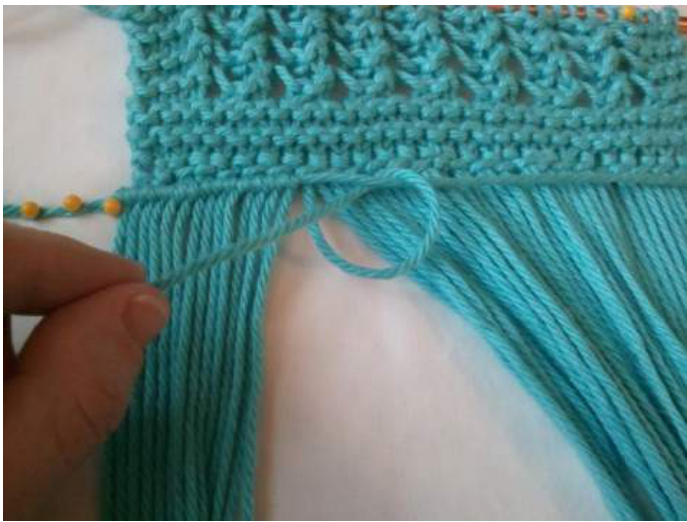
Step 4 - Start on the left with the first strand. Lift and wrap it around the bar, bringing the end through the loop you create. Repeat a second time with that same strand, like this:
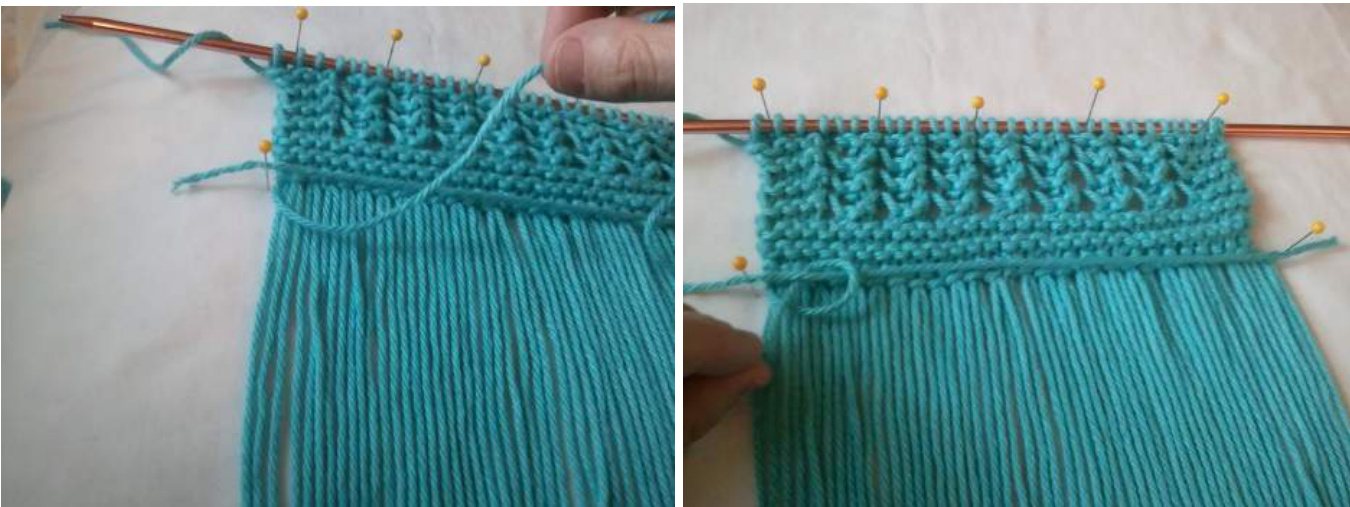
Make sure each strand is tied onto the bar twice. Repeat with the rest of the strands, from left to right.
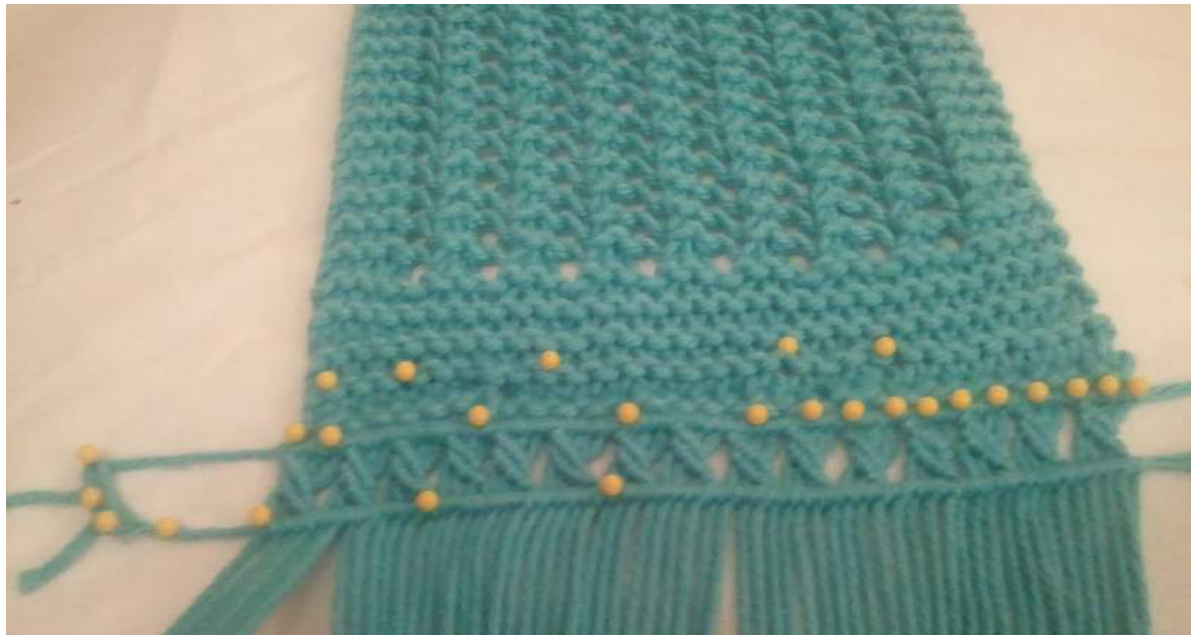
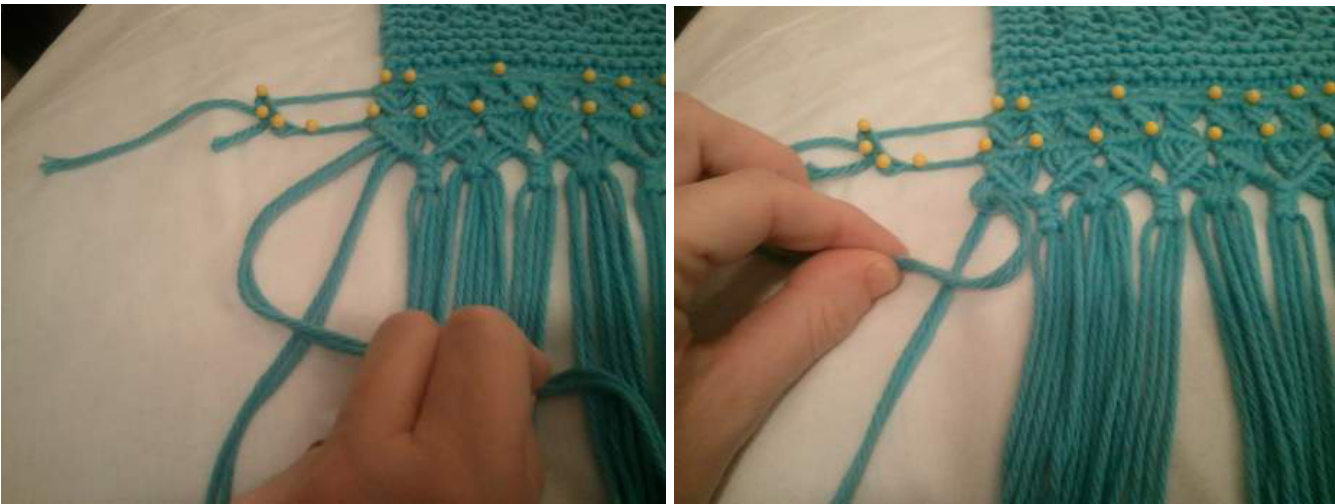
Step 5 - Divide the first 4 strands from the rest. Create a “bar” with the first strand by laying it across the other three, slanting downward to the right.
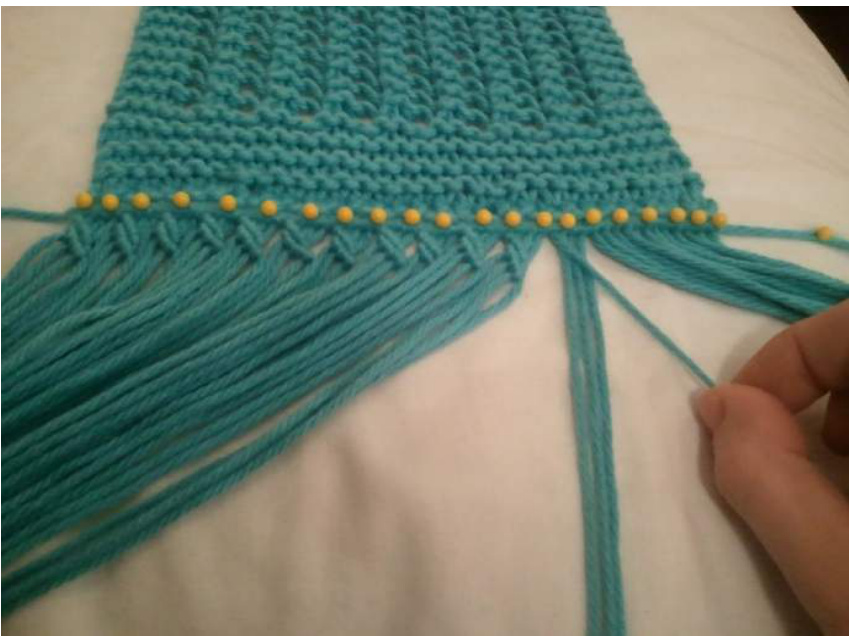
Now tie the strands onto the bar just like you did before, but now they'll tilt downward to the right, following the bar. Make sure you tie each strand twice onto the bar. It will look like this:
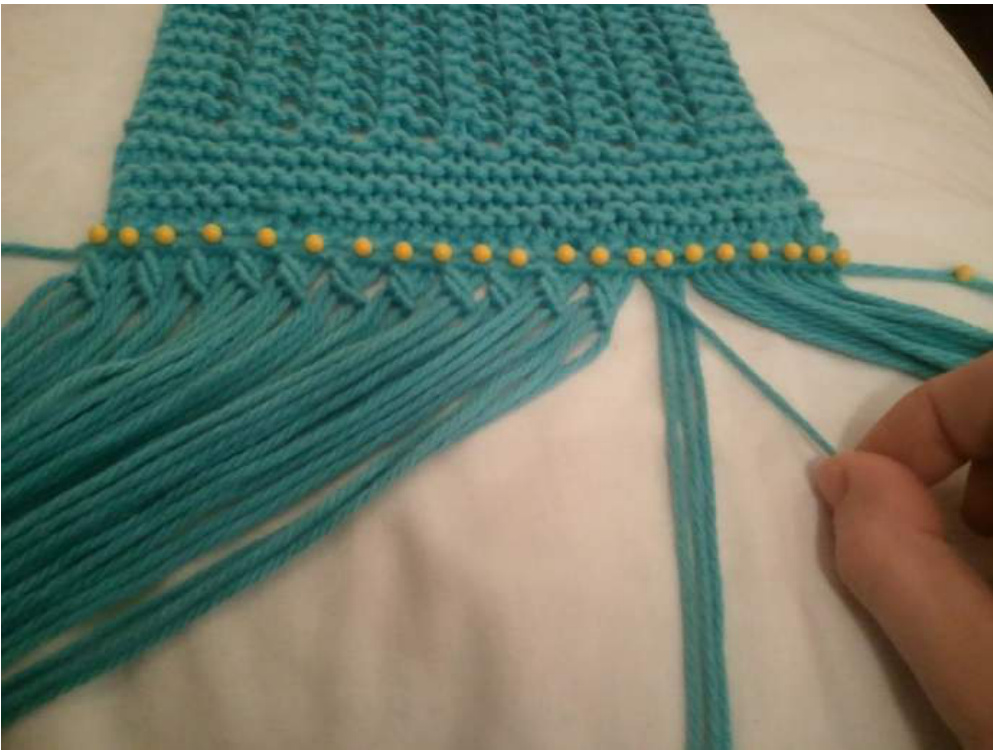
When those four strands are done, pick the first one in that same group and make it the new bar. Tie on the remaining strands, twice per strand, as before. Repeat this with all strands in groups of four.
p 6 - Cut and create a horizontal bar like you did in steps 3 and 4 again
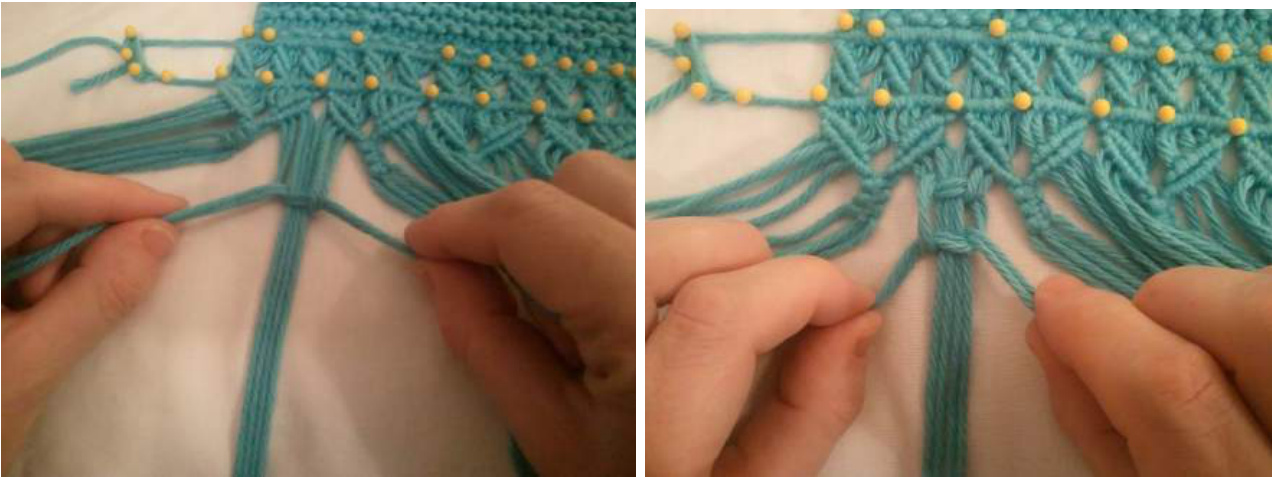
Step 7 - Divide the strands into groups of 6. Make a bar out of the first strand and tie the remaining 5 strands onto it, slanting down and right as you did in step 5. Then use the first strand in that same group to create a new bar and tie the remaining 5.
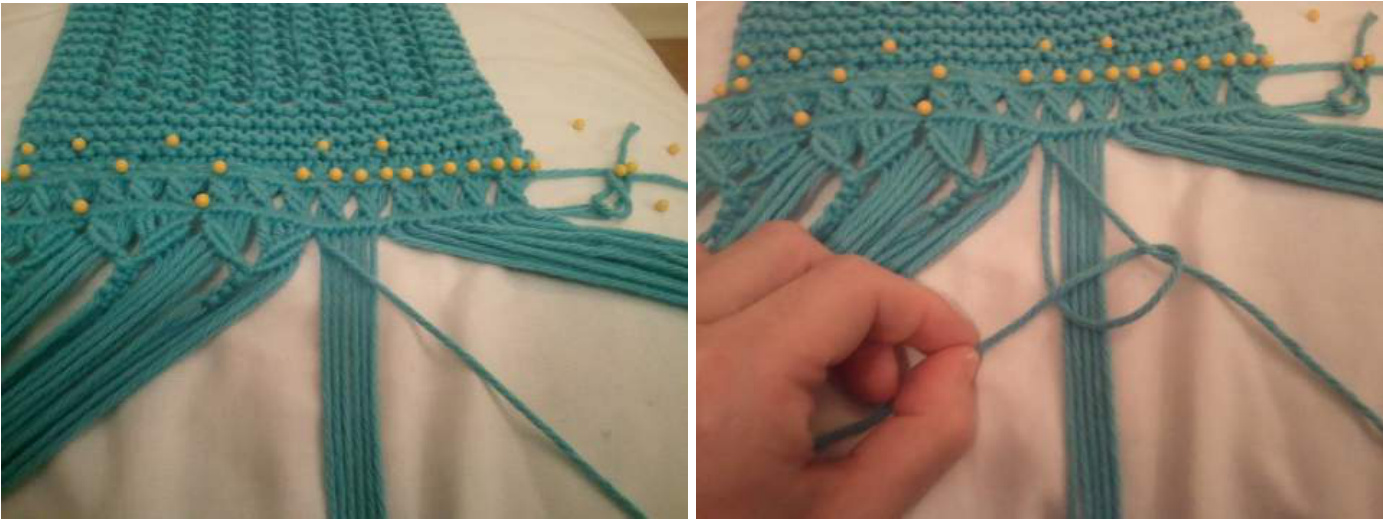
THE NEXT GROUP OF 6 WILL SLANT THE OPPOSITE WAY. In this next group of 6, start with the last strand and make the bar cross the other strands from the right downward to the left. Complete as before. It should look like this:
Confused? No worries. Here's that video link again - https: / /www.youtube.com/watch?v=hR9AsKIUshQ Step 8 - See how the two slanting groups of 6 come together to a point? You are going to connect that point with a square knot. Here's how: Take the last two strands from the ist set of 6 and the first two strands from the 2nd set. You are now holding a group of 4.
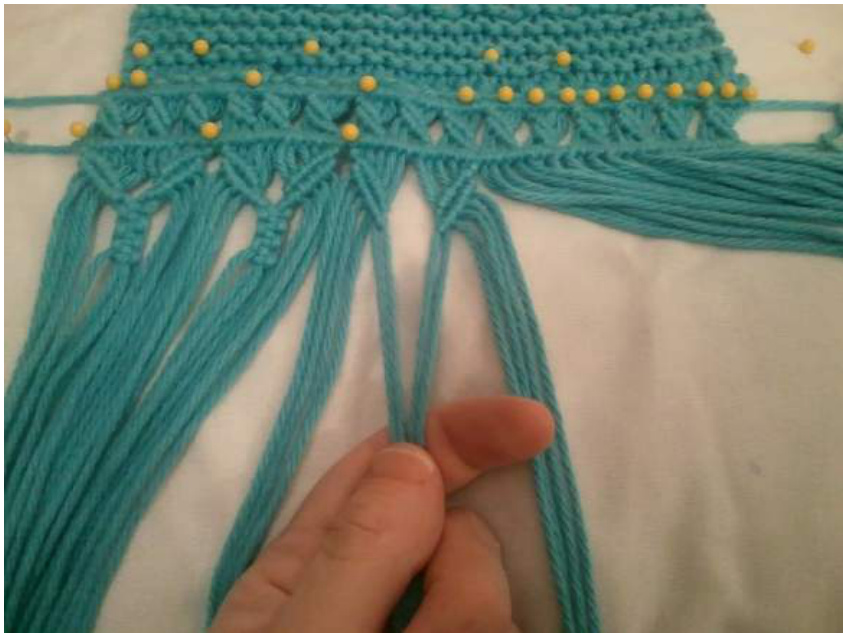
The center two strands become your bar. Now take the first strand and bring it over the center bar of 2 strands. The 3 together look like a number 4. Like this:
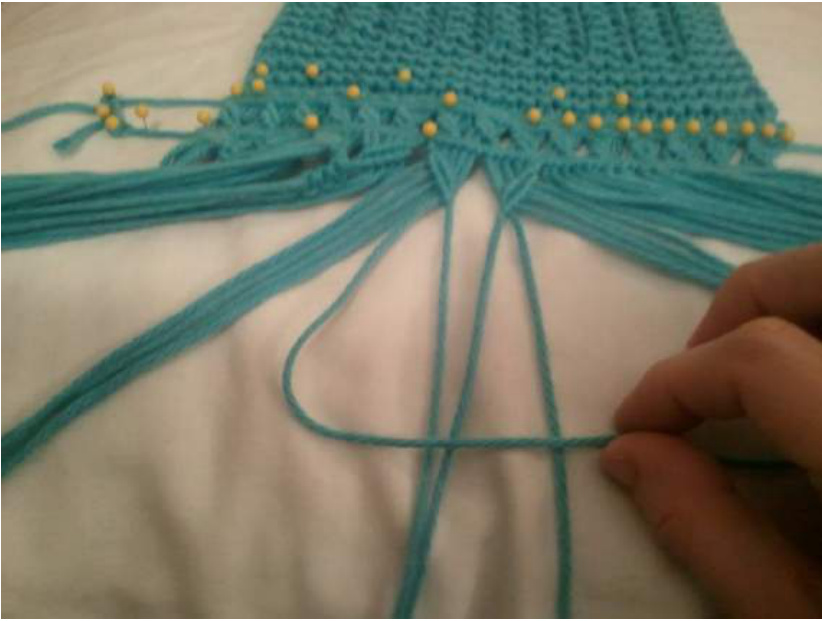
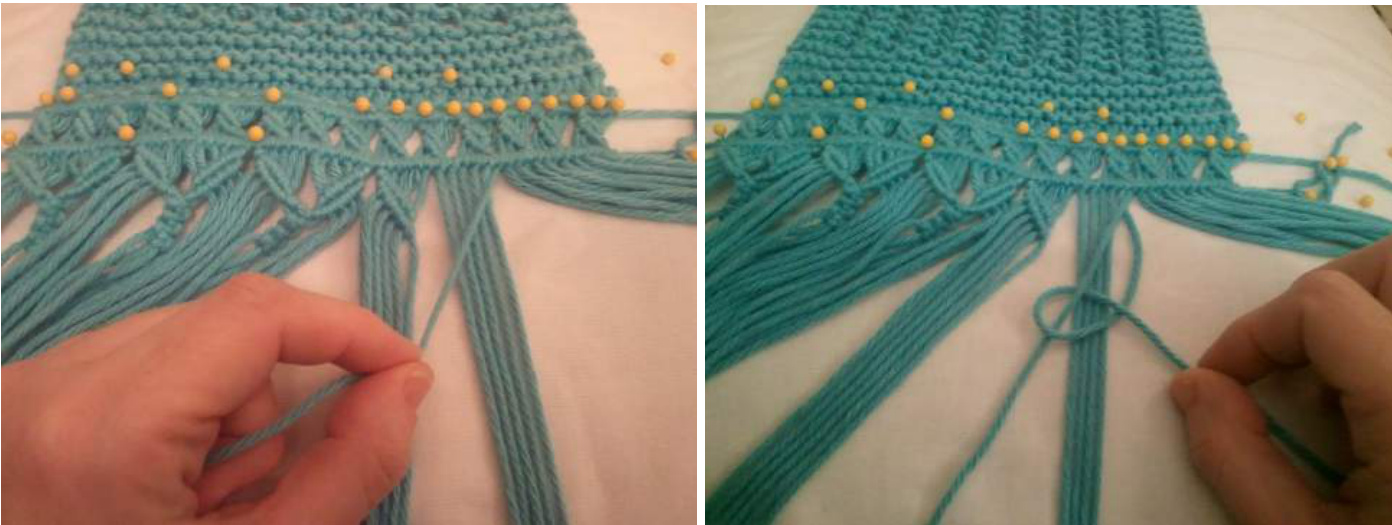
Now take the last strand, put over the first strand, cross behind the bar, and up through the loop made by the “number 4." Like this:
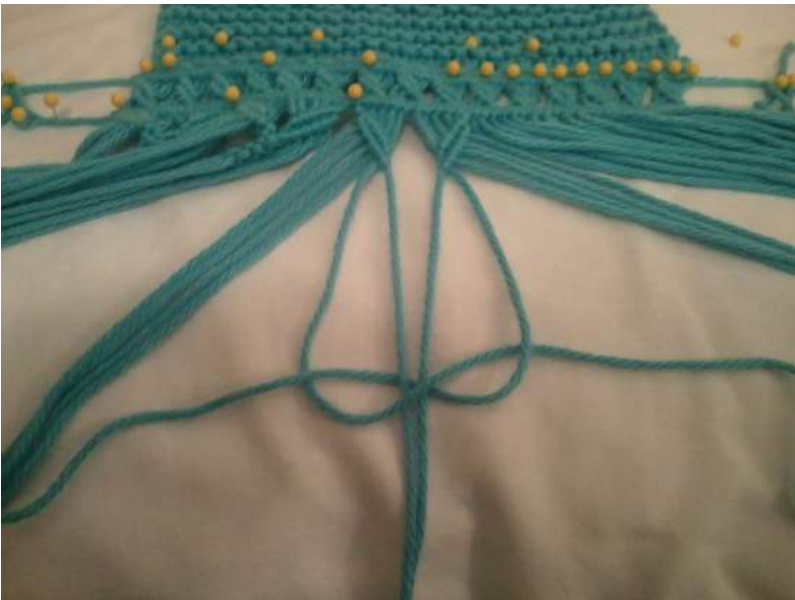
Pull that tight and up to the top. Repeat this process, but mirrored. You'll start with the right-most strand and make a mirrored “number 4" like this:

Do this three times on each side, for a total of 6 square knots per group.

Now repeat steps 7 and 8 for the rest of the strands. Step 9 - Grasp the 8 strands in between each group of square knots. Here:

Make a square knot using the first 2 strands and the last 2. The inner 4 strands will be your bar. Do that for each group.
For the two ends that only have 4 strands, use 2 strands as a bar and the other 2 to tie onto the bar twice. Like this:
Step 10 - Now grasp the outer 6 strands and repeat Step 7 (the slanting groups) but do them the opposite direction to make the “X." Step 11 - Repeat steps 7, 8 and 9 with the new strands. You can repeat the process as many times as you'd like, but following these instructions your finished project will look like this. CONGRATULATIONS!