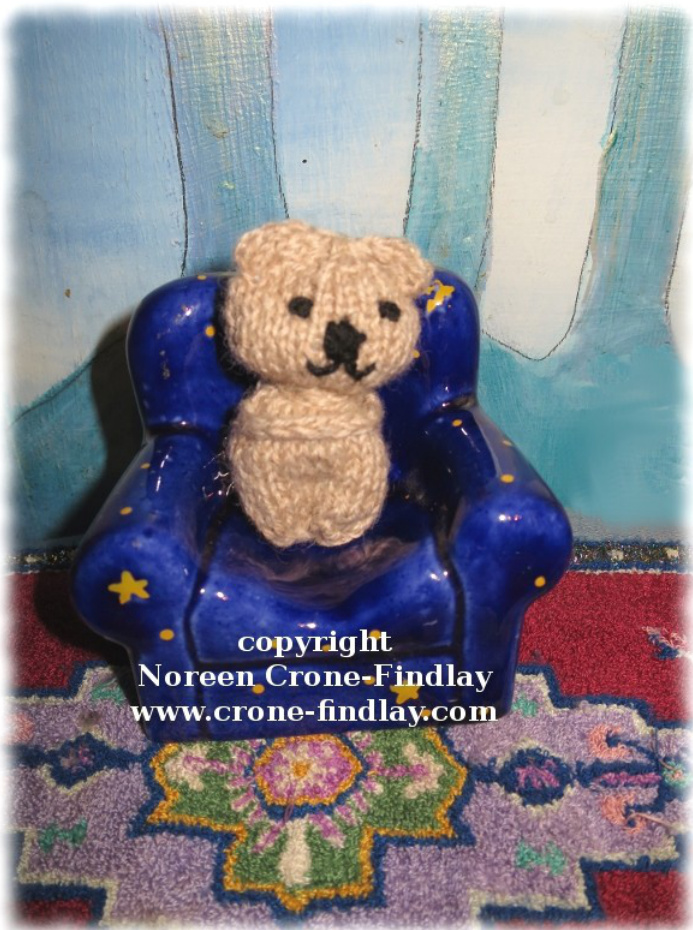
Knitted Comfort Bear Designed by Noreen Crone-Findlay (c) Please feel free to knit this bear to comfort anyone who needs it. Please DO NOT SELL this pattern or the Comfort Bears. Thank you. Website: http://www.crone-findlay.com Blog: http://tottietalkscrafts.com/ YouTube video tutorials: http://www.youtube.com/user/NoreenCroneFindlay etsy: http://NCroneFindlay.etsy.com Facebook: facebook.com/NoreenCroneFindlayDesigns Note: the finished size of this Tiny Comfort Bear is determined by the size of knitting needles that you choose and the thickness of the yarn. Page 2 YOU WILL NEED: EQUIPMENT: Knitting needles (the Cuddle Bear in the photos was knitted with 2.75 mm needles); scissors; darning or tapestry needle; embroidery needle; ruler or tape measure. Note: The Comfort bears can also be knitted on a knitting machine . YARN: 1 ball of sock yarn will make 10 or more Comfort Bears. ALSO: A small amount of stuffing; black sock yarn or embroidery floss to embroider the features.
FINISHED SIZE:
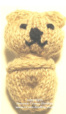
With sock yarn and 2.75mm needles, the Comfort Bear is 3 inches/ 7.5 cm tall. With sock yarn and 2.25mm needles, the Comfort Bear is 2 1/2 inches/ 6.25 cm tall NOTE: For a very small bear: Use smaller needles and thinner yarn, such as lace weight. For a larger bear, use thicker needles and heavier yarn. Page 3
BODY:
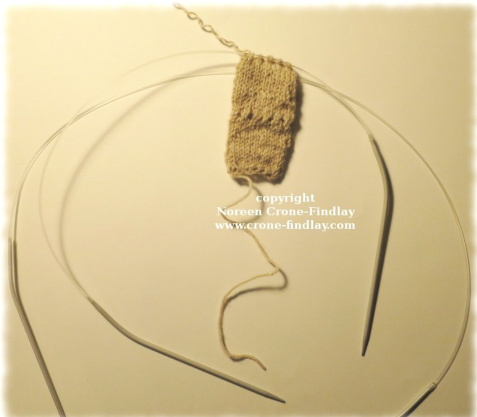
inches/ 15 cm of yarn for finishing and cast 0 Row 1: K 12 Row 2: K 1, P 1 in each stitch. (24 stitches) Set up your knitting: You can either work the Comfort Bear flat on 2 needles, then sew the center back seam after finishing, OR, work it in the round, using 4 dpns, OR in the round on a magic loop on 1 long circular needle OR in the round on 2 shorter circular needles OR work it flat on a knitting machine. Rows or Rounds 3 - 15: Work in st st. NECK: (Eyelet Row/Round): Row or Round 16: [K2tog, yo] 12 times.
HEAD:
Rows or Rounds 17 - 30: Work 24 stitches in st st. Row or Round 31: [K2tog] 12 times. (12 st) Cut yarn, leaving 8 inches/20 cm for finishing.
Knitted Comfort Bear Designed by Noreen Crone-Findlay (c) Page 4
FINISHING:
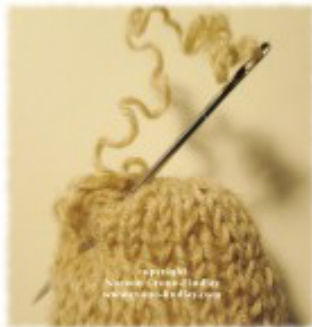
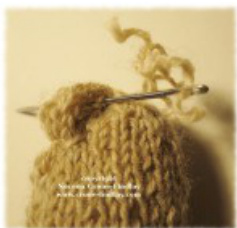
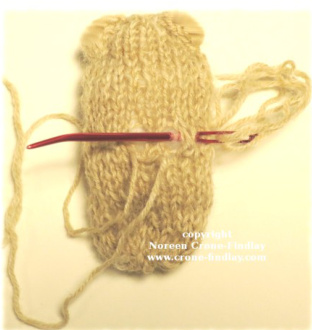
(Note: If you knitted your Comfort Bear flat on 2 needles, sew up the back seam now before completing the steps.) 1] Thread the yarn end at then end of the last round into a darning or tapestry needle and take it through all the stitches. 2] Pull up the stitches to close the top of the head, then take the needle through all the stitches again to secure them. 3] Stuff the entire body.

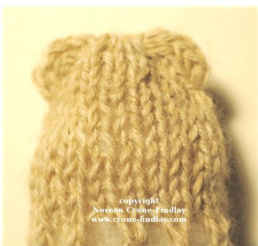
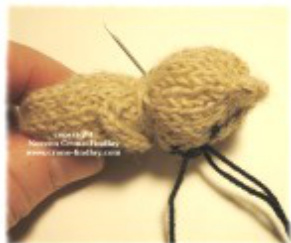
4] EARS: Pinch a semi-circle out at the side of the head and stitch through the base to form the ear. Stitch along the base of the ear, back and forth to define it well
Stitch in place at the top of the head, then take the yarn inside the head and come out at the other side. Stitch in place to secure the yarn and then stitch the other ear in the same way
Take the yarn end inside the body Knitted Comfort Bear Designed by Noreen Crone-Findlay (c) Page 5
5] LEGS:
Thread the yarn end at the lower edge of the body into the needle and then pull up to gather the lower edge closed. Stitch in place to secure the gather. Take the needle through the body about 1/4 inch/.5 cm up from the base.
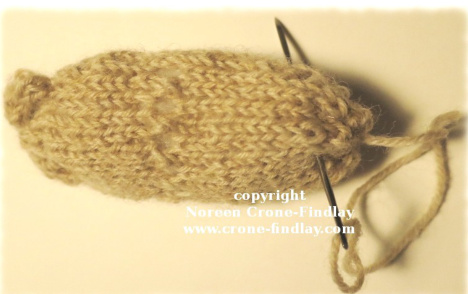
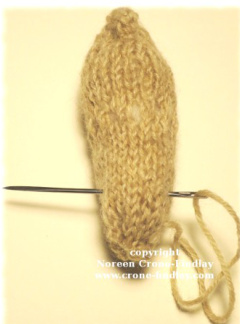
Go through the body again, slightly up from the last stitch. Now, stitch back down towards the feet. Stitch through the body several more times, to create the line between the legs. Stitch in place at the base, then take the yarn end back into the body.

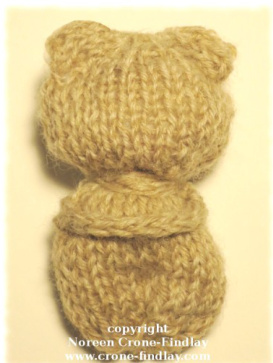
6] NECK: Cut a piece of yarn about 30 inches/75 cm long and fold it in half.
Thread the ends into the darning needle then go in and out the eyelet round at the neck. Wrap the yarn around the neck several times and then tie a tight knot to secure the neck.
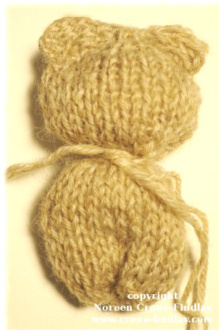
Take the ends inside the body. www.crone-findlay.com Knitted Comfort Bear Designed by Noreen Crone-Findlay (c)
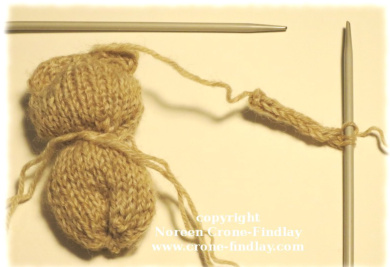
ARMS:
1 Leaving several inches of yarn at each end for attaching the i cord, knit a 3 stitch i cord that is 1 3/4 inches/4.5 cm long. Sew the arms to the body.
FACE:
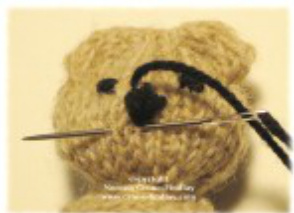
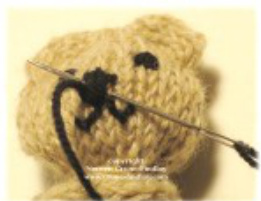
With black sock yarn or embroidery floss, embroider the face: Bring the needle up through the head from the back of the neck to the center of the face.
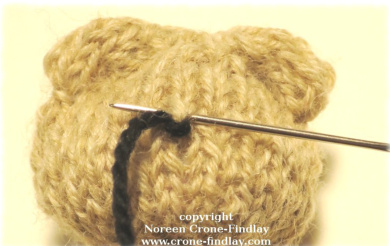
Take a couple of tiny stitches to secure the yarn. Stitch a \*V' or a couple of short straight lines for the nose, then take the needle out at the first eye.
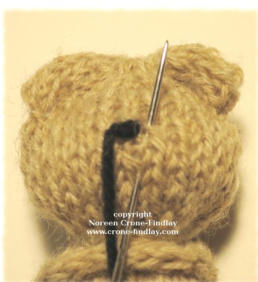
Take a couple of tiny stitches for the first eye.
Then across to the second eye. Take a couple of tiny stitches for the second eye.
Knitted Comfort Bear Designed by Noreen Crone-Findlay (c)Page 7
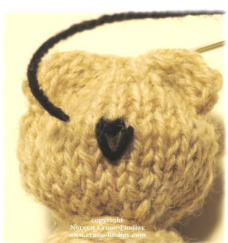
Take the needle from the top of the nose, down to the point of the V, then out to one side for the first half of the smile: Pull the needle through the face at the point of the V and out to the end point of the smile.
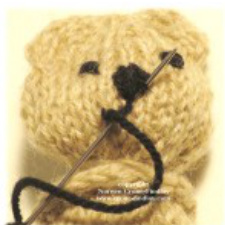
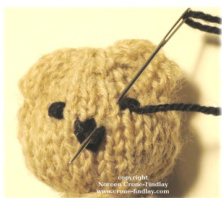
The needle goes back in almost where it came out to catch the middle of the smile line, then comes out at the point of the V.
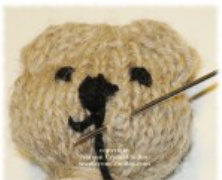
Repeat for the second half of the smile.
Take a couple of tiny stitches in the nose to secure the yarn end.
Then, go through the body to bury the yarn end. Snip the yarn end at the back of the neck. And there you have it! A tiny comfort bear to bring joy into your life in the knitting of it, and joy into the life of whoever you give it to. Happy Knitting! Noreen