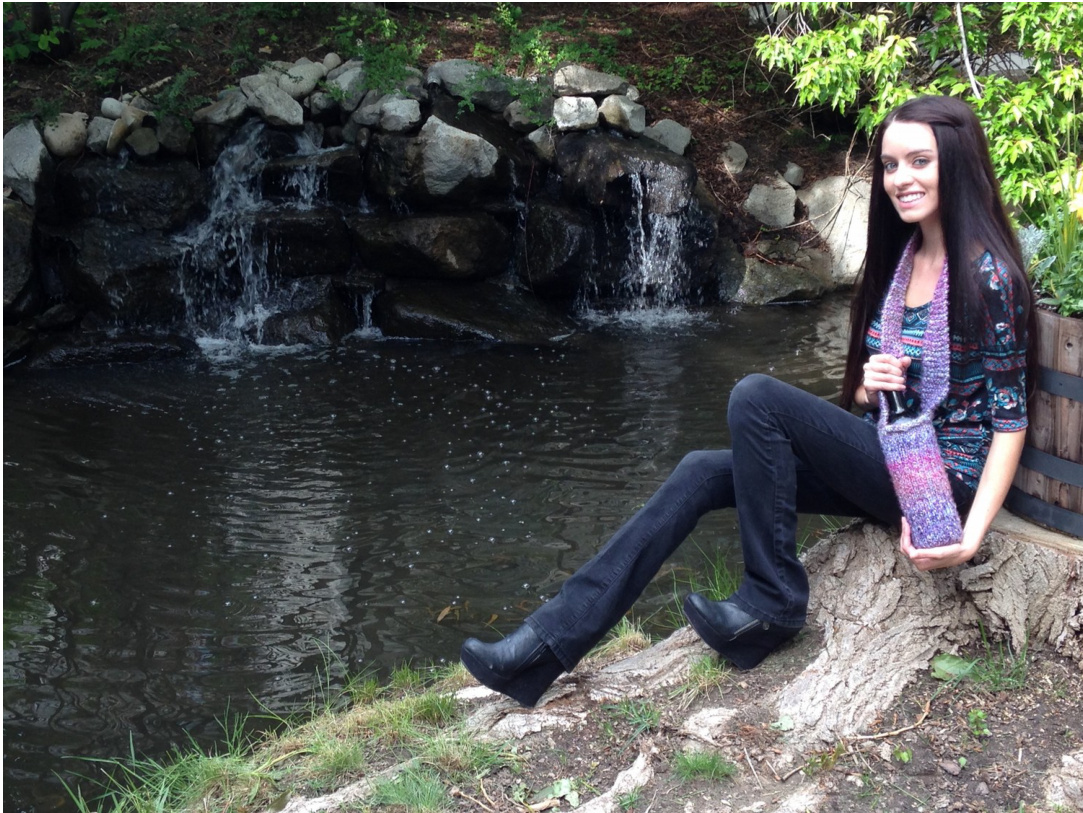
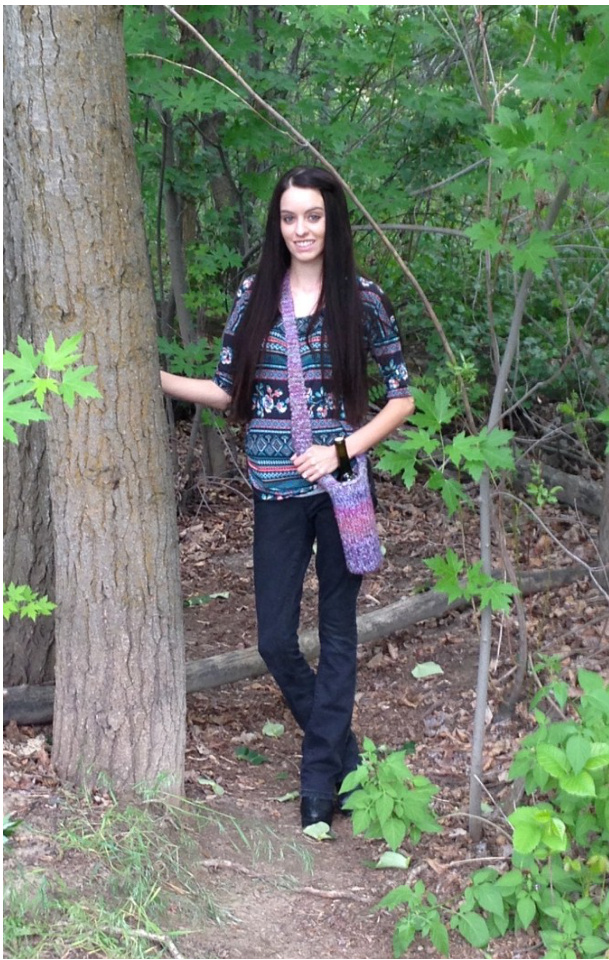
nitted Wine / Beer /Waterbottle Sling
This is perhaps one of the easiest knitting patterns out there! One of the wildest attention grabbers too! Makes the greatest accessory when gifting a beautiful bottle of wine. Also makes the greatest accessory when you are invited over to a friends house. Tip: The nicer the bottle you put inside the more curious people will be. There is a lot to be said about presentation when you deliver unto a stranger's lips the finest of your home brewed beers or wines. I prefer the liter pop top bottles. They make such a nice loud boom when you open them and it just adds to the mystique of the night. Those style bottles also make re-closing on the go very easy.
What you'll need:
Needles: size 10 16 inch circular Yarn: Any! Bulky, Frizzy, thin, it doesn't matter. How much yarn... less than a skein. Stitch Markers: According to your plans (read on) Yarn Needle
Abbreviations:
k=knit CO=Cast On k2tog=knit two stitches together M1=Make One p=purl (optional) p3tog=purl 3 together (optional)
To Begin:
We will start with the sling first. CO 8 stitches using long tail CO method. For the fist 4 inches of the sling simply knit every row. (garter stitch) Then do a decrease: k1, k2tog, k2, k2tog, k1 Then knit every row again for another aditional 4-6 inches in length. Up to you how long. Then do a decrease: k1, k2tog, k2tog, k1 Now you have 4 stitches. You will continue to knit checking to see how the sling fits over your shoulder. You must remember that when there is a full bottle inside the sling it is going to stretch. Keep in mind that your tendency will be to knit the sling longer than you need to. Shorter is always better on a project like this. There is no perfect size. Everyone willikely be a little longer or shorter. If your sling is too long it wil look just as good, but will annoy you as you walk. Bouncing around everywhere. A nice short sling that falls perfectly at your hips won't bounce around all over the place. It'll feel natural and comfortable as you walk, bicycle, etc. I am 5'9" tall and I find that a good 44-45" is perfect for me. want the sling to be symetrical. So hold the base at your hips and bring the top 1 ? 2015 The Green Elephant - Richard Purin. All Rights Reserved. to your shoulder and when you feel like you are in the middle of the sling just continue in a symetrical fashion. And when you are ready: Then do an increase: k1,M1, k2, M1, k1 Then knit for 4-6 inches the way you did above. Then increase: k2, M1, k2, M1, k2 Now knit for 4 inches as you did above. Do not bind off. Continue onto the next section.
The Body:
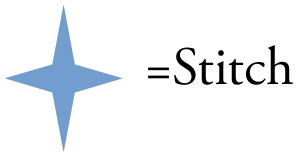
Keeping the 8 stitches you have on your circular pick up your yarn and hold the strand out as if you were CO and create 12 new stitches. Now the tricky part. Get the other end of the sling and making sure not to twist it and that everything is lined up right pick up the first stitch with your needle. Bring the live yarn around the stitch you picked up essentially weaving it through the 8 stitches you are picking up off of your CO row. See the crude drawing at the end of this document. Just bring your yarn back and forth with each stitch you pick up. This may be very tight. It will help if you CO loosely at the beginning of the project. But it'll still be tight and awkward. Also do not worry about the new stitches you are creating between the sling. They will seem loose and improper, but they will be beautiful when its done. Next, do the same thing you did before and using the live end of your yarn CO another 12 stitches. That will give you a total of 40 stitches. Join in the round and optionally place a stitch marker. Round 1: knit whole round (40 stitches) I usually just simply knit the rest of the project to my desired length and decrease in the following manner: Round 1: \*k3, k2tog\* all the way around Round 2: \*k2, k2tog\* all the way around Round 3: \*k1, k2tog\* all the way around Round 4: k2tog back to back
Then finish it up and weave in your ends with your yarn needle. The options are endless. You can use any pattern you like. Sometimes I like to raspberry stitch for a while at the top and then knit the middle of the body for a while and finish up with more raspberry stitch at the bottom. To do that after you place your stitch marker follow this:
Raspberry Stitch \*\*\*\*\*IN THE ROUND\*\*\*\*\*\*:
Row 1: knit all the way around Row 2: p3tog, (k1, p1, k1) into the next stitch; Repeat all the way around Row 3: knit all the way around Row 4: (k1, p1, k1) into the next stitch, p3tog; Repeat all the way around ? 2015 The Green Elephant - Richard Purin. All Rights Reserved. watch a youtube vid to see how its done if you aren't familiar with that stitch. And remember you are kniting in the round so don't purl rows 1 and 3 as called for when you are knitting on needles Hat and not circulars. You could do any variation of any pattern online. Stay creative and plan on knitting a lot of these because your friends will all ask for one! This pattern is just about the right size. It fits wine bottles perfectly. It fits bigger liter bottles nice and tight. Enjoy!
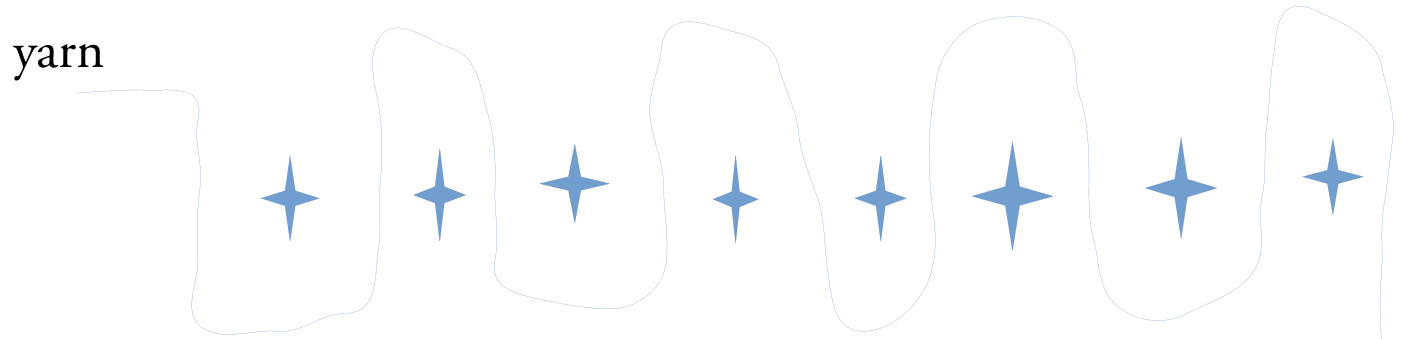
Simply weave your yarn around the stitches as you pick them up on the needle.
? 2015 The Green Elephant - Richard Purin. All Rights Reserved.


