Huge D20
By Sarai Kramer
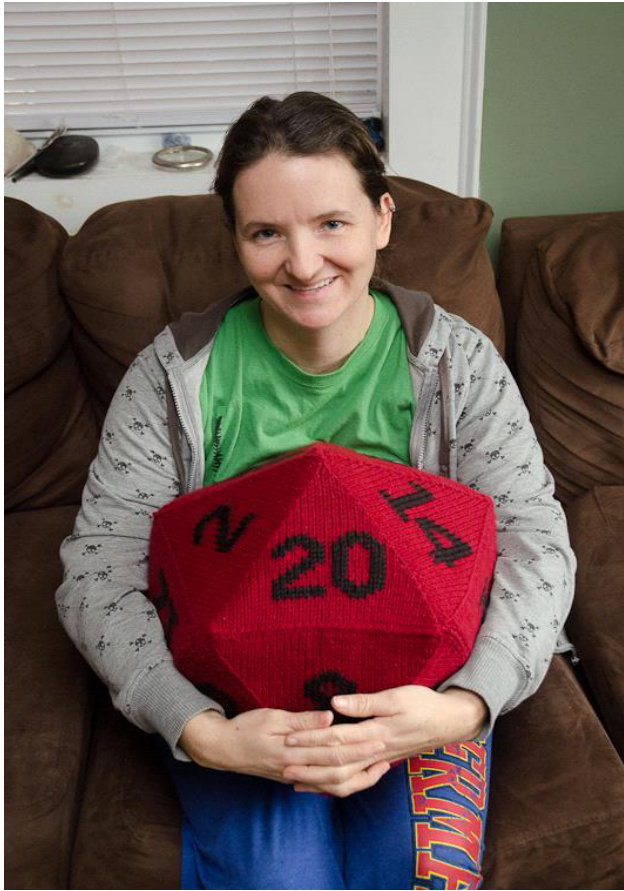
Difficulty level: medium Yarn: One Pound Caron in claret Numbers: Caron simply soft Black Needles: US size 8 Other supplies: you will need a D20 as a reference for the number placing, it DOES matter. Yarn needle to duplicate stitch the numbers. Abbreviations: CO: cast on BO: Bind off K; Knit P: Purl Sts: Stitches SSK: slip, slip, knit K2Tog: Knit two together R: row
Instructions:
This is the basic instructions for making a triangle, you will make 20 total. CO 35 stitches. R1: P R: 2 SSK, K to last two sts, K2Tog. R3: and ALL odd rows P Continue in this pattern until you are down to three stitches, K 2, pass the first stitch over the second, knit the last stitch and then pass it over the middle one, cut yarn and pull yarn tail through that last stitchtoBO. You can simply make 20 triangles, duplicate stitch the numbers to them then sew them together to form a D20, paying attention to what way the numbers face. OR you can knit them in place like I did, those instructions follow, written to the best of my ability. Caveat: not all D20's have the same pattern of numbers, some are countdown, some are opposite of what I've made, but MOsT of my D20's are in this configuration so it's what I went with.
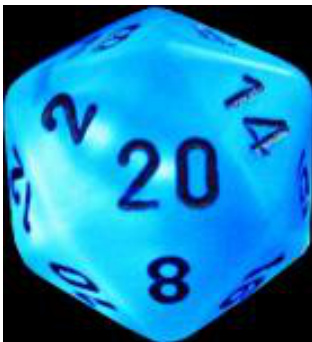
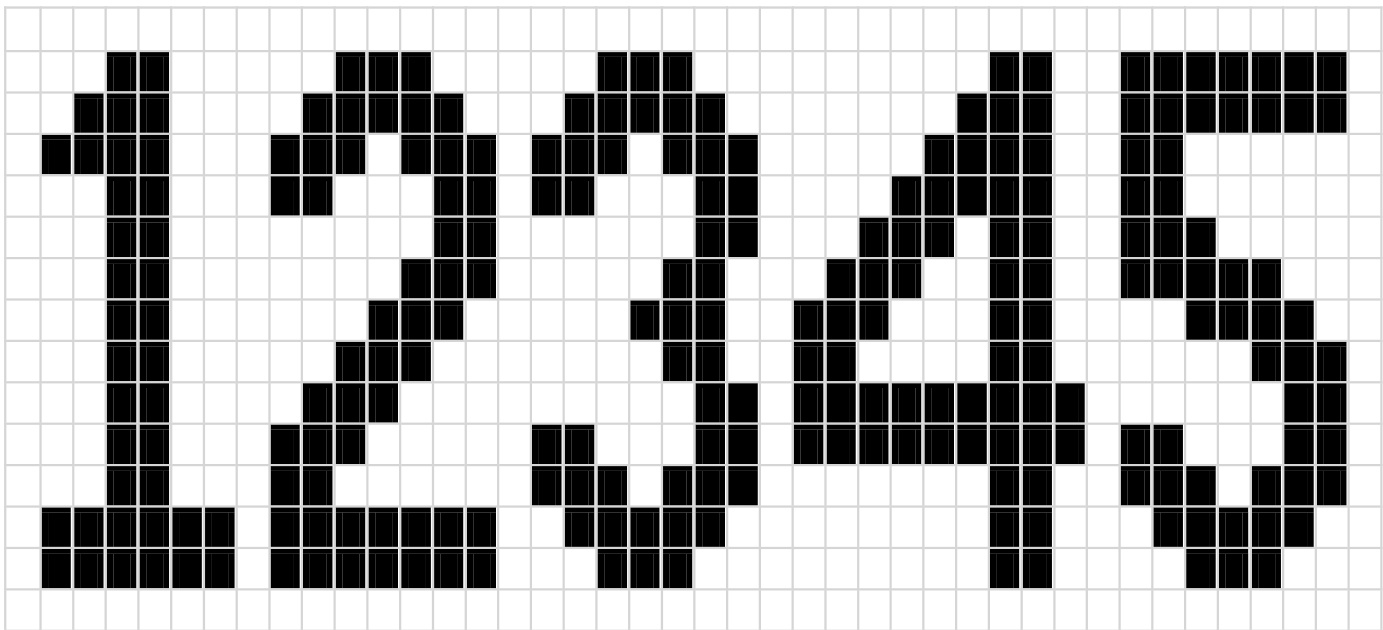
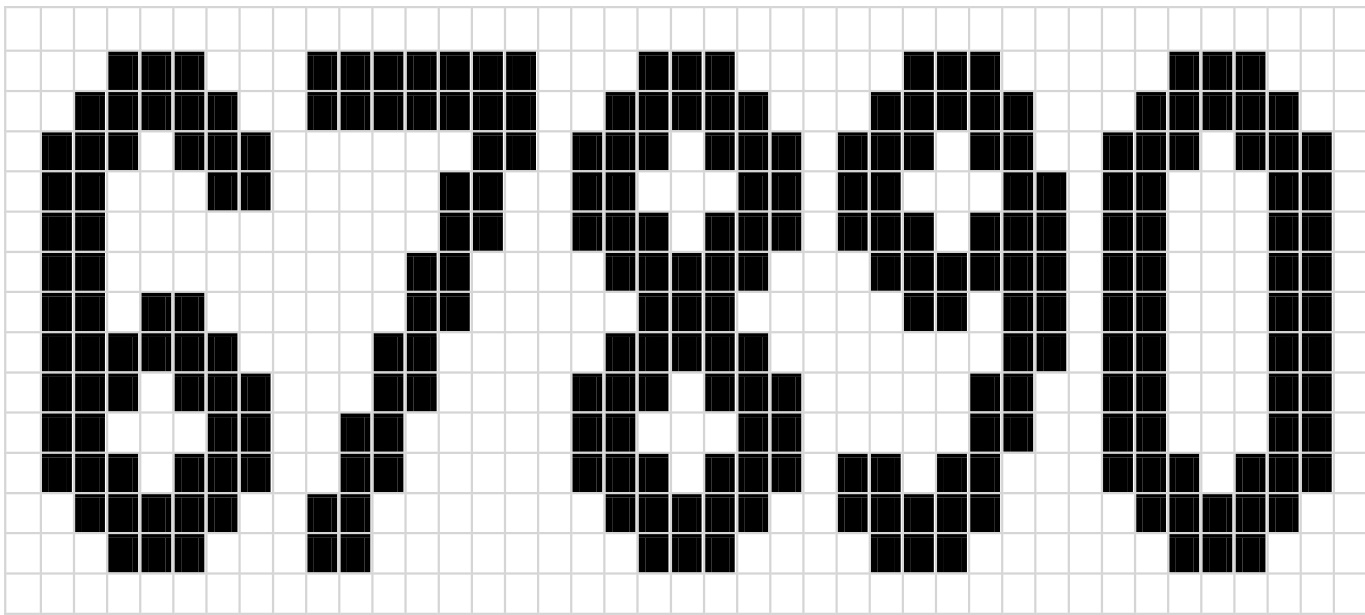
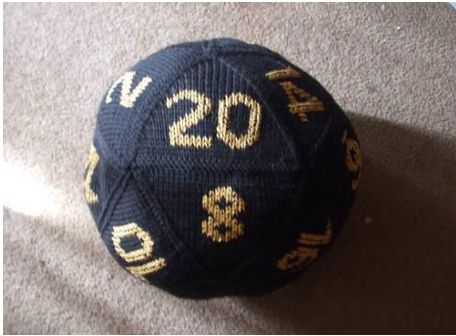
Ok here is where it gets a bit tricky, when looking at a D20 you'll notice that the numbers connect in a certain pattern of bottoms to sides, what way is "up" on each triangle matters because the numbers are duplicate stitched on, so the direction of the stitches counts. Start by knitting your "20" side triangle, don't cut the yarn and pull through that last stitch, instead pick up 35 sts along the 2 side of the "20" to start the bottom of the "2" triangle, knit that triangle and BO. Now pick up 35 sts along the 0 side of the "20" to start the bottom of your "14" triangle, knit tis triangle and at the top of it once again don't cut the yarn, just pick up 35 sts and start the bottom of the "4" triangle, end that one by cutting the yarn and pulling through that last stitch. Finally pick up 35 sts along the side of the "2" triangle for the bottom of the "18" triangle, knit it and at its tip cut the yarn very long, pull through that last stitch and use that tail to sew the 18 to the 4, the top of the D20 is done! In this same manner you are going to knit the bottom of the "12" to the side of the "2", and the bottom of the "6" to the side of the "14", ending the yarn at the tip of each. Then pick up 35 sts at the bottom of the "20" for the "8", at the top of the "8" DON'T cut the yarn, pick up 35 sts and knit the 16 to the left of the 8, then BO, using the long tail sew the "16" to the "6". Now pick up 35 on the right of the 8 for the 10 side, BO and use its long yarn tail to sew the "10" to the "12". Now that you have done one side you can easily manage the other, you'll be starting with the "1" triangle and working out just like with the top, so knitting the "1" then the "7" BO. Pick up 35 on right of "1" for "19" continue onto "3" BO, pick up 35 of side of "7" for "17", sew "17" to "3" to complete bottom. Pick up 35 sts on side of "19" for "9", knit that triangle, BO. Pick up 35 sts on side of "7" for "15" knit that triangle, BO. Pick up 35 sts on bottom of "1" for "13" DON'T break yarn, continue on and pick up 35 sts on side of "13" for "11", BO, use the long yarn tail to sew the "11" to the "9". Pick up 35 sts on other side of "13" for "5", knit that final triangle and BO, using the yarn tail to sew the "5" to the "15". Now that all the triangles are knitted/sewn into their proper places it's time to put the numbers on using the black yarn and duplicate stitch, I'll attach a chart for that. The single numbers I centered on the triangles and placed 8 rows up from the bottom, the double numbers I had the edge of the larger number on the center and the smaller number (1) two stitches to the left of center. I placed them only 6 rows up from the bottom. Using your plastic/stone/glass D20 as a reference start sewing the two sides together, only sewing part way around as you still need to stuff it. You can use a LOT of poly-fill stuffing but it will turn out like a ball, not polyhedral at all But still pretty cool.
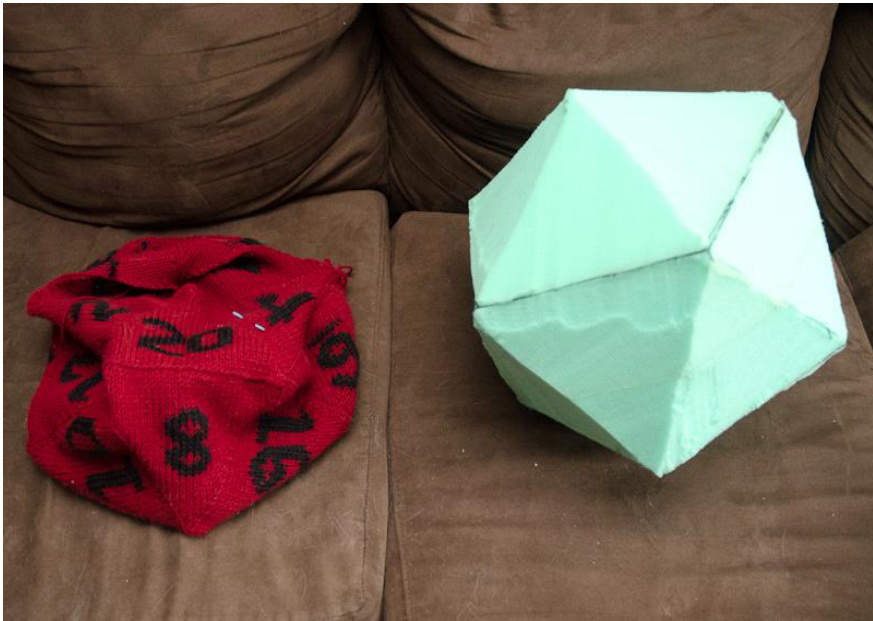
I used 4 and 5 inch thick high density foam, I glued two pieces of "4 foam together for the center bit and carved it first (electric carving knifes are my friend), and then I glued a piece of "5 foam to each side of that for the top and bottom and carved them, doing some final tweaking to the center as I finished the job. Cutting the foam out was a pain in the butt however it was VERY worth it for the final result.
Numbers:
