Sarah Montie Handknits
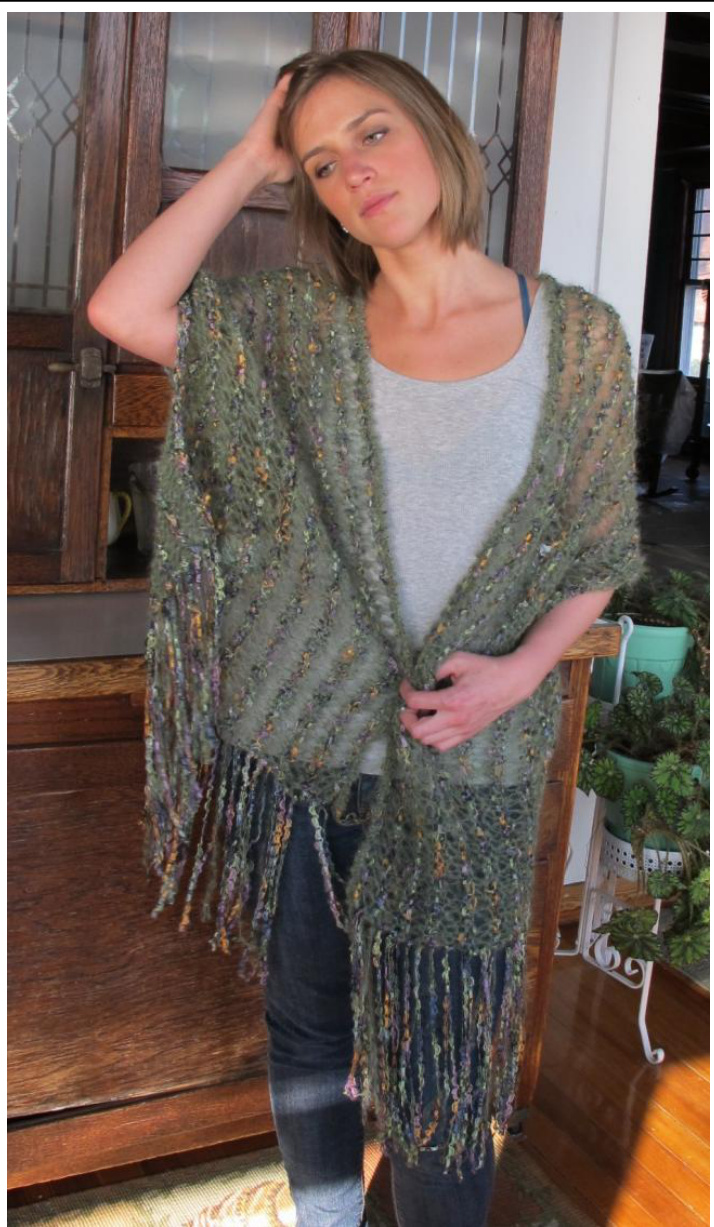
Molair Y Rillon Slawl Desisned by Saral Purderson A simple shawl contrasting the textures of mohair and ribbon yarns. Any mohair and ribbon yarns can be used in this versatile pattern. The self made fringe is created as you knit rows of garter stitch and drop stitch. The bottom edge is trimmed with an optional beaded crocheted edging. The shawl is shaped by changing the size of the needle. Easy enough for the beginner knitter. Finished Size: Approximately 51”' across the top edge and 71” across the bottom edge, plus 9" fringe on both ends.
Yarn used in sample
PLYMOUTH YARN, IMPERIALE (25g, 100m, 80% mohair, 20% polymid) 3 balls PLYMOUTH YARN, ATHENA (50g, 77yds, 51% cotton, 44% nylon, 5% rayon) 2 balls Substitute yarn Mohair yarn 270yds, 245m Ribbon yarn 154yds Needles & Notions Size 13 & 11 circular needles, 29 or longer Yarn sewing needle Size G crochet hook (optional) 130 seed beads, size 6 or “E" (optional) Gauge: It is not important for this project, yeah! Directions: Starting at the bottom of the shawl cast on stitches and alternate rows of ribbon yarn and mohair yarn, knitting the drop stitch with the mohair yarn. You will create some of the fringe as you knit. Additional fringe is added to the sides and a beaded croheted edging can be added to the bottom edge.

Athena color 68, Imperiale color 4120 CO 130sts with size 13 needles and ribbon yarn, leaving an 11' tail. (I recommend placing a ring marker every 10 or 20 stitches to keep track of cast on stitiches. You can continue to use the markers to help keep track of number of stitches as you knit.) ●Rows 1 & 2: Knit with ribbon. Cut yarn leaving an 11’ tail. Row 3: Change to mohair yarn, measure out 11' & knit the first stitch with the ribbon tail & mohair. (Hold both tails together, use both yarns to knit into the first stitch.) Knit across the row with mohair. Row 4: Knit 1st stitch, knit across the row wrapping the yarn around the needle twice for each stitch (the beginning of the drop stitch) until the last stitch. Knit last stitch. Row 5: Knit across row with mohair dropping the extra wrap. Cut yarn 11"'. Repeat rows 1-5, making self fringe as you go (on row one, knit the mohair tail with the ribbon for the 1st stitch); 7 more times (40 rows total). Change to size 11 needles and repeat these 5 rows 3 more times. Knit 2 rows with ribbon and then BO. Cut the remaining ribbon yarn into about 20-25, 20" lengths. Use half for fringe on each end. To make fringe, fold length of yarn in half, push crochet hook through a stitch on the edge, grab the fold of the yarn & pull through the stitch. Pull the ends of the fringe through the loop and tighten. After all of the fringe is completed, trim to 9".
Athena color 61, Imperiale color 4122 Copyright 2010, Sarah Montie Handknits, PO B0x 178, IH, NJ 08732, www.sarahmontie.com, info@ sarahmontie.com sarahmonite on Ravelry Crocheted edging (about 23yds needed) 0String 130 beads onto mohair. 1 recommend using a dental floss threader - threading the yarn through the “eye” and threading the beads onto the closed end and sliding the beads over the threaded “eye” onto the working yarn. With wrong side facing and leaving a 9" tail, \*Single Crochet into first (next) stitch on the cast on edge, slip bead, Chain 1, Slip Stitch in same stitch on cast on edge, Chain 1\*. Repeat between \*\* to make the beaded picot edge. Make sure that your tension is such that you are not creating a too tight or too loose edging. Abbreviations CO- cast on Sts - stitches K - knit P- purl
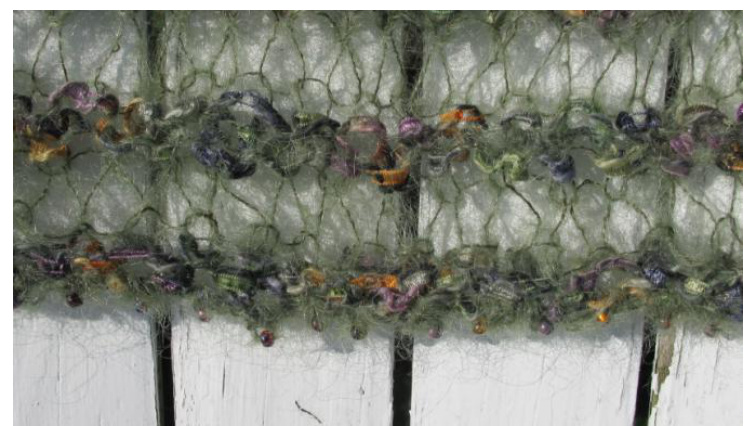
Close up of optional beaded edging.


