VuxenVinkel
"Adult Angle"
Curious about something else than traditional bottom up or top down knitting? Want to play around a bit with the garment construction? Vinkel is an easy and fun garment that will keep your interest - diagonal garter stitch and basic shaping takes you from the front edge, across the shoulders and down again, finished off with some easy seaming along the back and sides. A perfect project for self striping, hand spuns - you name it! It's highly recommended to knit both sides of the garment at once, to make sure you work the same number of rows on each side. If you prefer not to do this, I recommend placing locking markers between the different "sections", so you can go back and count the purl ridges when needed.
Size and fit:
Chest measurement isn't critical, since the garment is very stretchy. Go for your actual chest circumference, and you should end up with a snug and comfortable fit. The fit is of course always adjustable due of the overlapping fronts.
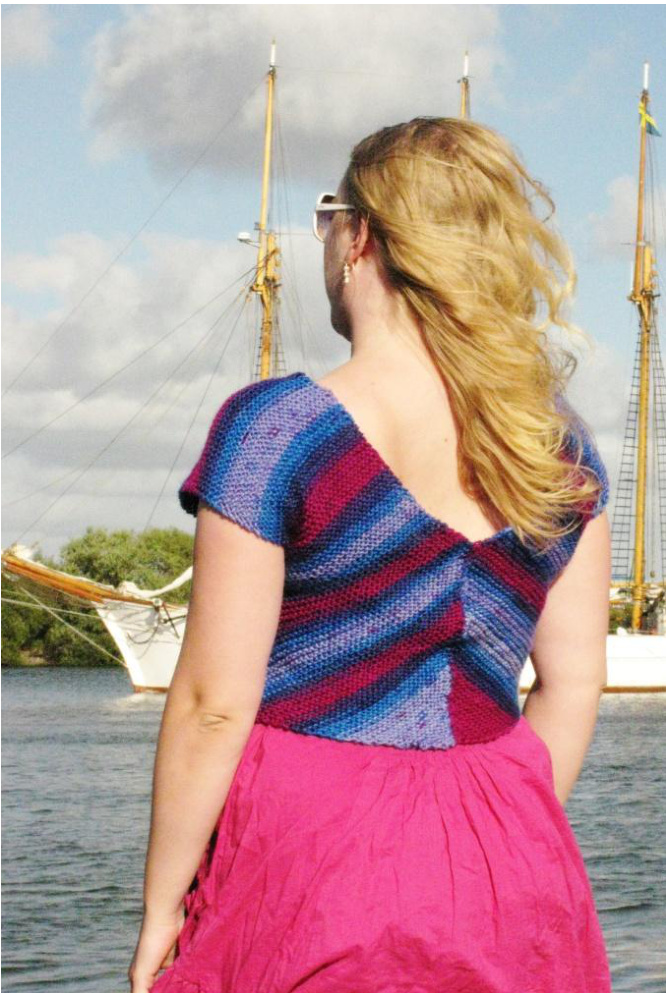
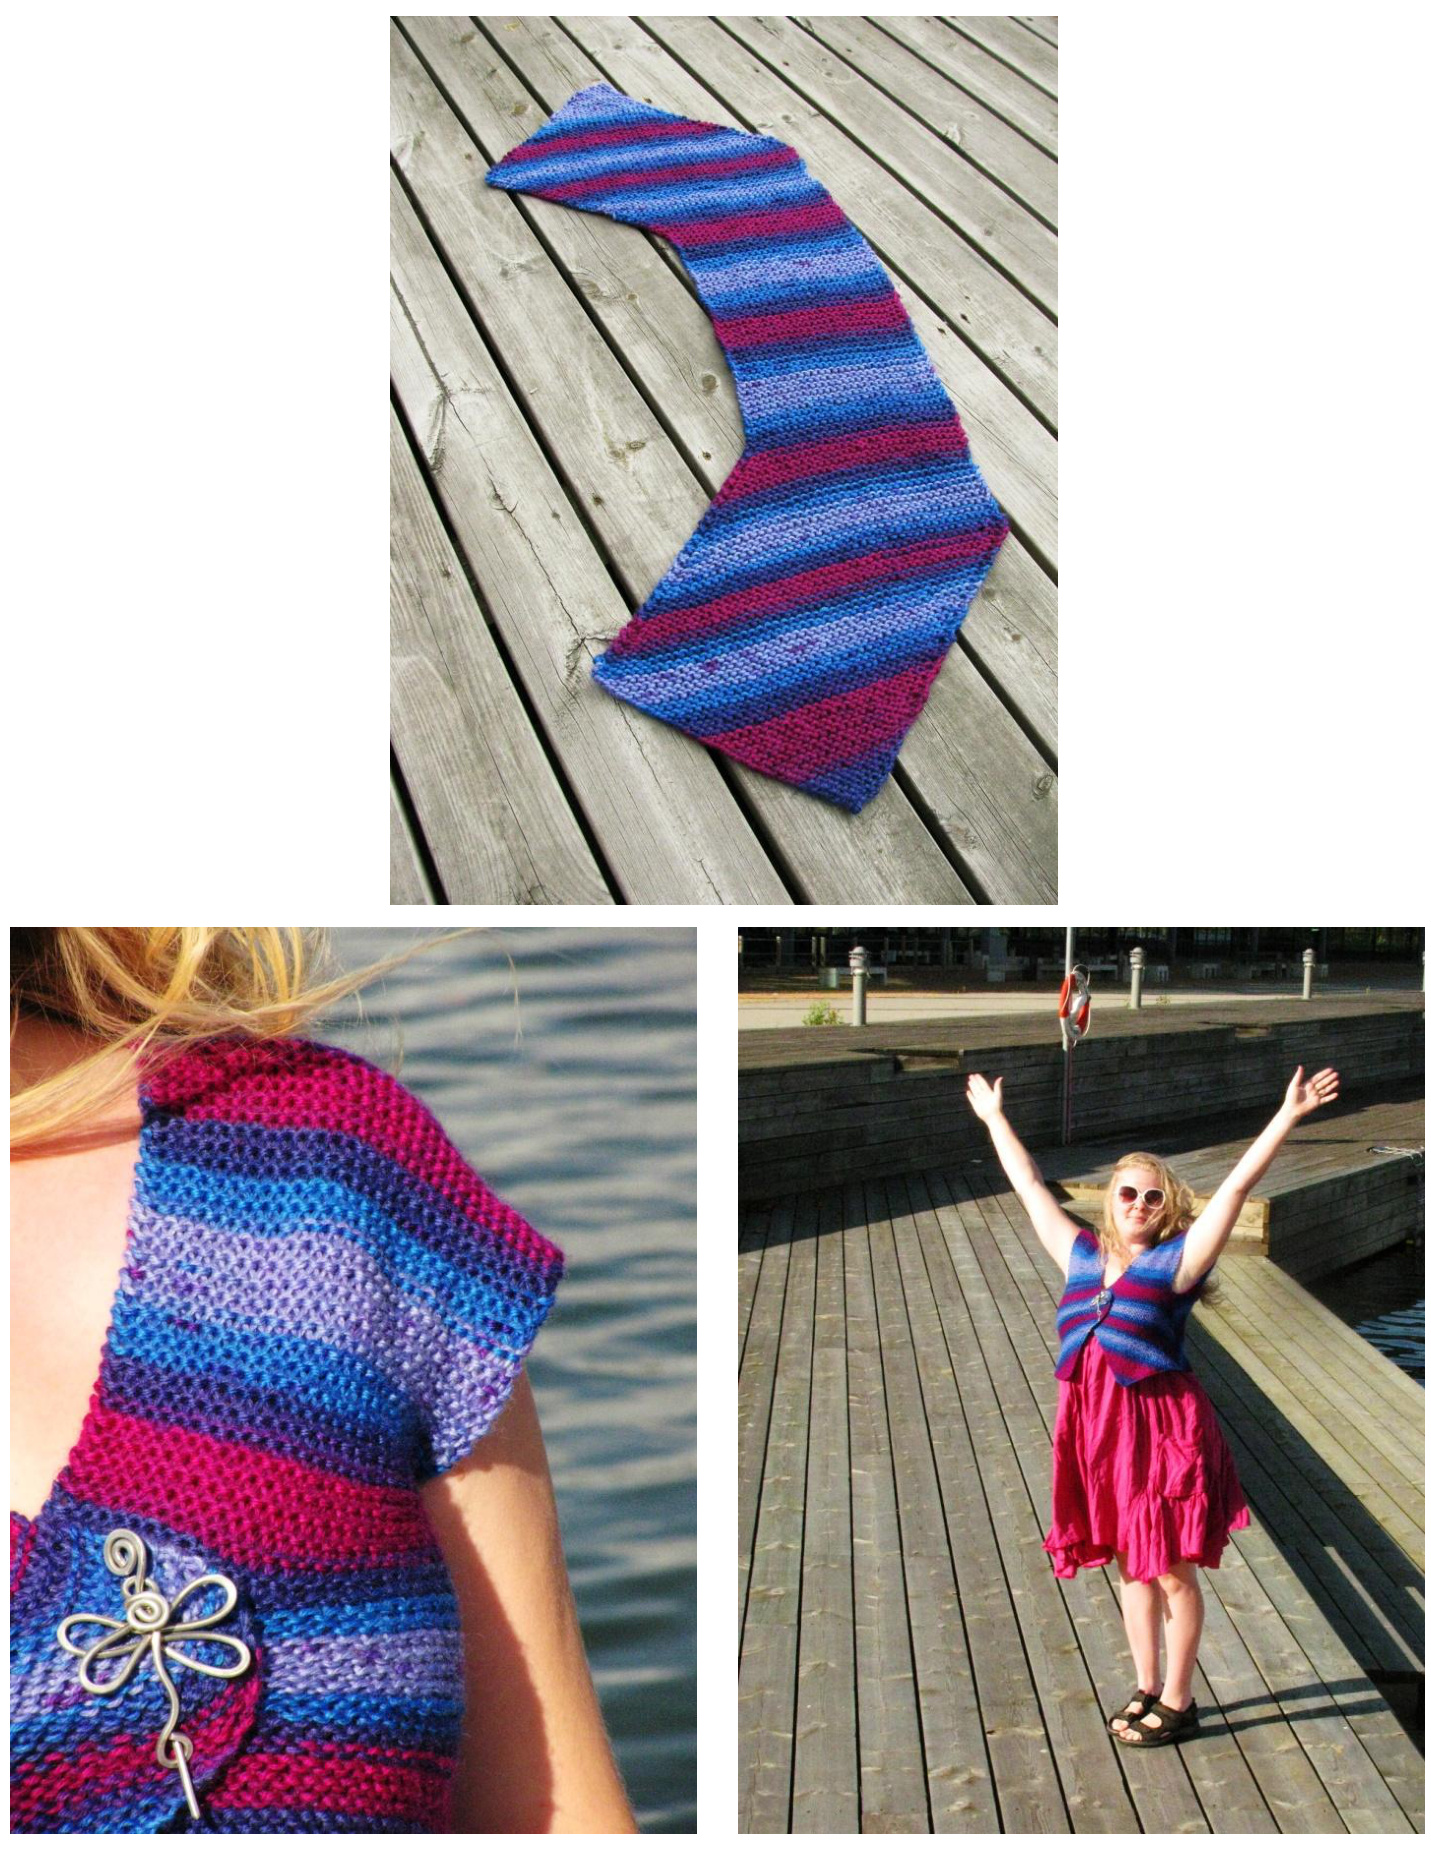
Featured garment is size Xl, shown on a 110 cm bust circumference. The neckline depth in the back is pretty low - the front and back of the garment exactly the same because of how it is constructed. Closing it with an overlap in the front - either with buttons or a shawl pin - will however make sure that it won't slip down your shoulders, and it sits very comfortably without being too tight.
Gauge:
4 sts and 8 rows per inch in garter stitch (Sideways row gauge along the bottom edge, appr 6 rows per inch.) Sizes: XS (chest: 27 inches/70 cm) S (chest: 31 inches/80 cm) M (chest: 35 inches/90 cm) L (chest: 39 inches/100 cm) XL (chest: 43 inches/110 cm) XXL (chest: 47 inches/120 cm)
Materials:
Aran weight yarn, appr 320/365/400/440/480/580 meters, or 360/400/440/480/525/630yards 6 mm knitting needles, or size to reach gauge 1 locking stitch marker 2 buttons or a shawl pin for front closure Needle for seaming
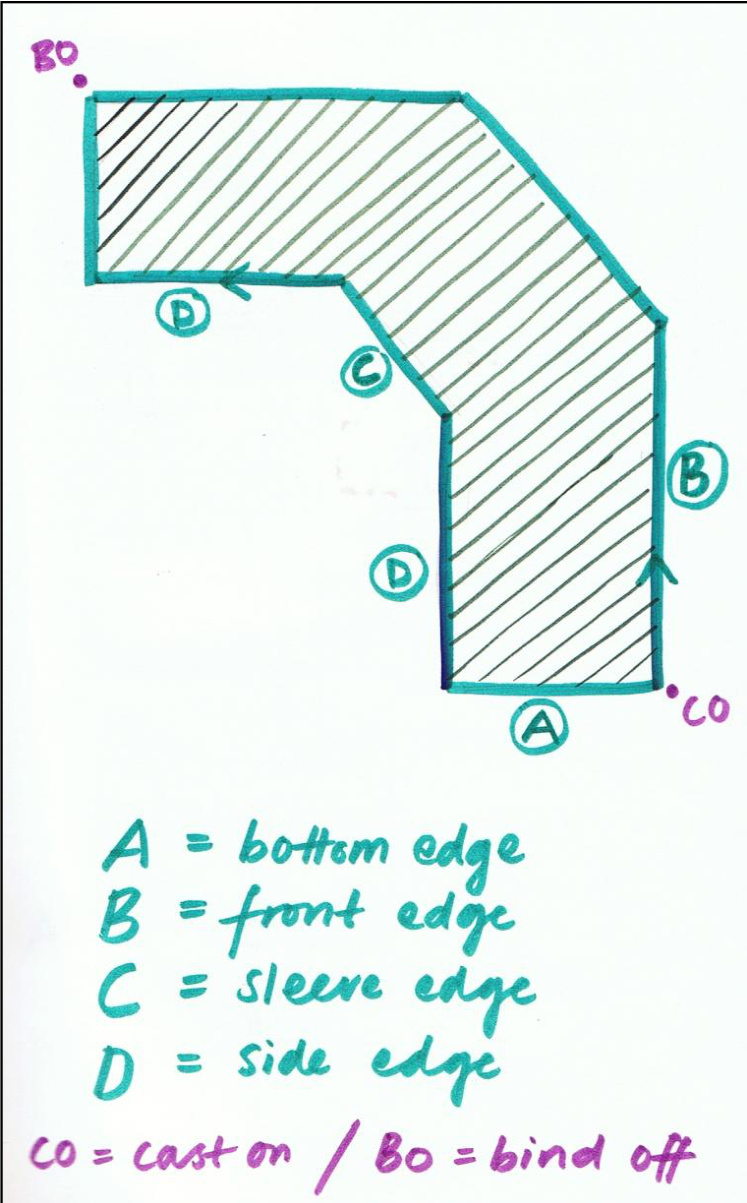
Pattern (1/2 Vinkel - make 2):
Establishing the bottom edge:
CO 3 sts. Row 1: Kfb, knit to last stitch, kfb. Row 2: Knit all sts. Repeat these two rows a total of 15/17/19/21/23/25 times. Note: After you've worked a few rows, place a locking marker on the side of the work where you're working the increases. Keep this marker in place as a future reference point. = 33/37/41/45/49/53 sts on the needles
Working the body:
Row 1: Kfb, knit to last 2 sts, k2tog. Row 2: Knit all sts. Repeat these two rows until B (front edge) measures 21/23/25/27/29 cm or 8.5/9.2/10/10.8/11.6 inches.
Button hole:
(If you prefer a shawl pin closure, continue with neckline decreases) Row 1: K2, yo, ssk, knit to last 2 sts, k2tog. Row 2: Knit all sts.
Neckline decreases:
Row 1: Knit to last 2 sts, k2tog. Row 2: Knit all sts. Repeat these two rows until you have 20/23/25/27/30/32 sts on the needles.
Working the shoulder:
Row 1: Knit all sts. Row 2: Knit all sts. Repeat these two rows until C (sleeve edge) measures 18/21/25/28/30 cm or 7.2/8.4/10/11.2/12 inches, ending with a row on the side of the work with the marker.
Neckline increases:
Starting on the side of work without the marker; Row 1: Kfb, knit to end. Row 2: Knit all sts. Repeat these two rows until you again have 33/37/41/45/49/53 sts on the needles.
Working the body, part 2:
Row 1: Kfb, knit to last 2 sts, k2tog. Row 2: Knit all sts. Repeat these two rows until both D (side edges) have the same length.
Deceasing for bottom edge:
Row 1: Ssk, knit to last 2 sts, k2tog. Row 2: Knit all sts. Repeat these two rows until you have 3 sts left on the needles. BO all sts.
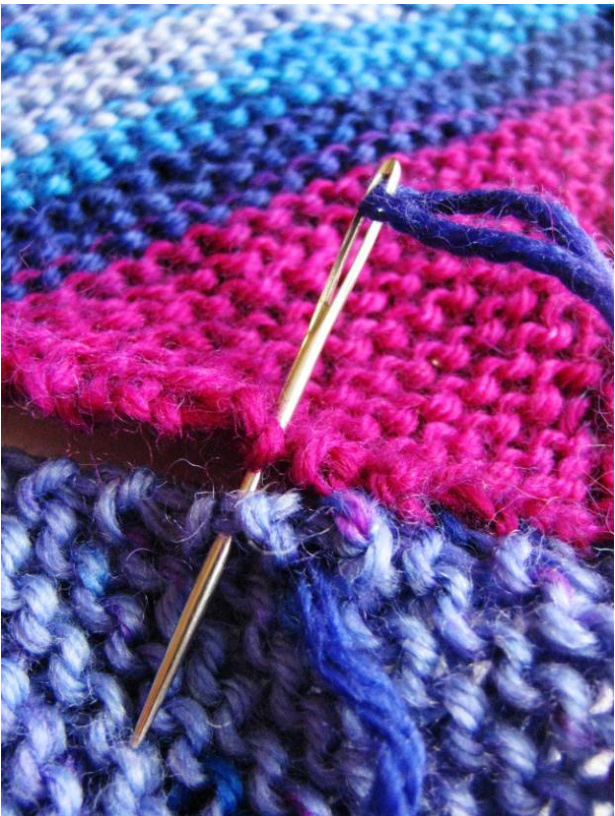
Finish:
Seam the back - put the pieces flat next to each other and seam in the very edge loops to avoid a thick seam. Do the same for the sides, stop about 2 inches from reaching the C section/sleeve edging. Try it on to see how deep you prefer your armholes, before finishing off! Blocking isn't really necessary, but do as you please! Weave in ends and attach optional buttons.