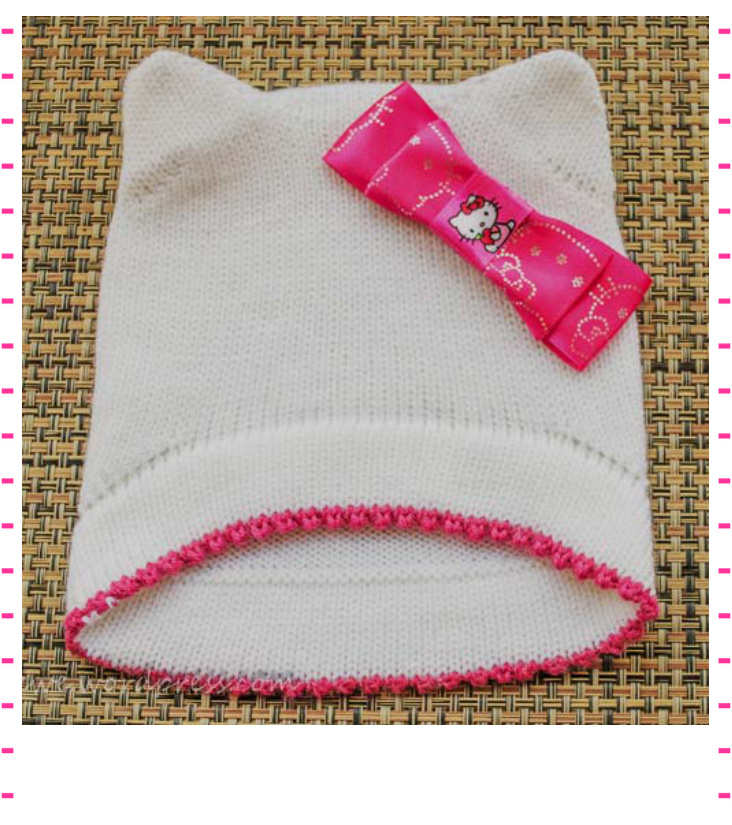
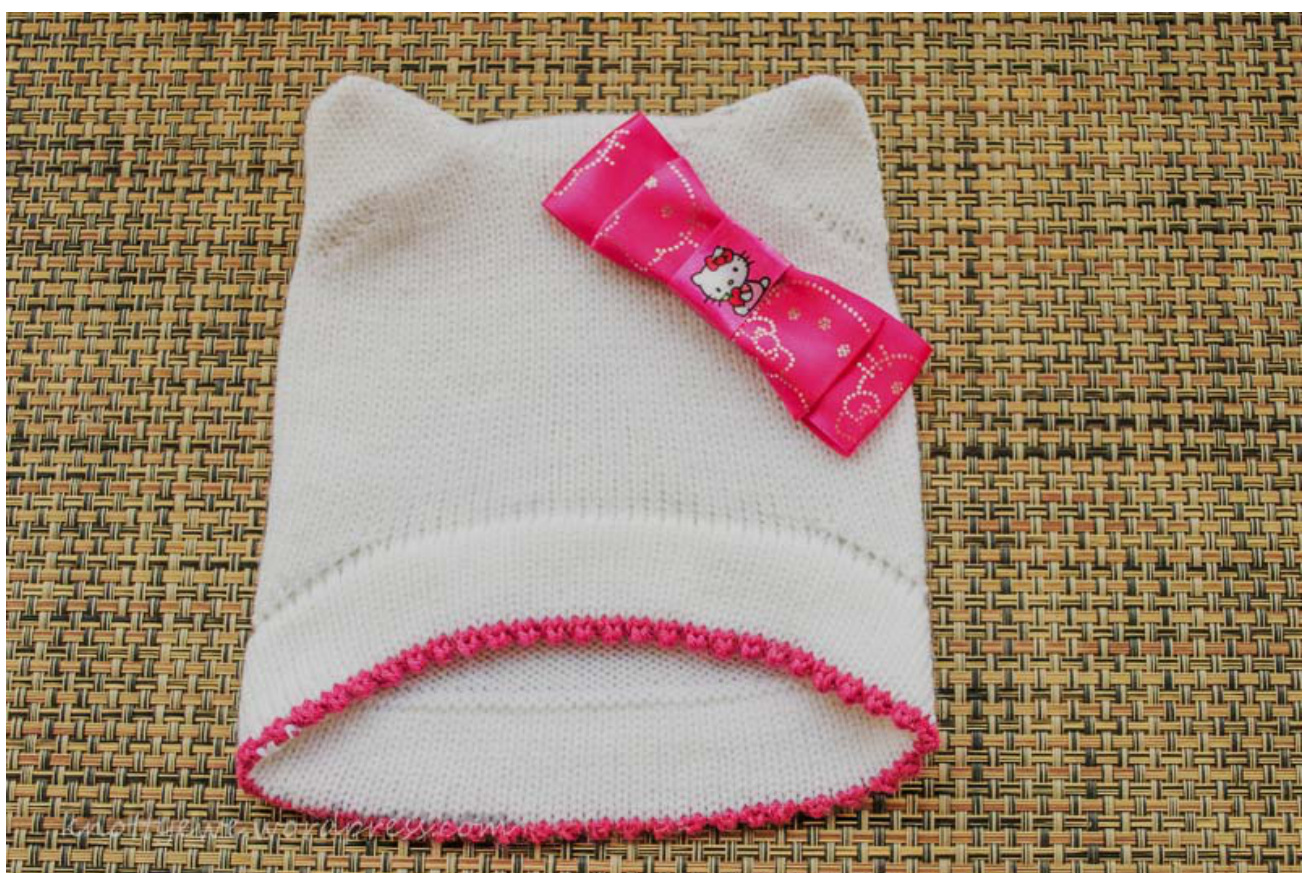
HELLO CUTIEHAT
Description:
This step-by-step hat pattern for the circular sock machine is sized for smaller heads, from infant to toddler, using a 72 or 96-slot cylinder and fingering-weight yarn. The instruction is written for two sizes, [Xs, S] for the [72, 96] cylinder. The project needs familiarity with lifting/lowering needles (short rows) to knit the heel/toes. No ribbing! The hat is knitted from the bottom up starting with a picot hung hem. Then several series of short rows are applied for shaping including lowering the back of the head, positioning the ears, reducing for the crown, and sprouting ears at the crown.
Materials:
50 gm smooth fingering-weight (about 420 yards per 100 gm) yarn in white. Optional: 10 gm fingering-weight in pink. A small piece of heavy-weight fusible interfacing for ears. Waste yarn and darning needle.
Level:
Intermediate crankers who are comfortable with short rows for heels and toes. Before you begin, set tension to the loosest setting and test crank your machine with working yarn. If the machine drops stitches, tighten the tension a bit at a time. It should knit comfortably with three stacks of weights. Gauge will vary by machine, and yarn, but tension should be quite loose for hats.
Questions?
Loan Nguyen. Email knottysocks@gmail.com or PM KnottyEwe in Ravelry.
PREFACE
Work Orientation: This hat is knitted with the back of the hat facing the knitter. This orientation enables the knitter to look forward while managing the finicky short rows for the ears. So when the instruction says “lengthen the back of the hat", you're actually doing short rows to add rows at the front of the work. Work slowly and use your hands or as many heel forks as you need to keep the work down. Machine Placement:
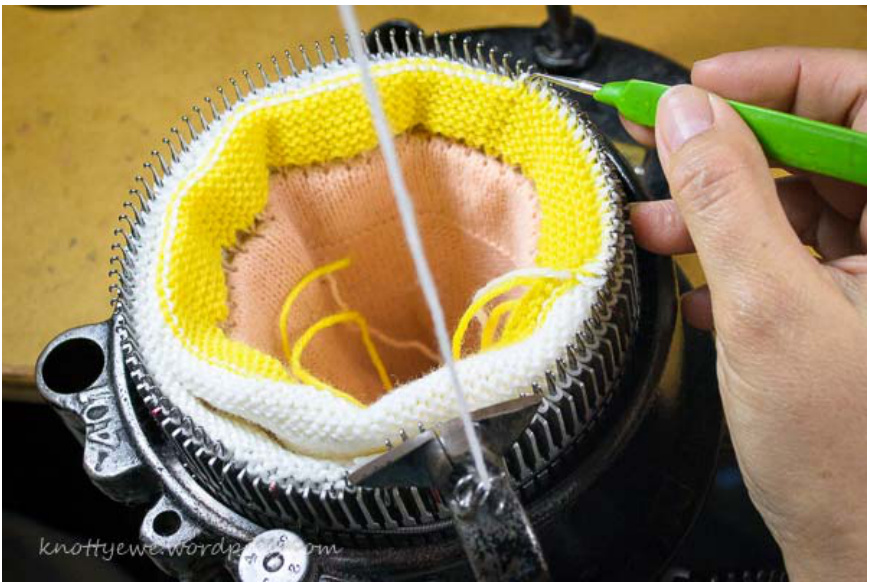
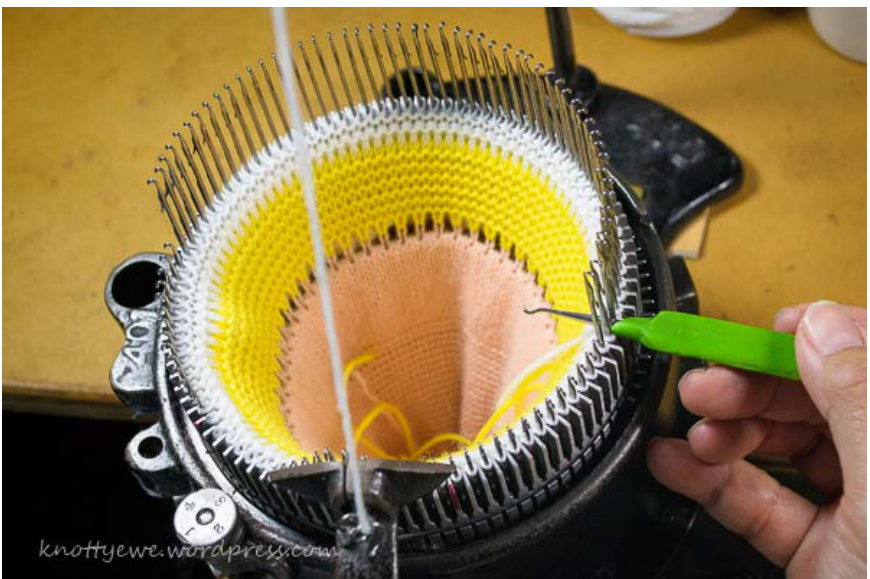
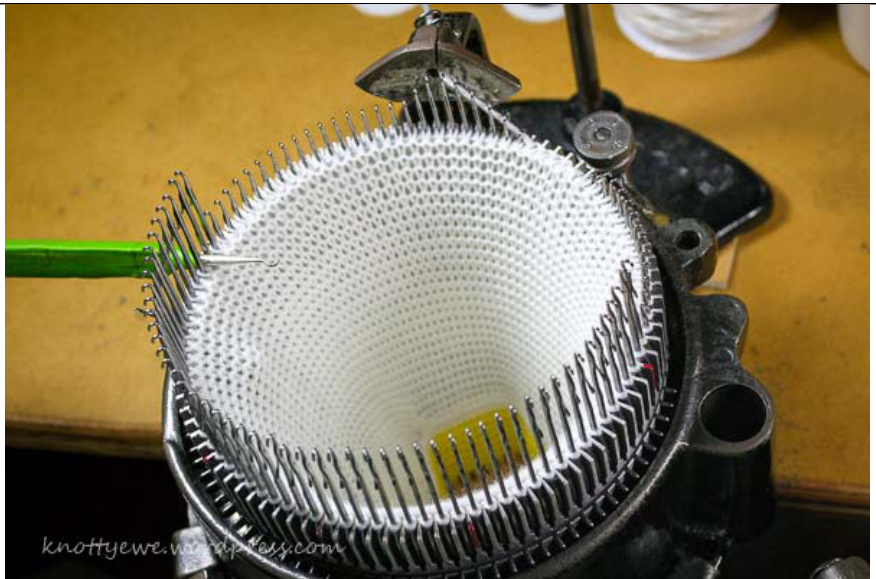
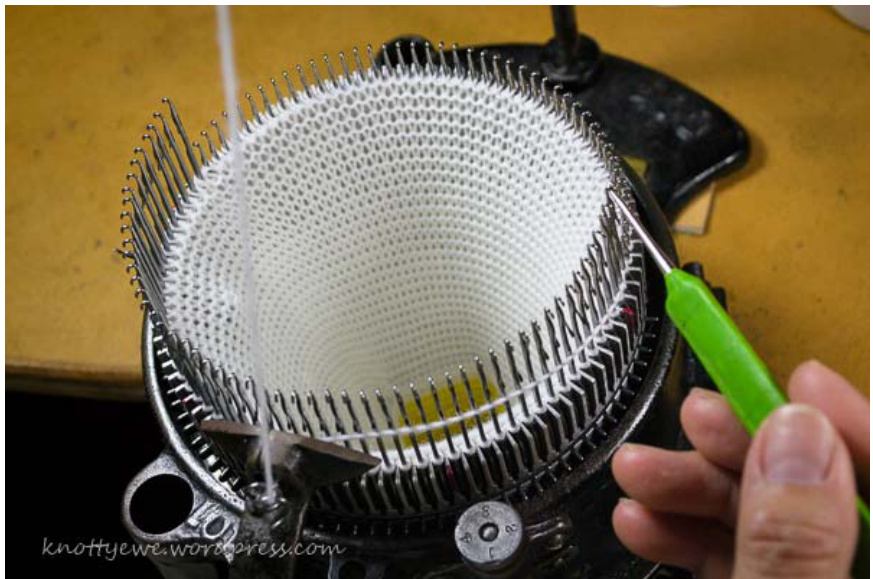
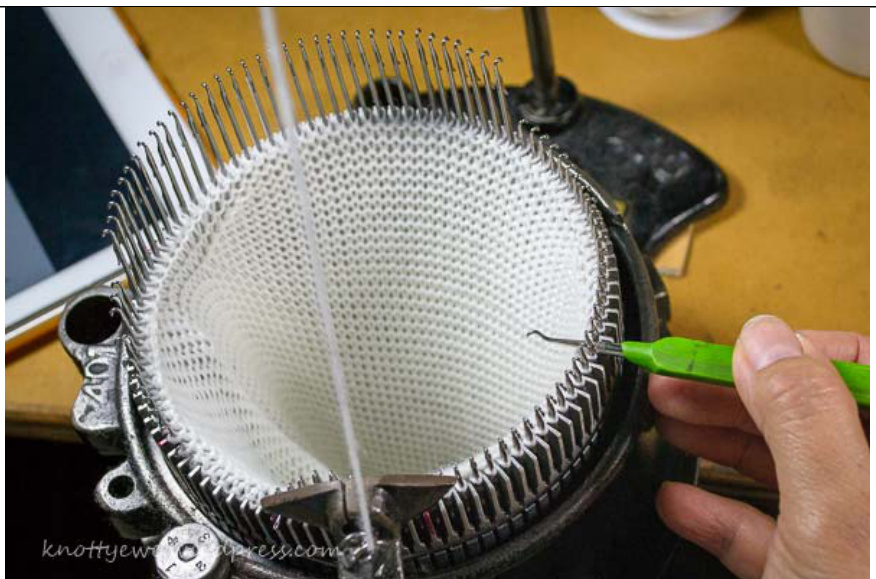
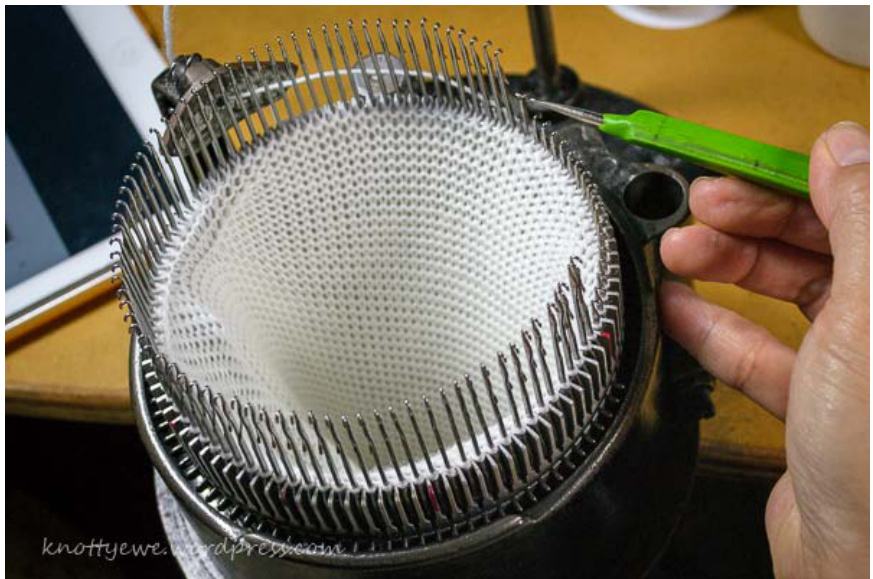
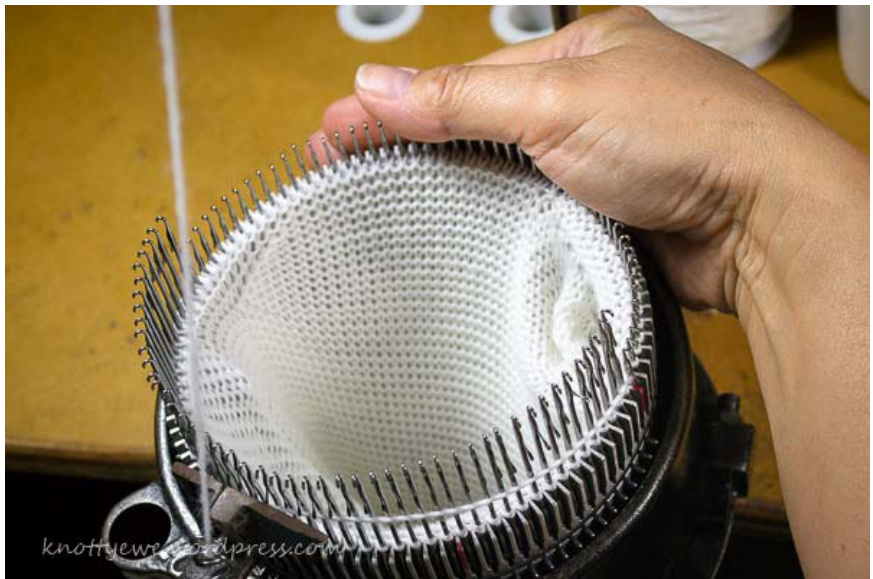
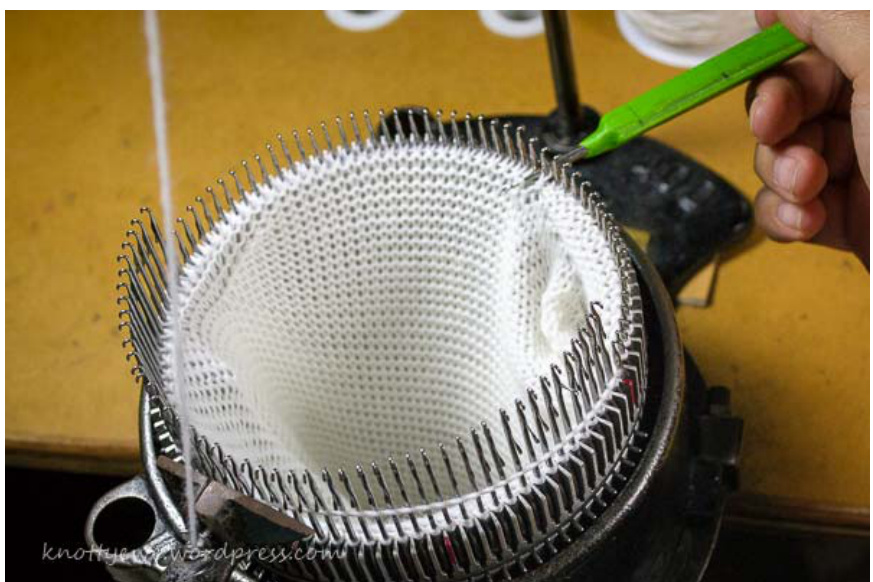
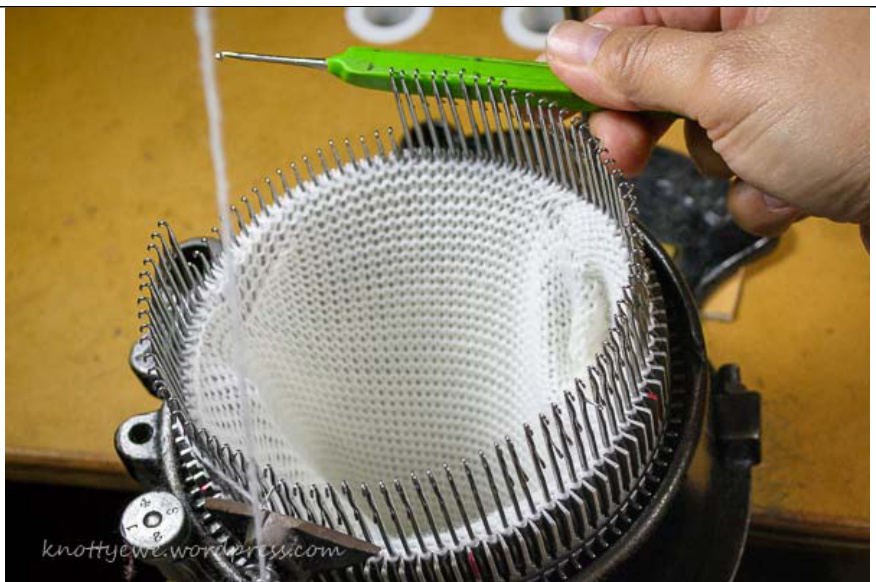
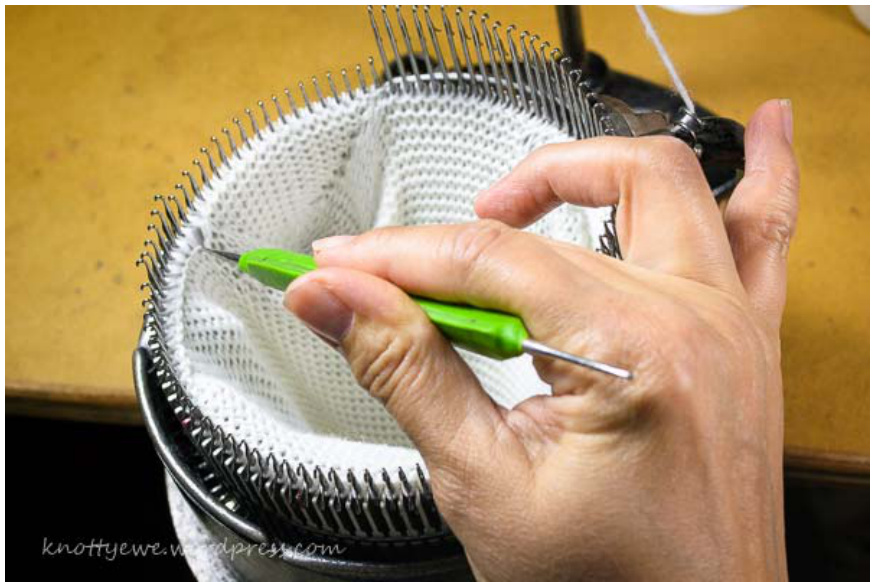
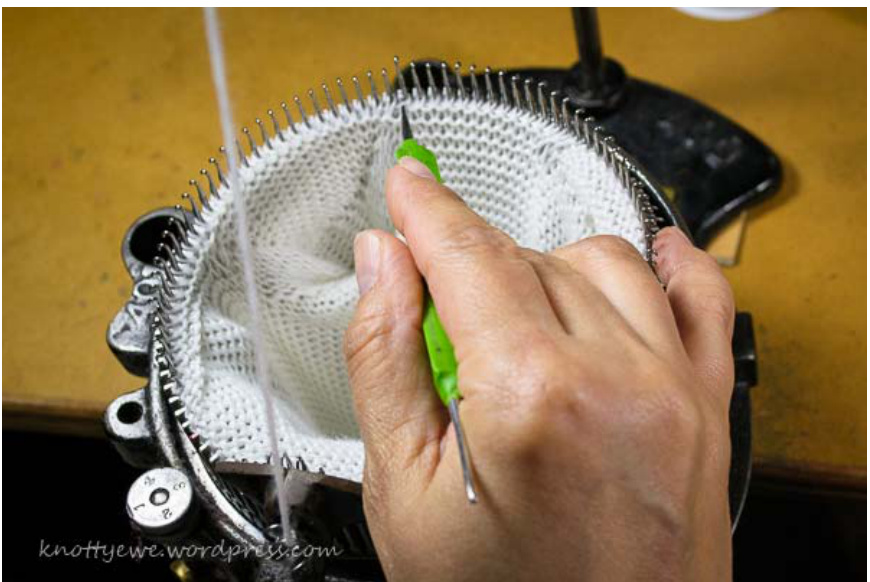
How to close gap/hole across short row (view of inside of cylinder):
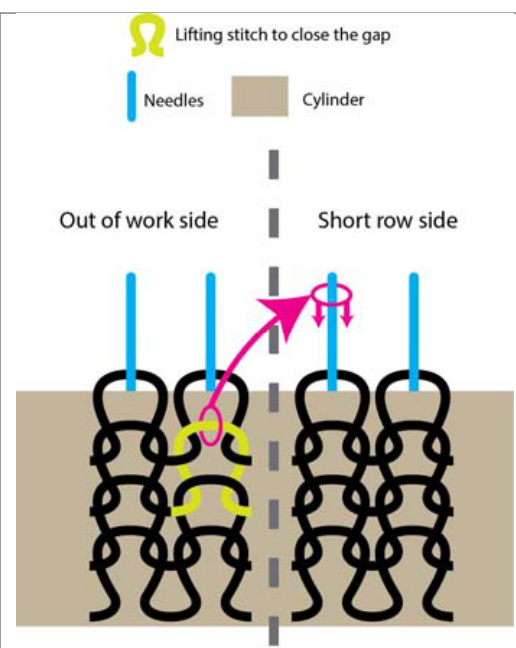
There will be a hole or a gap between the short row side and the out of work side. Use pick up tool to lift the purl bump from the row below at one side and drop this loop on the needle of the adjacent stitch across the gap at the other side.
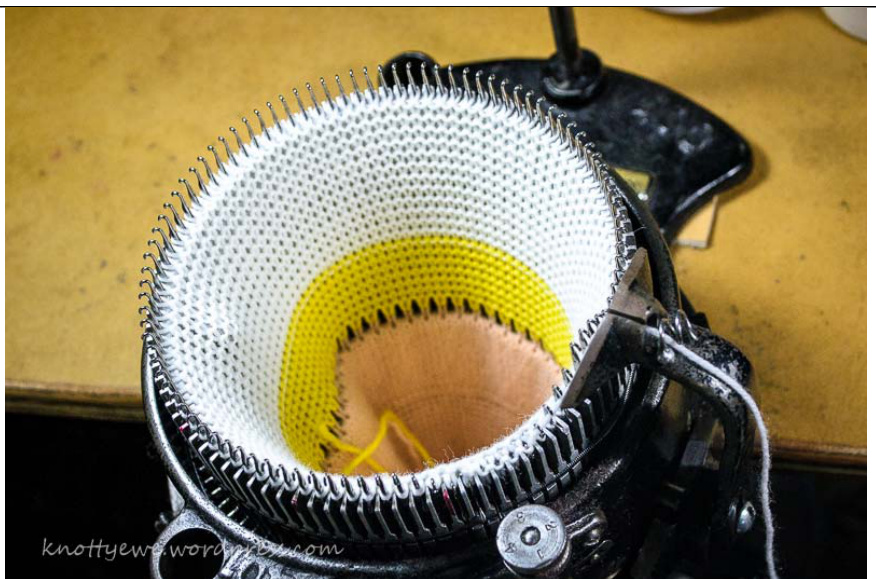
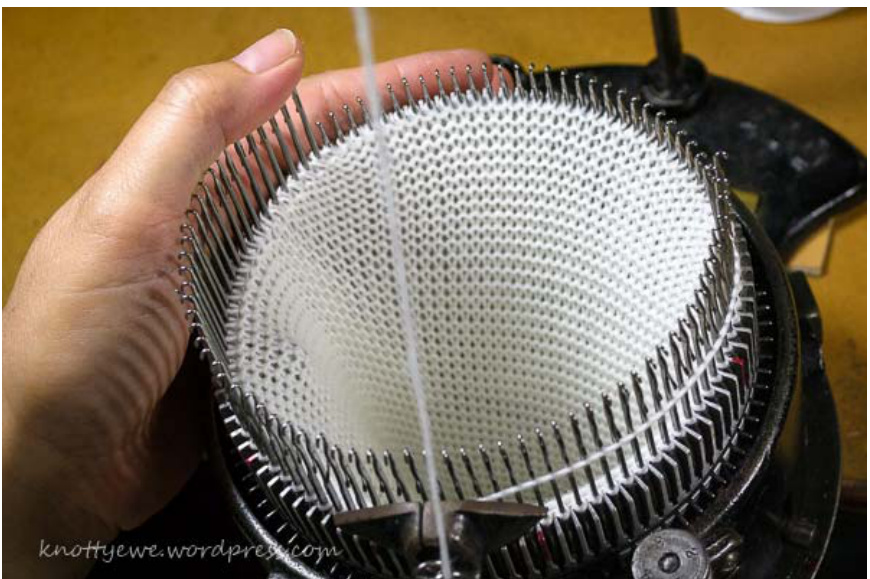
PICOT HUNG HEM.
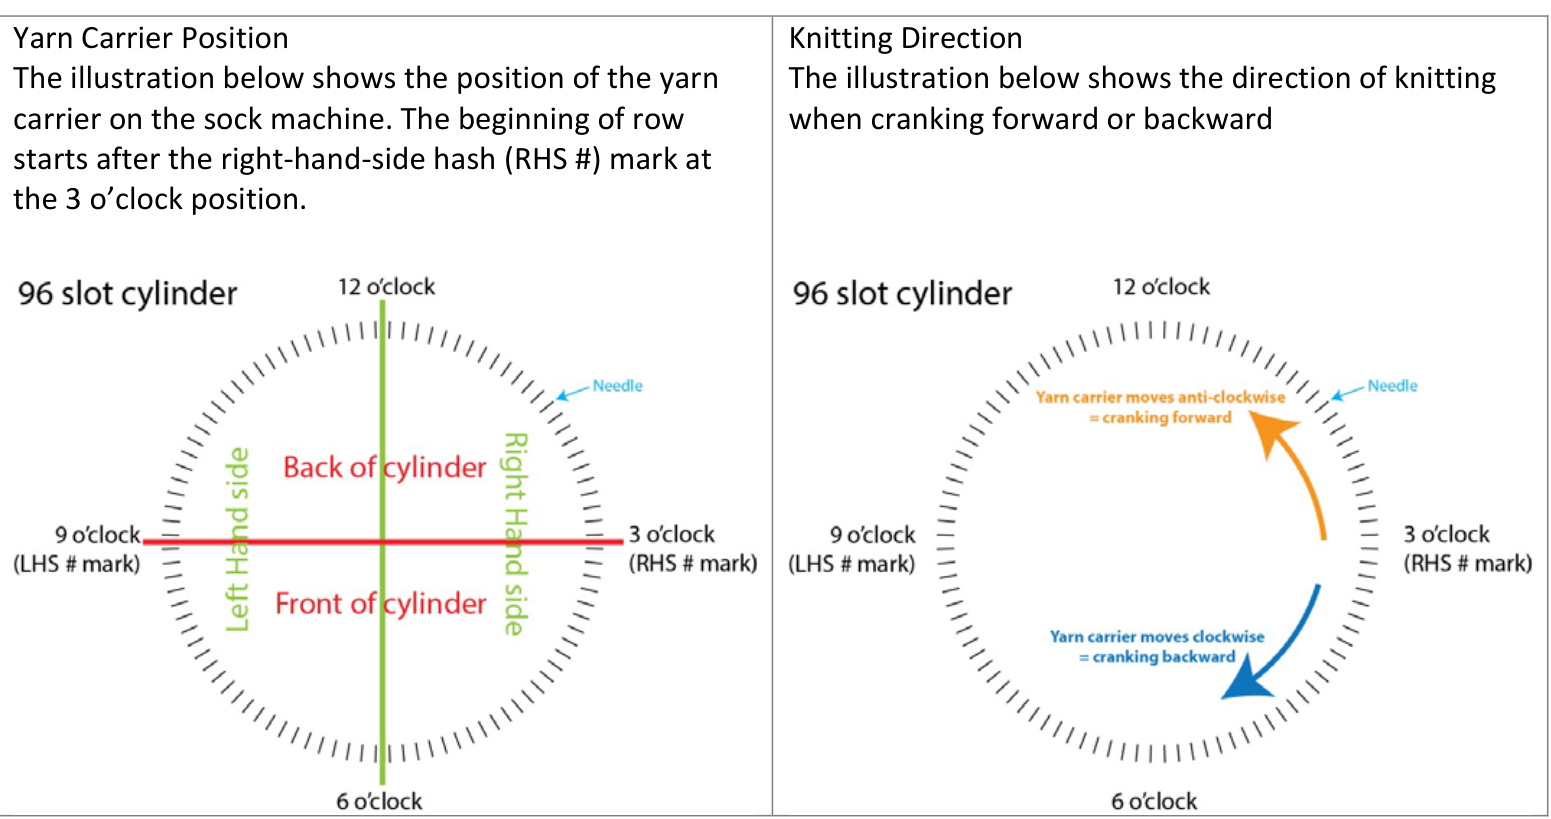
Cast on using waste yarn in a contrasting color from white. Join white yarn at beginning of row (3 o'clock position), and crank [10, 13] rows. Stop with the yarn carrier at the end of the row. Note: Camera's angle is slightly to the right of cranker's position.
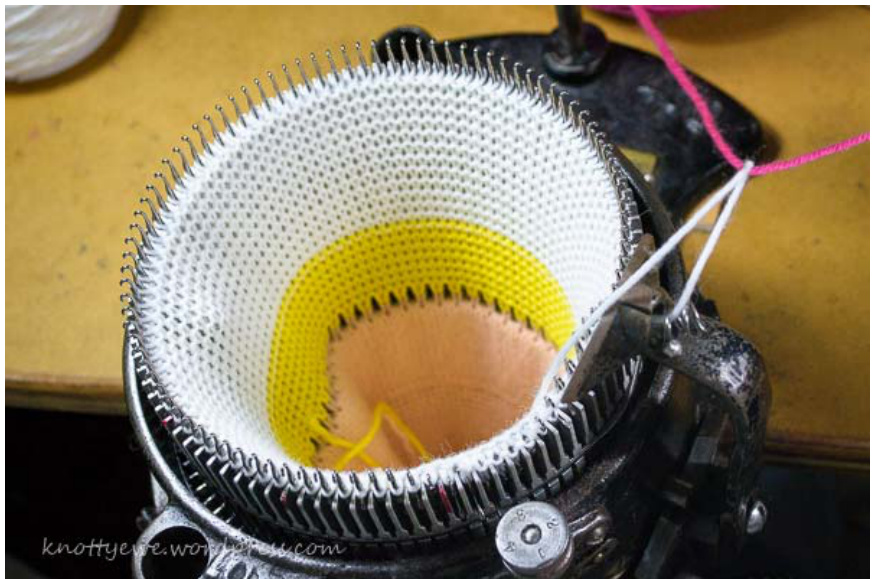
Join pink yarn at beginning of row and crank two rows. Note: My method of joining yarn is to loop through the other yarn and double back on itself. Thread thetail ofthe oldyarnback through the yarn carrier and lay the tail along the needles. Pinch the new yarn with its tail and tug gently to straighten loop.
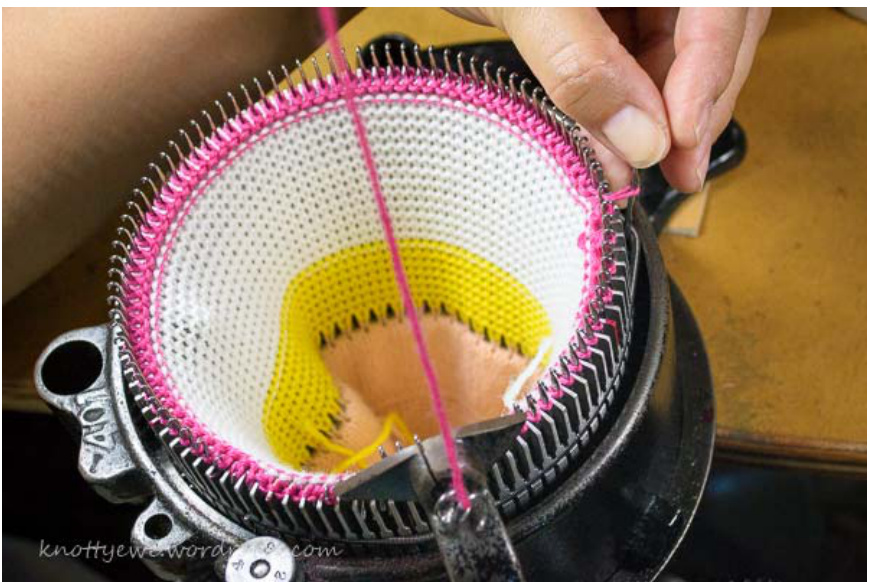
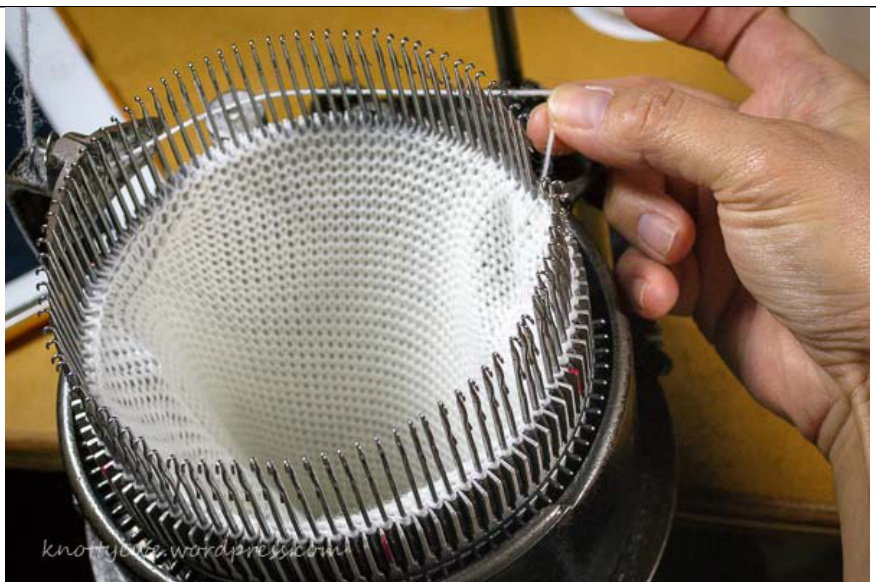
Use pick up tool and transfer the first stitch beginning at the 3 o'clock position to the needle on its left. Repeat all around. Note: It's easier to pick up the stitch if you push the needle outward.
Crank another two rows in pink. Cut pink yarn leaving a 10" tail then join white yarn. Crank [10, 13] rows in white, totaling [24, 30] rows from beginning of work.
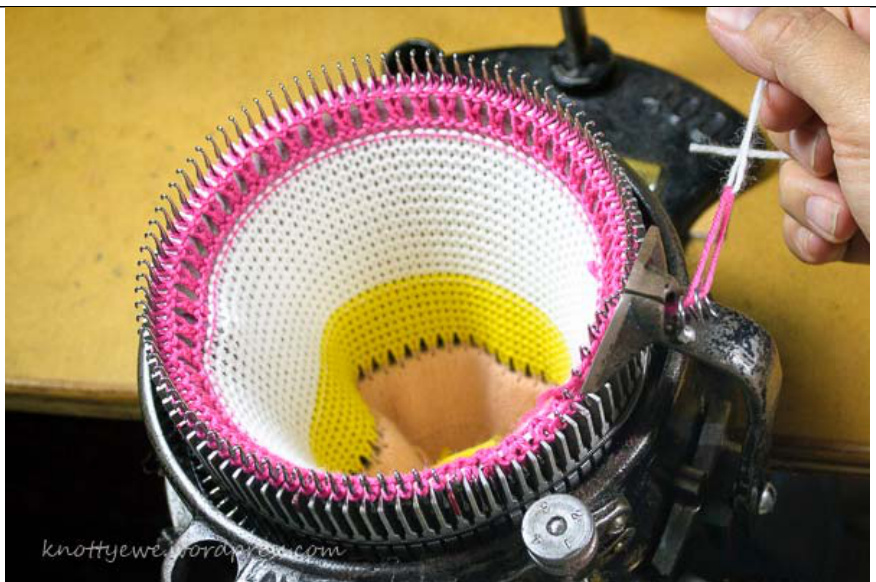
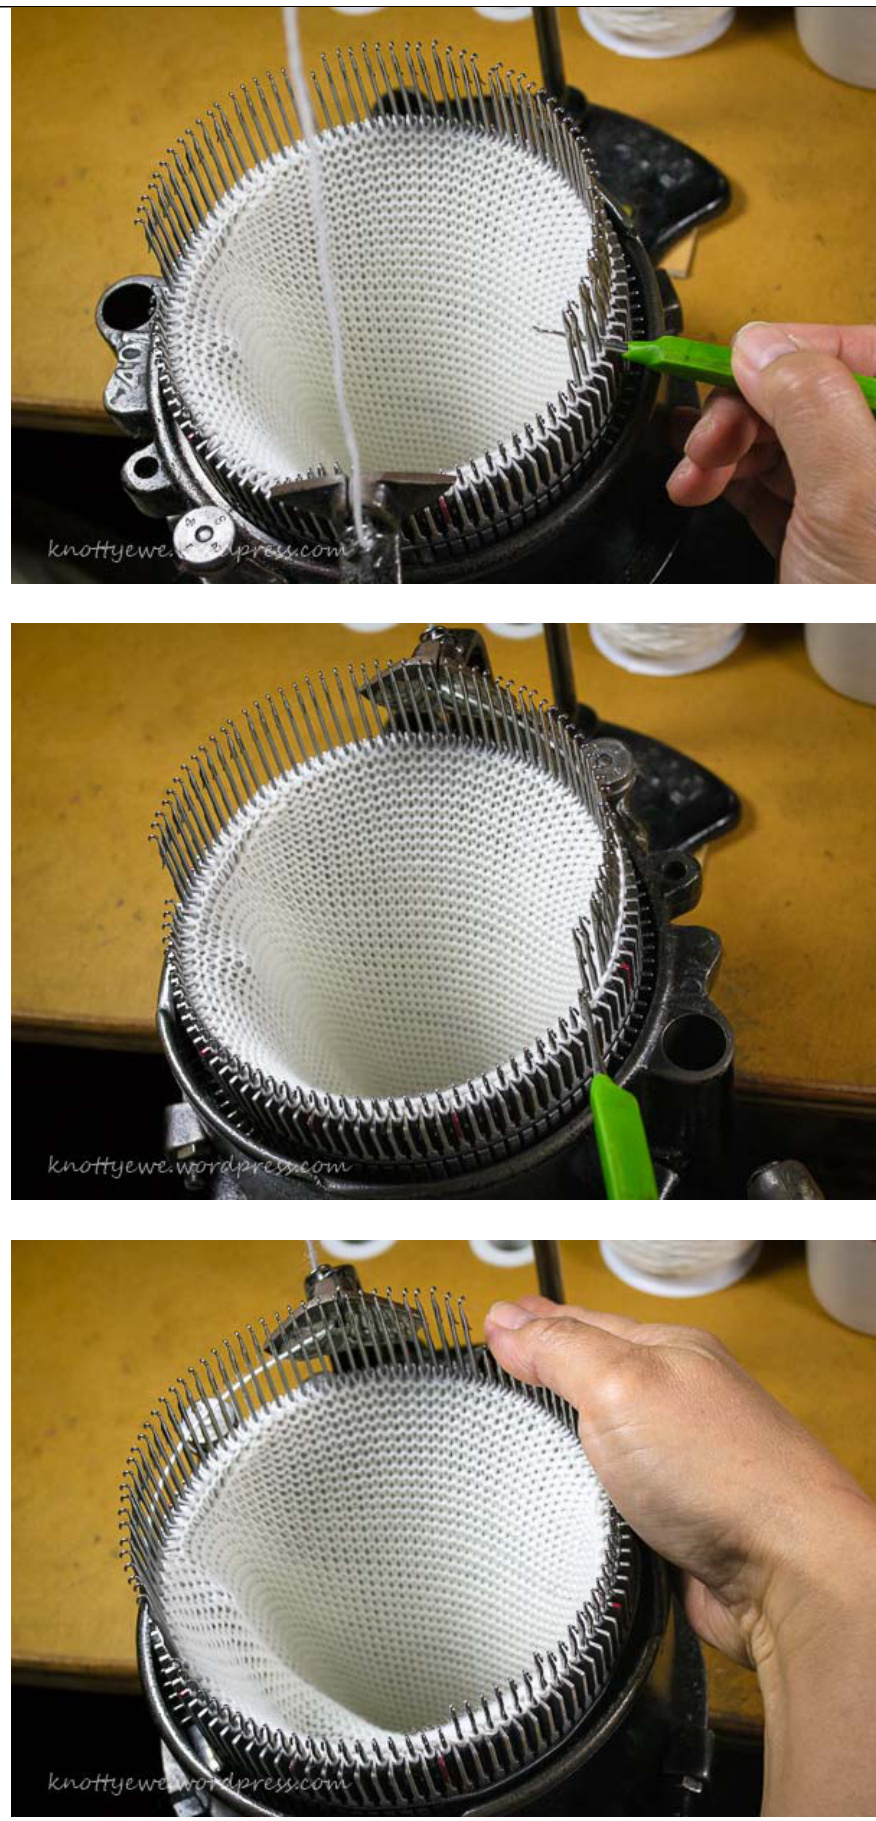
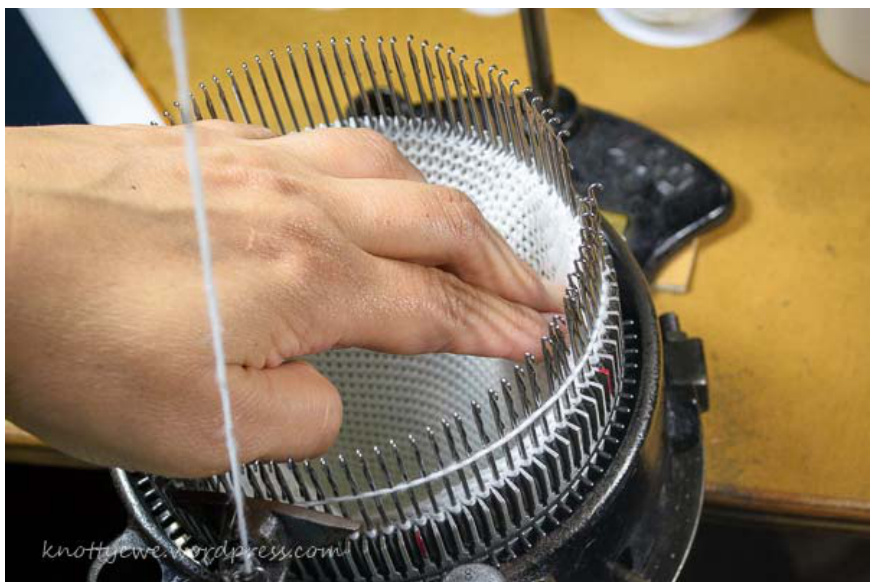
Stop with yarn carrier at the front. Remove all weights. Pull up work and align the first row around the cylinder for easier pickup and hang. Hang corresponding purl bumps on to their cylinder needles and matching working yarn to working yarn. Crank one row to close hem and another row ending with the yarn carrier in the front.
SHORT ROWS TO LENGHTEN THE BACK OFTHEHAT
Raise [40, 52] needles in the back. Lift all back needles plus two needles in the front from each side. Crank forward to back of work. Hook the heel spring.
Push down one needle from the right, wrap and crank backward to the left. Similarly on the other side, push down one needle from the left, wrap and crank forward to the right.

Note: Do not push the needle all the way down as that will cause the needle latch to close. When raising or lowering needles, do this on the side of the last knitted stitch.Also, raised needles do not require wrapping but pushed down needles require wrapping to close the holes. Continue to push down one needle on each side, wrap, and crank forward and backward until there are [22, 28] stitches up in the back. Stop at the 6 o' clock position. Push down all the back needles. Unhook the heel spring. Note: Use fingers to pinch and pull down work underneath the machine.
There will be holes/gaps on the outside edges of the [22, 28] short row stitches. Use pick up tool to lift the purl bump from the row below and drop this loop on the needle of the adjacent stitch across the gap. Repeat for the other side. Refer to Preface. TUBEFORTHEHEAD Depending on the size of the hat and your gauge, crank about 25, 30, or 35 rows for a baby, toddler, or small ladies size hat. Stop with yarn carrier in the back.
SHORT ROWSTOPOSITIONTHE EARS
Theseshortrows decrease thebulk on thebothsideofthehead and direct the ears outward instead of upwardfor a cuter Cutie! Raise [40, 52] needles in the front. Lift [36, 48] front needles plus 2 more needles from each side in the back. Hook heel spring and crank forward to front of work.
Lift one needle in the back out of work\*, crank backward to the right. Lift another needle in the back from the other side, crank forward to the left. Continue taking more needles out of work until [24, 32] needles are down/in work, or [four, six] pairs of short rows are completed. Before cranking the last row...
Note: \* When lifting or lowering needles, do this on the side of the lastknittedstitch. Push down all the needles back to work and crank one row. Use your non-cranking hand to pull work down as needed. Crank forward. Unhook heel spring and crank another row, stopping yarn carrier in the front.
SHORT ROWS FOR CROWN. Raise [44, 56] needles in the back. Lift all [36, 48] back needles again, plus 4 more needles at the front from both sides. Crank forward to back of work. Hook the heel spring. Lift one needle on the right, crank backward to the left. Similar to the other side, lift one needle to the left, crank forward to the right. Repeat knitting back/forth until [16, 20] needles are down/in work.
Before cranking the last row forward, push all needles down, unhook heel spring, crank one more row and stop at the front.
RIGHT EAR
Raise [58, 78] needles (leaving [14, 18] needles down in the back right hand side) Count 18 needles in the back from beginning of row at the 3 o'clock position, lift the needles beyond the 18 counted in the back and all the needles on the left hand side. Note: The right ears will be made by short-rows on these [14, 18] needles only. Crank forward to the back. Lift all remaining needles at the front to the end of row. There are [14, 18] stitches down from beginning of row. Hook the heel spring. Decrease To Tip. Lift one needle (always lift or lower from the last knitted stitch) and crank backward. Note: Making ears is similar to making heels, except decrease to a just a few stitches and then increase back to original count. Similar to the other side, lift one needle and crank forward. Repeat lift and crank until there are only [2, 4] needles down. Note: Use fingers or heel hook to keep work down and shown in image.
Increase From Tip. Push down one needle, wrap behind, and crank backward. Similar to the other side, push down one needle, wrap, and crank forward. Repeat until all [14, 18] stitches are down/back at work. Note: Put finger into ear "pocket" to keep the work down. Before cranking the last short row forward, push all the needles in the back down, AND...
...close the hole/gap for the short rows using pick up tool to lift the purl bump below and pull across to the adjacent stitch. Crank last short row forward.
LEFT EAR
Raise [58, 78] needles (leaving [14, 18] needles down in the back left hand side) Count [14, 18] back needles from the left at the 9 o'clock position, and lift the needles beyond the [14, 18] counted and all the needles on the right hand side. Repeat the same process for Decrease To Tip and Increase From Tip as the right ear.
Before cranking the last short row forward, push down all the needles on the left hand side and close the hole/gap for the short rows using pick up tool. Crank last short row forward.
Lower all needles in the back down to work. Use pick up tool to close the holes/gaps between the short-rows for the left ear.
Lower all needles. Use pick up tool to close the last holes/gaps for the right ear. Note: Since there are two ears and two sides on each ear, there will be four lifting of the stitches below to close the gaps. Crank slowly one round. Use fingers/heel forks to hold down work, ending at the left by the 9 o'clock position.
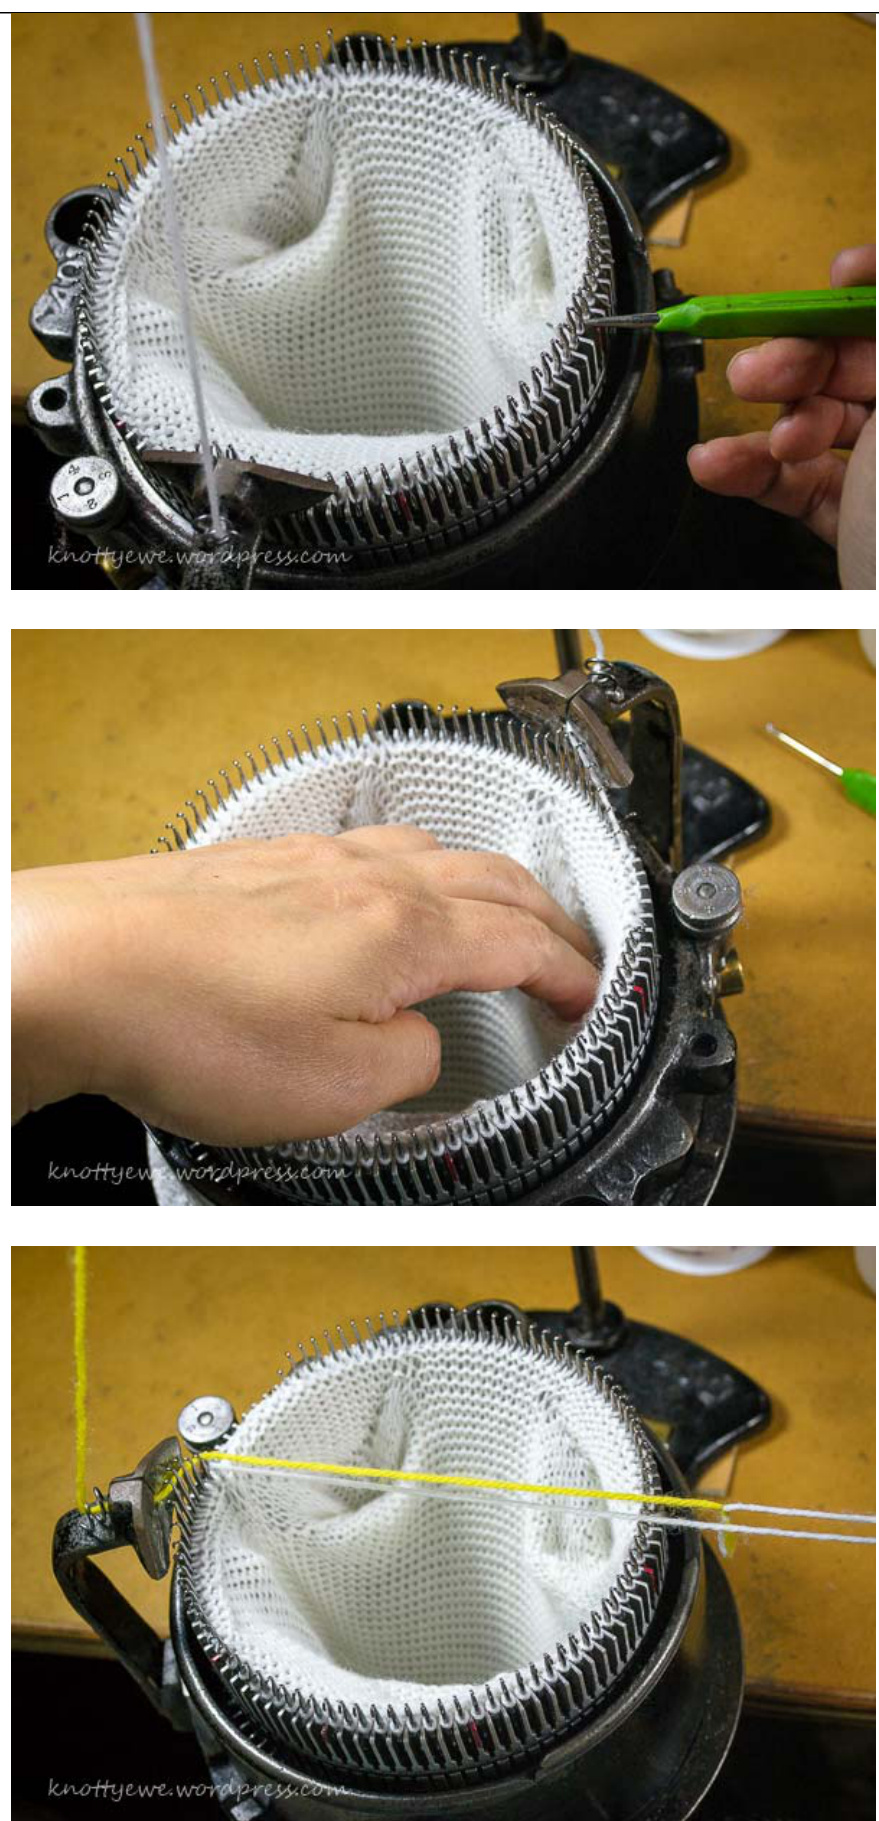
Cut white yarn leaving a 20" tail. Join with waste yarn and pull though. Stuff the yarn tail inside work and crank about 10 rows with waste yarn. Cut the waste yarn and crank work off the machine
Remove set up bonnet and ta da!
FINISHING
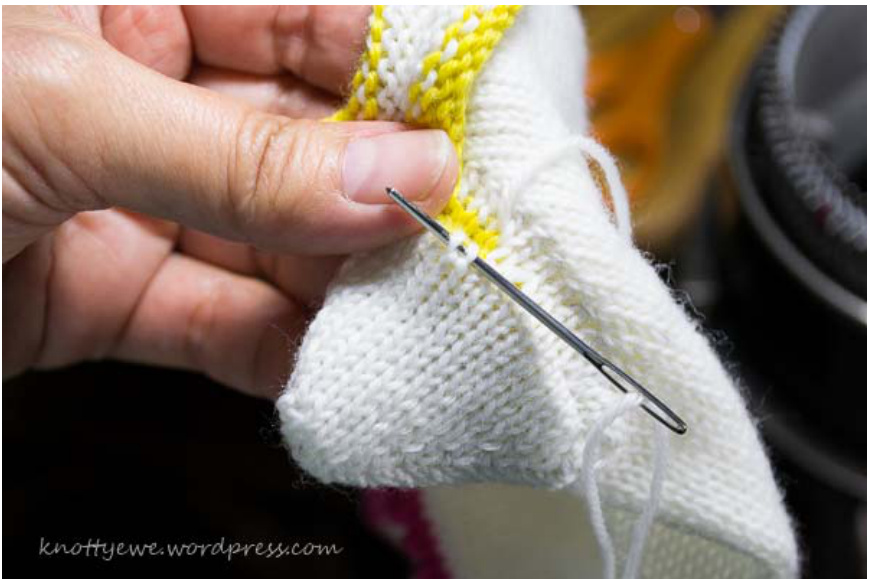
Use your favorite method to close the crown such as the Kitchener stitch. The method most familiar to me is closing from the knit side and sew together the knitted loops that comes together like a / (as in a teepee). For help with darning from the right side, check out my blog at https://knottyewe.wordpress.com /2013/12/24/csm-toes/
Cut two 1"x1" fusible interfacing pieces (heavy weight) and cut diagonally, for a total of four triangles. Turn hat inside out and cut to fit ears. Fuse interfacing by ironing per manufacturer's direction inside each ear, both front and back. Block.
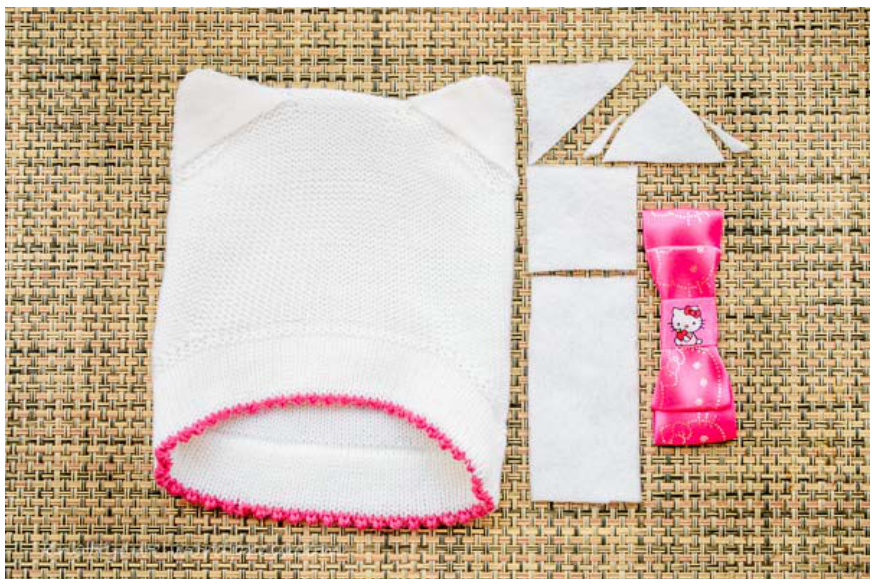
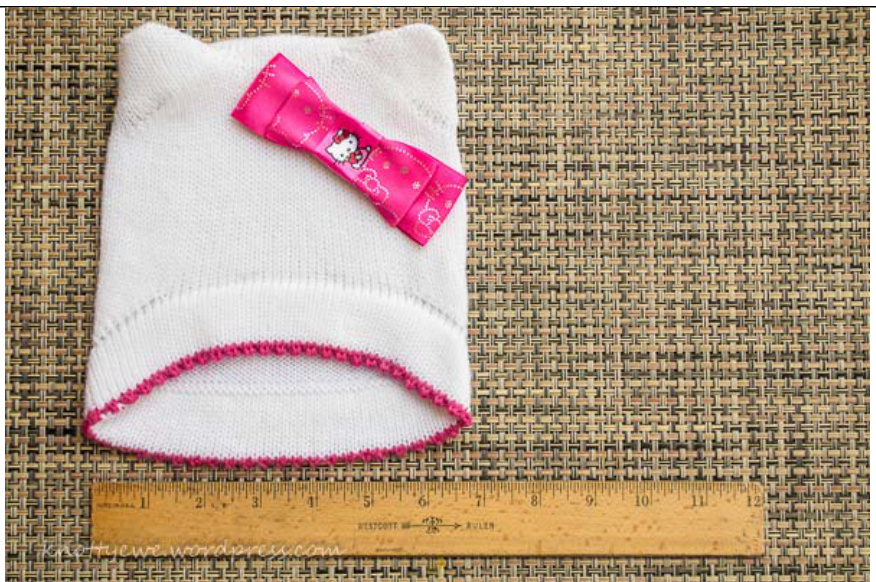
Add a cute pink bow to complete the look. Note: Use stripe yarn for a tiger hat! Or visit Ravelry and check out KnottyEwe's projects to modify this patterntoknitaLil'Devilhat!
Thank you for your purchase ofthis pattern. Pattern is for personal, non-commercial use only (meaning do not copy, distribute or resell pattern). Images and instructions are subjected to copywrite protection. However, items made from this pattern can be sold commercially. Best of luck! Please feel freto contact me if you have any questions or suggestions. KnottyEwe - February 2016.
- QUICK CHEAT SHEET
Hem [10, 13] rows white + 2 rows pink Picot (k2tog) 2 rows pink + [10, 13] rows white Hung hem
Body - Short Rows
Raise back [40, 52]. Down+wrap to raise back to [22, 28]. Body: 25-35rows Raise front [40, 52]. Lift to raise front [48, 64] to ([24,32] downback) Raise back [44, 56]. Lift to raise back [56, 76] to ([16, 20] down front)
Ears - Short rows
Right ear. Lower back right [14, 18]. Lift to [2, 4]. Down+wrap to [14, 18]. Left ear. Lower back left [14, 18]. Lift to [2, 4]. Down+wrap to [14, 18]. Crank to 9 o'clock. Cut and join waste yarn.