Pattern: Feminine Sanitary Menstrual Maxi Pad
1 original pattern by Stace Clement a.k.a. zonal on Etsy & Ravelry
This original pattern design in US crochet terms may not be distributed or sold as your own, but feel free to sell a finished pad made from this pattern!
level: intermediate
skills: know how to ch (chain), sl st (slip stitch), sc (single crochet), sc dec (sc decrease = insert hook, yarn over, pull back through leaving two loops on hook, insert hook into next st, yarn over, pull back through leaving three loops on hook, yarn over, pull through all three loops; 1 sc dec made) hook:F/3.75mm yarn: Lily Sugar 'n Cream 100% cotton in 22 colors additional materials: 0.5"/13mm wide button size: pictured pad measures 9"/23cm long x 3"/7.5cm wide (6"/10.5cm wide at wings), & is 2 or 3 layers thick
Pad
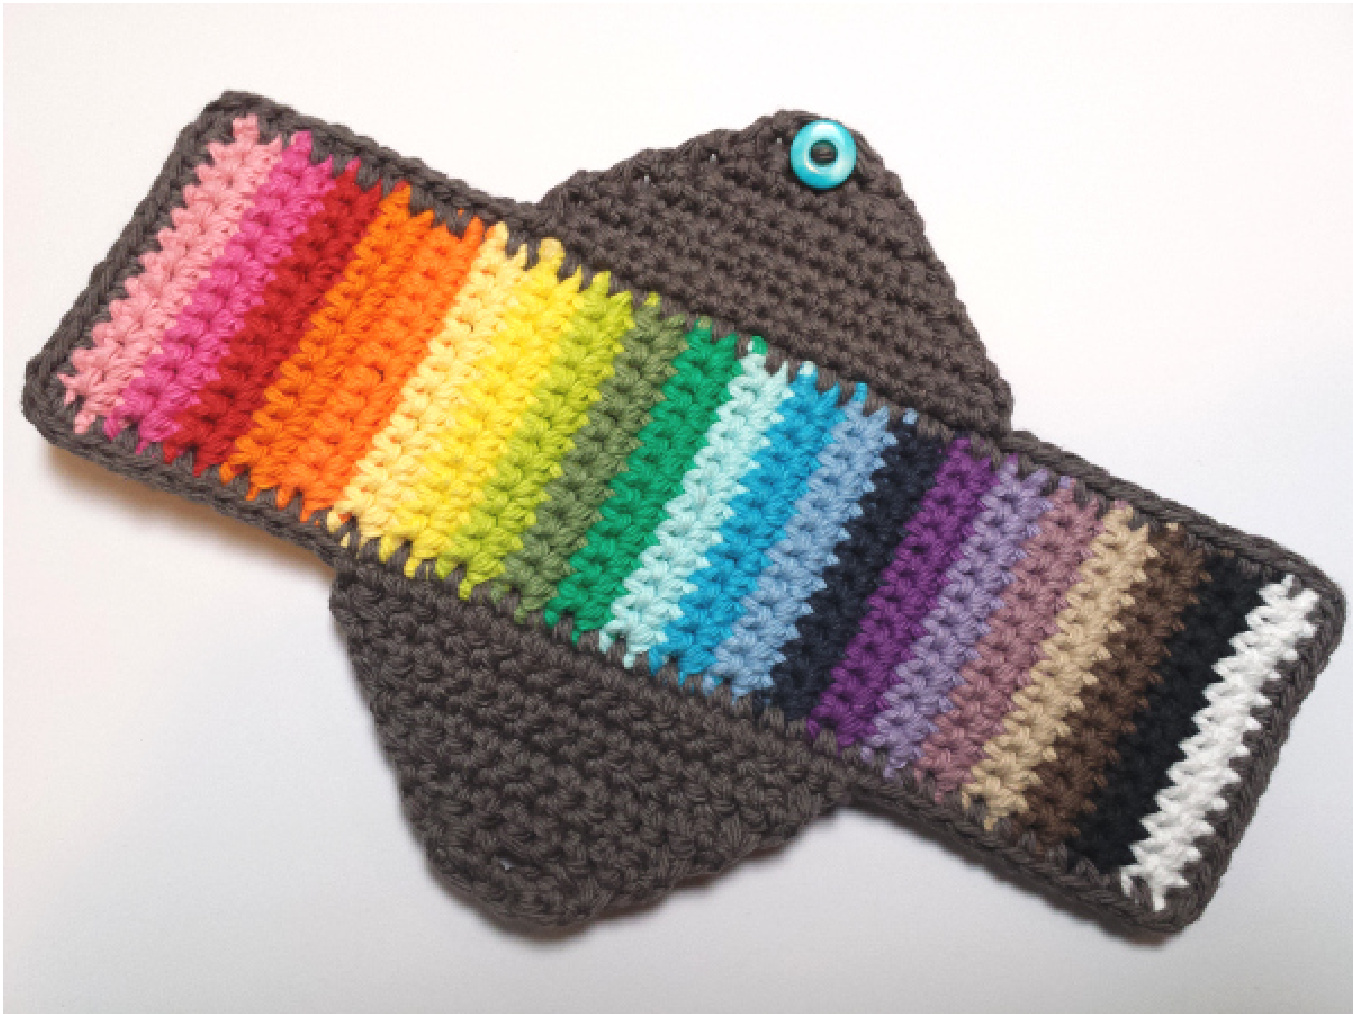
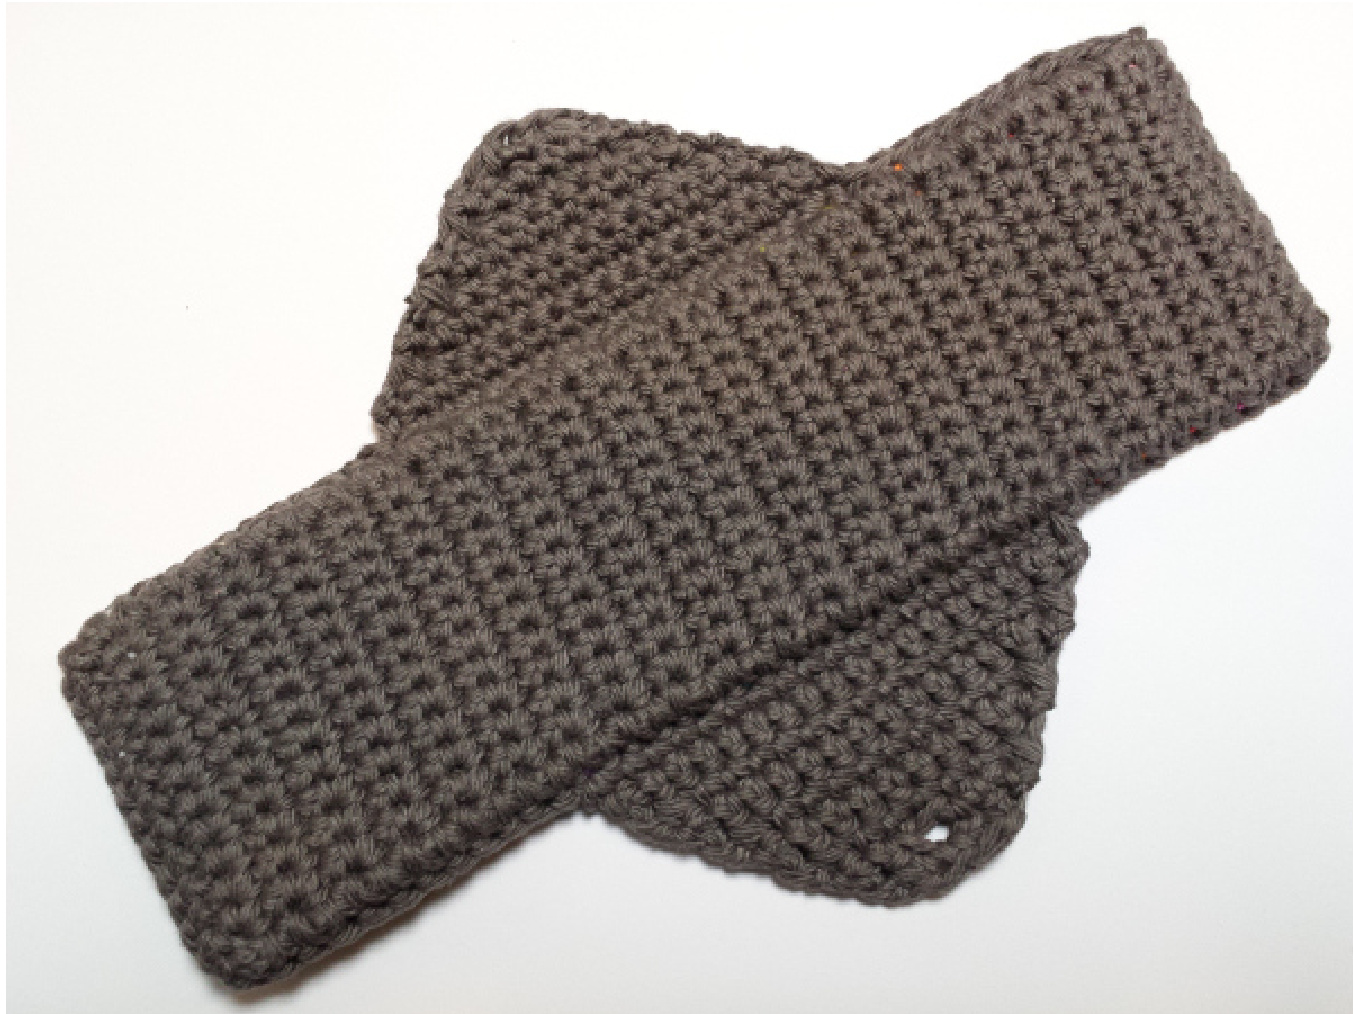
row 1: with first stripe color, ch 13, sc 1 in 2nd ch from hook & in each of next 11 chs; 12 sc made. row 2: ch 1 & turn, sc in same 1st st & in each st across; 12 sc made. Change colors & continue to repeat row 2, changing colors every two rows, until you have 42 rows of 21 colors, or until you reach desired length. With the color for your border & wings (pictured is gray), make another rectangle of the same size for the backing piece that will be the second/bottom layer. (Optionally if you desire a super bulky pad, you can make a third rectangle too & continue as instructed.) Holding both (or all three) rectangles together, Sc around all four edges to join them together, making 2 sc sts in each corner (so that you have 43 total sts on each long side including corners), ending where you started, & tie off.
Wing with Button
row 1: on the long side on the right, skip down past the first 6 color sections (12 rows) & in the next edge st just after this (at the edge of the 13th row), pull up yarn, ch 1, sc in same 1st st & each of next 18 sts down past the middle of the pad; 19 sc made. row 2: ch 1 & turn, sc dec 1 (see 'skills' for how to sc dec), sc 1 in each st across until 2 sts remain, sc dec 1; 17 sts made. row 3: ch 1 & turn, sc dec 1, sc 1 in each st across until 2 sts remain, sc dec 1; 15 sts made. row 4: ch 1 & turn, sc dec 1, sc 1 in each st across until 2 sts remain, sc dec 1; 13 sts made. row 5: ch 1 & turn, sc dec 1, sc 1 in each st across until 2 sts remain, sc dec 1; 11 sts made. row 6: ch 1 & turn, sc dec 1, sc 1 in each st across until 2 sts remain, sc dec 1; 9 sts made. row 7: ch 1 & turn, sc dec 1, sc 1 in each st across until 2 sts remain, sc dec 1; 7 sts made. row 8: ch 1 & turn, sc dec 1, sc 1 in each st across until 2 sts remain, sc dec 1; 5 sts made. row 9: ch 1 & turn, sc dec 1, sc 1, sc dec 1; 3 sts made. Tie off leaving a \~6" tail, & bringing the tail to the back side, use it to attach the button to front side of the wing at the center of row 8.
Wing with Buttonhole
rows 1-7: on the long side on the pad's left, repeat rows 1-7 above. row 8: ch 1 & turn, sc dec 1, sc 1, ch 1 & skip 1 st (buttonhole made), sc 1, sc dec 1; 5 sts made. & turn, sc dec 1, sc 1 into buttonhole space, sc dec 1, tie off; 3 sts mac Enjoy! \~ The end\~ If you can, please post a Project Page to Ravelry--we'd love to enjoy your piece with you! <3


