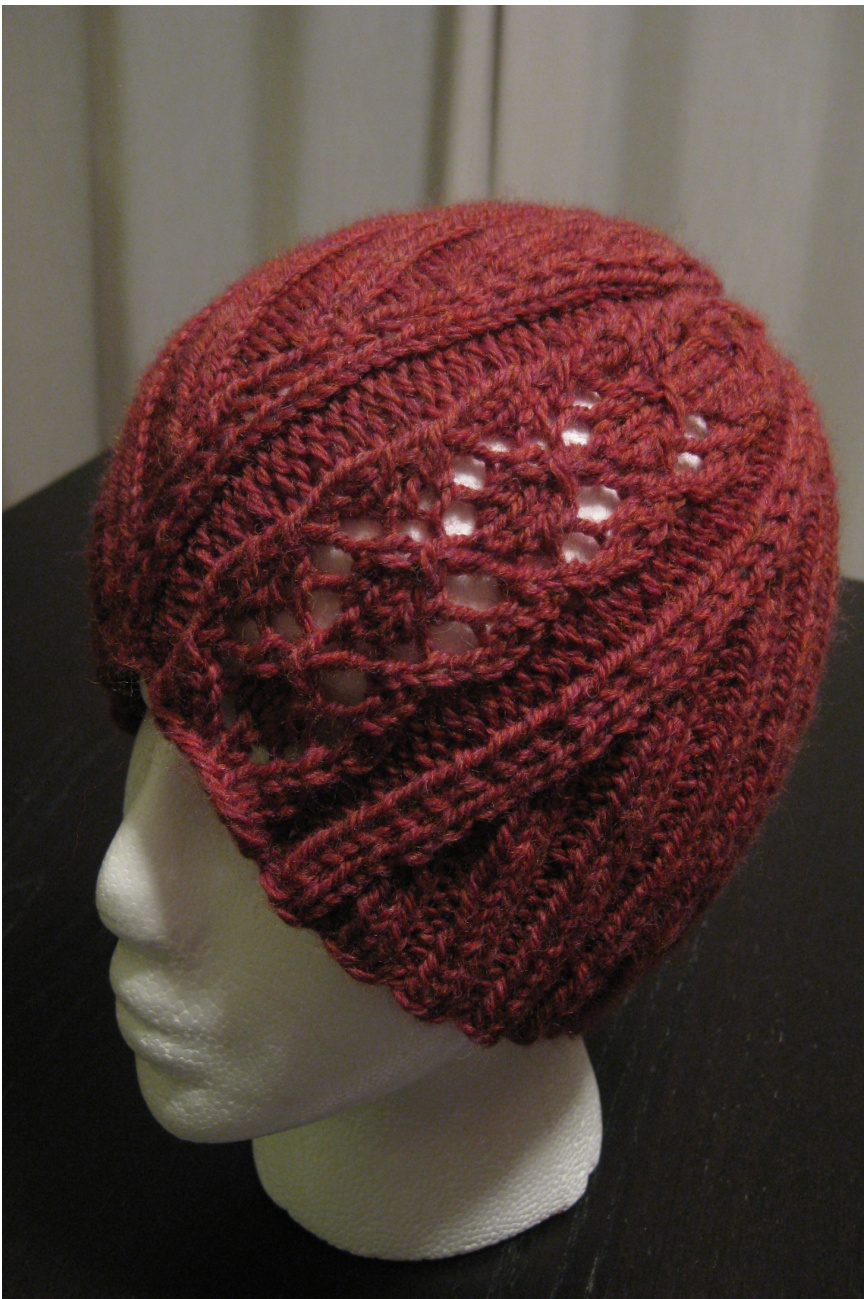
Wandering Lace Watch Cap
by Kristina Cotterman I have always loved the classic watch cap but have been searching for a way to make it more feminine. This hat has a panel of lace the crosses through the 2x2 ribbing. Stitches are decreased and increased on either side to maintain the ribbing pattern. Size: To fit an average woman Materials: Worsted Weight Yarn (I used approximately half of a skein of Patosn Classic Wool for thehat shown.) Size 7 Circular and DPN's 3 stitch markers Darning Needle Gauge: 20st.= 4" in Stockinette stitch Cast on 97 stitches. Place a marker to begin working in the round. Be careful to avoid twisting Stitches. Row 1: (K2 P2) 18 times. K2 PM \* P2 K7 P2 \* PM. (K2 P2) 3 times ame as Row 1 (Rows 1 and 2 set up the pattern for the ribbing and lace panel Rows 1 and 2 establish the ribbing pattern and build the foundation for the lace panel. Rows 3-10 now move the lace panel through the ribbing pattern. Row 3: Work ribbing pattern as established. 3 stitches before first lace panel marker K2tog K1. Slip marker. Work first row of lace panel (See lace panel chart below). Slip marker. K1 KFB. Continue in ribbing as established. Row 4: Work ribbing pattern as established. \* Row 2 of lace panel \* K3. Ribbing pattern as established Row 5: Work ribbing pattern as established. 3 stitches before first lace panel marker K2tog K1. Slip marker. \* Row 3 of lace panel\* Slip marker. K1 KFB. Ribbing pattern as established. Row 6: Work ribbing pattern as established. \* Row 4\* K4. Ribbing pattern as established. Row 7: Work ribbing pattern as established. 3 stitches before first panel marker K2tog. K1. \* Row 5 \* K1 KFB. Ribbing pattern as established obing pattern as established. \* Row 6\* K2 P1. Ribbing pattern as establishec Row 9: Work ribbing pattern as established. 3 stitches before first panel marker K2tog. K1. \* Row 7 \* K1 KFB. Ribbing pattern as established oing pattern as established. \* Row 8\* K2 P2. Ribbing pattern as established. Repeat rows 3-10 until hat measures 6.5" from the cast on edge, ending with row 10. (5 repeats of lace panel will have been worked)
Crown Shaping
Row 1: Work ribbing as established. 3 stitches before first panel marker K3tog K1. \* P2 K1 SSK K1 K2tog K1 P2\* Work ribbing as established. Row 2: Work ribbing as established. \* P2 SSK K1 K2tog P2\* Work ribbing as established. Row 3: Work ribbing as established. 3 stitches before first panel marker K3tog. K1 \* P1 S1 K2tog. PSSO. P1\* Continue in pattern to end of row. (87 stitches) Row 4: Change to DPN's. (K2tog P2 tog.) 14 times K1 P2tog (K2tog P2tog) 7 times (44 stitches) Row 5: K1 P1 around hat. Row 6-8: Repeat row 5. Row 9: K2tog around hat. (22 stitches) Row 10: Knit Row 11: K2 tog for remaining stitches. Break yarn leaving a 6" tail. Pull yarn through the 11 remaining stitches and pull tight. Sew closed. Weave in ends.
Lace Panel
| 7 | |||||||||||
| 0 | v | 0 | |||||||||
| 5 | 0 | \ | / | 0 | |||||||
| 。 | 。 | ||||||||||
| 3 | / | 0 | 0 | ||||||||
| 1 | 。 | / | 0 | 0 |
\* \* Denotes stitches worked between panel markers
| Knit | |
| Purl | |
| / | K2 tog |
| \ | SSK |
| 0 | Yarn over |
| S1 K2tog PSSO |
Abbreviations:
KKnit PPurl PM Place marker K2tog Knit 2 stitches together P2togPurl 2 stitches together SSK Slip Slip Knit S1 K2tog PSSO Slip 1 stitch, Knit 2 stitches together, Pass slipped stitch over KFB Knit into the front and back of the stitch (increases one stitch)


