Introduction
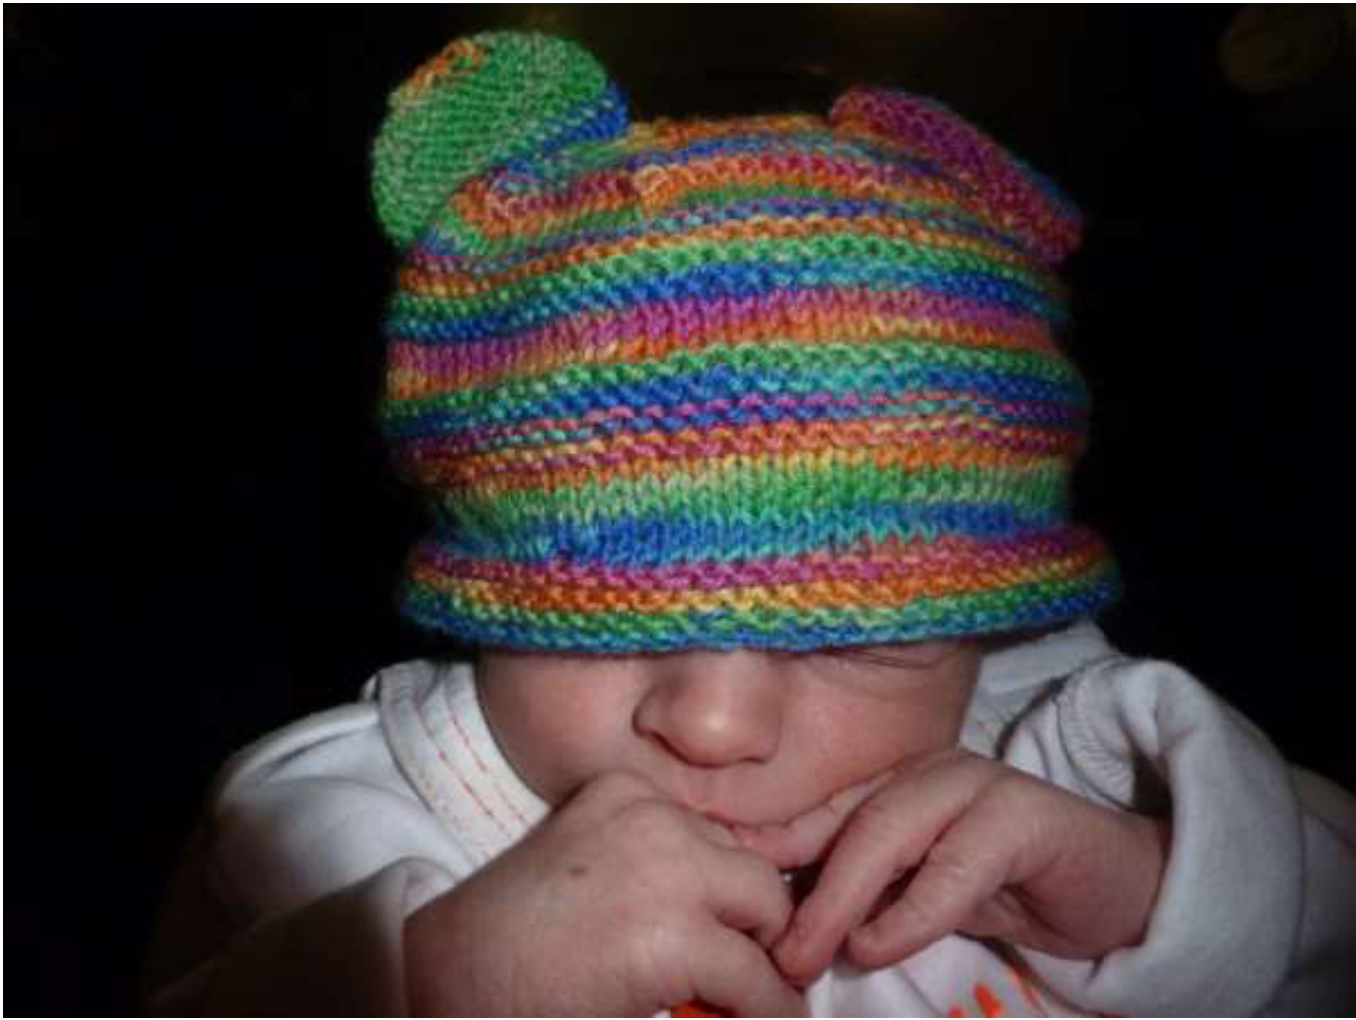
Firstly, thanks for downloading this file. This pattern is to knit a small beanie hat with little bear ears. It's worked in the round creating a seamless bonnet, and is therefore much more comfortable for the baby. The ears are worked flat then sewn on afterwards. The whole thing knits up fairly quickly and the accordion stitch adds texture. Mine is made in sock wool, not the softest thing round, but the colours were amazing. You can use any 4ply wool, and tension is not massively important as the hat will have a decent amount of stretch. It will be big for most new borns. I found this fitted best at 3-4 months of age. You will need around 1/2 a ball of a 4ply yarn, and a set of 3.25mm double pointed needles. As well as a needle to sew in our ends and sew on the ears. The pattern is intended for personal use only, and I'd appreciate if you link to the download page rather than emailing this to people. You can sell finished items from this, but I'd like credit to be given, it's only fair as my mother worked hard to make this, and I've taken the time to write and share it.
Story
A little rambling introduction as to how this hat came to be. It's a sentimental story that probably won't mean much to most of you, but because it has a meaning to me I want to share it.
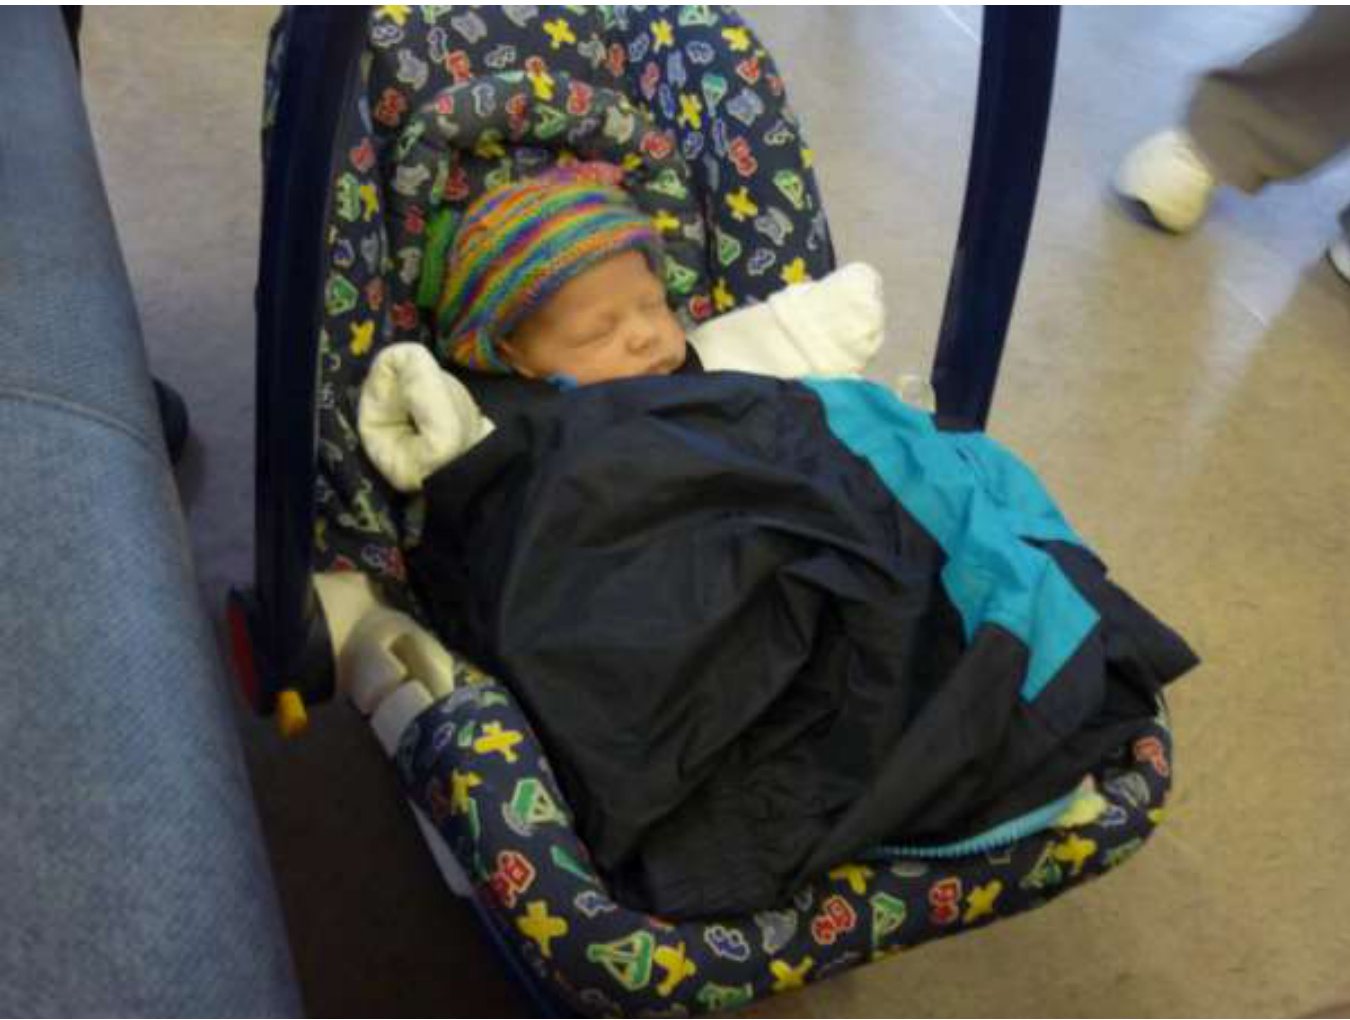
When I was 17 I gave birth prematurely to my son Neil, he was born at 30 weeks so was very small and scared me a lot. For the first month he didn't wear clothing because he was in an incubator, gradually he started moving into clothing and he needed hats and jumpers, even though it was summer. The hospital provided a lot of clothing, and a few things were hand knitted. Which lead to me asking my mum to knit some things for Neil. The request was simple enough, “can you please make him a hat, and a cardigan, and maybe some booties, and a blanket.." or so it seemed to me. I'd not yet started knitted, although in a few weeks I would. My mum gave me f10, telling me cheaper yarns would be around f2-4 a ball, and some more expensive things would be around f7-10. She said I should get baby wool and suggested that I bought 4ply, but that was about it. She told me one ball would be enough, and off I went. I had the father of my son with me, and the two of us were looking at the baby wools and hating the colours. Neither of us liked pastel, so while looking we drifted over to the 4ply section, we found sock wool. Regia color 4ply. The colours were amazing, and because it was the only yarn I really liked that was 4ply we chose it. The woman in the shop said it should be okay too because once washed with fabric softener it wouldn't be as rough. When I came home my mum looked at the wool and was impressed by the unisex rainbow colours. She got some needles and started playing around, knitting a basic beanie, then unravelling it because of a mistake and doing the accordion style hat. When she'd finished I jokingly said “Aww, no ears?" referring to ear flaps, a while later she showed it to me again, with teddy ears. Later when Neil left the hospital he left wearing that hat, and that hat became his hat, even though he had several. Sadly there's only two photos of him wearing it that I can find. When Sandy was born it became his second hat, and coincidentally he left the hospital wearing it too. It's still in perfect condition even now, the sock wool is very durable even though the hat has been worn and washed so many times. I asked my mum where she got the pattern one day and she said she made it up around the time my brother was born, but without the ears and horizontal stripes. She was playing around with 90 stitches, and when it came to the shaping she said she'd lost one and had to improvise, writing down her instructions and storing them for later usage with her knitting supplies. When she came to knit Neil's hat she found her instructions and went from there, adding the stripes throughout the hat, rather than just a garter stitch base.
Wool
I used 4-ply / 4-fadig by Regia. It's a 50gram ball with 210 metres of yarn. 75% sheep wool, and 25% Nylon/polyamide with a piled texture. And it's machine washable. Always check your ball band for further instructions. However my mum has made others using other 4ply yarns. Such as Wendy Happy and Patons 100% cotton 4ply. The tension should be 28 stitches and 36 rows in 10cm on 3.5mm needles, but it doesn't matter too much if your tension doesn't match, however you can change your needle size to get a better tension. You can also use 3mm needles if you want a new born sized hat.
Pattern
r tension should be 28 stitches and 36 rows to 10cm on 3.5mm knitting needles Casting on 1. Using the needles cast on 89 stitches. Join and work six rounds in garter stitch. 2.Work six rounds in stocking stitch. 3. Continue in this garter/stocking stitch pattern until the hat measures around 10 cm from base. Shaping [repeat brackets until end of round.] Keep in the pattern too. 1. Work 1. work 2 together, work 9 81 stitches (by work I mean either knit or purl) 2. Work each alternate round without shaping. 3. Work 1. [Work 2 together, work 8] 73 stitches 4. Work 1. [Work 2 together, work 7] 65 stitches 5. Work 1. [Work 2 together, work 6] 57 stitches 6. Work 1. [Work 2 together, work 5] 49 stitches 7. Work 1. [Work 2 together, work 4] 41 stitches 8. Work 1. [Work 2 together, work 3] 33 stitches 9. Work 1. [Work 2 together, work 2] 25 stitches 10. Work 1. [Work 2 together, work 1] 17 stitches 11. Work 1. [Work 2 together] 9 stitches 12. Work 1. [Work 2 together] 5 stitches. Cut yarn and bring through remaining stitches to cast off.
Ears
(make two, worked flat in garter stitch) 1. Cast on 15 stitches. 2. Knit 12 rows. 3. Knit 1, knit 2 together, knit to last 3 stitches. Knit 2 together, knit 1. 13 stitches. 4. Knit. 5. Repeat last two rows. 11 stitches. 6. Knit 1, knit 2 together, knit to last 3 stitches. Knit 2 together, knit 1. 9 stitches. 7. Repeat twice. 5 stitches. 8. Cast off knit ways.
Finishing
Darn in ends of ears and sew on to the top of the hat. To get the hat nice and symmetrical I recommend pinning it out and covering with a damp cloth until it's dry, then sewing it all up.
More from me
If you enjoyed this pattern and want to find me online here are a few links. Crafting blog Ranting blog Facebook Ravelry


