Rhubarb and Custard Sweets
About the sweets
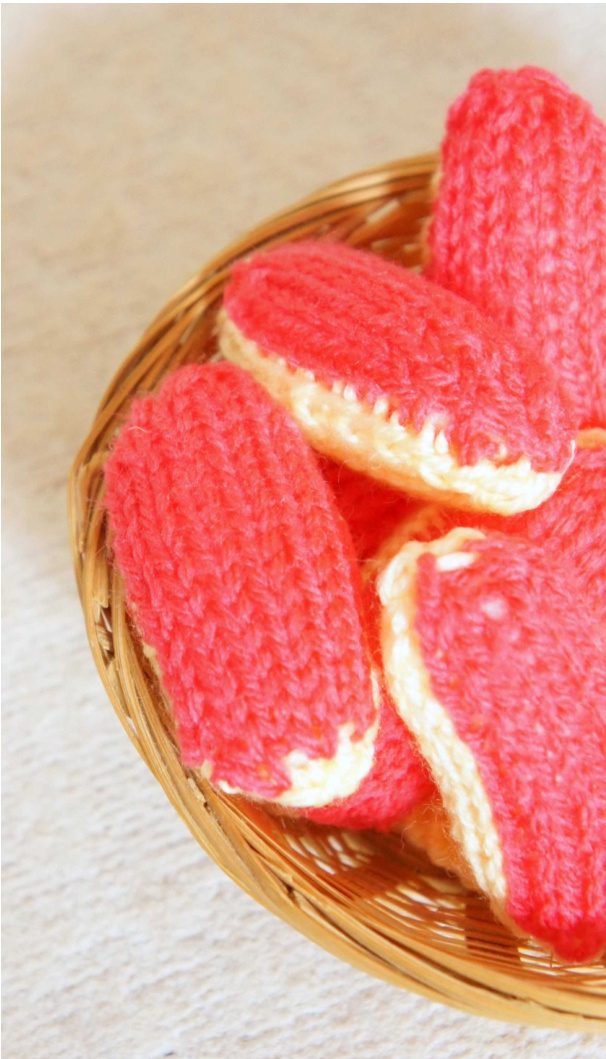
To support the Sweetie Shop UK Hand Knitting Association project, here is a pattern for the traditional rhubarb and custard sweets. The pattern is very simple and can be knitted up in less than half an hour! Create it using your stash or just a few metres of yarn!
You will need
Approximately 2m of yellow double knitting yarn and 2m of pink double knitting yarn. 3.25mm/US3/UK 10 single pointed needles Small amount of toy stuffing and a sewing needle to sew upthesweet
Gauge or tension
Consistent tension is all that is important for this project.
Abbreviations
P—Purl k2tog—knit two stitches together kfb—knit into the front and back of a stitch to create 2 stitches. Intarsia method—use separate balls for different colours and twist the yarns when changing colour to avoid holes in your knitting.
The Sweet
Cast on 6 stitches in yellow. Row1: using the intarsia technique for the colour change, kfb into the first 3 stitches in yellow, then kfb into the remaining 3 stitches in pink (12 stitches) Row2: purl 6 stitches in pink and 6 stitches in yellow Row3: kfb in the first stitch in yellow, k5 in yellow, kfb in the next stitch in pink, k5 in pink Row4: purl 7 stitches in pink and 7 stitches in yellow Row5: knit 7 stitches in yellow and 7 stitches in pink Repeat rows 4 and 5 a further 3 times, then repeat row 4. Row13: k2tog at the beginning of the row in yellow, k5 in yellow, k2tog in pink, k5 in pink (12 stitches)
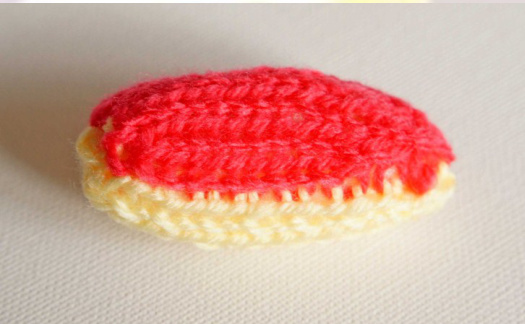
Row 14: as row 2 Row 15: k2tog three times in yellow, k2tog three times in pink (6 stitches Leaving a 30 cm tail in pink cut the yarn. Thread this yarn tail onto a needle and take it through the remaining 6 stitches. Pull tight, then with right sides together, use the yarn tail to sew up the sweet, leaving a gap to insert the toy filling. Fill with toy filling then sew up the gap.


