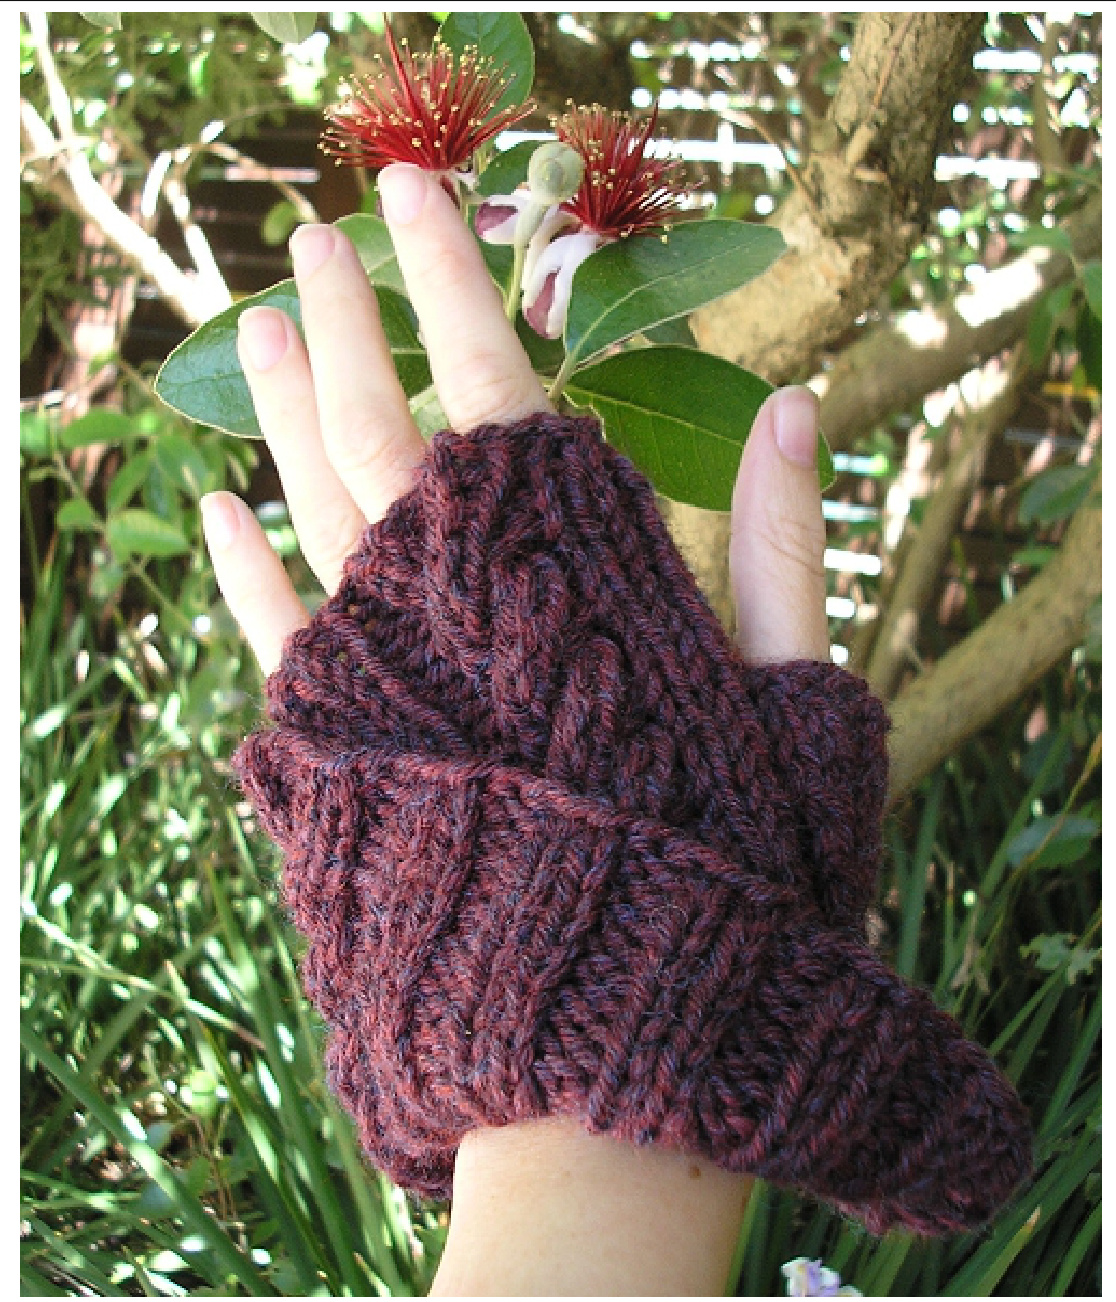
MoUius Mitts V.2
pixelatecmushroom.etsy.Com Design 2010 Nyss Parkes Creative Commons Attribution-NonCommercial-ShareAlike 3.0 License Australia ( http://creativecommons.org/licenses/by-nc-sa/3.0/au/ ) You may make these for yourself and for gifts/charity but please do not sell gloves made from this pattern
Welcome!
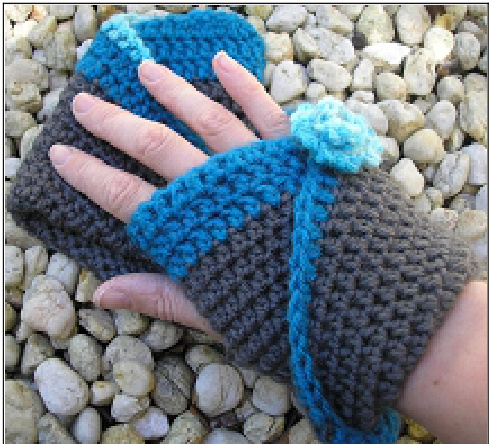
Thanks for coming to check out this unusual and slightly geeky creation! If you would prefer to crochet your Mobius Mitts you can download my other pattern for free: http://pixelatedmushroom.blogspot.com/2010/06/mobius-mitts-v1.html The mobius strip has been used in the past for many cowl and scarf creations, but gloves make it just that bit more exciting and unusual! People will be fascinated when you hand over your gloves and let them twist and try to work them out! Unlike the crochet version, these gloves are knit flat and then twisted into a mobius loop and seamed. This makes this accessible to newer knitters and less hassle to keep track of where you're up to. If you'd like to try working around the mobius loop follow the link to the crochet version above.
I would love to see any photos of your finished gloves if you would like to send them to me (pixelatedmushroom@gmail.com). If you have any worries or questions just send an email. Hope you have as much fun knitting as I did designing the pattern!
Tools
4.5mm needles a cable needle (or dpn or crochet hook) a stitch marker and a couple of pins
Yarn
I used Bendigo Woollen Mills Rustic 12 Ply in the Red Tweed colourway (Ravelry link: http: //www.ravelry.com/yarns/library/bendigo-woollen-mills-rustic-12-ply ) but other 12ply (bulky) wool of your choice should have a similar effect. 100 grams easily made a pair for me
Gauge
Approximately 4 sts and 6 rows in 2x2 rib per inch (an 8 st x 8 row gauge square would be a good test to measure this)
Sizing
Gloves ribbed to fit most medium sizes - can be increased an inch in width by adding: Left hand: [k2, p2] to the end of all odd rows and the start of all even rows Right hand: [p2, k2] to the end of all odd rows and start of all even rows Stitches/Abbreviations (with links to videos if you're having trouble) Sts = Stitches k = knit p = purl knit into the back of a st http: //www.youtube.com/watch?v=DkgTWTnQqaQ dec knitwise = knit two sts together http://www.youtube.com/watch?v=fXb0SsafXQs dec purlwise = purl two sts together http://www.youtube.com/watch?v=9K9Q6OwbFzc dec knitwise tbl = knit two sts together through the back loops http: //www.youtube.com/watch?v=7TQnQRNWxvg dec purlwise tbl = purl two sts together through the back loops http://www.youtube.com/watch?v=VPh84pLRmcw (vid doesn't show decrease, but just do this is in two sts) C8B = slip 4 sts onto cable needle and hold to back, [knit 2, purl 2] from left needle, [knit 2, purl 2] from cable needle C8F = slip 4 sts onto cable needle and hold to front, [purl 2, knit 2] from left needle, [purl 2, knit 2] from cable needle If you haven't tried cables before it might be good to check out this vid: http://www.ehow.com/video_4974149_knit-cable-stitch.html
The Pattern
Left Hand
Cast on 40 rows 1-4) [k2, p2] to end 5) k2, p2, C8B, [k2, p2] to end 6-8) [k2, p2] to end 9) k2, p2, C8B, [k2, p2] to end 10-11) [k2, p2] to end 12) [k2, p2] to end, cast on 11 extra sts for the thumb = 51 13) knit into the back of the new 11 sts, (place marker), k2, p2, C8B [k2, p2] to end 14) [k2, p2] until 2 sts remain, k2, p1 15) k1, p2, dec knitwise tbl, p2, dec knitwise, p2, [k2, p2] end = 49 16) [k2, p2] until marker, [k2, p1] to end 17) [k1, p2] x3, k2, p2, C8B, [k2, p2] to end 18) [k2, p2] to marker, dec knitwise tbl, p1, k2, p1, dec knitwise, p1 = 47 19) k1, p1, k1, p2, k1, p1, [k2, p2] to end 20) [k2, p2] to marker, dec knitwise tbl, k2, dec knitwise, p1 = 45 21) k1, p4, k2, p2, C8B, [k2, p2]x2, C8B, [k2, p2] to end 22) [k2, p2] to marker, dec knitwise tbl, dec knitwise, p1 = 43 23) k1, p2, [k2, p2] to end 24) [k2, p2] to marker, remove marker, dec knitwise, p1 = 42 25) dec knitwise, dec knitwise, p2, [k2, p2] x4, C8B, [k2, p2] to end = 40 26-28) [k2, p2] to end 29) [k2, p2] x5, C8B, [k2, p2] to end 30-32) [k2, p2] to end 33-36) repeat rows 29-32 once more Cast off loosely leaving a long tail. Put aside with a note that this is the left glove.
Right Hand
Cast on 40 rows 1-4) [p2, k2] to end 5) p2, k2, C8F, [p2, k2] to end 6-8) [p2, k2] to end 9) p2, k2, C8F, [p2, k2] to end 10-11)[p2, k2] to end 12) [p2, k2] to end, cast on 11 extra sts for the thumb = 51 13) knit into the back of the new 11 sts, (place marker), p2, k2, C8F [p2, k2] to end 14) [p2, k2] until 2 sts remain, p2, k1 15) p1, k2, dec purlwise tbl, k2, dec purlwise, k2, [p2, k2] end = 49 16) [p2, k2] until marker, [p2, k1] to end 17) [p1, k2] x3, p2, k2, C8F, [p2, k2] to end 18) [p2, k2] to marker, dec purlwise tbl, k1, p2, k1, dec purlwise, k1 = 47 19) p1, k1, p1, k2, p1, k1, [p2, k2] to end 20) [p2, k2] to marker, dec purlwise tbl, p2, dec purlwise, k1 = 45 21) p1, k4, p2, k2, C8F, [p2, k2]x2, C8F, [p2, k2] to end 22) [p2, k2] to marker, dec purlwise tbl, dec purlwise, k1 = 43 23) p1, k2, [p2, k2] to end 24) [p2, k2] to marker, remove marker, dec purlwise, k1 = 42 25) dec purlwise, dec purlwise, k2, [p2, k2] x4, C8F, [p2, k2] to end = 40 26-28) [p2, k2] to end 29) [p2, k2] x5, C8F, [p2, k2] to end 30-32) [p2, k2] to end 33-36) repeat rows 29-32 once more Cast off loosely leaving a long tail.
ss Parkes. Creative Commons Attribution-Share Alike 3.0 License Australia
Making the mobius twists
Left Hand
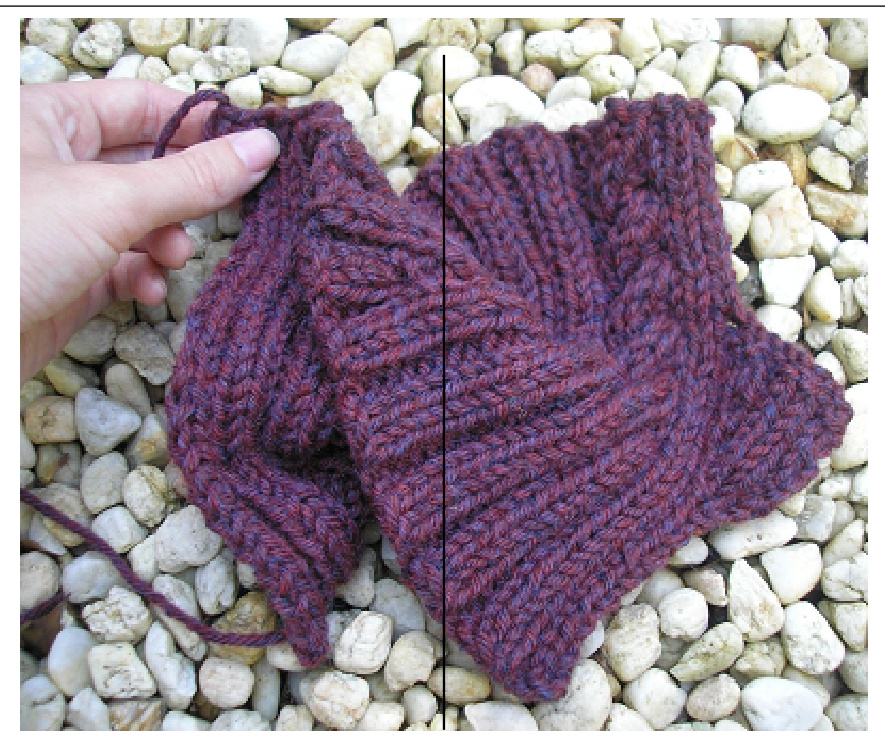
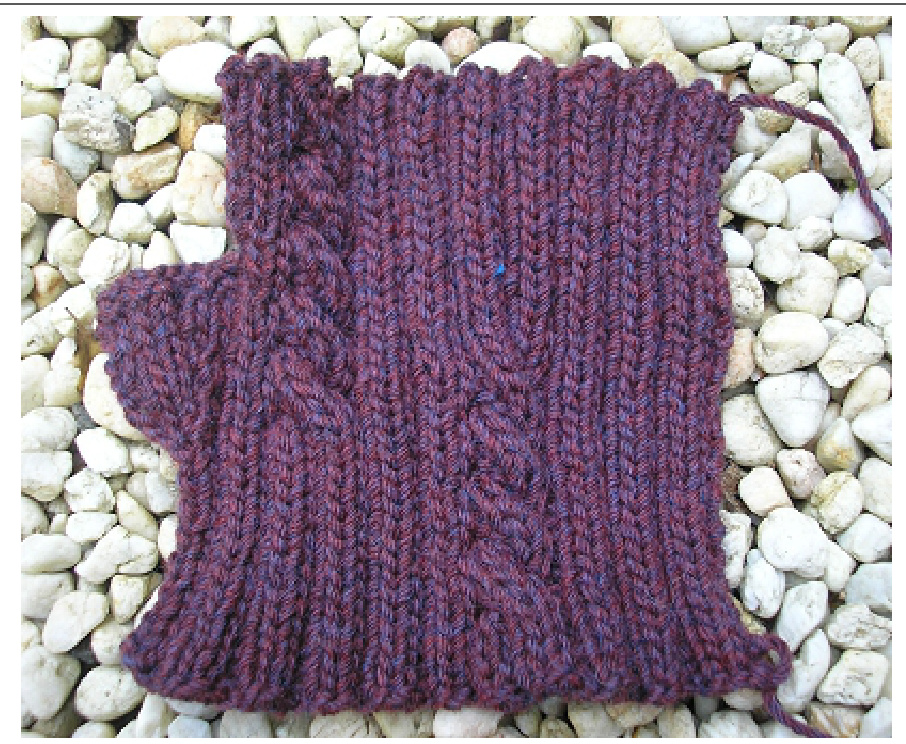
Lay work out as shown with thumb on the right:
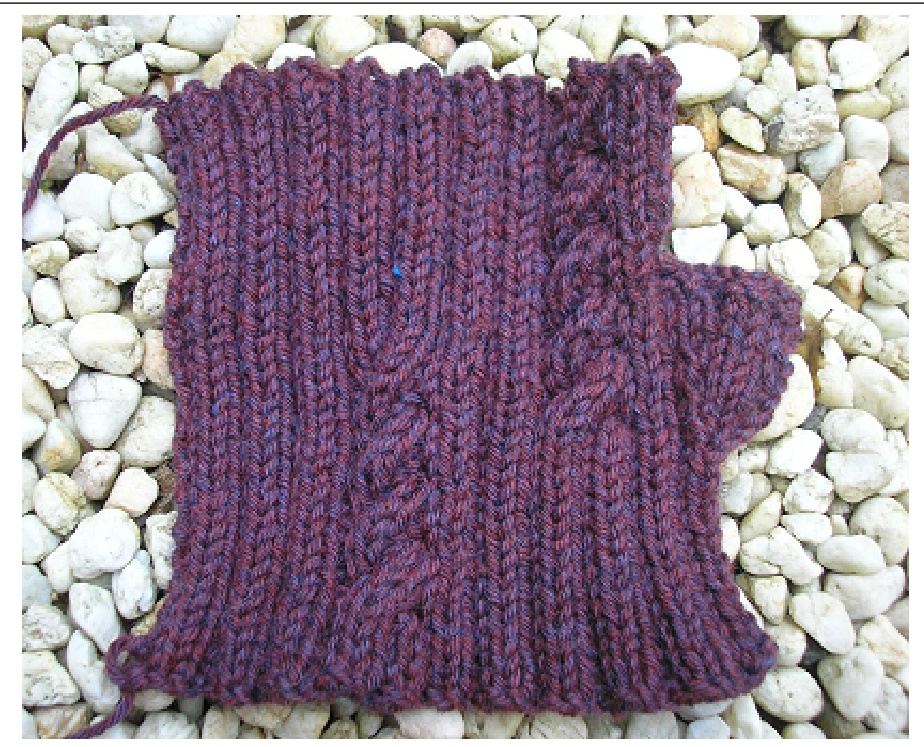
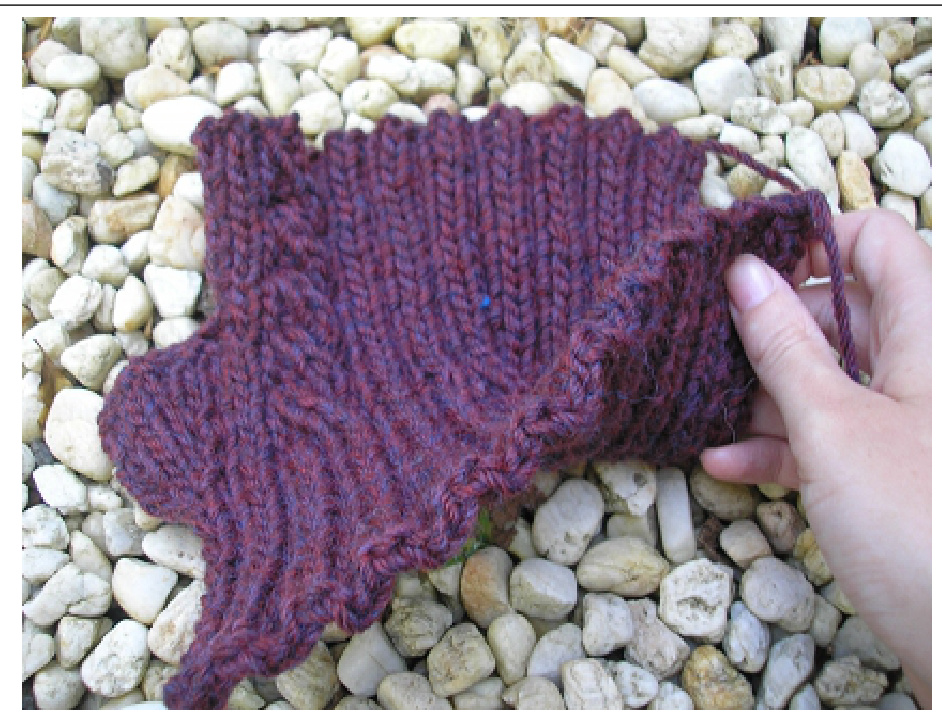
Fold up bottom left corner

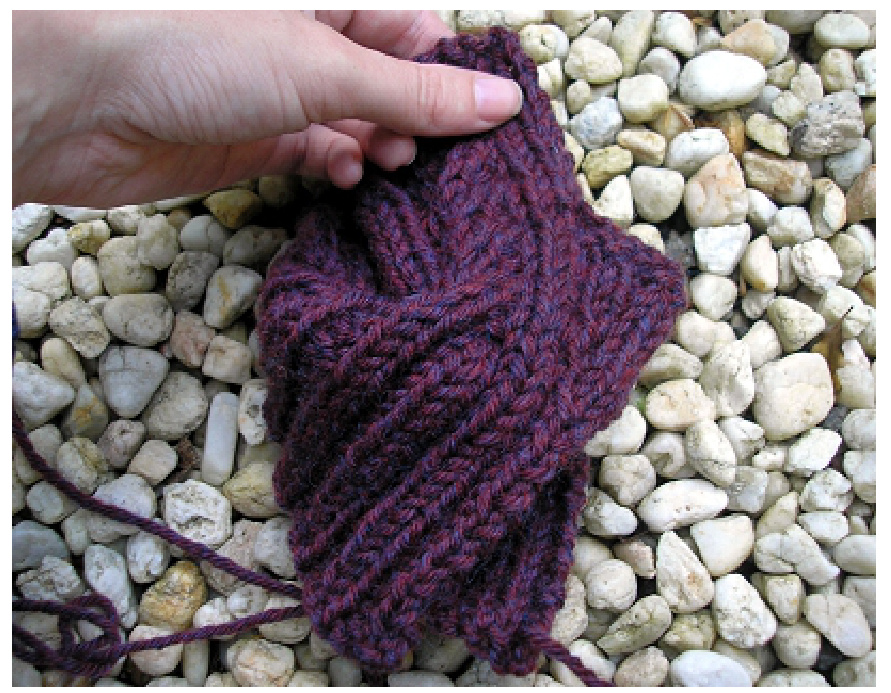
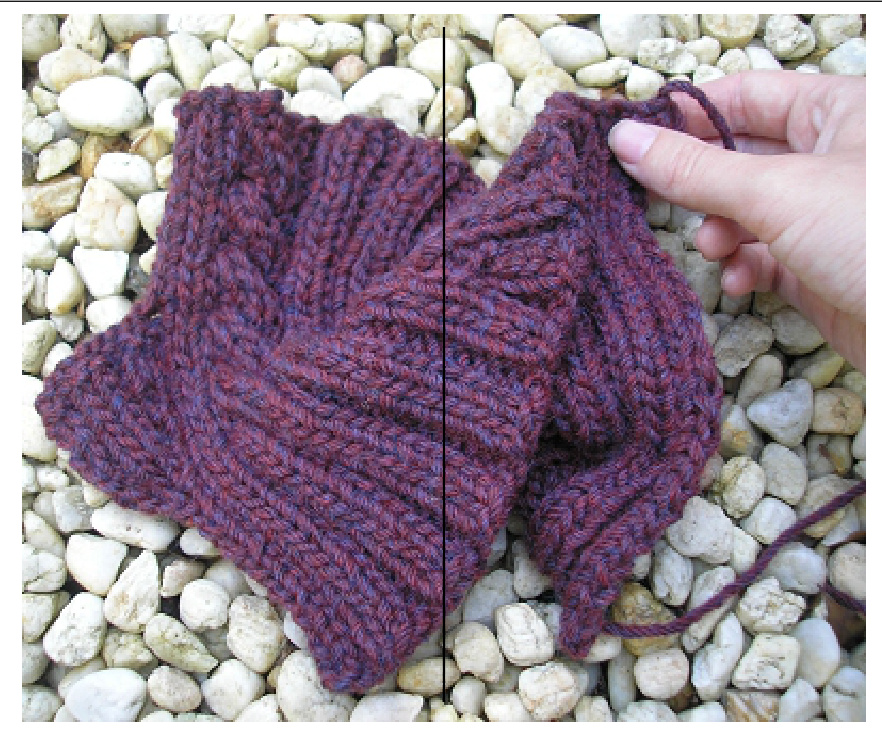
Fold the left half of work under the right along centre line
Pin along seam on the right just to hold it in place while sewing seam
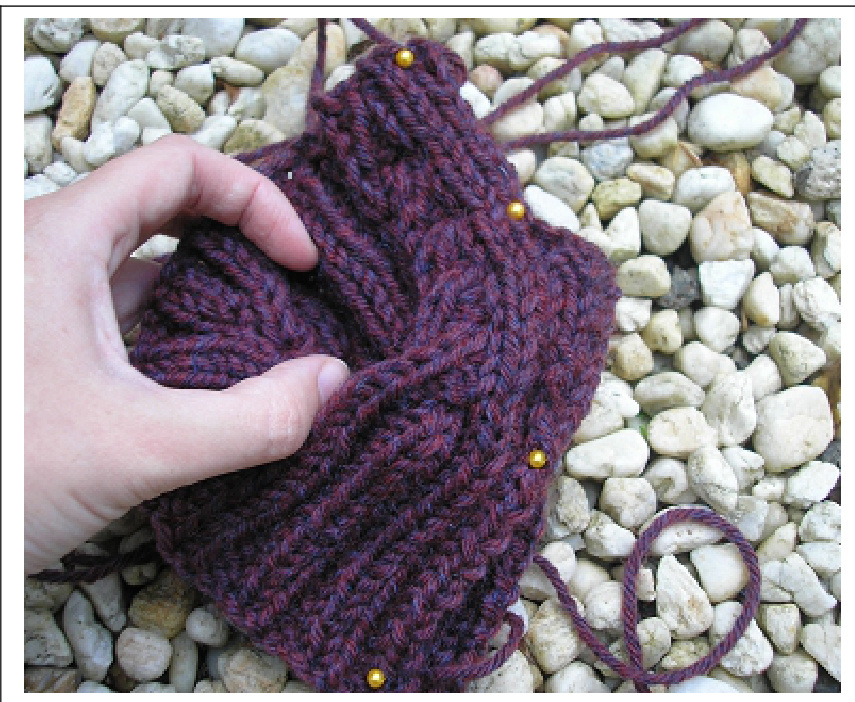
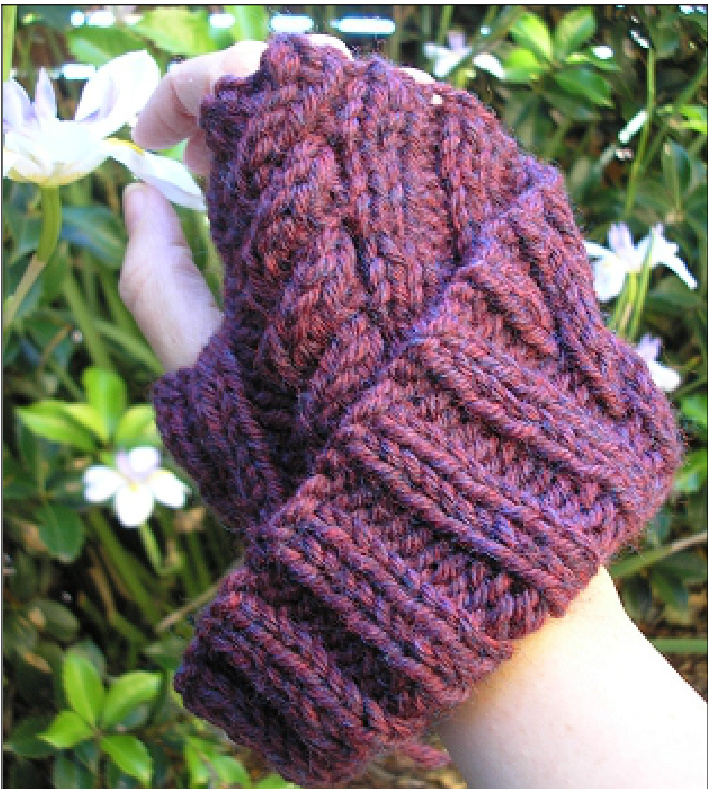
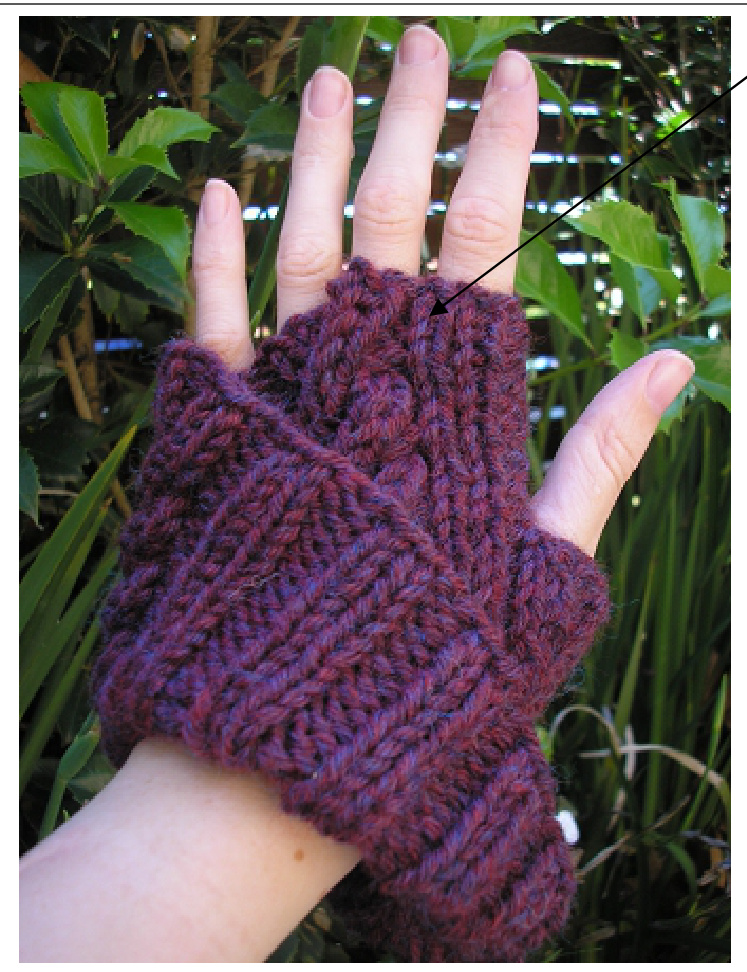
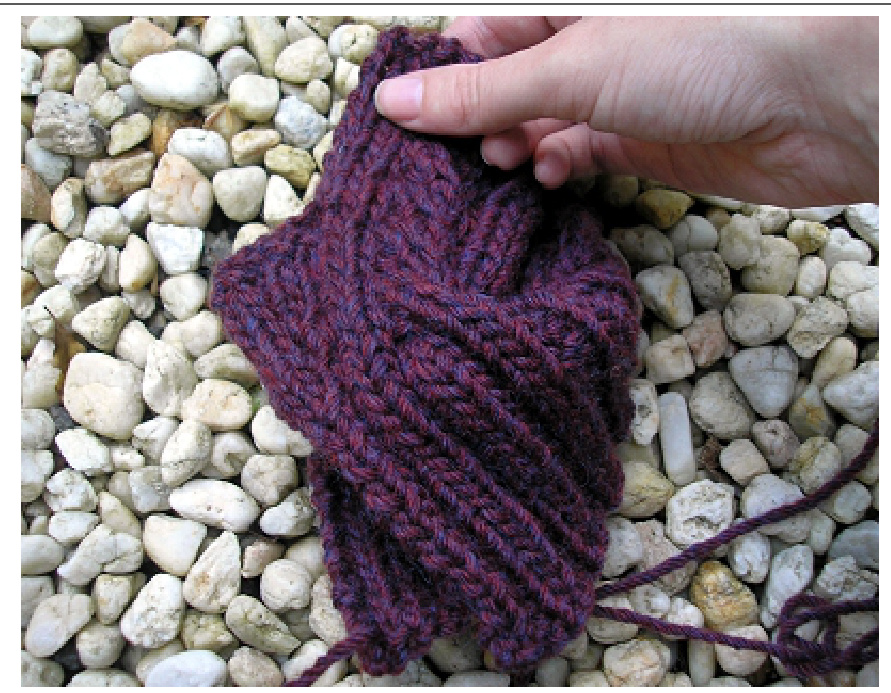
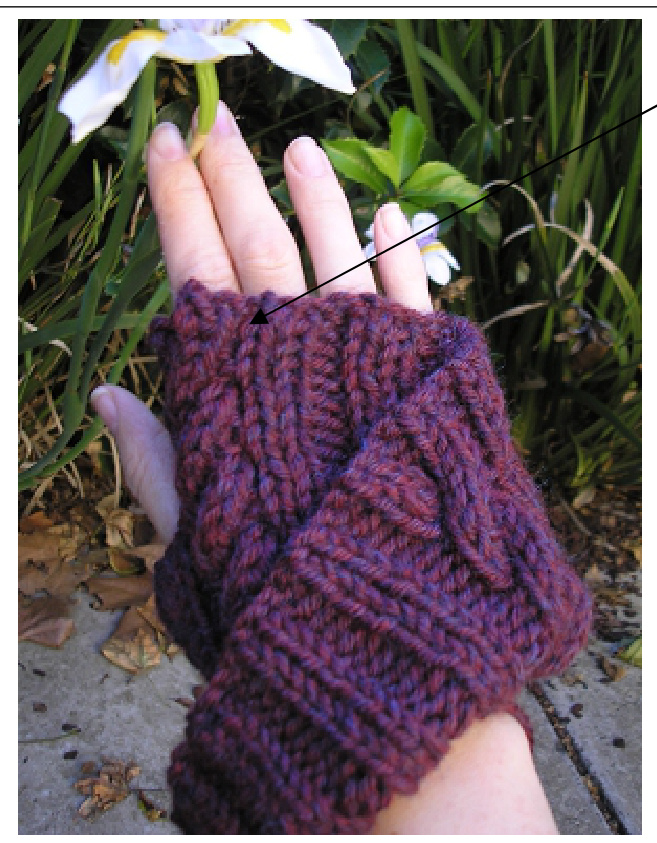
Using long tale from cast off sew up seam, being careful to leave thumbhole open. Pull glove on putting thumb into thumbhole and making sure the cable runs along the back of your hand (you may need to turn gloves inside-out to get this to look right Arrange flap on back of hand until it feels comfy
Right Hand
Lay work out as shown with thumb on the left
Fold up bottom right corner
Fold right half of work under left half of work along centre line
Pin along seam on the left just to hold it in place while sewing seam

Using long tale from cast off sew up seam, being careful to leave thumbhole open. Pull glove on putting thumb into thumbhole and making sure the cable runs along the back of your hand (you may need to turn gloves inside-out to get this to look right Arrange flap on back of hand until it feels comfy
Hope you have enjoyed this pattern! Please send any images or comments to pixelatedmushroom@gmail.com and attach your ravelry project to http:/ /www.ravelry.com/patterns/library/mobius-mitts-v2 ss Parkes. Creative Commons Attribution-Share Alike 3.0 License Australia


