NormandieReuisited
By Hannah Paton
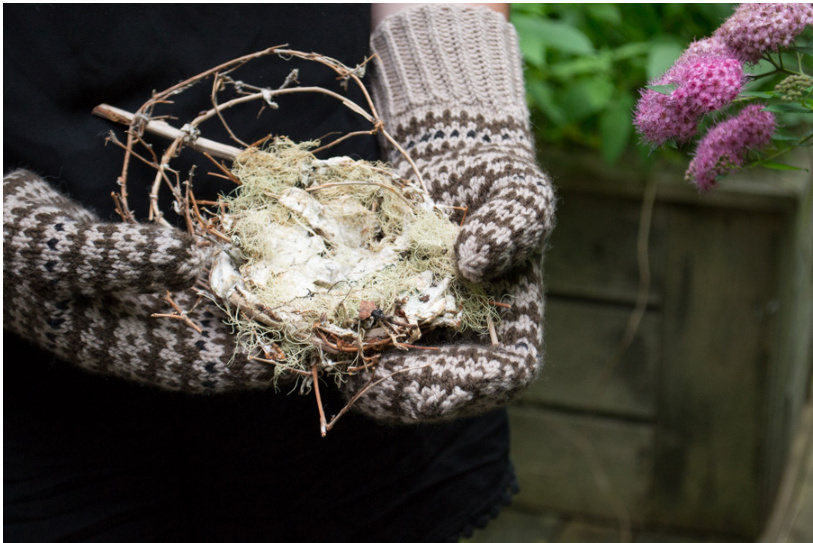
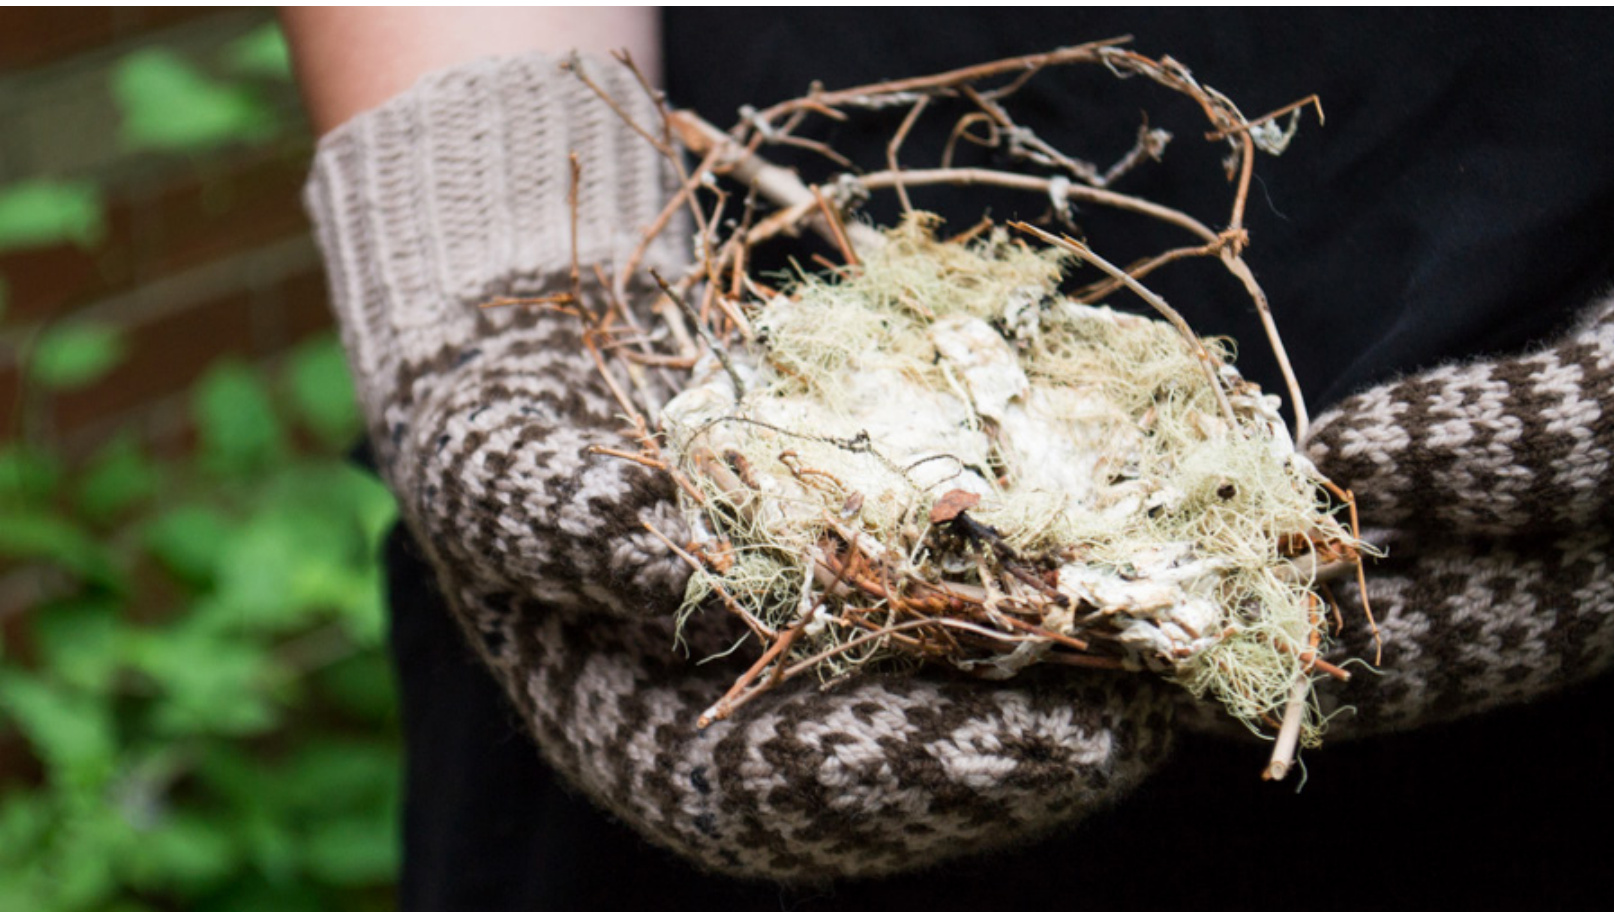
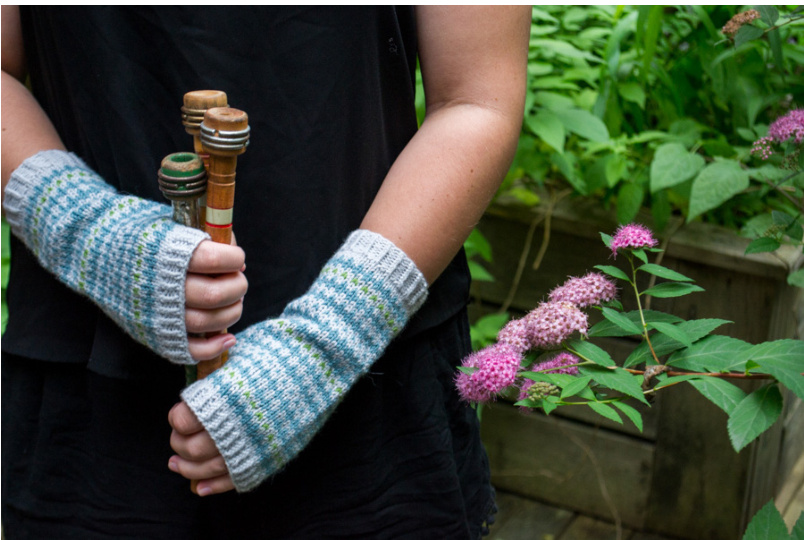
Two years ago, my mother asked me to design her a pair of fingerless mitts in three colours for Christmas. I made her some simple tube mitts and named them for her favourite place on earth, Normandy. Two years and considerably more knitting knowledge later, I decided to take the colourwork pattern from those simple tubes and design a more elegant pair of mitts to suit it, and a pair of full mittens to match. The original Normandie mitts are still available on Ravelry.
A Note on Yarn Dominance
When doing colourwork, it is important to maintain yarn dominance in order to have a consistent and visually pleasing end result. A good explanation of why and how can be found at the website below. For the purposes of this pattern, the contrast colour should always be dominant over the main colour. http://ysolda.com/blog/2014/5/29/technique-thursday-colour-dominance
Details
Gauge: 14 st and 17 rnds over 2". Final dimensions of full mitten: 9%" long by 3%" wide above thumb, after blocking Final dimensions of fingerless mitt: 7%" long by 3%" wide above thumb, after blocking. In both cases the pieces were very gently blocked, really more just washed and laid flat to dry in order to give the yarn a chance to relax. Both patterns are for a hand 6 %" long from the wrist to the tip of the middle finger and 3%" wide at the knuckles.
Materials
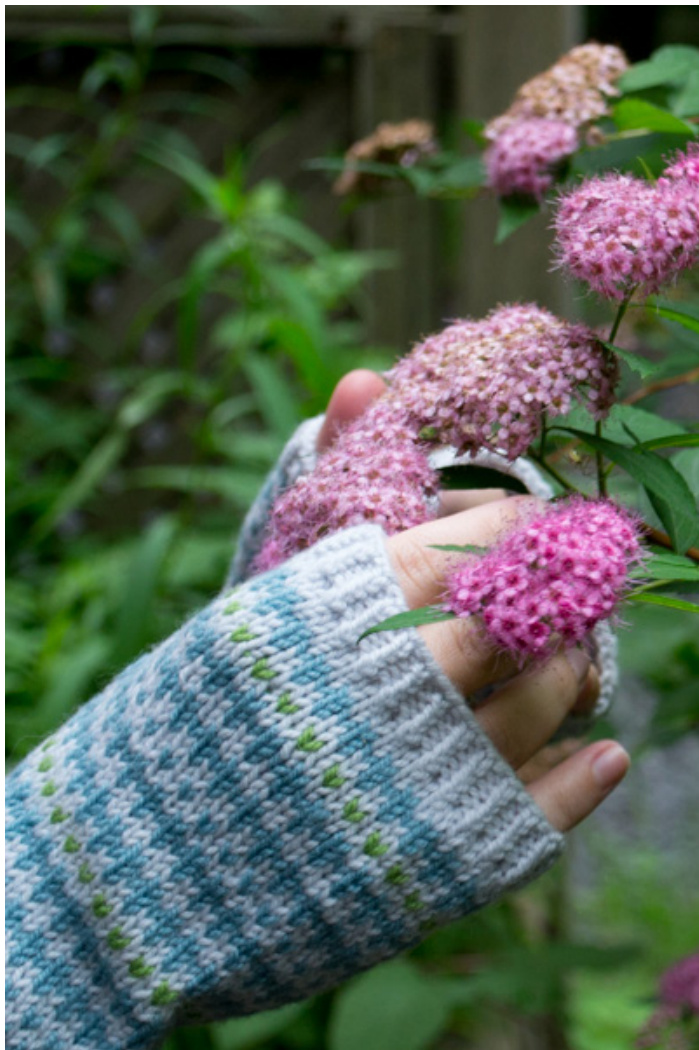
Quince and Co. Chickadee in three colours. For the full mittens, I used Chanterelle (MC), Bark (CC1), and Crow (CC2). For the fingerless mitts, I used Frost (MC), Bird's Egg (CC1), and Snap Pea (CC2). If you have just a tiny bit left of a skein of Chickadee, using it as your second contrast colour would be the perfect way to use it up. It only takes about a yard per mitten. US 4 (3.5 mm) needles. You have a few options here: You can go the standard route of using DPNs, which is probably the easiest option for beginners. You can also use a 9-inch circular needle for the body and DPNs for the ribbing, thumb, and decrease sections. This is my preferred option because with colourwork it's easy to accidentally pull stitches too tight between DPNs. However, some people may struggle with the tiny needles. They take some getting used to. The third option is to use a very long circular needle and use the magic loop method. Scrap yarn Tapestry needle for weaving in ends. Two stitch markers.
Abbreviations Used
s1k2pss0 - slip one knitwise, knit two together, pass slipped stitch over. k2tog - knit two together. rep - repeat. cO - cast on. st - stitch or stitches. MC - main colour. CC1 - contrast colour one. CC2 - contrast colour two. k - knit. p- purl. tbl - through back loop. rnds - rounds. m1r - make one right. mll - make one left. pm - place marker. sm - slip marker.
Full Mitten
With MC, CO 36 st. Join in the round, being careful not to twist, and place marker at beginning of the round.
Twisted rib
\*k1 tbl, p1. Repeat from \* to end. Knit 20 rnds of twisted rib. Increase round \*k3, m1r, rep from \* to end. Setup round Knit across.
Thumb Gusset
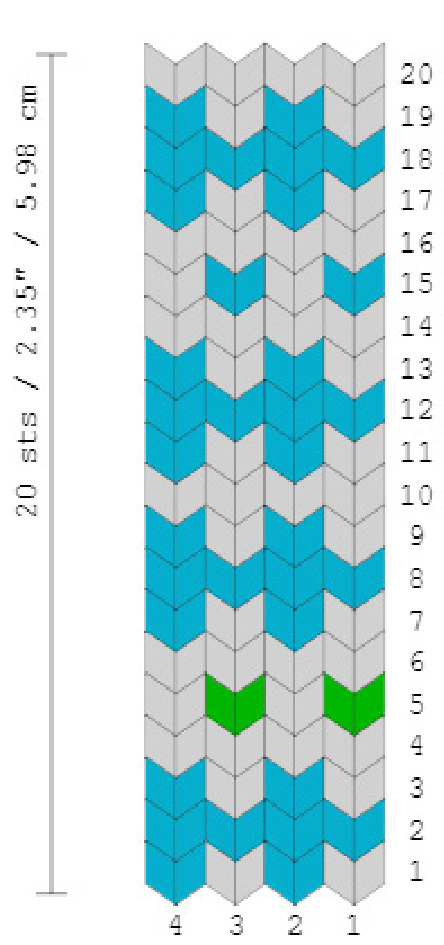
Attach CC1 and k 3 rnds in chart (shown on final page). On rnd 4 of chart, m1r, k1, m1l, pm. You should have 3 stitches between your rnd marker and this new marker. Knit 3 rnds in chart, attaching CC2 when necessary. (Note: I found it best to cut CC2 after each rnd I used it, rather than carry it up on the inside of the mitten).
Thumb Gusset Repeat
Rnd 1: m1r, k to marker, m1l, sm, k to end. Rnds 2-4: k across. Repeat these four rounds until you have thirteen stitches between your markers, ending on rnd 4. (Note: In some cases, in order to keep the body of the mitt following the chart, you will have to skip the first column of the chart at the beginning of the rounds after some increases, and then again after the second marker. If following the pattern exactly, this should occur after increase rounds which increase to 3, 7, and 11.)
Body
On the next round, slip your thirteen thumb gusset stitches onto scrap yarn, then knit to the end of the round. You want to make this join as tight as you can, but it's ok if it's a little loose, because that will be addressed in the next round. Next round: With MC, m1r with the bar between the stitch you just knit and the first stitch of the next rnd. This will tighten up the join and reestablish column one of the chart. Knit to end in chart. Knit 24 more rnds in chart.
Decrease Rounds
Rnd 1: \*k9, s1k2psso, rep from \* to end (40 st). Rnd 2: k across. Rnd 3: k8, s1k2psso, \*k7, s1k2psso, rep from \* to end - last k2tog will be with last stitch of rnd and first stitch of next rnd (32 st). Rnd 4: k across, skipping first column of chart on first repeat. Rnd 5: k6, s1k2psso, \*k5, s1k2psso, rep from \* to end - last k2tog will be with last stitch of rnd and first stitch of next rnd (24 st). Rnd 6: k across. Rnd 7: k4, s1k2psso, \*k3, s1k2psso, rep from \* to end - last k2tog will be with last stitch of rnd and first stitch of next rnd (16 st). Rnd 8: k, skipping first column of chart on first repeat. BreakMC. Rnd 9: k2tog across. Cut yarn, leaving long tail. Draw through remaining stitches and pull tight.
Thumb
With CC1, pick up and knit the 13 thumb gusset stitches from your scrap yarn, then pick up seven more stitches in gap so that you have 20 stitches total. Place marker at beginning of round. Join MC and knit 15 rnds in chart.
Thumb Decreases
Rnd 1: \*k2, s1k2psso, rep from \* to end. Break CC1. Rnd 2: k2tog across. Cut yarn, leaving long tail. Draw through remaining stitches and pull tight.
Finishing
Weave in ends on wrong side. Wash and lightly block.
Fingerless Mitts
With MC, CO 36 st. Join in the round, being careful not to twist, and place marker at beginning of the round.
Twisted rib
\*k1 tbl, p1. Repeat from \* to end. Knit 8 rnds of twisted rib.
Increase round
\*k3, m1r, rep from \* to end. Setup round Knit across.
Thumb Gusset
Attach CC1 and k 15 rnds in chart (shown on final page), attaching Cc2 when necessary. On rnd 16 of chart, m1r, k1, m1l, pm. You should have 3 stitches between your rnd marker and this new marker. All images and text @ Hannah Paton Knit 3 rnds in chart. (Note: I found it best to break CC2 after each rnd I used it, rather than carry it up on the inside of the mitten).
Thumb Gusset Repeat
Rnd 1: m1r, k to marker, m1l, sm, k to end. Rnds 2-4: k across. Repeat these four rounds until you have thirteen stitches between your markers, ending on rnd 4. (Note: In some cases, in order to keep the body of the mitt following the chart, you will have to skip the first column of the chart at the beginning of the rounds after some increases, and then again after the second marker. If following the pattern exactly, this should occur after increase rounds which increase to 3, 7, and 11.)
Body
On the next round, slip your thirteen thumb gusset stitches onto scrap yarn, then knit to the end of the round. You want to make this join as tight as you can, but it's ok if it's a little loose, because that will be addressed in the next round. Next round: With MC, m1r with the bar between the stitch you just knit and the first stitch of the next round. This will tighten up the join and reestablish column one of the chart. Knit to end in chart. Knit 9 more rnds in chart, ending with MC rnd.
Border
Break CC1. Knit 2 rnds MC. Knit twisted rib for 3 rnds. BO in rib (you do not have to twist your stitches for the BO).
Thumb
With MC, pick up and knit the 13 thumb gusset stitches from your scrap yarn, then pick up seven more stitches in gap so that you have 20 stitches total. Place marker at beginning of round. Attach CC1 and k 4 rnds in chart, ending with MC rnd. Break CC1. With MC, k twisted rib for 3 rnds. BO in rib.
Finishing
Weave in ends on wrong side. Wash and lightly block.