Colorblock Scarf
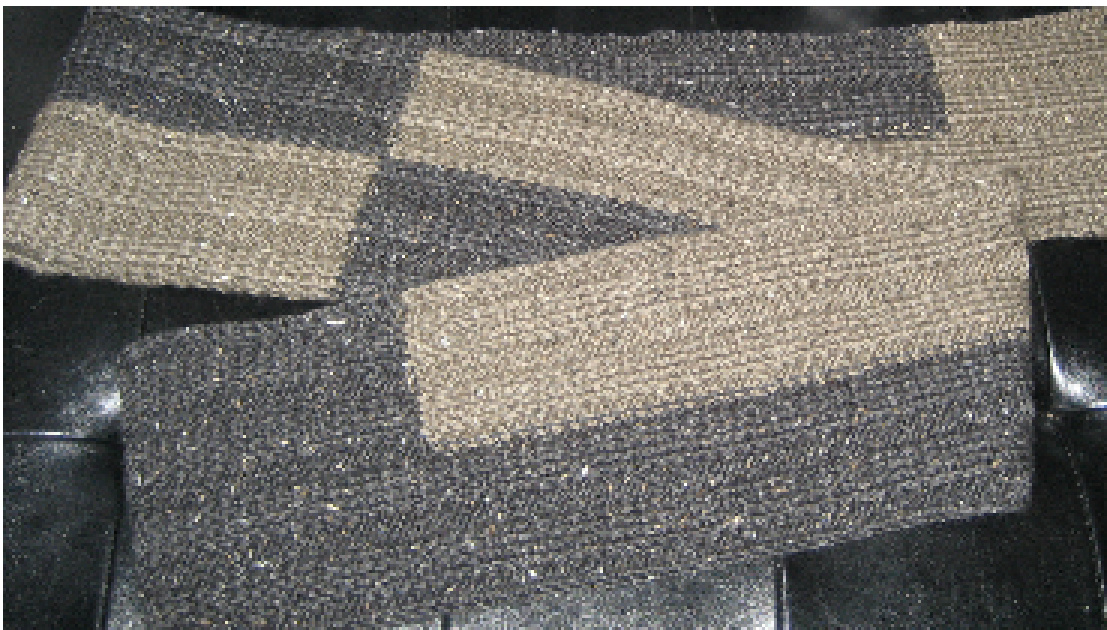
Cast on an even number of stitches with color A. Row 1: K4, P4, repeat to end. Row 2: P4, K4, repeat to end. Repeat rows 1 and 2 with color A until desired length for edging, ending with wrong side. Next row (right side): Continue in 4/4 rib for half of the cast on stitches in color A; bring in color B to knit remainder of the stitches. Turn work and continue with color B until the halfway point, upon which you will finish the row with color A. When changing colors, remember to twist the two strands to prevent holes or separation in your work. To do this, insert the right needle into the first stitch of the next color, move the working yarn's strand to the left, pick up the next color from under the working yarn and bring it up and over to knit or purl. When you have reached the midpoint of the desired length of your scarf, on the wrong side, knit with color B across the entire row. Next row (right side): Knitting in 4/4 rib using color B, at the halfway point, carry up color A to complete the row. On the wrong side, you will now begin with color A and finish the row with color B. Continue working in rib pattern to match the other half of the scarf. Break off color A and complete the scarf with color B to match edging at other end. Cast off and darn in ends, carefully weaving in ends at the points where you introduced and broke off the second color to hide the gaps in your knitting. For the pictured scarf, I cast on 36 stitches and knit in 4/4 rib for 6 inches in the first color. Then I brought in the second color at 18 stitches. Once the scarf measured about 3 feet in length, I reversed the colors and completed the remaining 3 feet of the scarf. Finished measurements: approximately 8” wide and6'long.


