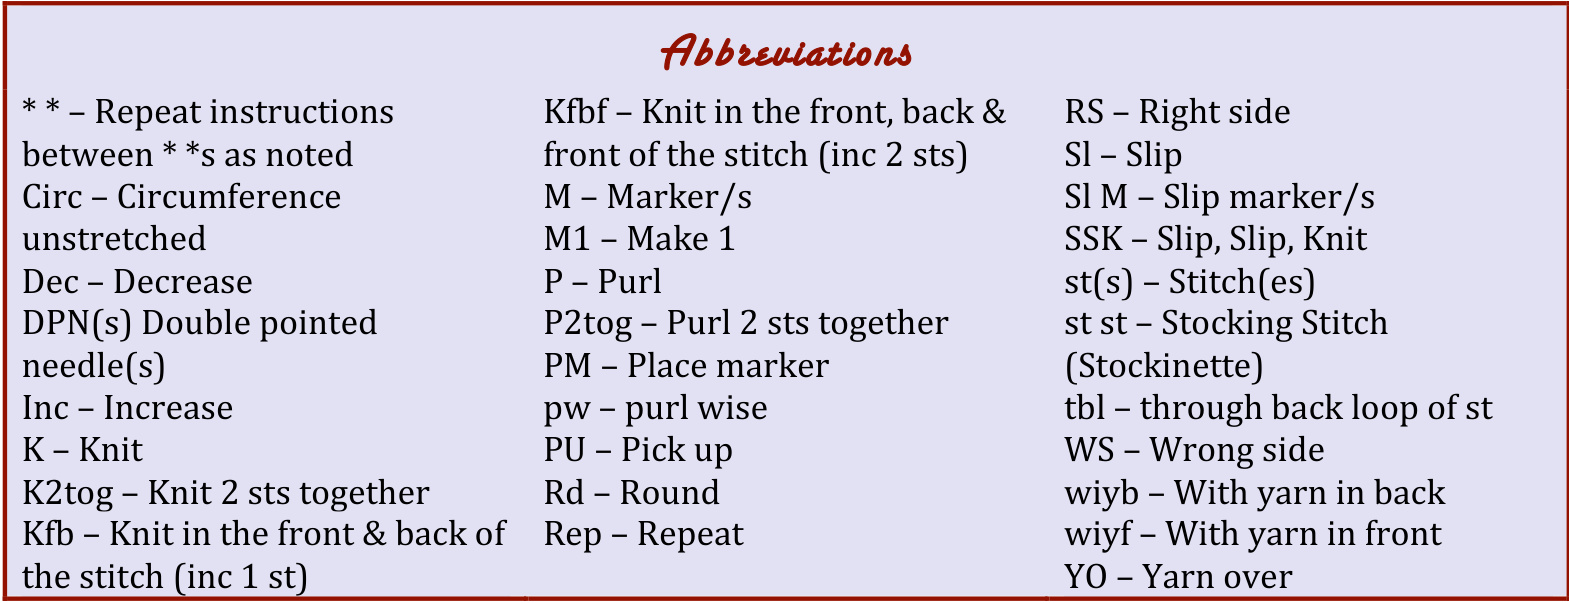
Spring Has Sprung
by Corinne's Knits
Descziption
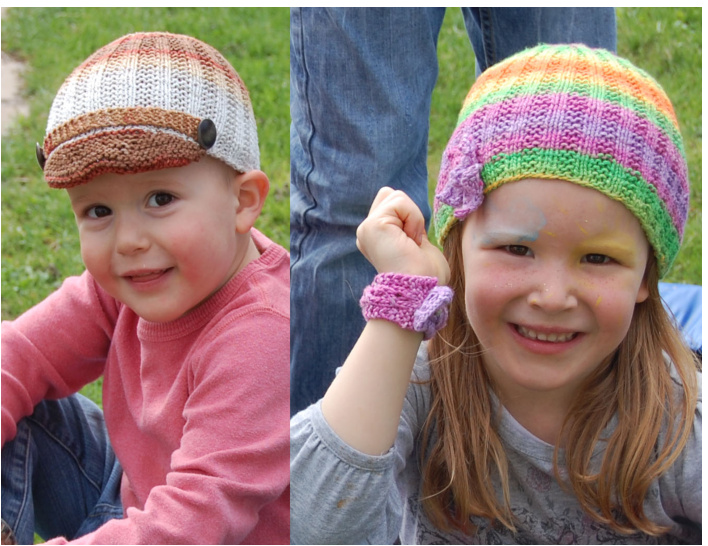
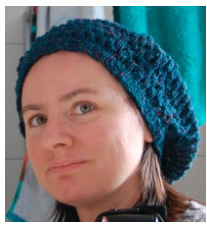
I wrote this pattern especially with bamboo yarn in mind. I wanted to design a spring hat with a girl and a boy version and bamboo yarn makes me think of spring. It has a lovely shine to it that reminds me of sunny spring days. The body of the hat is identical in both versions. So, the instructions start the same for both versions. The girl version includes a little bracelet, just for fun!
Ditticulty
Intermediate
Ya2n
Small: about $109\;\mathrm{m}/120$ yards - Large: about 138 m/ 150 yards of sport - 5ply bamboo yarn An equivalent weight cotton yarn would also work Shown in Elina Pure Bamboo
Tlotions
Needles $4\mathrm{mm}$ (US 6) circular needle or size $4\mathrm{mm}$ (US 6) DPNs & straight needles 3mm (US $2\%$ straight needles or size needles needed to obtain gauge Accessories 5(6) stitch markers 2 commercial buttons or 2 knitted/crocheted buttons Darning needle
Tlecessazy Skills
Knitting in the round, Kfb, picking up sts, Kitchener st (boy version only)
Gauge
24 sts x 38 rows / $10\;\mathrm{cm}-4^{\prime\prime}$ in garter stitch ribbing
Sizes
Child Small: 2-4 years - Circ 38-48 cm (15-19") Child Large: $5+$ years - Circ 42-56 cm ( $16\%$ -22")
About The Designee
Corinne is the mum of two boys who takes great inspiration in them for her designs. She loves to design fun, modern looking patterns. Hor nattornc can he found on Dauolr! on the Corinne's Knits designer page or on her blog: corinnesknits.wordpress.com. For pattern support, email: corinnesknits@googlemail.com.
Ilotes
For the flower, I have made a crocheted button, but a commercial button or any other type of button will work just as well. The peak of the boy version is made by picking up sts on both sides and knitting in the rd. Thanks to this double thickness, nothing is necessary to hold the peak. If you use a cotton yarn, make sure to obtain gauge, as a thick cotton yarn will give a much bigger peak and change the look of the hat.
Stitch Patteen
The body of the hat is knit in garter st ribbing, the flower in st st and the peak in garter st.
Dizections
Hat
With size $4\mathrm{mm}$ (US 6) circular needle or DPNs, cast on 80 (100) sts. Being careful notto twist, join in the round using magic loop with circular needle or distribute sts evenly on DPNs. PM to mark beginning of round. Rd 1: $\mathrm{}^{\ast}\mathrm{K}2$ $\mathrm{P}2^{*}$ rep to end $\operatorname{Rd}2\colon\operatorname{K}$ to end Rep these 2 rds until you have $12\;\mathrm{cm}/4^{3}\!\!\langle4^{"}\!\;\!\mathrm{~}(15.5\;\mathrm{cm}/6").$ ending on rd 2
Crown
If possible, use markers different from the beginning of rd marker (no decrease), for clarity. Rd 1: K2, P1, PM, K2tog, SSK, P1 $[^{*}\mathrm{K}2$ $\boldsymbol{\mathrm{P}}\boldsymbol{2}^{*}\,3$ times, K2, P1, PM, K2tog, SSK, P1] repeat [] 2(3) more times, $\mathrm{}^{\ast}\mathrm{K}2$ $\boldsymbol{\mathrm{P}}\boldsymbol{2}^{*}\,3$ times Rd 2 and all even rows: K to end, slipping markers Rd 3 and all odd rows: \*work in pattern to marker, K2tog. $S S\mathrm{K}^{*}$ rep to end Continue in this manner until you have 8(10) sts left K2tog, SSK, K2tog, SSK, Large only: K2tog Break yarn. With darning needle, weave the yarn through the remaining sts. Pull tight and secure on the inside of the hat. Weave in loose ends
Gizl Vezsion
Flower Cast on 3 sts with size 4mm (US 6) circular needle or straight needles Rows 1, 3, 5 & 7: P to end Row 2: K1, Kfb, K1 Row 4: Kfb, K2, Kfb Row 6: K to end Row 8: K1, SSK, K2tog, K1 Row 9: P2tog twice Row 10: K2tog Break yarn. With darning needle, weave the yarn through the remaining sts. Pulltight. Weave in loose ends Rep another 4 times, making a total of 5 petals. For the centre of the flower, you have two options: use a commercial button or make your own. There are several ways to make buttons; I made a crochet button using the following method: Make alarge loop by placing the yarn tail behind the working yarn. Leave a 15cm/6" tail Insert the hook through the front of the loop and pull the working yarn through Chain 1 Make 5 single crochets into loop. Pull tail to close loop Complete the circle by slipping into 1st single crochet Chain 1 Single crochet into same single crochet as slipped into Single crochet twice into each stitch Close the circle byslipping into1st single crochet.Chain1 Single crochet into each stitch. Close the circle by slipping into 1st single crochet. Chain 1 Decrease round: Insert hook into next stitch and pull through a loop (2 loops on hook). Insert hook into next stitch and pull through a loop (3 loops on hook). Yarn over, and pullthrough all loops. Repeat to end of round Leaving about $30c\mathrm{m}/12"$ , cut yarn and fasten off. Stuff all of the 1st tail into centre of button With 2nd tail, sew closed and attach to hat with petals Sew button to the hat, attaching the petals at the same time.
Bracelet
Cast on 9 sts with size $3\mathrm{mm}$ (US $2\%$ ) circular needle or straight needles. Row 1: K to end Row 2 (RS): K2, P1, K3, YO, P1, K2 Row 3: K3, P4, K3 Row 4: K2, P1, K1, K2tog, YO, K1, P1, K2 Row 5: K3, P2, P2tog, K3 Row 6: K2, P1, K1, YO, K2tog, P1, K2 Row 7: K3, P3, K3 Rep rows 2 to 7 until you reach the desired wrist circumference (if known) or 11cm/41/4" $(16.5\mathrm{cm}/6\%")$ , ending with row 7 K 6 rows and cast off. Weave in loose ends Make button (see flower instructions) or use commercial button and attach in the middle of the garterst rows.
Boy Vezsion
The peak is made by picking up sts on the outside and on the inside of the hat and knitting in the round. This will make a double layer; both sides will be grafted together at the end. Withsize $4\mathrm{mm}$ (US 6) circular needle or DPNs, PU 12[15) sts on the outside cast on edge of the hat and 12(15) sts on the inside, directly opposite. Rd 1: P to end Rd 2: \*PU 1 st, K1, Kfb, PM, K8[11), PM, Kfb, K1, PU 1 st\* rep on other side Rd 3: \*PU 1 st, P to end of side, PU $1\;s t^{*}$ rep on other side Rd 4: \*PU 1 st, Kto 1 st before marker, Kfb, Kto marker, Kfb, Kto end of side, PU $1\;{\mathsf{s t}}^{*}$ reponother side Rep Rds 3 & 4 until you have 80(98) sts Next rd: P to end
Decreases
The decreases made on the edges of the peak in the next rds are made by taking one st from the front together with 1 st from the back,therefore closing the sides together. This means that you will K or P (based on the rd) to the end of the rd and move the last st just worked onto the next needle before beginning the next round. Rd 1: SSK, Kto 2 sts before marker, K2tog, Kto marker, K2tog, Kto 1 st before end of side, K2tog, K to 2 sts before marker, K2tog, K to marker, K2tog, K to end of other side Rd 2: P2tog, P to 1 st before end of side, P2tog, P to end of other side Rep rds 1 & 2 another 2(3) times. You have 64(76) sts Graft both sides together using Kitchener $s\mathrm{t}^{1}$ making sure you have the same number of sts on each needle before doing so
Band
With size 4mm (US 6) circular needle or straight needles, cast on 4 sts and K 46(60) rows Cast off and weave in loose ends Attach band above peak. Make 2 buttons (se flower instructions) or use commercial buttons; sew one button on each end of band.