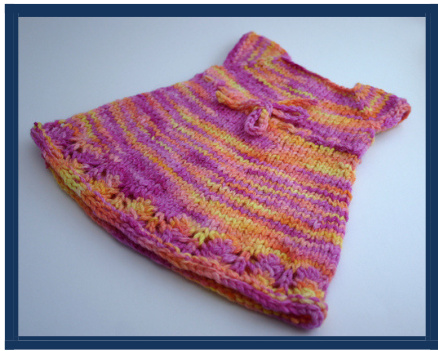
Kaia Babydolly
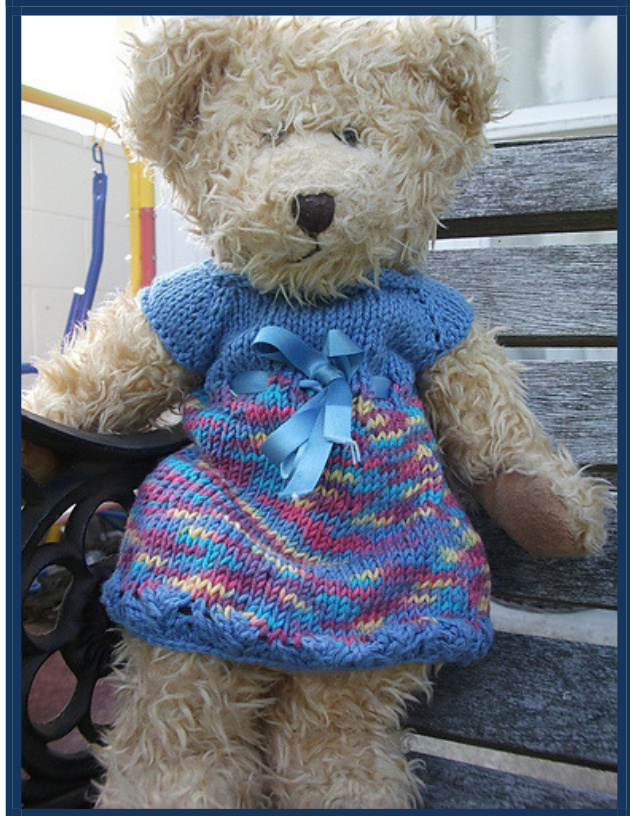
Requirements:
Approx 50g (110 yards) 8ply yarn 6 stitch markers 4mm 30cm (or $80{\+}\mathsf{c m}$ if going to magic loop) and 40cm circular needles Gauge: 22 stitches per 10cm on 4mm needles
Glossary:
pm- place marker kfb - knit front and back sm-slip marker m1 - make one stitch. Bringing needle in from the front and pick up bar between stitches, knit into the back of the‘bar' Instructions on backwards loop and cable cast on - http://www.knittinghelp.com/videos/cast-on To fit chest measurement of approximately 29cm
Bodice
Using $4\mathsf{m m}\ 30\mathsf{m m}$ needle (or 80cm if magic looping. You willbe able to change to 40cm needle after about 3 increase rounds.)
Cast on 50 stitches.
Round 1- Using a marker to show start of round and ensuring work isn't twisted,join and purla round
Round 2 - k8, pm, k17, pm, k8, pm, k17
Round 3- kfb, \*knit to last stitch before marker, kfb, sm, kfb Repeat from \* until end of round ending with kfb Round 4 - Knit Repeat rounds 3and 4 for a total of 4 increases. Repeat round 3.
You will now have a total of 90 stitches
Round 4- purl to first marker, sm, knit until next marker, sm, purlto next marker, sm, knit until end of round. Round 5 - Cast off untilthe first marker, knit to the next marker, cast off untilthe next marker, knit to the end of the round. Remove all the markers as you knit, including the marker at the end of the round.
Making armhole
·Using backwards loop or cable cast on, CO 1 stitch, place marker to show beginning of round. CO another 2 stitches. Knit to next armhole. CO 3 stitches. Knit to end of round. You should have a total of 60 stitches. Knit 5 rounds. Eyelet round \*yo, k2tog. Repeat from \* to end of round. (lf you wish to change colours do so after the eyelet round) Knit one round, placing 5 more stitch markers every 10 stitches. (a total of 6 stitch markers) Knit 4 rounds.
Increase Section:
$\ast_{\mathsf{M1}}$ , Knit to marker, sm. Repeat from \* until end of round. Knit 4 rounds. Now complete 4 more increase sections for a total of 5 increases. (5 increases will make a top length. If you want a dress length, add an extra increase section)

After the final increase round, remove all markers except marker at the start of the round.
Feathering lace edging:
(if you wish to change colour do so on round 1 of the lace) (For the lace you will need a stitch number that is a multiple of 6. Please count your stitches and if you are a few stitches out then, in the first round, do the appropriate number of increases or decreases to make the number a multiple of 6) Round 1: Knit Round 2: $\ast_{\mathsf{k1}}$ Yo, k1, sl1, Ktog, psso, k1, yo Repeat from \* till end of round ending with a yo. Repeat rounds 1 and 2, 3 times in total.
Round 3: Purl.
Cast off loosely. (Note: To make the lace easier to do, I divide the pattern (in row 2), into two sections. I start off with the k1, yo, k1 then I make one section sl, k2tog, psso and the next k1,vo,k1,yo,k1. I alternate these sections until the last stitch and finish with k1, yo . I hope this helps some people $\circledast$ 一 Block. Insert i-cord, crochet cord or ribbon through eyelets. A very big thank you to my testers and proof-readers - Krissie and Tanja.


