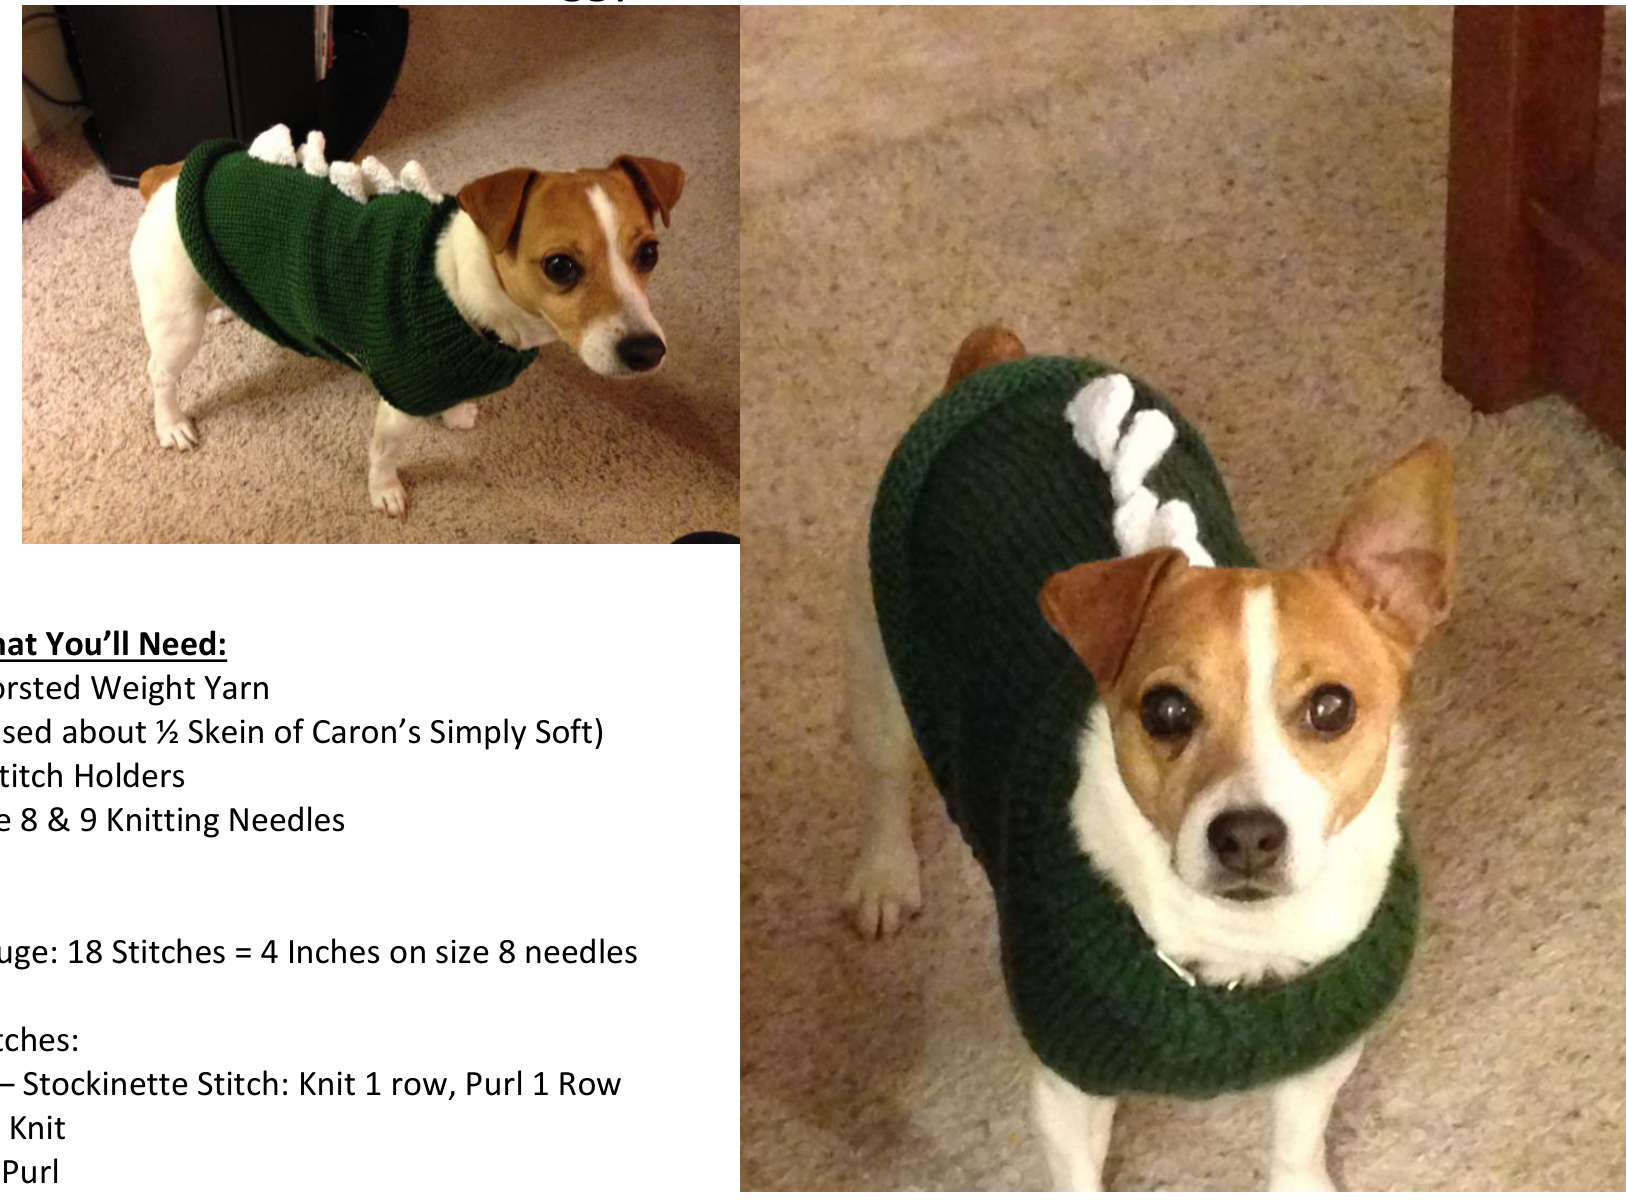
Dinosaur Doggy Sweater - Jack Russell
K - Knit P - Purl KFB - Knit into the front, then the back of the stitch to increase by 1 stiti K2T - Knit 2 together - used to decrease by 1 stitch
About the Pattern:
It's pretty straight forward until you get to part where you are working around the leg openings, then the project splits into 3 sections. You'll work each on separately then rejoin them together. As you can see from the photo, the leg opening was plenty generous. If you wanted to shorted that up, you easily could.
Getting Started:
With Size 8 needles, cast on 57 Work in K1 P1 rib for 2" Switch to Size 9 needles Increase 28 stitches for a total of 85. (NOTE: K 1st st, then KFB in every other stitch, end K1) Work in Stockinette Stitch until piece measures 5" from beginning. End after WS row. Now the pattern splits. You'll work each section separately, then rejoin them together.
(Right-hand side)
Work first 12 stitches. Place all remaining stitches on holder. Work these 12 stitches for 11 rows. 丨丨丨丨丨丨丨丨丨丨丨←Usetotrackyourrows. Put these stitches on 2nd holder and cut yarn.
(Left-hand side)
Put stitches from 1st holder back onto the needles. Rejoin yarn & bind off 8 stitches for leg opening. Work the next 45 stitches (20 remain). Bind off next 8 stitches for other leg opening (12 remain). Work this side same as right side.:丨丨丨丨丨丨丨丨丨丨丨←Use to track yourrows. Place on holder and cut yarn.
(Center section)
Put 44 stitches back on needle with RIGHT SIDE facing. Rejoin yarn and work this section for 3". 丨丨丨丨丨丨丨丨丨丨丨←Usetotrackyourrows. When you reach the end on the last row, cast on 8 stitches then knit stitches from holder. Work across next row to end, cast on 8 stitches then knit stitches from holder. Continue in SS until piece measures 10 inches.
Tail Shaping:
Bind Off 10 Stitches at beginning of next 2 rows. Dec 1 stitch on each side of every other row (Use the Knit side...it's easier to remember) 11 Times Bind off remaining stitches.
Spikes:
CO 10 sts. Leave a 6 inch tail. Row 1: K Row 2: P Row 3: K1, K2Tog, K4, K2Tog, K1 (8 sts) Row 4: P Row 5: K1, K2Tog, K2, K2Tog, K1 (6 sts) Row 6: P Row 7: K1, K2Tog, K2Tog, K1 (4 sts) Row 8: P Row 9: K2Tog, K2Tog (2 sts) Row 10: P Row 11: K2Tog (1 sts) Row 12: P Row 13: KFB (2 sts) Row 14: P Row 15: KFB, KFB (4 sts) Row 16: P Row 17: K1, KFB, KFB, K1 (6 sts) Row 18: P Row 19: K1, KFB, K2, KFB, K1 (8 sts) Row 20: P Row 21: K1, KFB, K4, KFB, K1 (10 sts) Row 22: P BO all sts, leaving a long tail. You'll end up with something that looks like a bowtie. Fold in half and with tail, sew up open edges. This will make 1 spike. Make as many as you want to place along the back of the sweater. Sew Spikes along center of sweater back. I placed mine individually. Next time I would probably sew the spikes together in a strip, then attach the entire strip. The photo makes the spikes look like bad orthodontics. I'm told that's just a camera angle, that in person, they are straight. (Which is how I thought they looked before I sent this out.)


