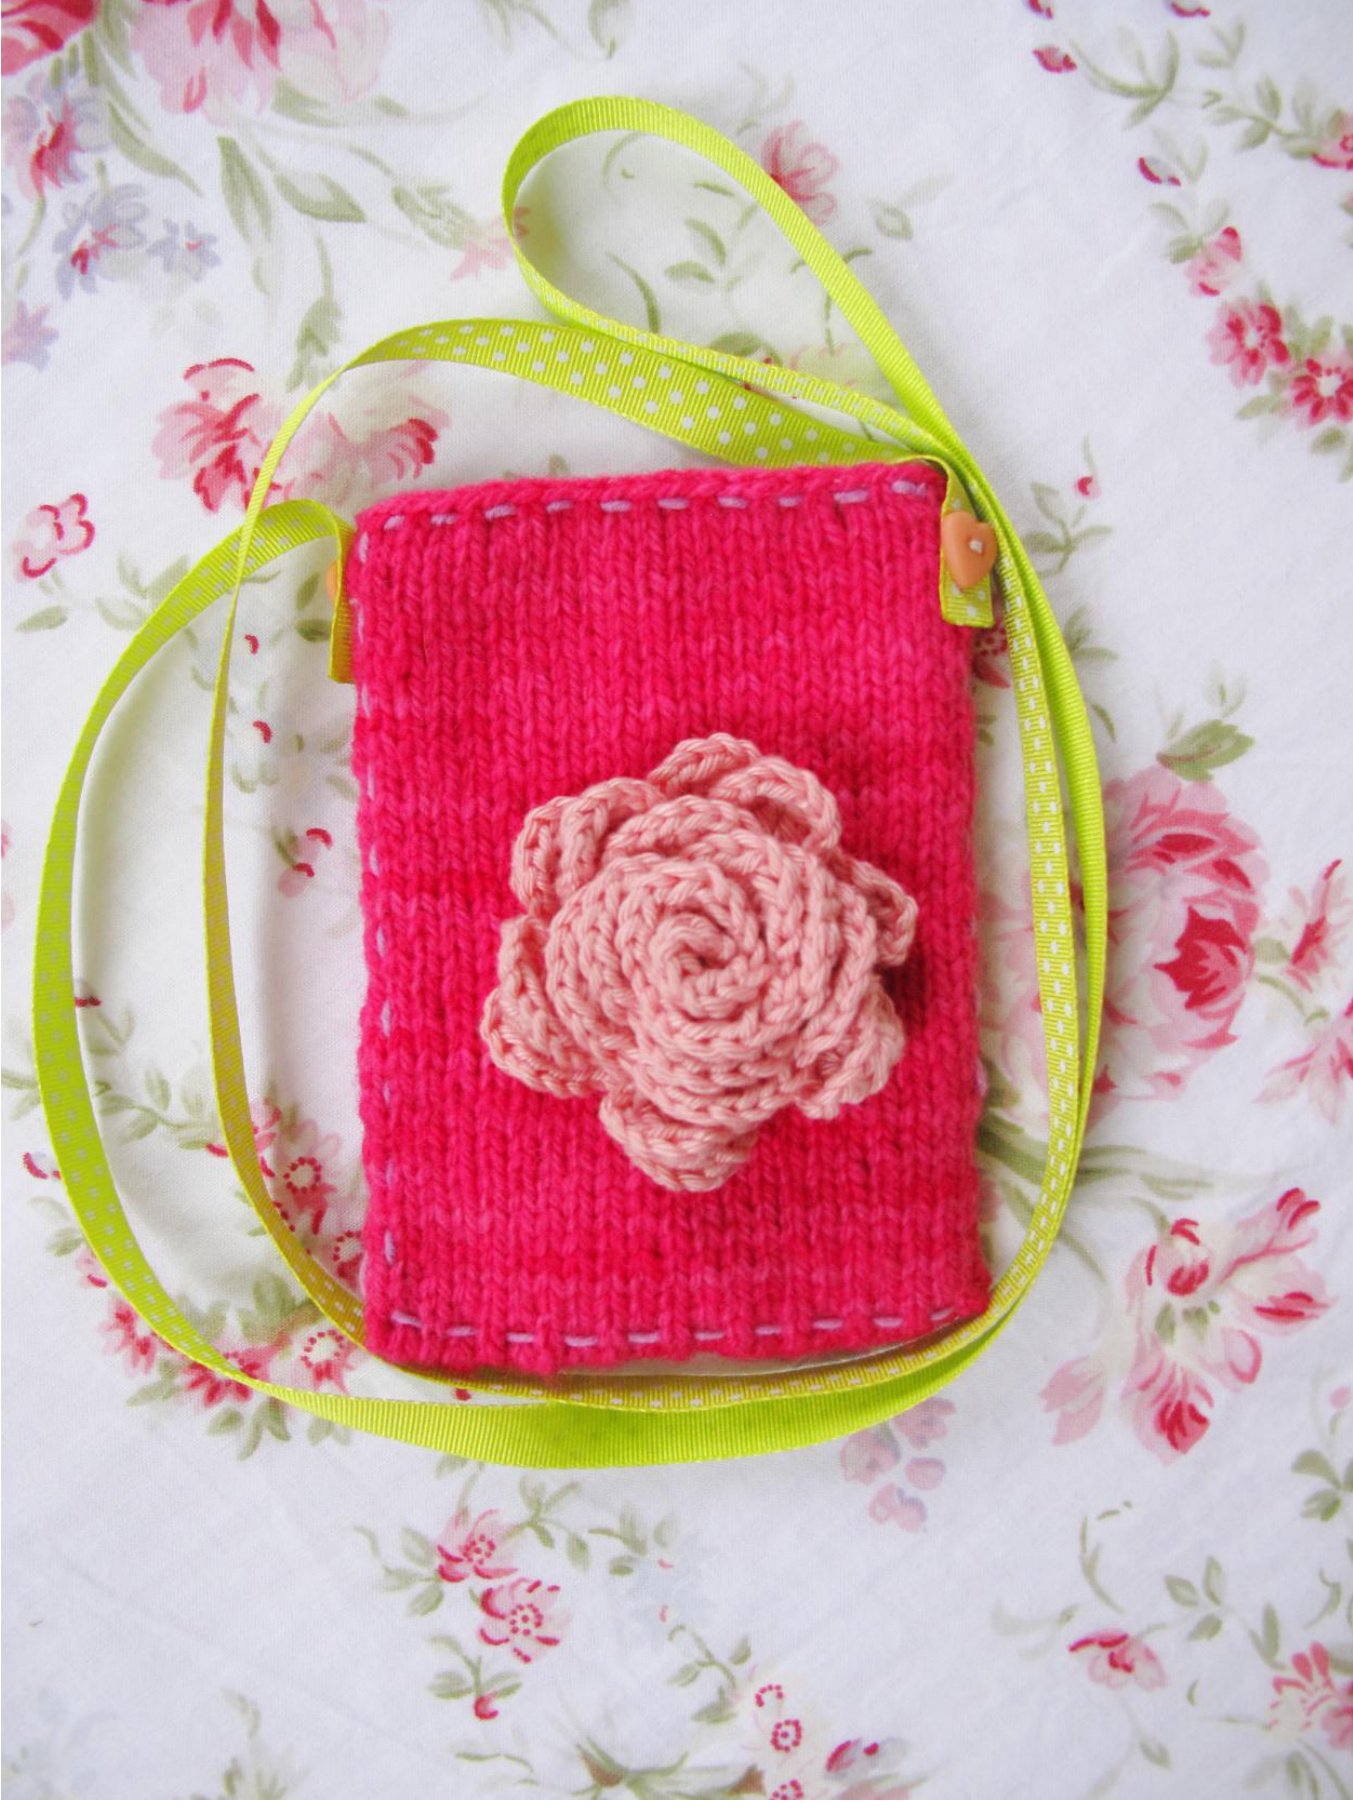
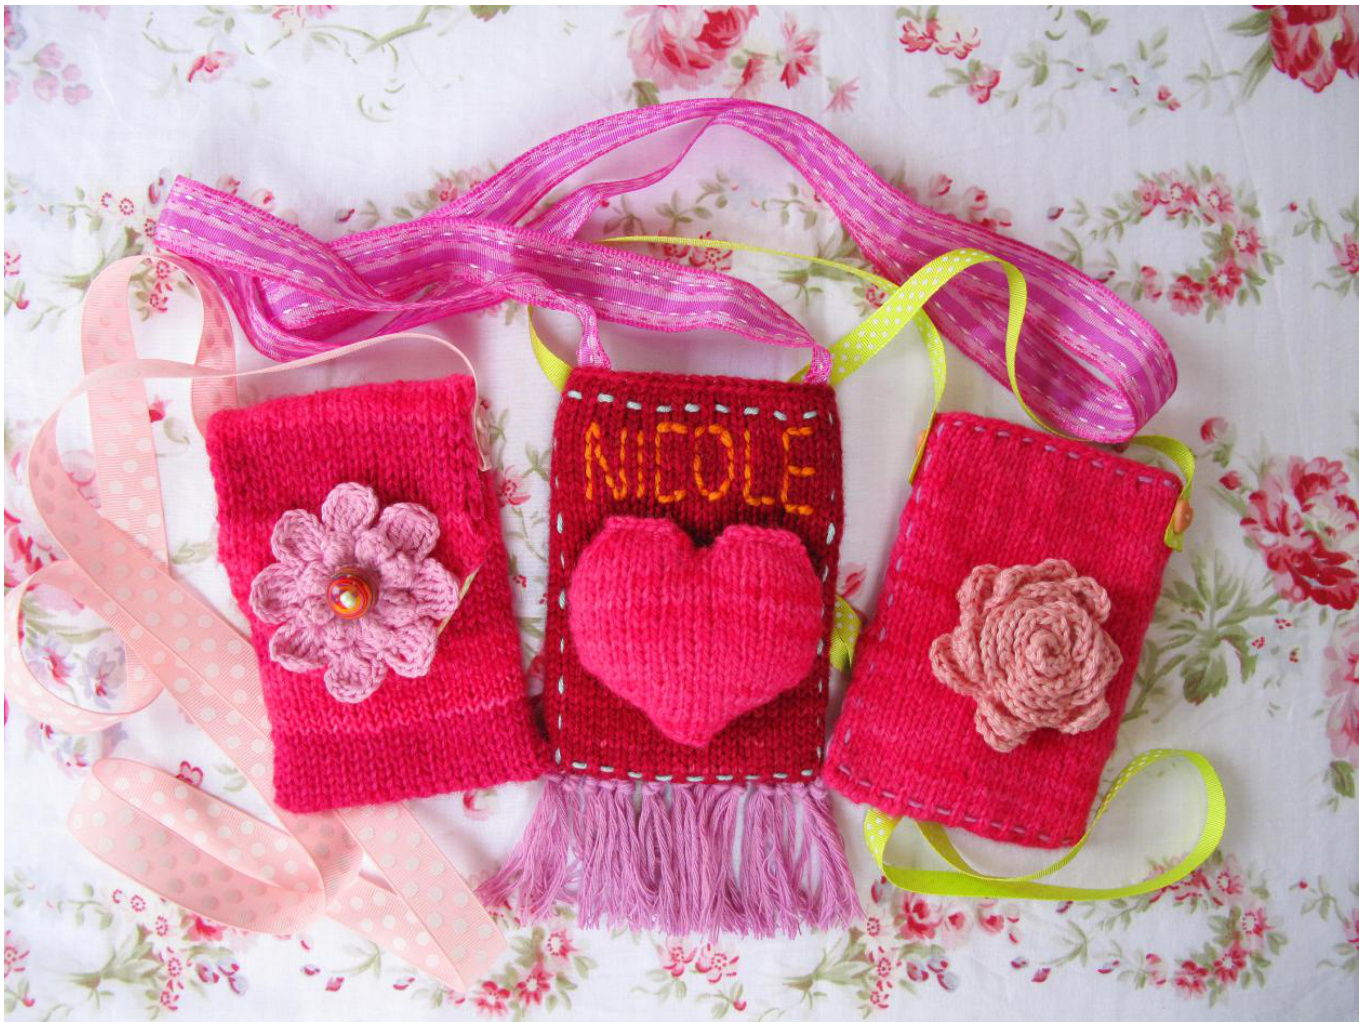
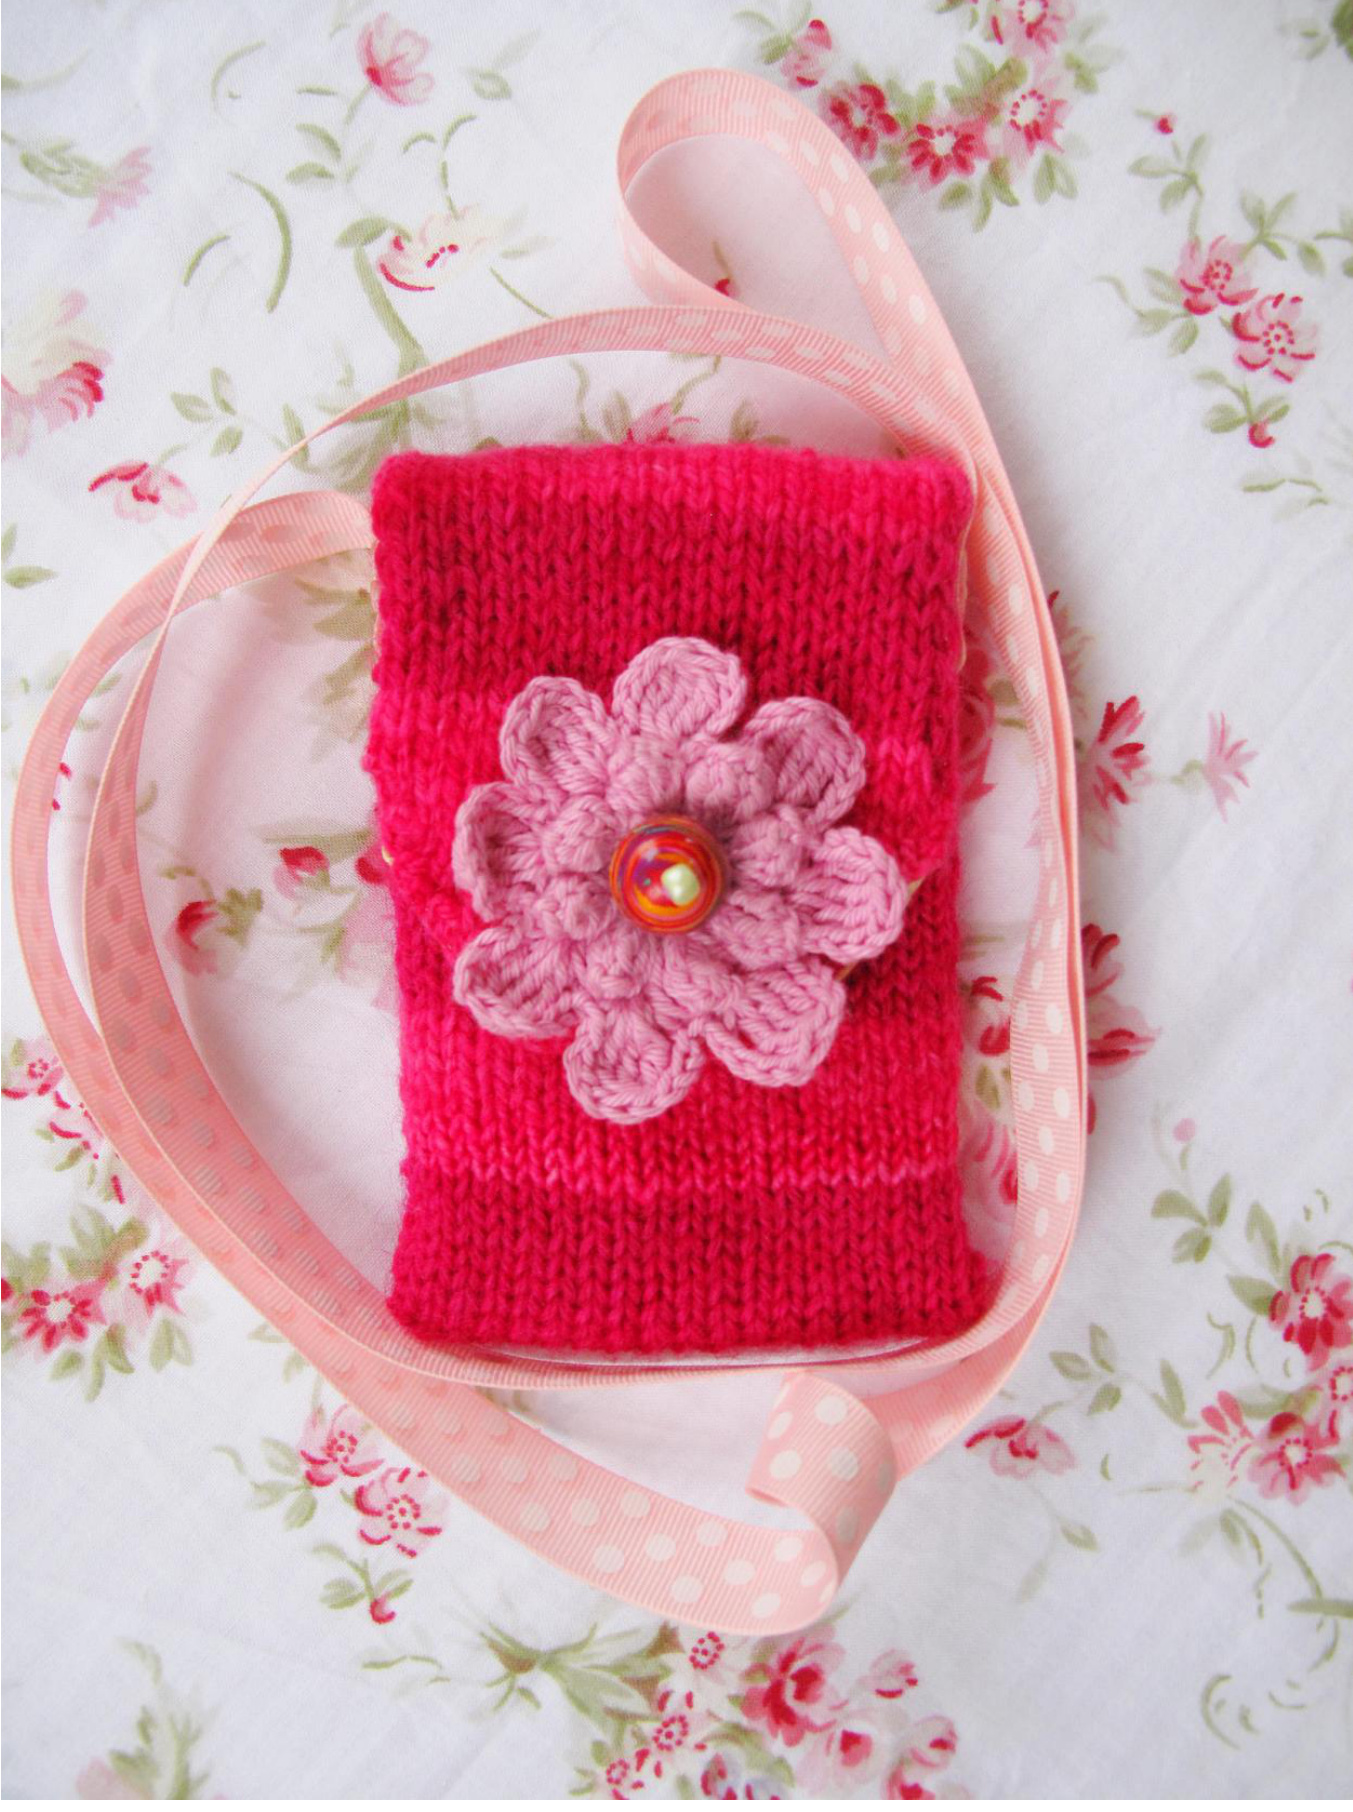
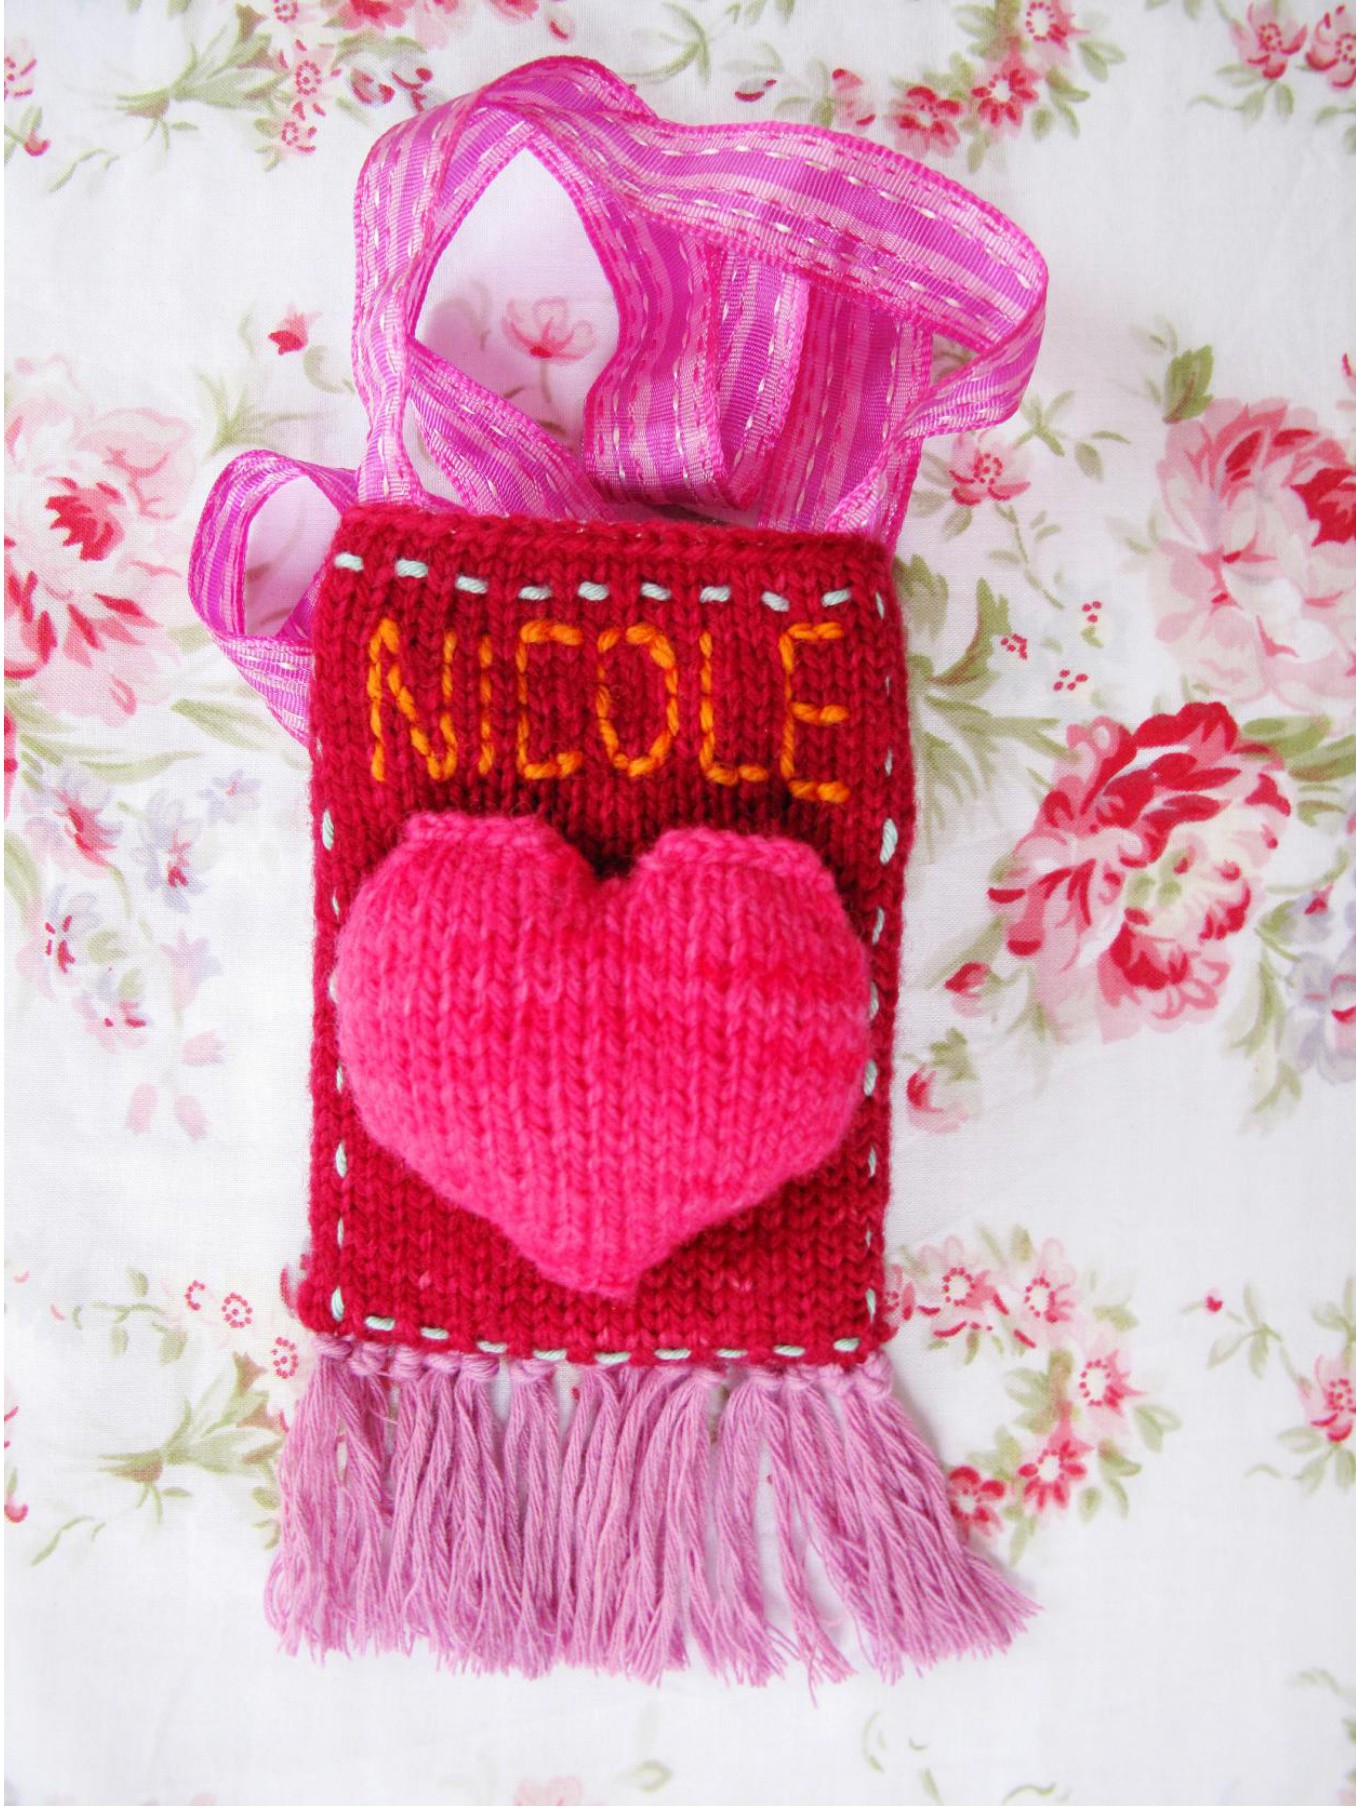
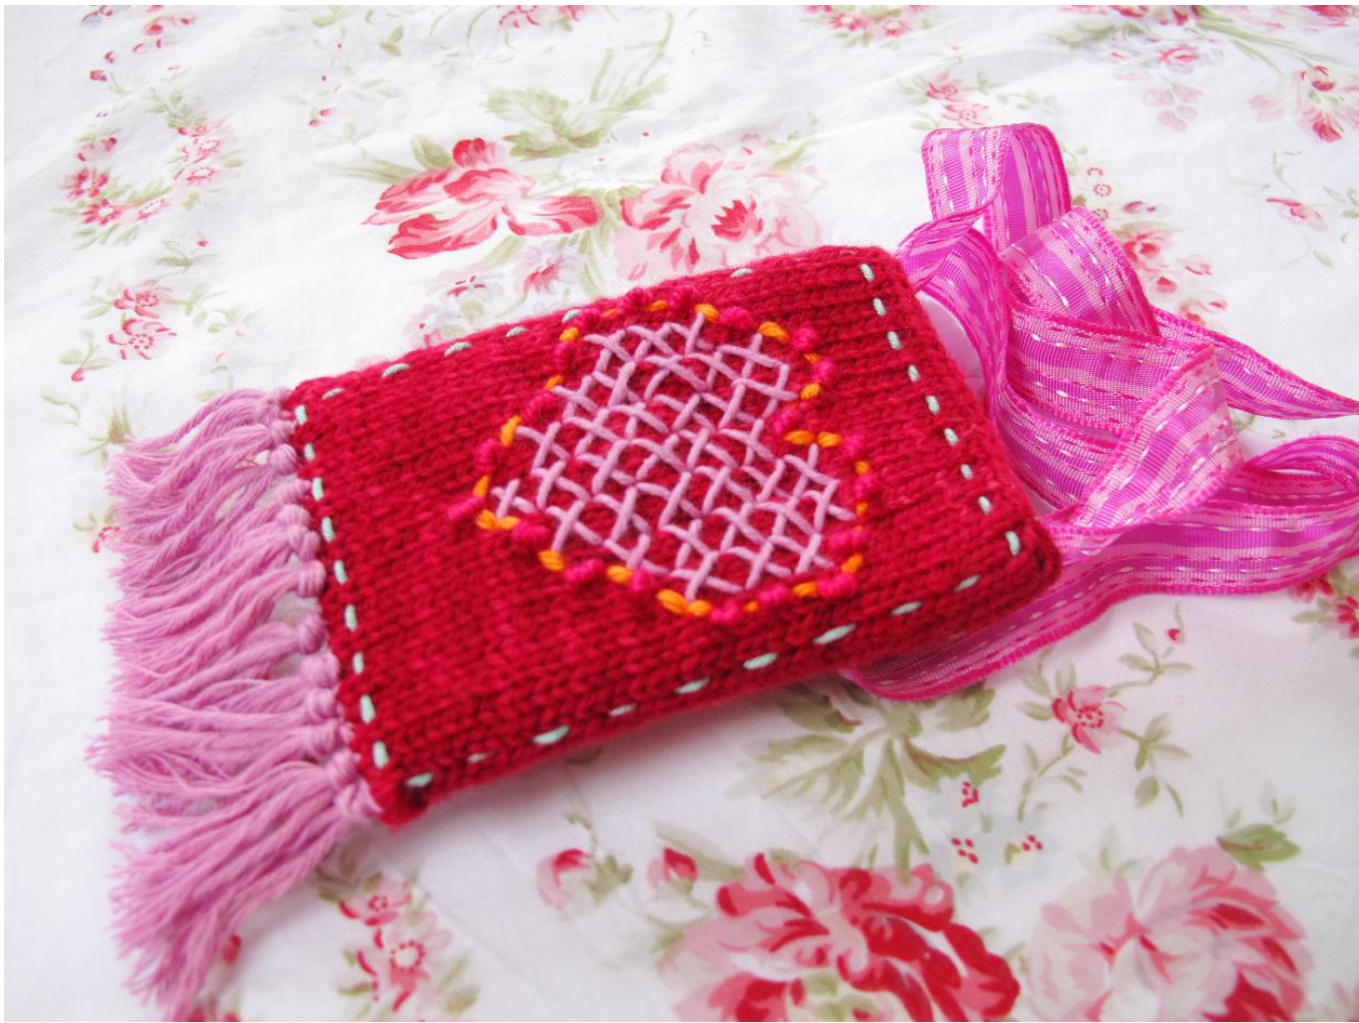
iPod Cosy
Heidi Bears C

We are living in the iPod era, and young and old are using these wonderful devices for listening to music, audiobooks, podcasts etc...I love listening to audiobooks while pottering about the house, but didn't like holding the iPod in one hand while doing other things with the free hand..so I designed an iPod cosy, that hangs around your neck, and keeps both hands free! It can be made from fabric, knitting, crochet and the embellishments that you can add are endless. This pattern is for a knitted iPod cosy.
Requirements:
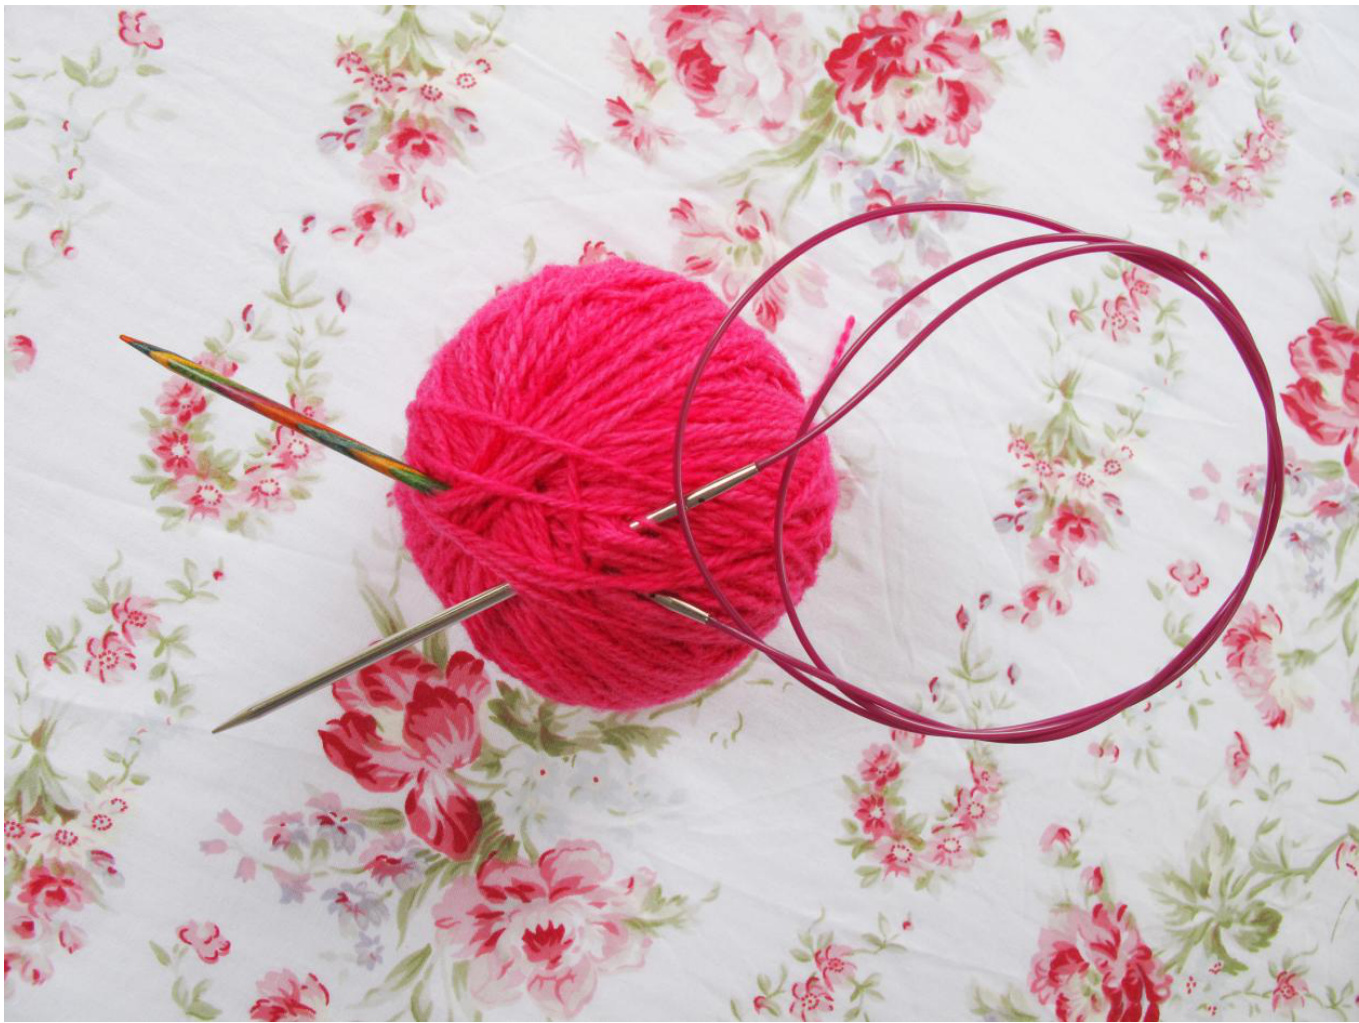
Circular knitting needle sized 3.75mm with a cable at least 8ocm long. DK yarn in a colour of your choice. Sewing Machine Iron Iron on Interfacing General sewing needle and cotton thread Embellishments of your choice to decorate your fabulous cosy!
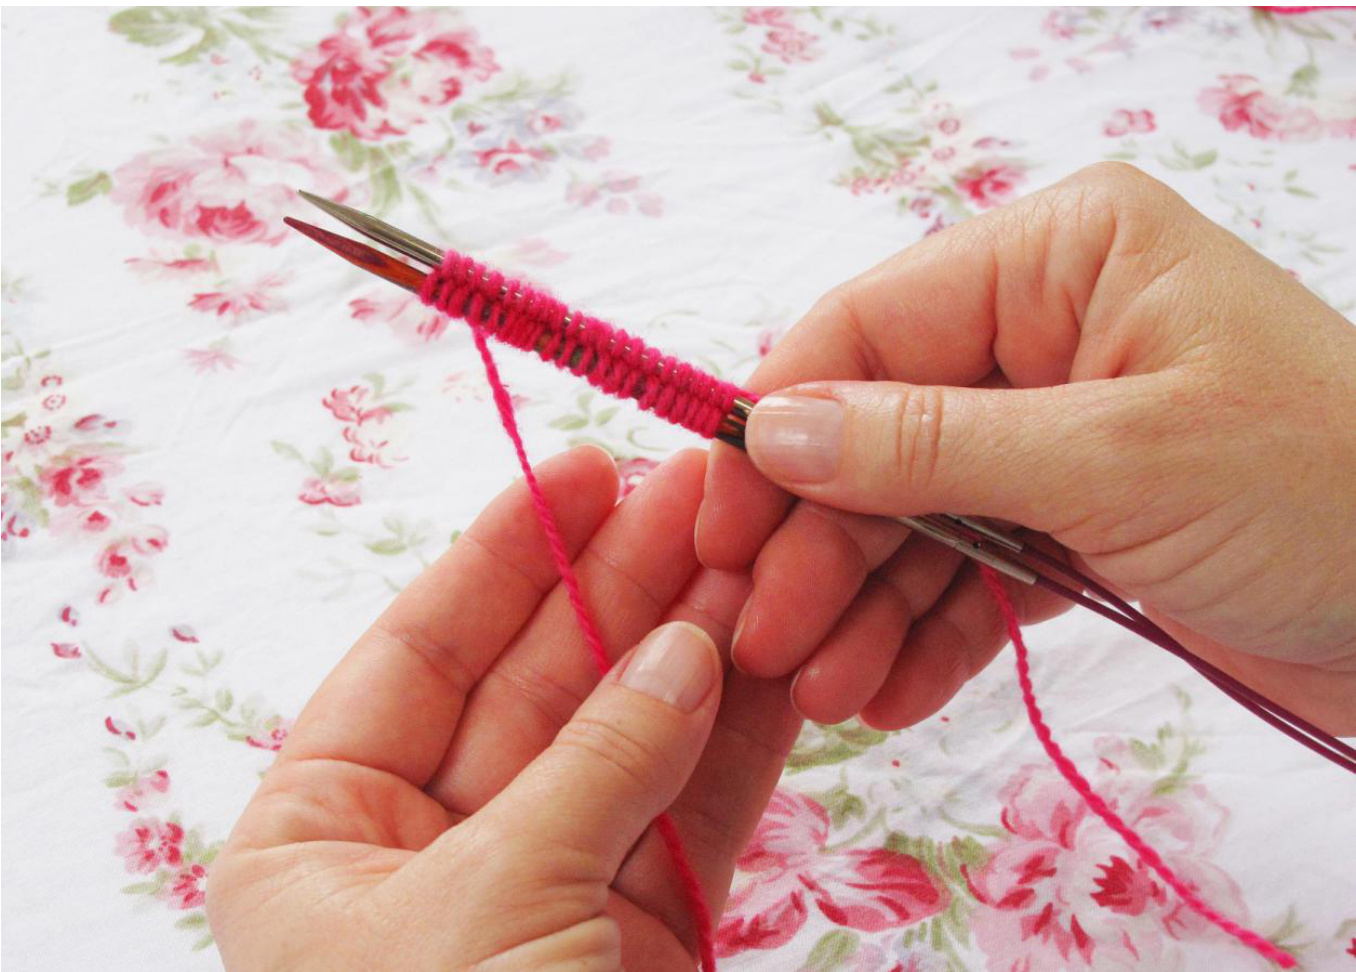
Using Judy's magic cast-on (if you are not familiar with this caston method, please visit http://heidibearscreative.blogspot.com/ for a step by step tutorial), cast-on 42 stitches (21 stitches on each needle).
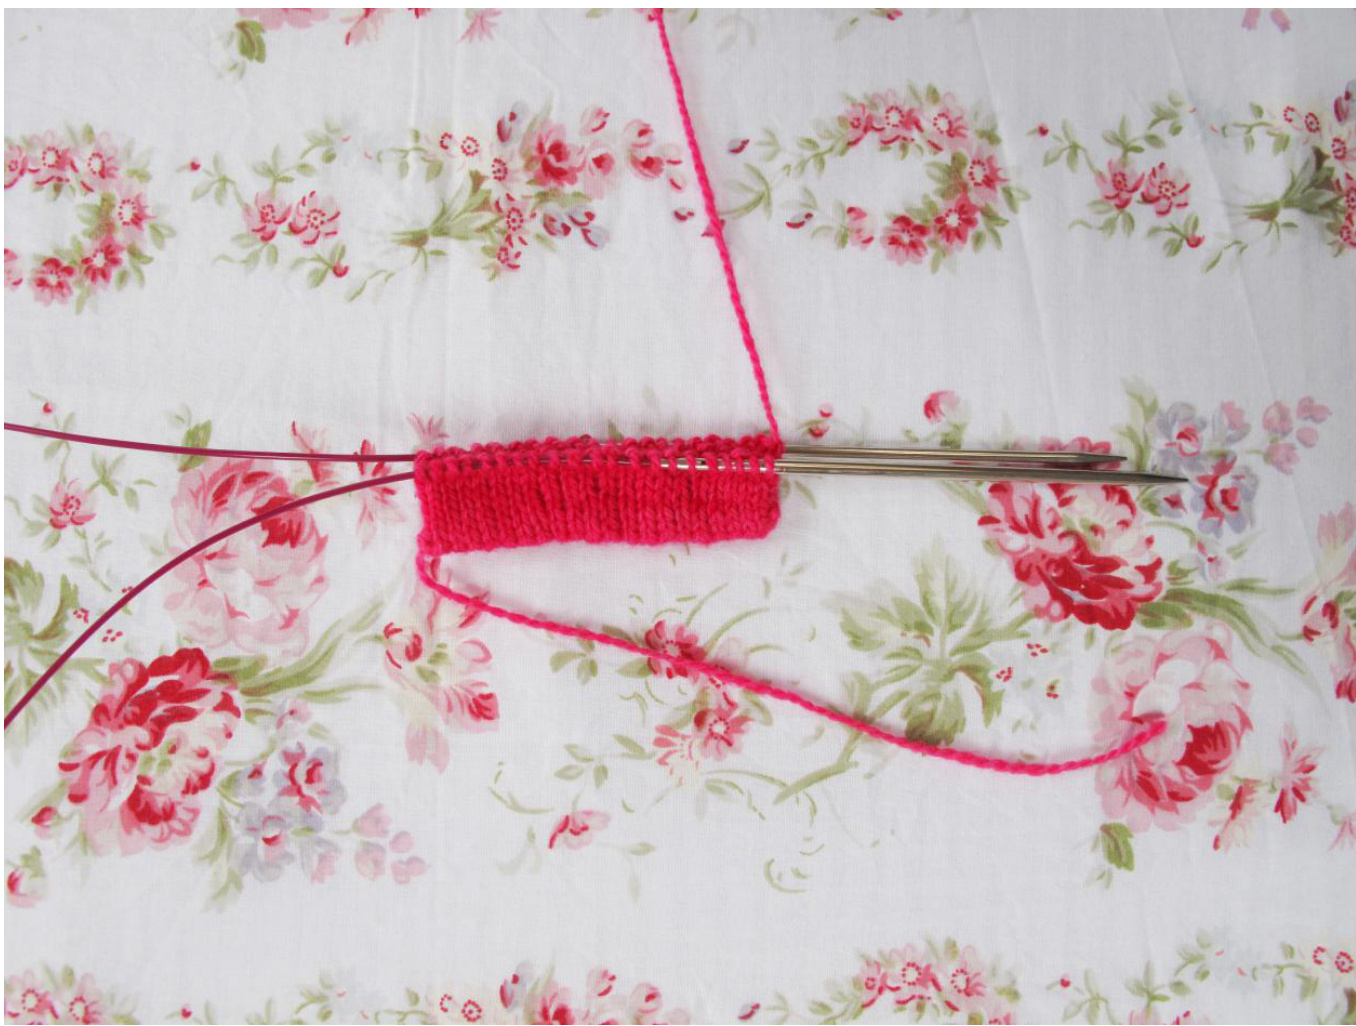
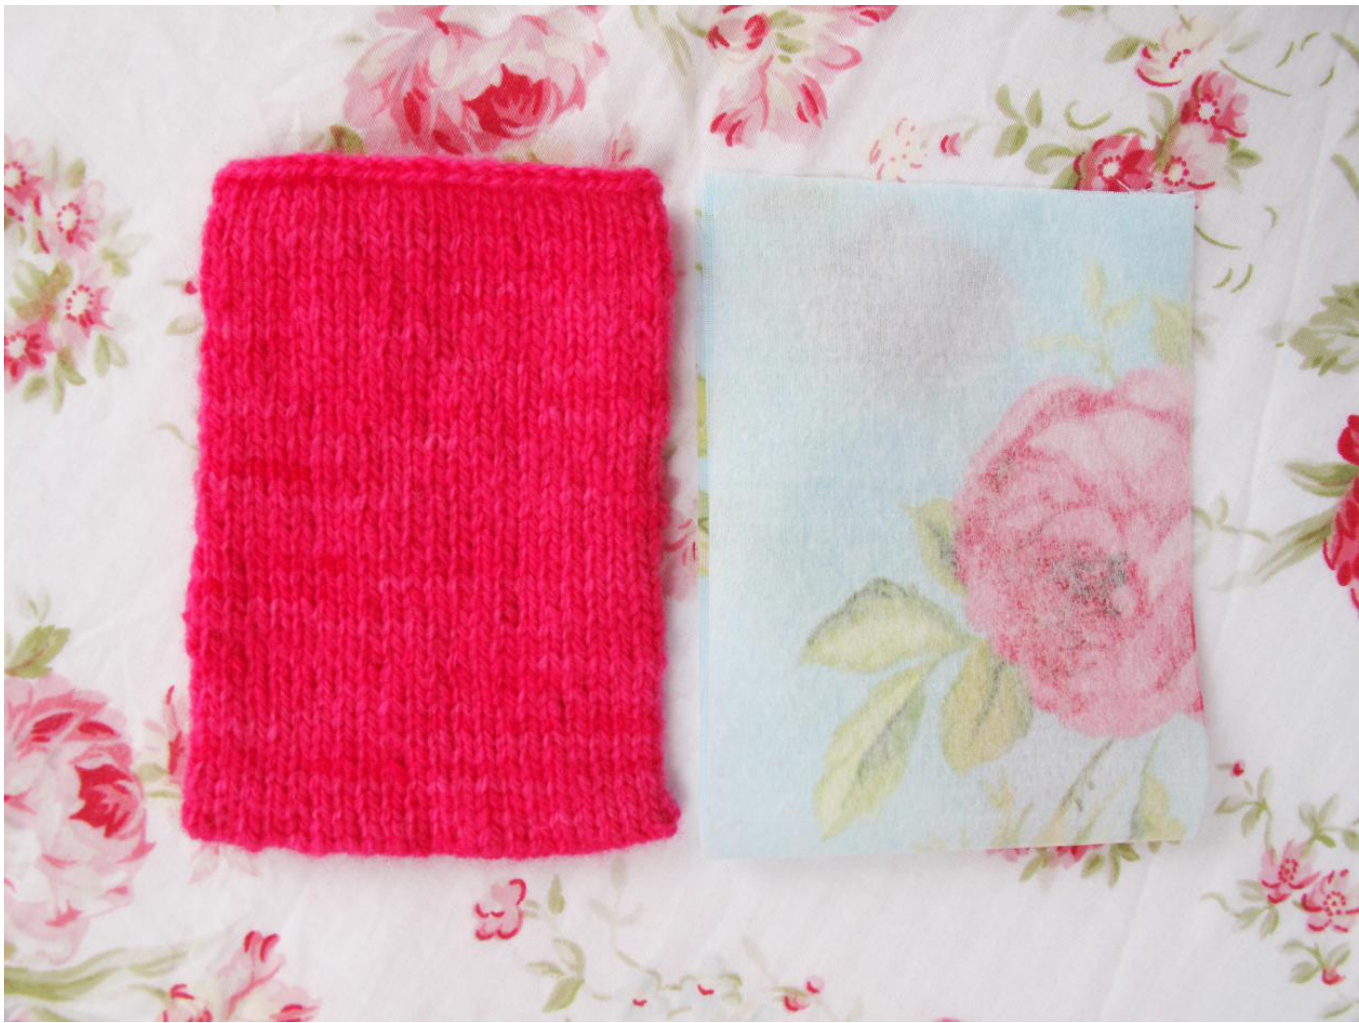
Using the Magic Loop method of knitting, knit 44 rounds (rows) or until the cosy measures 1icm in length. Place your iPod into the cosy to see if it fits comfortably. Cast off all stitches.
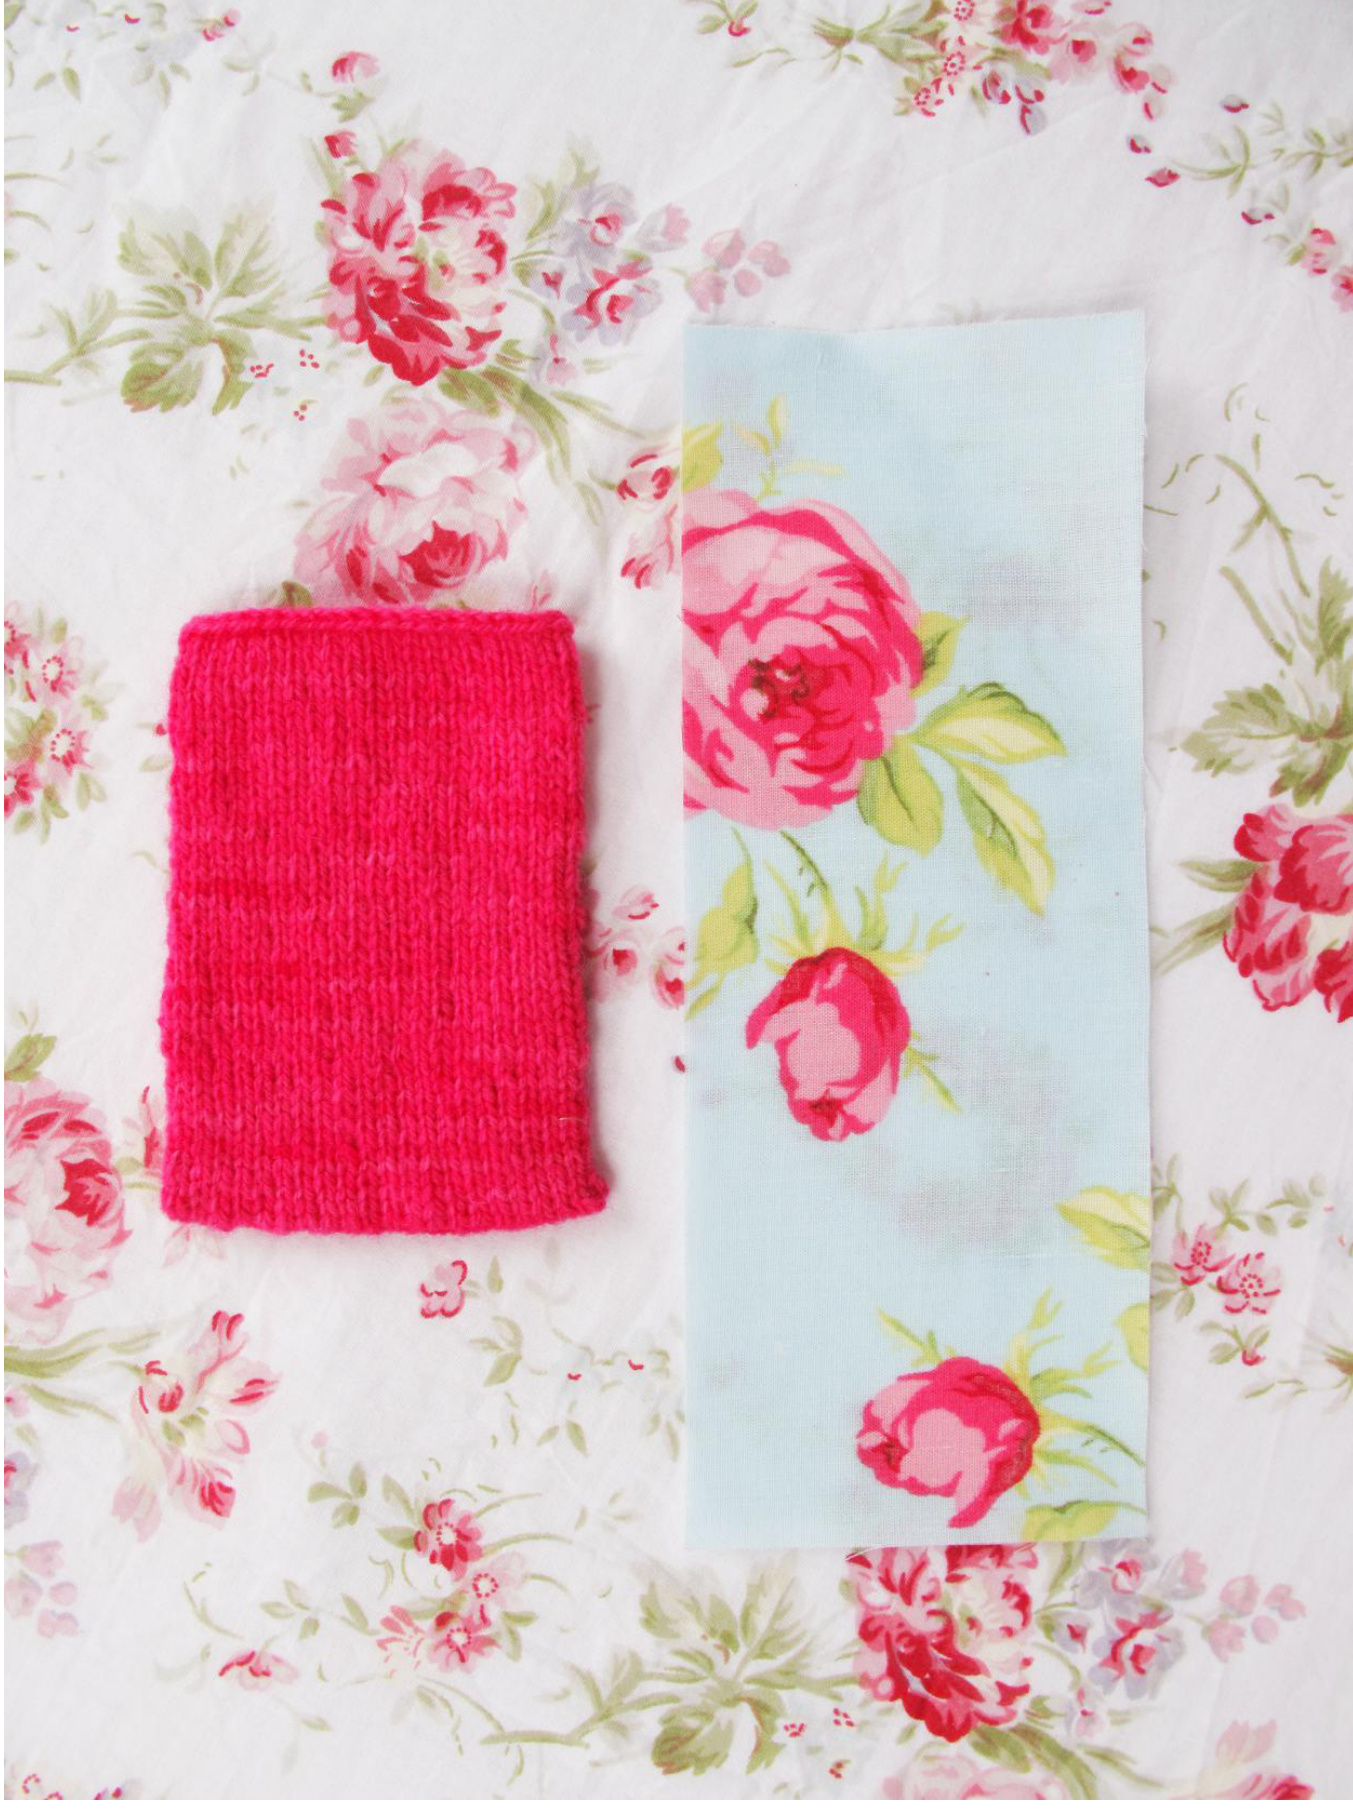
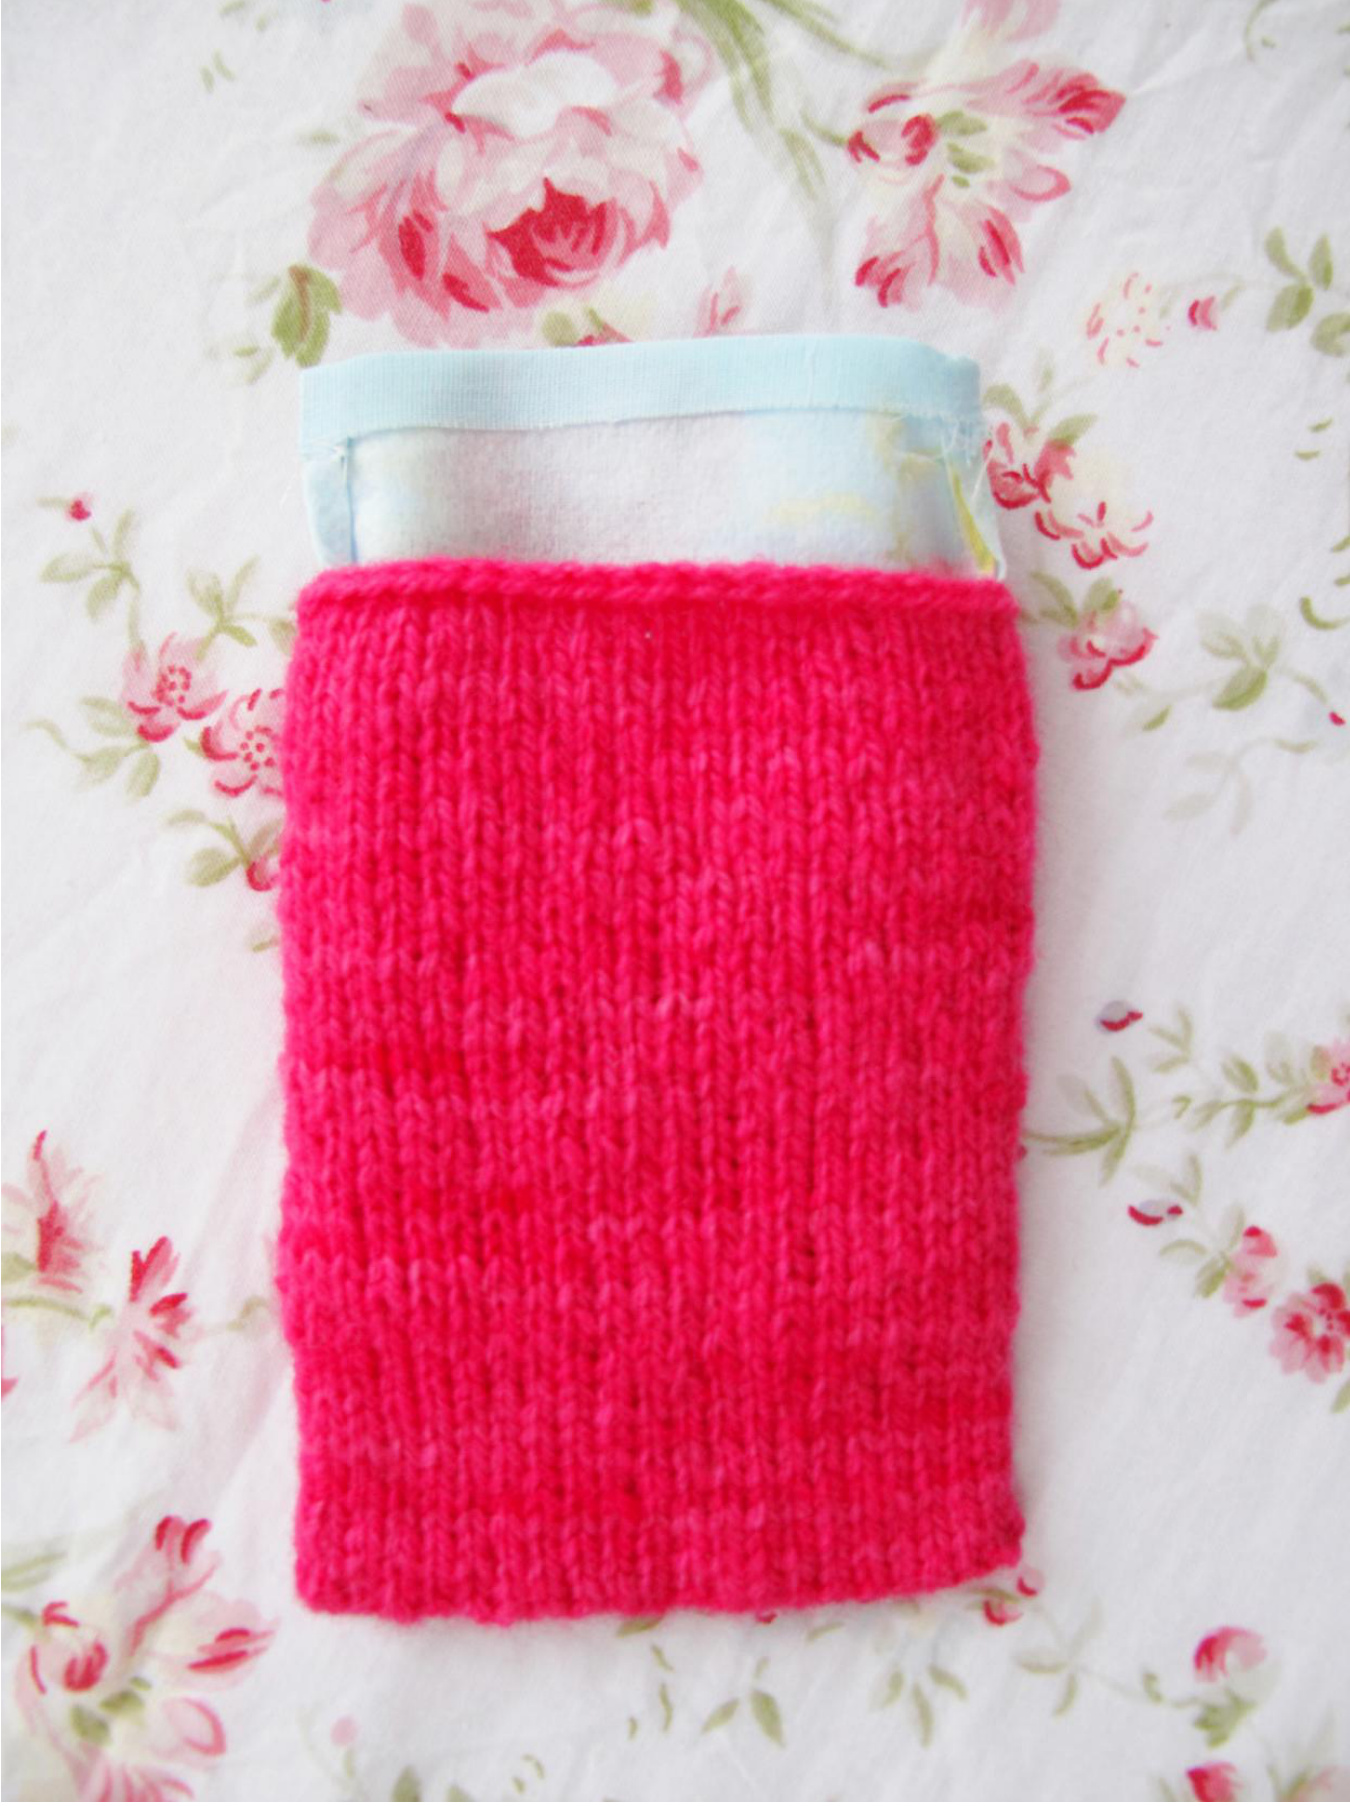
Cut a piece of fabric 24cm long by 9cm wide. Cut a piece of iron-on interfacing 24cm by 9 cm. Iron the interfacing onto the wrong side of the fabric.
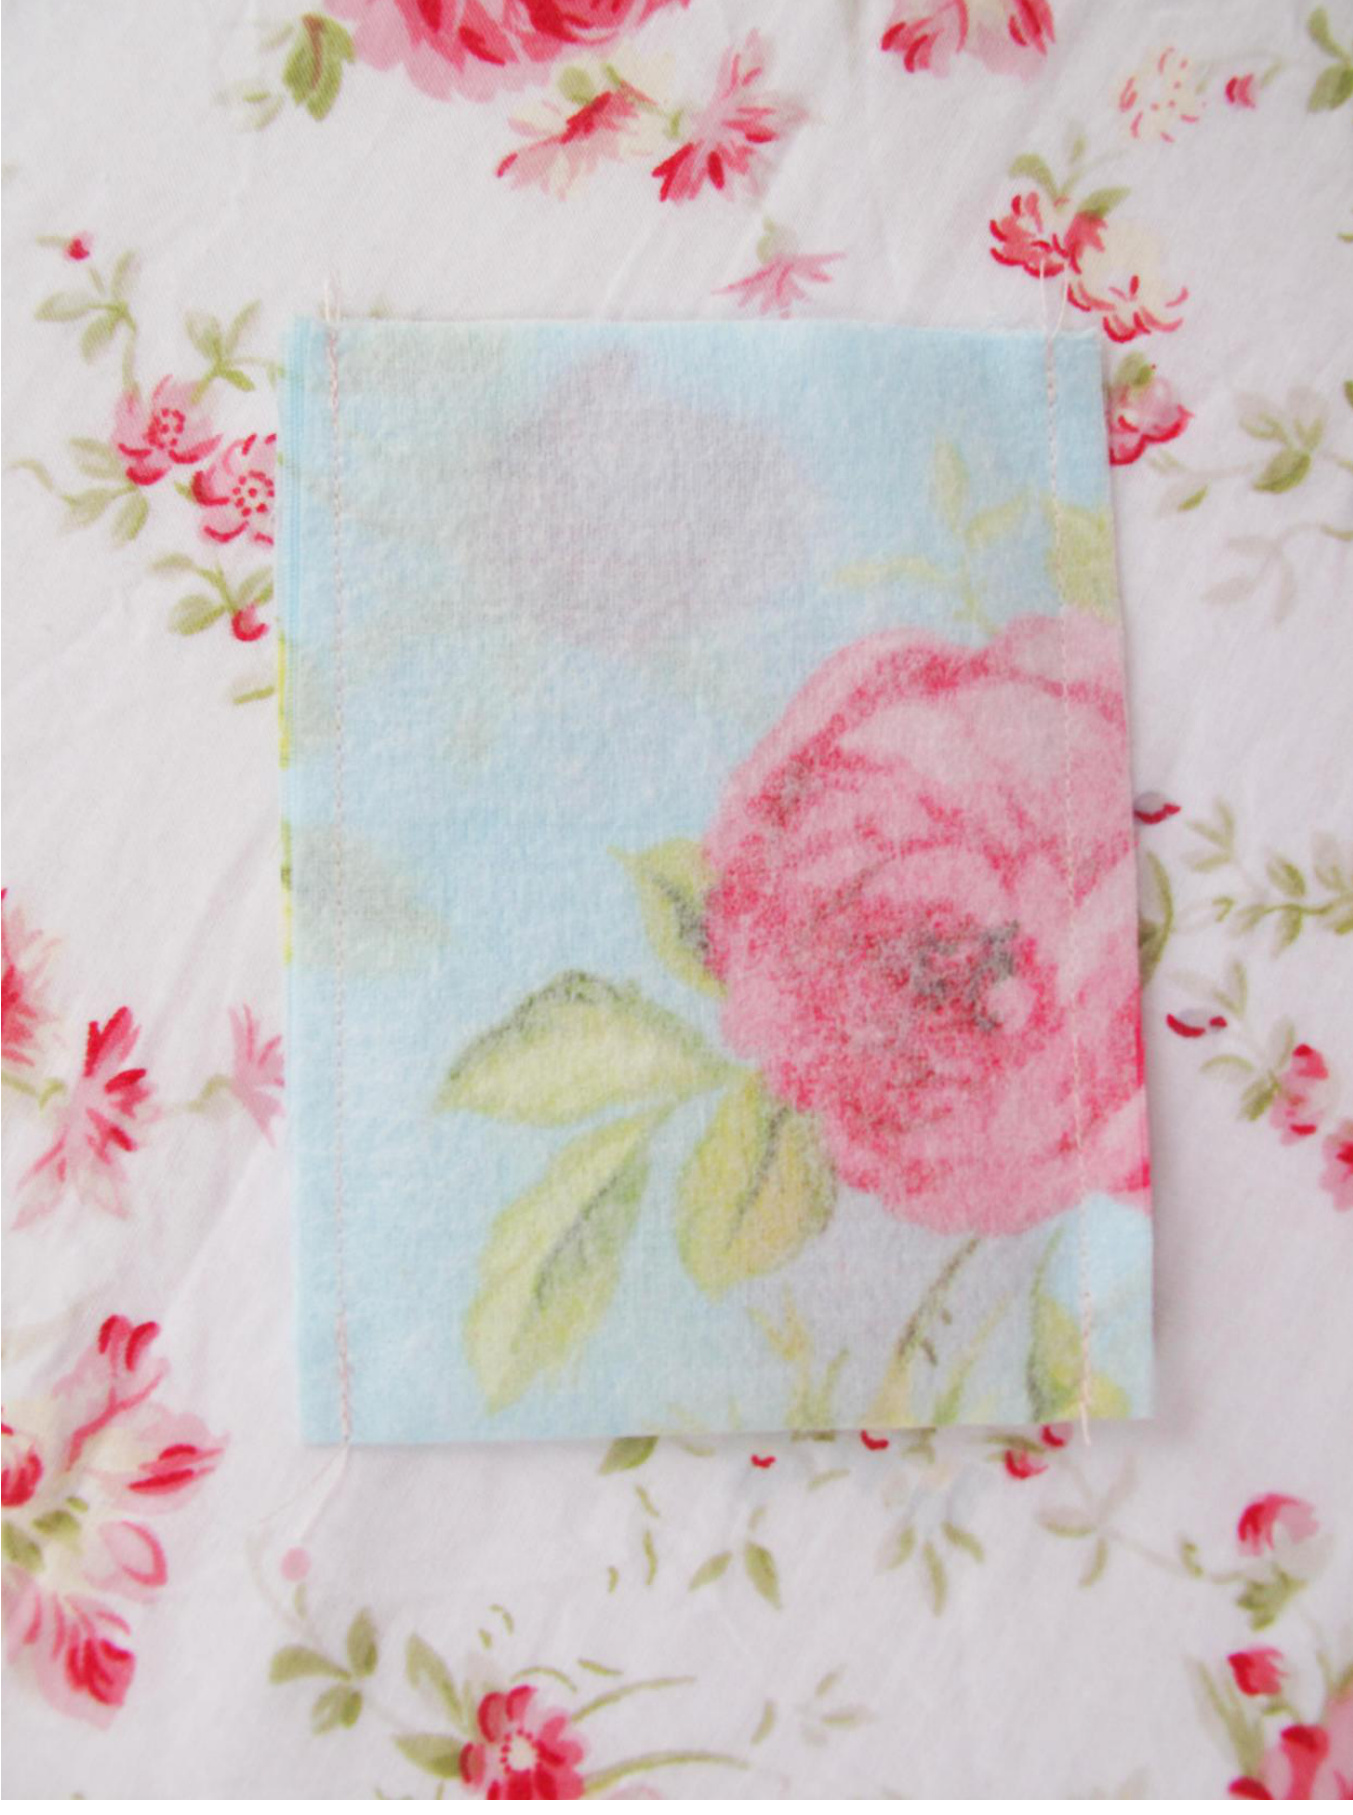
Fold the fabric in half, right sides facing, and sew up on either side, using a o.5cm seam edge.
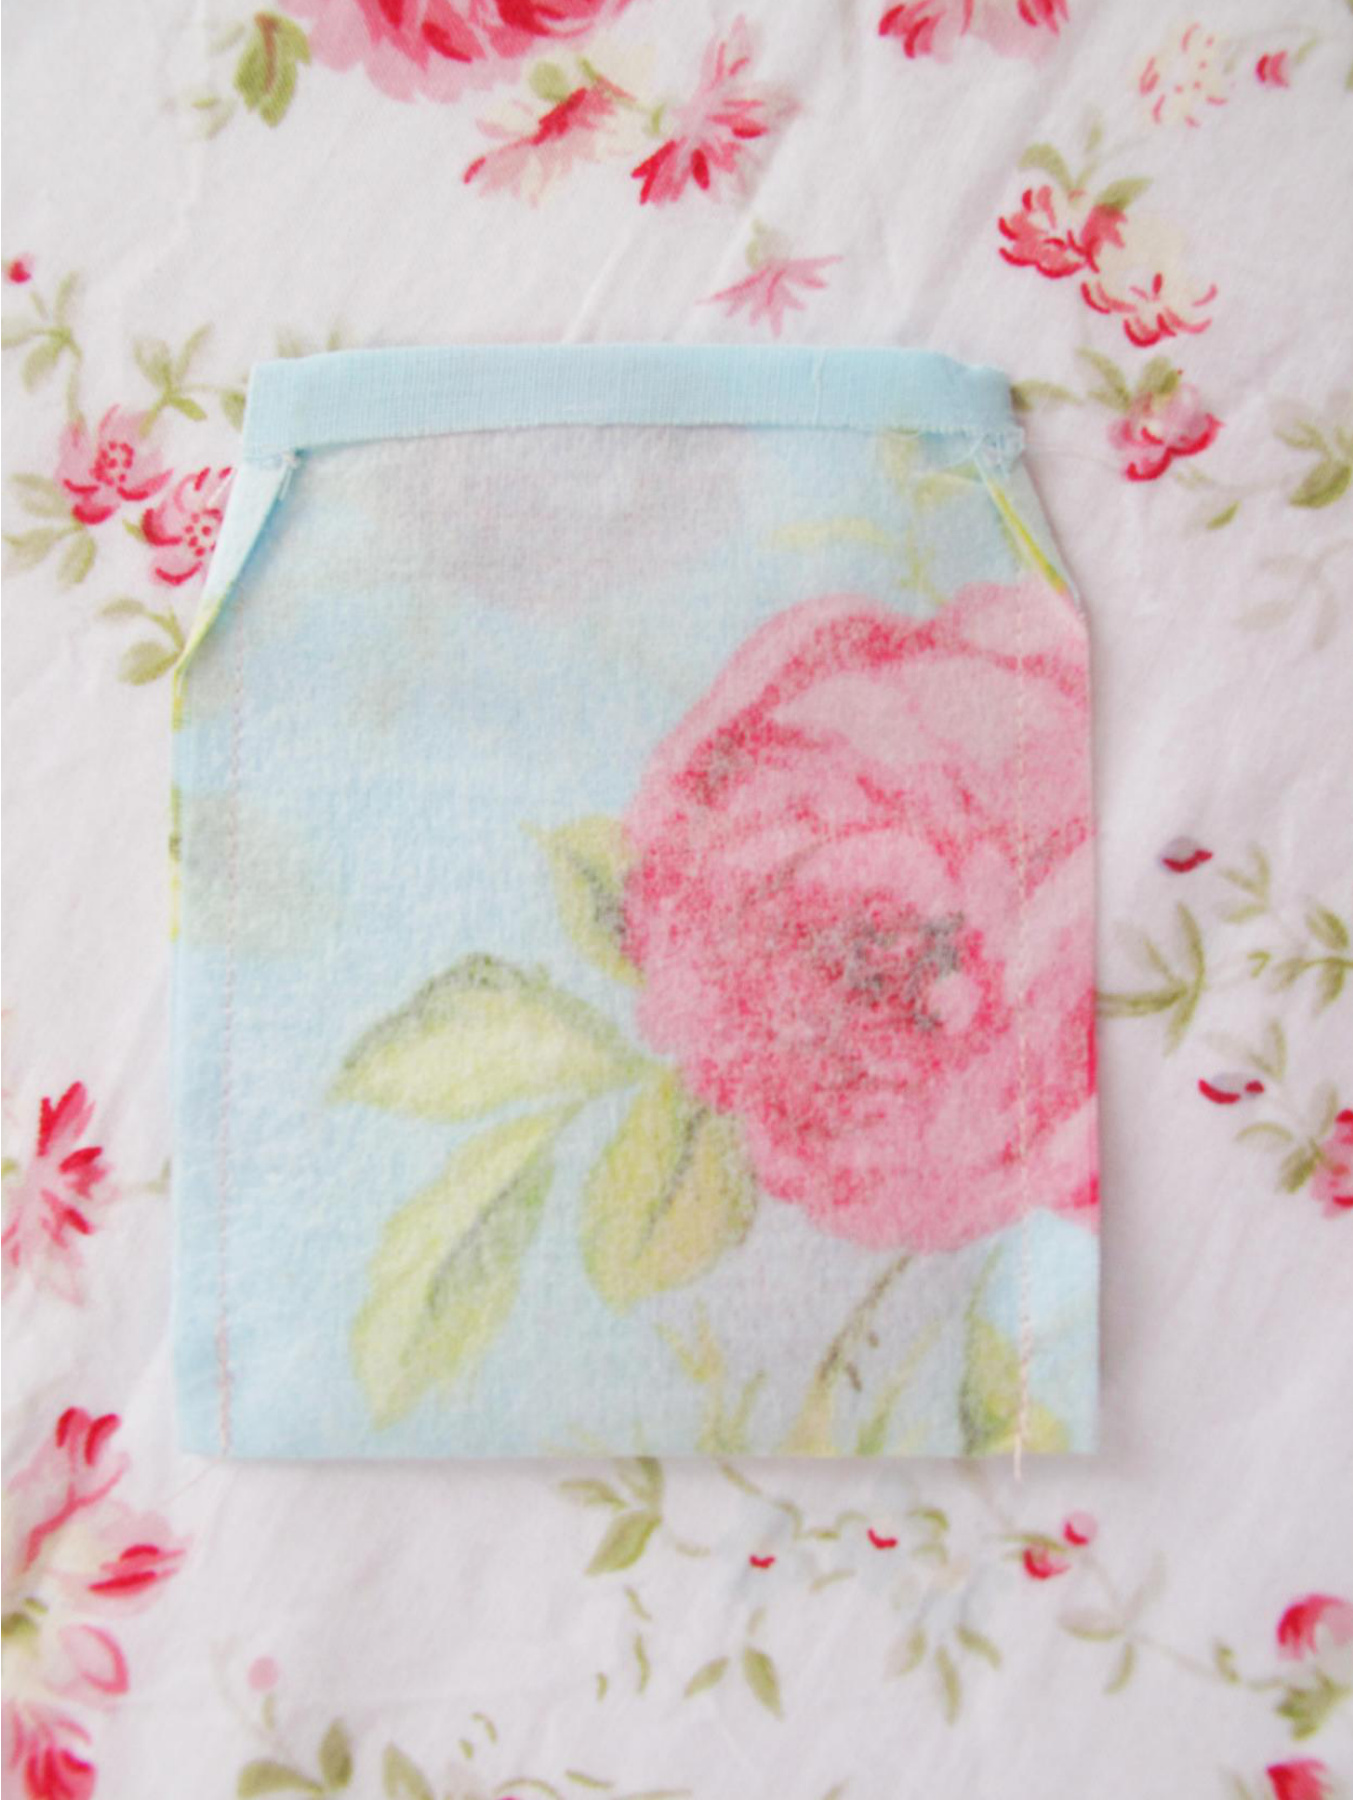
Fold over the top edge of the fabric pocket, by 1 cm, and iron flat. Insert the fabric pocket into the knitted cosy.
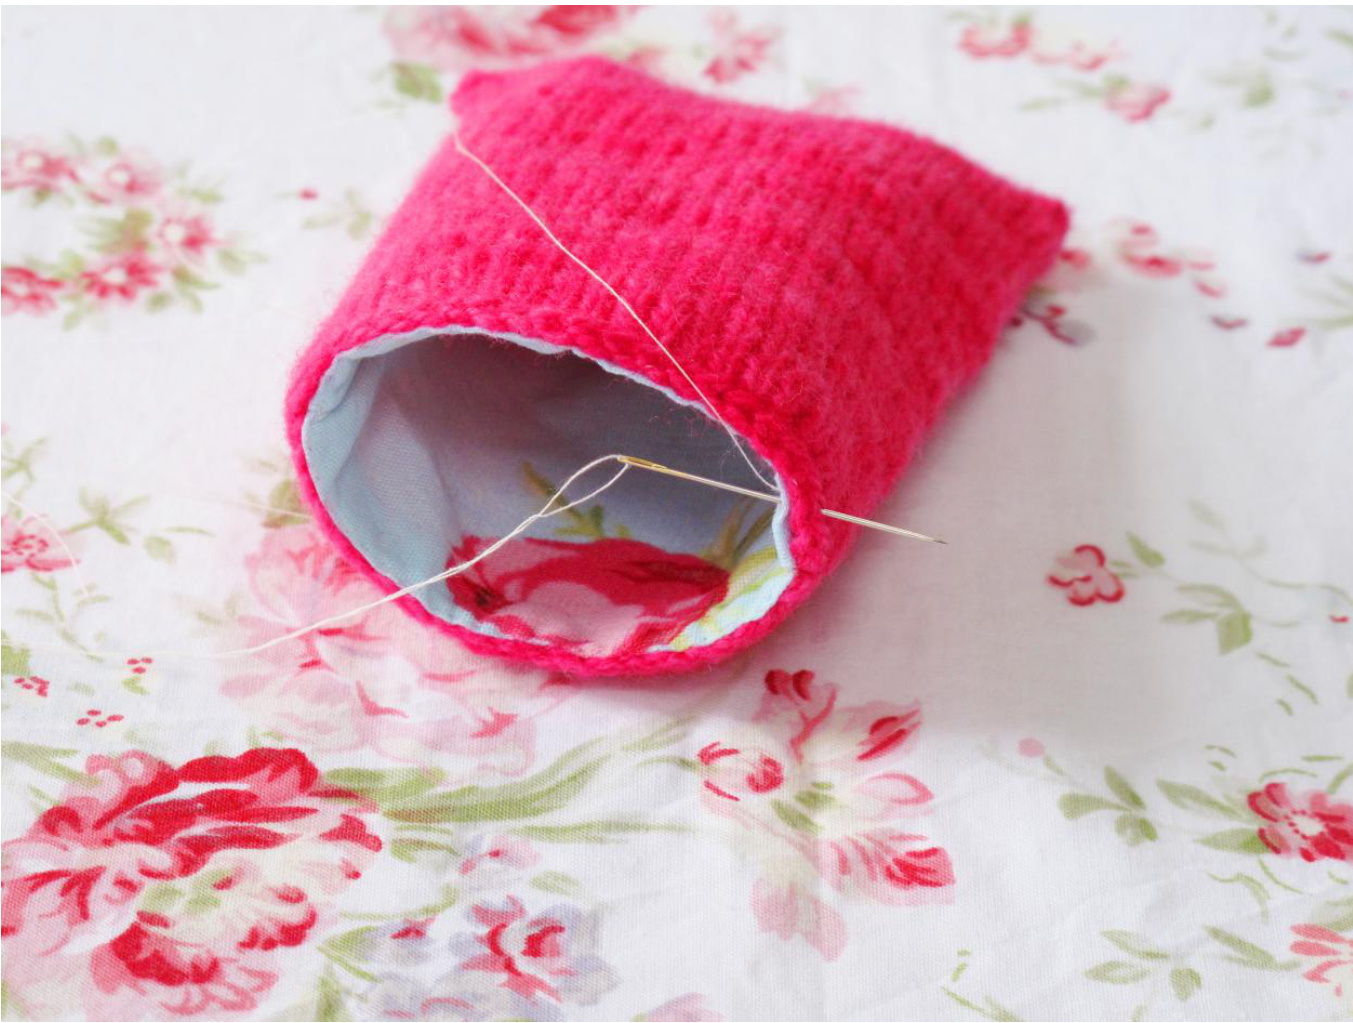
Use a needle and sewing thread to sew the fabric and knitted edges together. Cut a length of ribbon in colours you like. The best way to determine the right length is to drape the uncut ribbon around your neck, until both sides are long enough for your cosy to hang at a comfortable distance. Apply a small amount of Fray Check to the ribbon ends to prevent them from fraying.
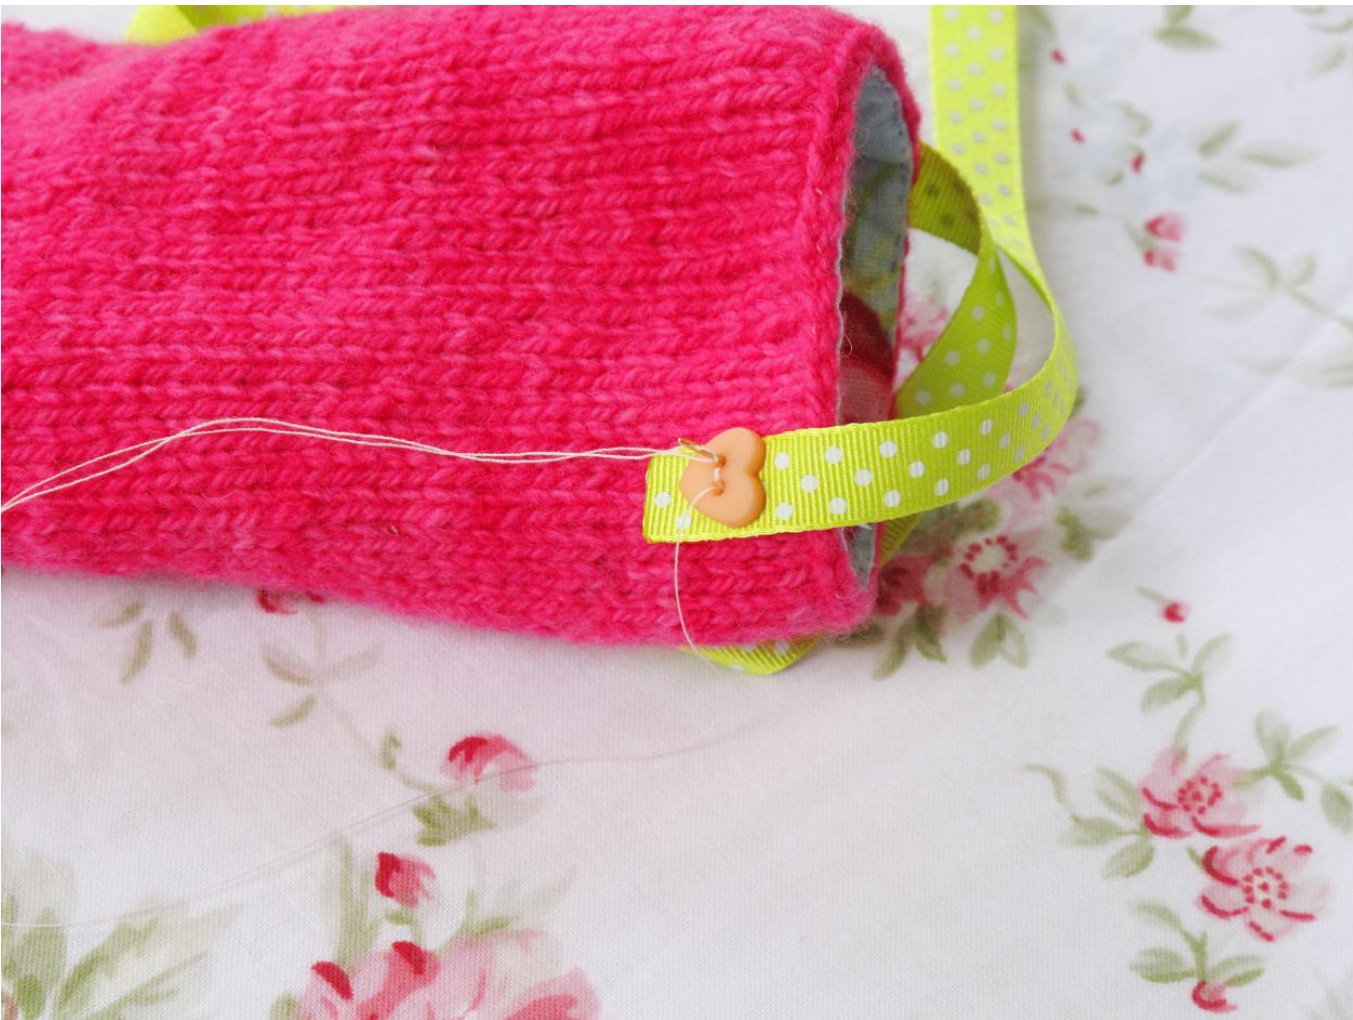
Sew the ribbon ends to the sides of the top of the cosy. Then sew two pretty buttons over the ribbon attachment.
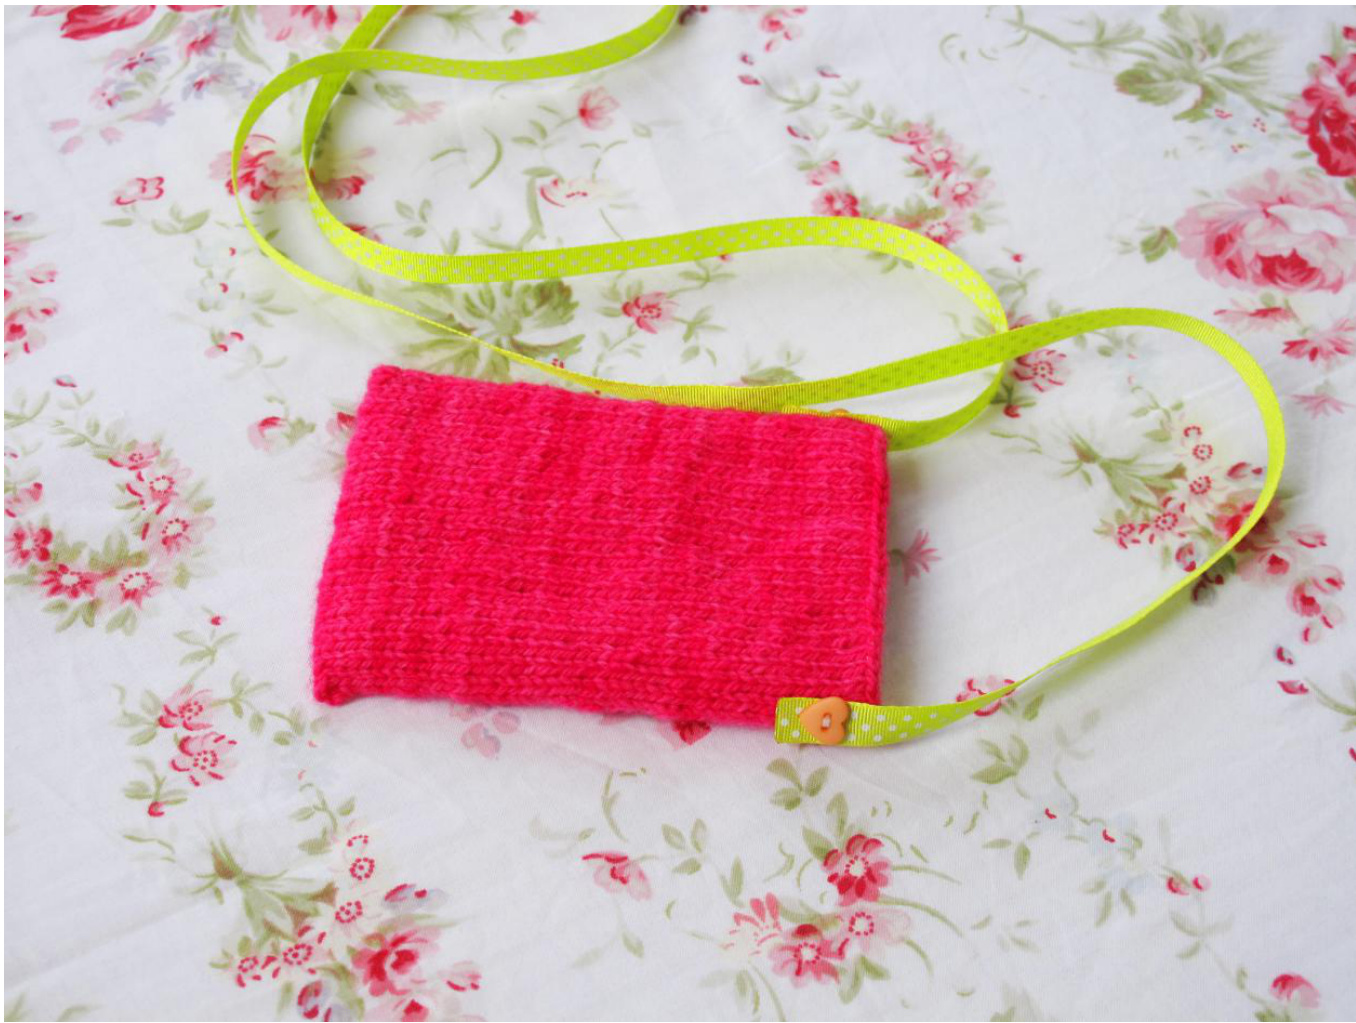
Your cosy is done! Now decorate and embellish it to your heart's content!