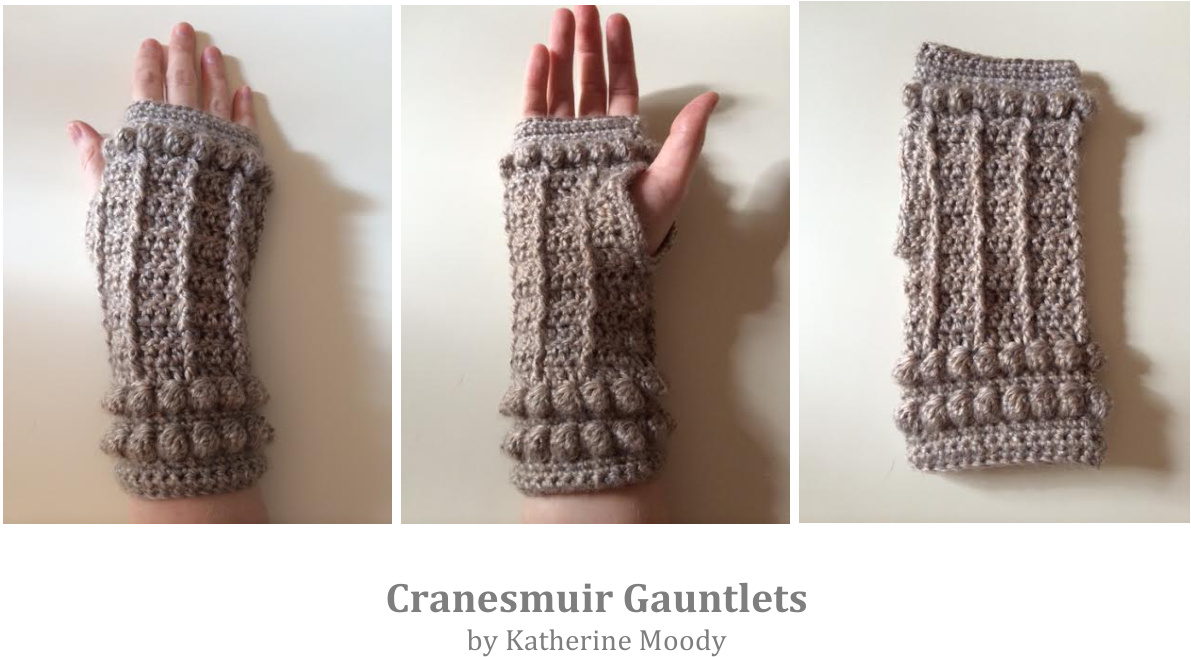
"When I first came to Cranesmuir, all I had was my wits, ye ken?" - Geillis Duncan Inspired by the fae-like Geillis Duncan, these gauntlets will keep your hands toasty as you browse the gardens of Leoch for herbs. Worked flat and seamed, there are no elaborate construction techniques required to create the thumbhole - just skip a few stitches when seaming to create your opening and single crochet around to tidy up. Knowledge of some decorative crochet stitches is required, but there are many YouTube resource videos available to learn these stitches. Once you understand the concepts, they are quite simple to complete. Pattern is for personal use Oonly. DIMENSIONS: Approx. 4" wide x 8" high Before seaming: approx. 7.5" wide x 8" high MATERIALS NEEDED: (1) skein worsted/aran weight yarn Size H crochet hook (5.0 mm)
ABBREVIATIONS:
you will also need yarn CH = chain SC = single crochet Kartopu-Bebe yarn or as DC = double crochet needle and scissors DC5tog = double crochet 5 together (bobble) FPDC = front post double crochet BPDC = back post double crochet PATTERN (make 2): ·Ch. 31. SC in 2nd ch. from hook and in each ch. across (30 stitches). Ch. 1, turn. SC in first stitch and each stitch across to complete second row. Continue SC rows as above until you have completed 5 rows. Ch 3, turn. In first stitch, DC5tog (yarn over, insert hook into stitch, pull up and loop and pull through 2, leaving 2 loops on hook; continue until you have 6 loops on hook; yarn over, pull through all loops). SC in next stitch. Repeat DC5tog and SC alternating to end of row. Ch. 1, turn. (Your “bobbles" will pop out to the back, or right side, of yourwork.) SC in next stitch and each stitch across. Ch. 1, turn. Continue SC until you have 3 rows SC. Ch. 3, turn. Repeat bobble row. Ch. 3, turn. DC in first stitch and each stitch across. Ch. 3, turn. DC in first two stitches from hook. \* BPDC in next st.; DC in next 3 st.; repeat from \* to end of row. DC in last 3 stitches. DC in first three stitches from hook. \* FPDC in next st.; DC in next 3 st.; repeat from \* to end of row. DC in last 3 stitches. Repeat BPTR and FPTR rows until you have 13 rows from your last set of bobbles (approx. 4.5"). You can continue the BPDC and FPDC to increase your length; just be sure to end on a row of FPDC. Ch. 3, turn. Complete one more row of bobbles per the instructions above. Ch. 1, turn. Complete 5 rows of SC. Leaving a long tail, finish off.
SUMMARY OF ROWS:
Rows 1-5: single crochet Row 5: bobbles Rows 6-8: single crochet Row 9: bobbles Row 10: double crochet Row 12: alternating back post double crochet (every 4th stitch) Row 12: alternating front post double crochet (every 4th stitch) Rows 13-22: repeats of rows 10 & 11 Row 23:bobbles Rows 24-28: single crochet \*\* You can see in the photo below that on the left hand side, there are 2 DCs to start the post rows and the post rows end with 3 DCs. When making your second glove, reverse this - begin with 3 DCs and end with 2 DCs. This will make your finished piece look cleaner once you seam it. \*\*
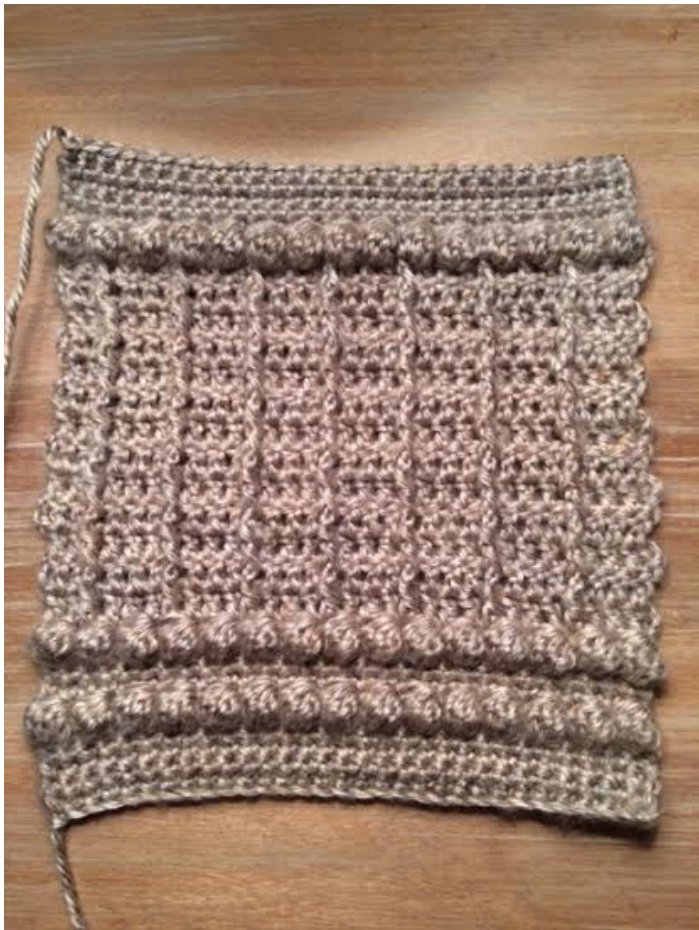
SEAMING&FINISHING: This process may vary based on the size of your hand and desired fit. I used stitch markers to close the sleeve at the top and bottom, and then used more to mark my thumbhole. 1 stopped seaming just below the bobbles at the top and skipped approx. 6 rows of the FPDC/BPDC and began seaming again. As I seamed, I wove my yarn into the side of the gauntlet to avoid starting a new piece. I used the Mattress Stitch to seam as it is the least visible in my opinion. The photo below illustrates my top and bottom closures as well as my thumbhole markers (the 2nd and 3rd markers from the top).

Once you've seamed your side closed, finish off and weave in ends. Pull up new yarn near your seam at your thumbhole. SC as evenly as you can around the thumbhole opening to tidy up your edges. Slip stitch to first stitch once you finish your round and finish off. Weave in ends. And then you're done!


