Baby Bear Amigurumi Pattern by adorably kawaii
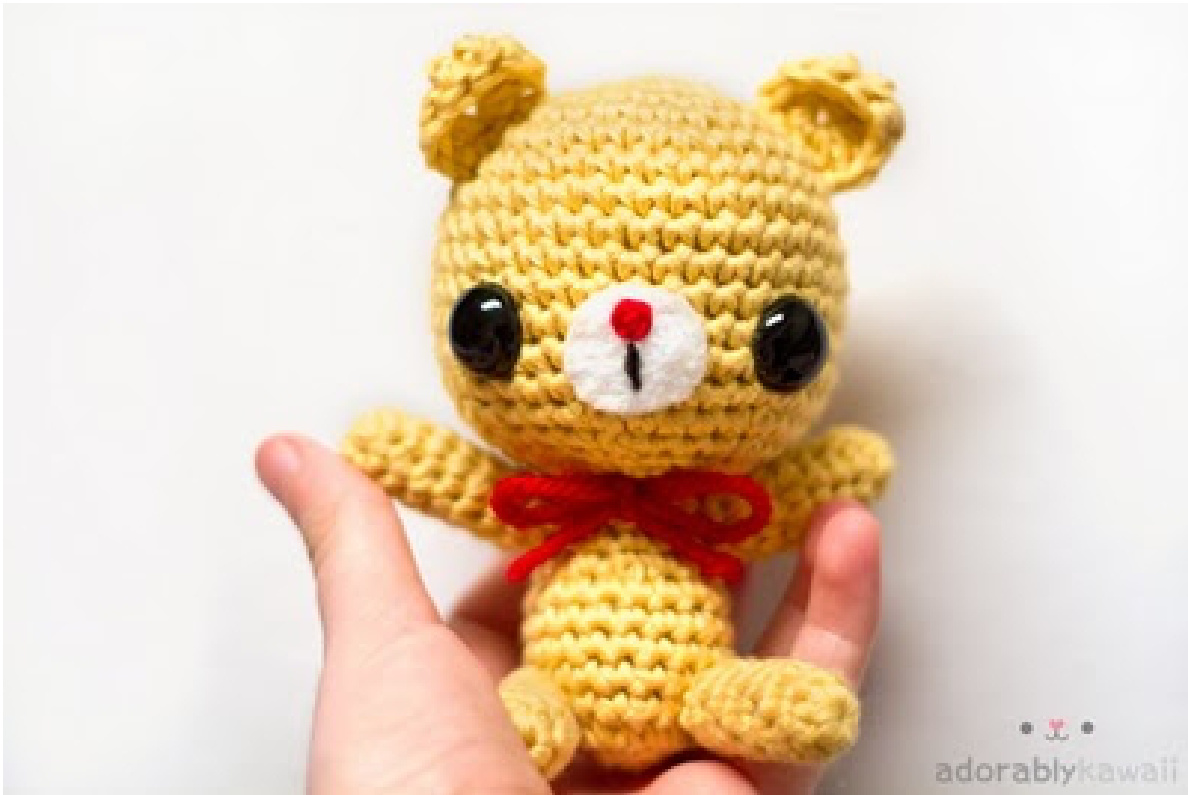
This little bear uses basic crochet stitches and you can make the nose & mouth however you'd like.
Materials:
· Worsted weight yarn. (I used Knit Picks Shine Worsted in color Dandelion - 60% pima cotton, 40% Modal natural beech wood fiber) · Scrap yarn in red for the bow · Embroidery thread in black, red, and white · White felt · Pair of 15mm safety eyes · Stuffing
Tools:
· E/3.5mm hook · Yarn needle · Embroidery needle
Size:
Approximately 4.5" (11cm) tall. Results will vary depending on your tension and your yarn & hook choice.
Gauge:
It's important to make sure the hook size you're using is the appropriate size for your yarn and tension. Choose a size that makes the stitches tight enough so stuffing doesn't show through. Generally, you should use a hook that is about 2 sizes Smaller than recommended on the yarn label.
Abbreviations:
Ch - Chain Sc - Single crochet 2 sc - 2 single crochet increase Hdc - Half double Crochet Dc - Double crochet Tr - Treble crochet Sc2tog - 2 single crochet decrease Sk - Skip St(s) - Stitch(es) R# - Round/Row # Rep - Repeat
Pattern Notes:
Pattern is written in US terms. All pieces are worked through both loops. If you crochet in the back loop only, the stitches will be taller and finished object will have different shapes and proportions. This pattern is worked in a continuous spiral. Use a stitch marker to mark the start or end of the round. Increases are written with the number before the stitch such as “2 sc in st" or “3 dc in st" .
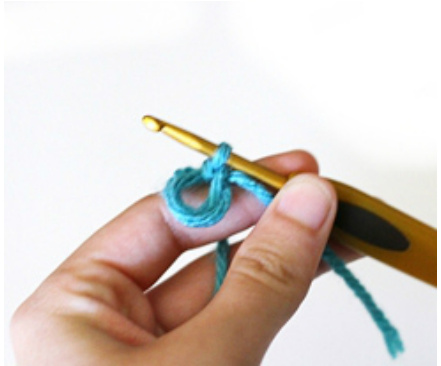
Magic Ring:
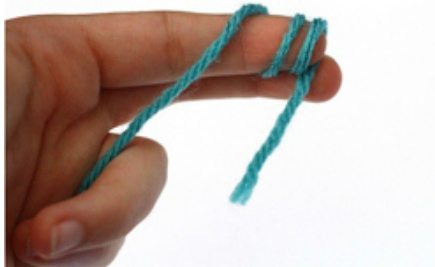
1. A few inches from the end of the yarn, wrap two loops over your finger。

2. Insert the hook from right to left into the loops.
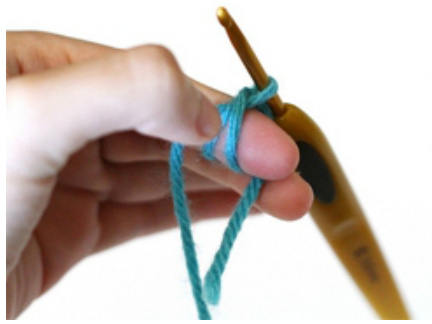
3. Pull the working yarn through.
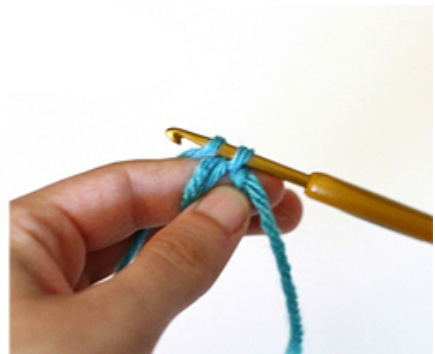
4. Carefully take the loops off your fingers and chain one. This doesn't count as the first stitch.
5. Insert the hook into the two loops again and pull up a loop. Yarn over and draw through both loops. This counts as the first single crochet stitch.

6. Continue for the rest of the stitches. Then pull the yarn tail to close the hole.
Head:
With yellow yarn, R1: 6 sc into magic ring. (6 sts) R2: 2 sc in each st around. (12 sts) R3: \*2 sc in st, sc in next s+\* rep to end. (18 sts) R4: \*2 sc in st, sc in next 2 sts\* rep to end. (24 sts) R5: \*2 sc in st, sc in next 3 sts\* rep to end. (30 sts) R6: \*2 sc in st, sc in nex+ 4 sts\* rep to end. (36 sts)
R7-11: Sc in each st around. (36 sts, 5 rounds)
fingers and chain one. This doesn't 4. Carefully take the loops off your count as the first stitch. R12-14: Sc in each st around. (36 sts, 3 rounds) R15: \*Sc2tog, sc in next 4 sts\* rep to end. (30 sts) R16: \*Sc2tog, sc in next 3 sts\* rep to end. (24 sts) Start stuffing. R17: \*Sc2tog, sc in next 2 sts\* rep to end. (18 sts) R18: \*Sc2to9, sc in next st\* rep to end. (12 sts) R19: \*Sc2tog\* around. (6 sts) Finish stuffing. Fasten off.
Snout:
Cut out a circle from white felt that covers about 4 sts and rows between the eyes. Or if you'd like to crochet a snout instead: R1: 6 sc into magic ring. R2: 2 sc in each st around. (12 sts) R3: Sc in each st around. Don't stuff. Fasten off, leaving a long tail for sewing. Nose: With red yarn, embroider a circle nose on the snout using satin stitch.
Mouth:
Stitch on a mouth with black embroidery thread. Then stitch the snout centered on R9-12 of the head using white embroidery thread (or yarn tail if you made the crocheted version).
Ears (Make 2):
With yellow yarn, R1: [Sc, hdc, dc 2, tr 3, dc 2, hdc, sc] into magic ring. (11 sts) Fasten off, leaving a long tail for sewing. Sew onto R4-6 of the head.
Body:
With yellow yarn, R1: 6 sc into magic ring. (6 sts) R2: 2 sc in each st around. (12 sts) R3: \*2 sc in st, sc in next st\* rep to end. (18 sts) R4-8: Sc in each st around. (18 sts, 5 rounds) Start stuffing. R9: \*Sc2to9, sc in next st\* rep to end. (12 sts) R10-11: Sc in each st around. (12 sts, 2 rounds) Finish stuffing. Fasten off, leaving a long tail for sewing. Sew head onto the body. Arms and Legs (Make 4): With yellow yarn, R1: 6 sc into magic ring. (6 sts) R2-8: Sc in each st around. (6 sts, 7 rounds) Fasten off, leaving a long tail for sewing. Sew the arms onto the side of the body on Rl0-11, lining up with the ears. Then sew the legs onto the front or sides on R3-4 of the body.
Tail:
With yellow yarn, R1: 6 sc into magic ring. (6 sts) R2: Sc in each st around. (6 sts) Sl st in next st. Fasten off, leaving a long tail for sewing. Sew onto the sides of the body on R7.
Bow:
Use about 10" (25cm) of scrap yarn in red and tie a bow around the neck. Cut to desired length. @ Adorably Kawaii. Pattern is for personal use only. Please don't redistribute/resell the pattern in any way or form. If you post the finished items you make online, my only request is that say something like "Pattern designed by Adorably Kawaii - www.adorablykawaii.com" Email: adorablykawaii@gmail.com Website: http:/ /www.adorablykawaii.com


