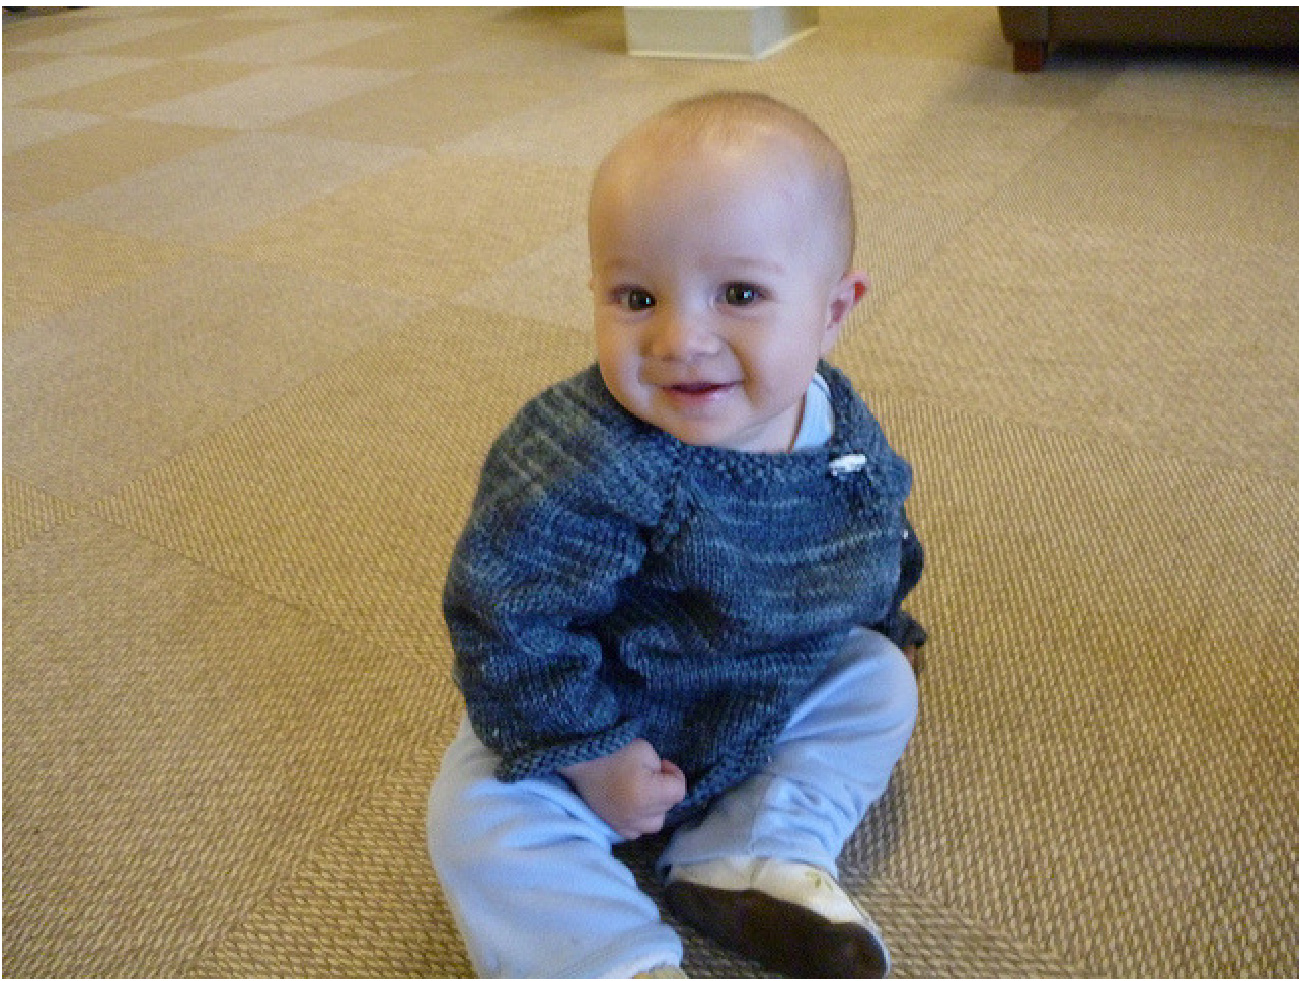
Assisted Hatching Baby Pullover
By Elizabeth Ditchburn Dew It took me four years and four IVF cycles to conceive my first child. During that time I made a number of baby sweaters. When my daughter was finally born I discovered that while the little raglan sweater I'd made several copies of looked absolutely adorable, there were some issues with fit and sizing, namely if you make the head opening wide enough for an infant's head to fit through it's also way too roomy around the shoulders. On the other hand, I loved the clean lines of the raglan pullover and I didn't want to break that up. The clear solution was to design my own raglan baby pullover for the next baby. The assisted hatching pullover like the assisted hatching IVF technique is a way to finesse the technical issues. In IVF, it involves drilling little holes in the protective zona around the egg to allow the embryo to “hatch"' out and form a blastocyst more easily without damaging the embryo. The assisted hatching sweater has an opening that follows the line of the raglan increases on the yoke of the sweater to make it easier to get on and off over the baby's head without disturbing the lines of the sweater. It is my hope that all women who need IVF with assisted hatching will eventually have need of a baby sweater.
Sizes: 0-3 months(3-6 months, 6-9 months, 9-12 months) Yarn: Approximately 300 (330, 360, 400) yards of worsted weight wool. The sample shown uses Sundara Yarn Worsted Merino Needles: Size 7 US $(4.5\mathrm{mm})$ $24^{\bullet}$ circular needle Set of size 7 US $(4.5\mathrm{mm})$ double pointed needles (or size needed to obtain guage) Notions: Two buttons, the cuter the better. Gauge: 20 stitches and $18\;\mathrm{rows}=4$ inch square. Abbreviations: K:knit P: purl M1: make one stitch (increase by knitting in the space between stitches) K2tog: knit two stitches together (decrease) SSK: slip two stitches as if to knit, then knit those stitches together (decrease)
Instructions
Cast 0n 54 (62, 70, 78) stitches
Neckband and Setup:
The neckband is worked in seed stitch with a buttonhole in the third row, which is also our set up row for the raglan increases. Row 1: K1 P1 to end Row 2: P1 K1 to end Row 3: (K1 P1) twice. Place marker. Work 10 (12, 14, 16) more stitches in seed stitch pattern. Place marker. Work 15 (17, 19, 21) stitches in pattern, place marker. Work 10 (12, 14, 16) stitches, place marker. Work to 4 stitches before end, k2tog, YO, K1, P1. Row 4: P1 K1 to end.
Upper Yoke:
This next section is worked in stocking stitch with 4 stitches of seed stitch at each end, with raglan increases and one more buttonhole on what will become the front of the sweater. There should always be four stitches before the first marker, and all other sections will have an increase on either end. The raglan increase for the last section is inside the seed stitch edge. Because the seed stitch edge is on a diagonal you have to pay a little extra attention here, but it's worth it. Row 1: (K1 P1) twice. Slip marker. (K1, M1, knit to 1 stitch before the next marker, M1 K1, slip marker) three times. K1, M1, Knit to 4 stitches before the end. K1 P1, K1, M1, K1. Row 2: (K1, P1) twice. Purl to 4 stitches before the end. (P1 K1) twice. Row 3: (K1 P1) twice. Slip marker. (K1, M1, knit to 1 stitch before the next marker, M1 K1, slip marker) three times. K1, M1, Knit to 4 stitches before the end. K2, P1, M1 P1 Row 4: (P1 K1) twice. Purl to 4 stitches before the end. (P1 K1) twice. Rows 5-12: Repeat rows 1-4 twice. Rows 13 & 14: Repeat rows 1 & 2. Row 15: (Buttonhole Row): (K1 P1) twice. Slip marker. (K1, M1, knit to 1 stitch before the next marker, M1 K1, slip marker) three times. K1, M1, Knit to 4 stitches before the end. K1, k2 tog, YO, M1 P1. Row 16: Repeat row 4. Repeat rows 1-4 1 (1, 2, 2) more times.
Joining in the Round:
Knit the first four stitches of the row and slip them onto a dpn, setting aside the marker that separates them from the next section temporarily. Knit across the row increasing before and after the markers as before until the last four stitches. Hold the four stitches on the dpn behind the last four stitches together. Knit the stitches from the front needle and back needle together as if doing a three needle bind off, but without the binding off part. Knit the first three front and back stitches together in this manner, then make one, then knit the last front and back stitch together. This should have joined the sweater together in the round with the seed stitch edges overlapping. Replace the marker, this is now the beginning of the row. Knit the next row (no increases).
Lower Yoke:
Row 1: [K1, M1, knit to 1 stitch before the marker, M1, K1] four times. Row 2: Knit all stitches. Repeat these two rows until there are 34 (38, 42, 46) stitches in the first and third sections and 39 (43, 47, 51) in the second and fourth sections; 146 (162, 178, 194) stitches total.
Lower Body:
Removing the original stitch markers as you go, place the stitches between the first and second marker on a piece of waste yarn. Cast three stitches onto the right needle, pm, then cast on an additional 3 stitches, for a total of six stitches cast on. The new marker marks the beginning of the row and the cast on stitches form the underarm. Knit all the stitches between the second and third marker. Move all the stitches between the third and forth markers to waste yarn. Cast on six stitches then knit to the end of the row. Continue to work in the round knitting all stitches until the sweater measures 5.5 (5.75, 6, 6.5) inches from the underarm, or about half an inch short of the desired length. Work four rows in seed stitch: Row 1: K1, P1 to end Row 2: P1, K1 to end Row 3: K1, P1 to end Row 4: P1, K1 to end Bind off all stitches.
Sleeves:
Work both of the sleeves one at a time in the round the same way. Transfer the stitches from on piece of waste yarn to a set of dpns. Pick up and knit six stitches from the stitches that were cast on at the underarm, placing a marker after the first three stitches. The marker will serve as the beginning of the sleeve rows. Knitting all stitches, work four rows in the round. Work a decrease row as follows: K1, k2tog, knit to 3 stitches before the marker, SSK, K1. Continue working in stocking stitch working a decrease row every $4^{\mathrm{th}}$ row until there are 30 (32, 34, 36) stitches remaining. The sleeves can have either a plain cuff or a seed stitch cuff. For a plain cuff, work until the sleeve measures 5.5 (6.25, 7, 8) inches from the underarm. For a seed stitch cuff, work in stocking stitch until the sleeve is half an inch shorter than the desired length and then work four rows in seed stitch. Bind off all stitches.
Finishing:
Sew buttons on to match up with buttonholes and weave in all ends.


