FANCY JELLYFISH
An amigurumi pattern by Annette M. Russell of Nut and Bee http://www.nutandbee.com
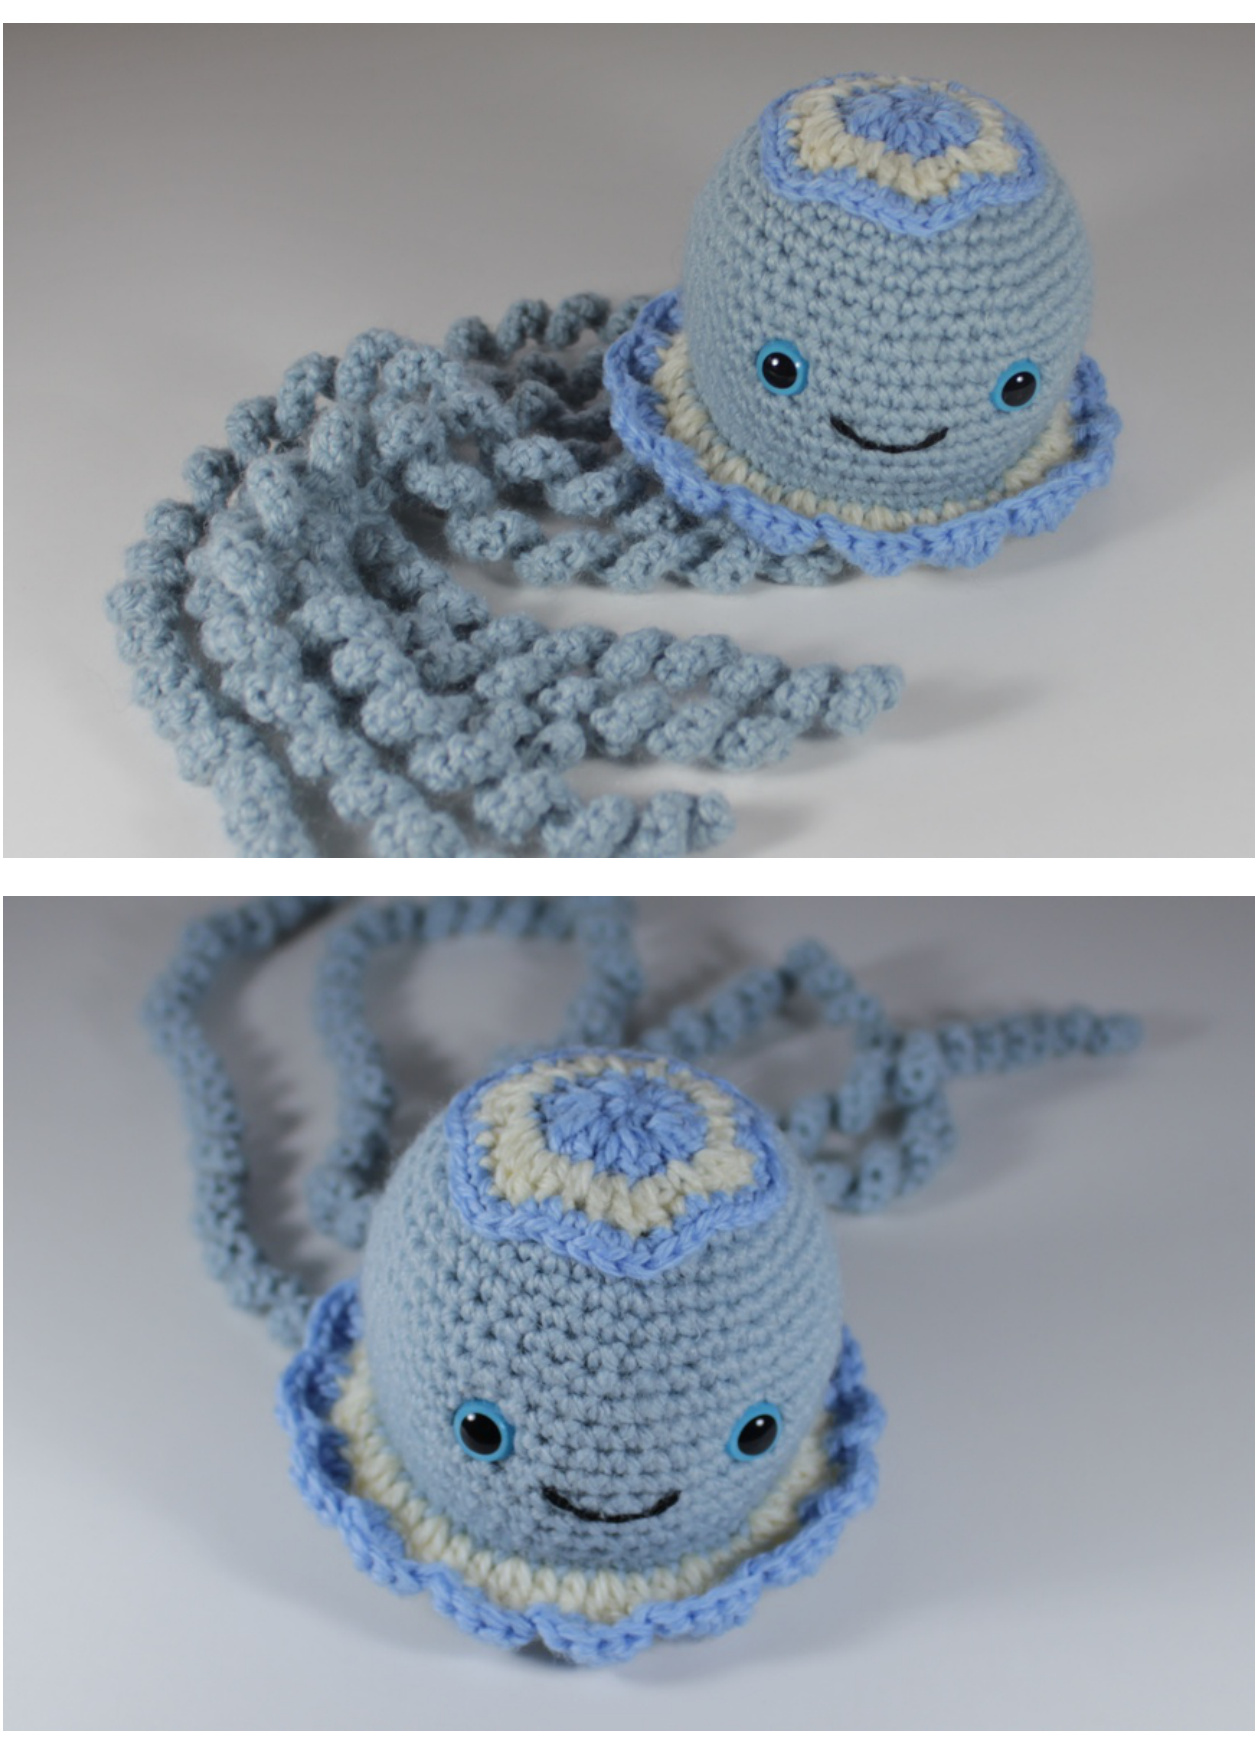
Finished size: 10cm/4" diameter and 40cm/16" long
STITCHESANDTECHNIQUES
This pattern is written at “advanced beginner" level, and assumes knowledge of the following amigurumi stitches: · magic ring · chain stitch (ch) · single crochet (sc) · single crochet increase (sc 2) Work two sc stitches into the same stitch. · single crochet invisible decrease (scdec) Insert the hook through the front loop of one stitch, then the front loop of the next stitch. Yarn over, draw through two loops on the hook. Yarn over again, draw through two remaining loops on the hook. · half-double crochet (hdc) · double crochet (dc) · double crochet increase (dc 2) Work two dc stitches into the same stitch. It is written using American terminology. For British crocheters, sc = your double crochet, hdc = your half-treble crochet, and dc = your treble crochet. To finish each section break yarn leaving a 10cm/4" tail, yarn over, and draw through the loop on the hook. Pull gently to tighten. For a cleaner transition between colours when working the rosette and ruffle, use the new colour for the final 'yarn over and draw through the loops on the hook' step of the last stitch in the old colour.
COPYRIGHTINFORMATION
This pattern is sold for the use of one individual, the purchaser. You are welcome to make back-up digital copies or printed copies for your own use, but may not distribute the pattern to anyone else. When your jellyfish is admired, please direct the interested person to http://www.nutandbee.com! Jellyfish created from this pattern may be sold as at they are handmade (not mass produced), have a tag attached giving pattern credit to http://www.nutandbee.com, and also link to me in the item description if sold online.
MATERIALS
· Main colour worsted weight yarn, 90m/98yd shown in paleblue · Contrast colour 1 (CC1) worsted weight yarn, 18m/20yd shown in mediumblue Contrast colour 2 (CC2) worsted weight yarn, 18m/20yd showninwhite · 4.0mm/US6 crochet hook (or size to achieve firm fabric without holes) · Embroidery needles to suit your yarn, perle cotton and mending thread DMC perle cotton, shade #310 black · Transparent mending thread · Pair of 12mm plastic safety eyes · Stuffing · A small piece of sturdy, flexible plastic The plastic is used to support the bottom of the jellyfish and keep it flat. You need something that will not crease or crack if lightly bent, and that will hold its shape under pressure. In New Zealand, the plastic used for ice cream tubs and the lids of takeaway containers is perfect - your country may use different types of packaging so look for something that fits these criteria!
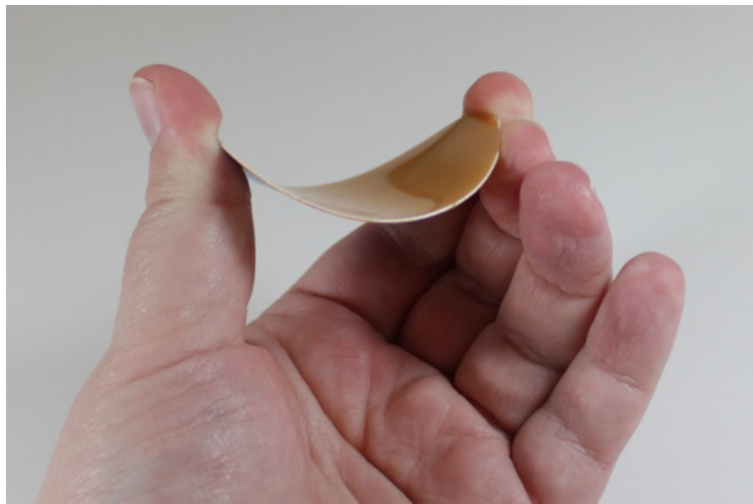
In this photo I am squeezing the plastic quite firmly. It bends a little, but will spring back into shape. Please do not substitute cardboard, as it is unlikely to be sturdy enough, and unless it is archival quality it may start to degrade and damage your amigurumi over time.
UPPER BODY
Use main colour yarn. Work in a spiral, do not join rounds. Round 1: sc 6 into magic ring [6 st] Round 2: sc 2 in each stitch [12 st] Round 3: \*sc 1, sc 2 in next stitch\* repeat 6 times [18 st] Round 4: \*sc 2, sc 1in next 2 stitches\* repeat 6 times [24 st] Round 5: \*sc 1 in next 2 stitches, sc 2 in next stitch, sc 1in next stitch\* repeat 6 times [30 st] Round 6: \*sc 2, sc 1in next 4 stitches\* repeat 6 times [36 st] Round 7: sc in each stitch [36 st] Round 8: \*sc 2, sc 1 in next 8 stitches\* repeat 4 times [40 st] Round 9: sc in each stitch [40 st] Round 10: \*sc 1in next 3 stitches, sc 2, sc 1 in next 6 stitches\* repeat 4 times [44 st] Round 11: \*sc 1in next 7 stitches, sc 2, sc 1 in next 3 stitches\* repeat 4 times [48 st] Round 12: \*sc 2, sc 1 in next 11 stitches\* repeat 4 times [52 st] Rounds 13-15: sc in each stitch [52 st] Round 16: \*scdec, sc 1 in next 11 stitches\* repeat 4 times [48 st] Rounds 17-19: sc in each stitch [48 st] Finish off.
LOWER BODY
Use main colour yarn. Work in a spiral, do not join rounds. Don't worry if this piece buckles a little, it will flatten out during assembly. Round 1: sc 6 into magic ring [6 st] Round 2: sc 2 in each stitch [12 st] Round 3: \*sc 1, sc 2 in next stitch, sc 2 in next stitch\* repeat 4 times [20 st] Round 4: \*sc 2, sc 1 in next stitch\* repeat 10 times [30 st] Round 5: \*sc 2, sc 1in next 4 stitches\* repeat 6 times [36 st] Round 6: \*sc 1in next 3 stitches, sc 2, sc 1 in next 2 stitches\* repeat 6 times [42 st] Round 7: \*sc 2, sc 1 in next 6 stitches\* repeat 6 times [48 st] Finish off.
TENTACLES
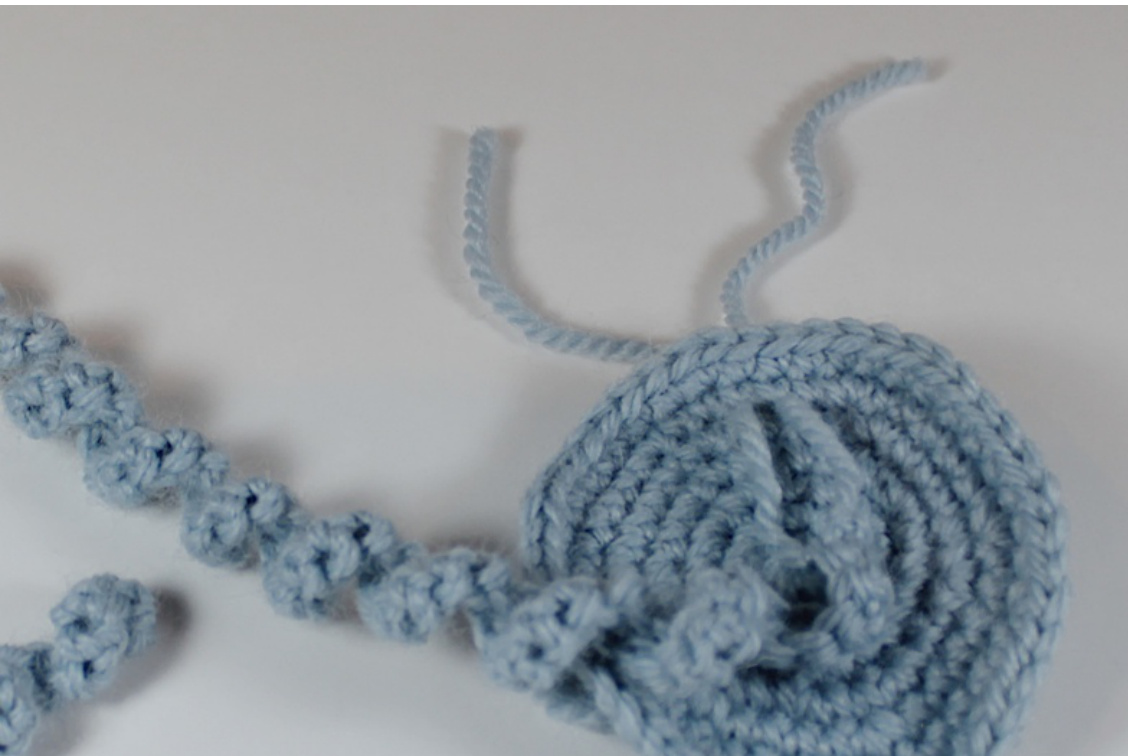
Using main colour yarn, chain 140 stitches, then starting with the second chain from the hook, sc once into each chain. The tentacle will curl around itself as you work. Leave starting and finishing tail ends of at least 10cm/4". Make 6 tentacles.
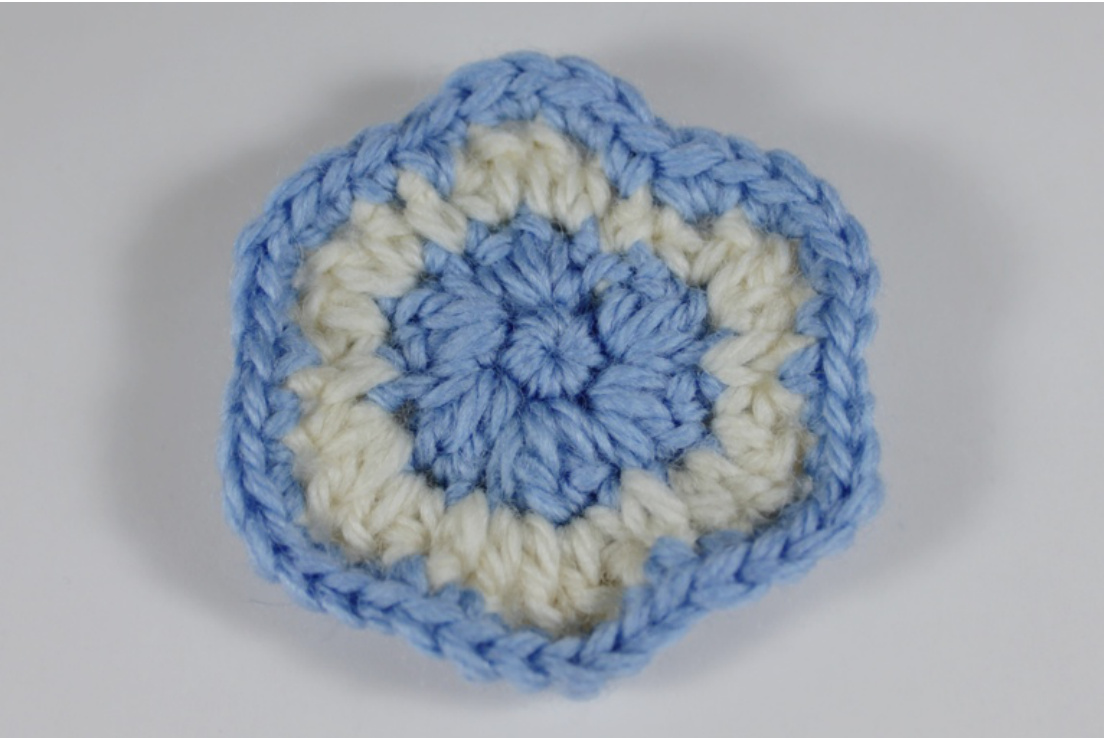
ROSETTE
Work in a spiral, do not join rounds. Using CC1 yarn: Round 1: sc 6 into magic ring [6 st] Round 2: \*sc then dc 2 into same stitch\* repeat 6 times [18 st]
Switch to CC2 yarn:
Round 3: \*sc, hdc then dc into next stitch, dc then hdc into next stitch\* repeat six times [30 st]
Switch to CC1 yarn:
Round 4: sc in each stitch [30 st] Finish off.
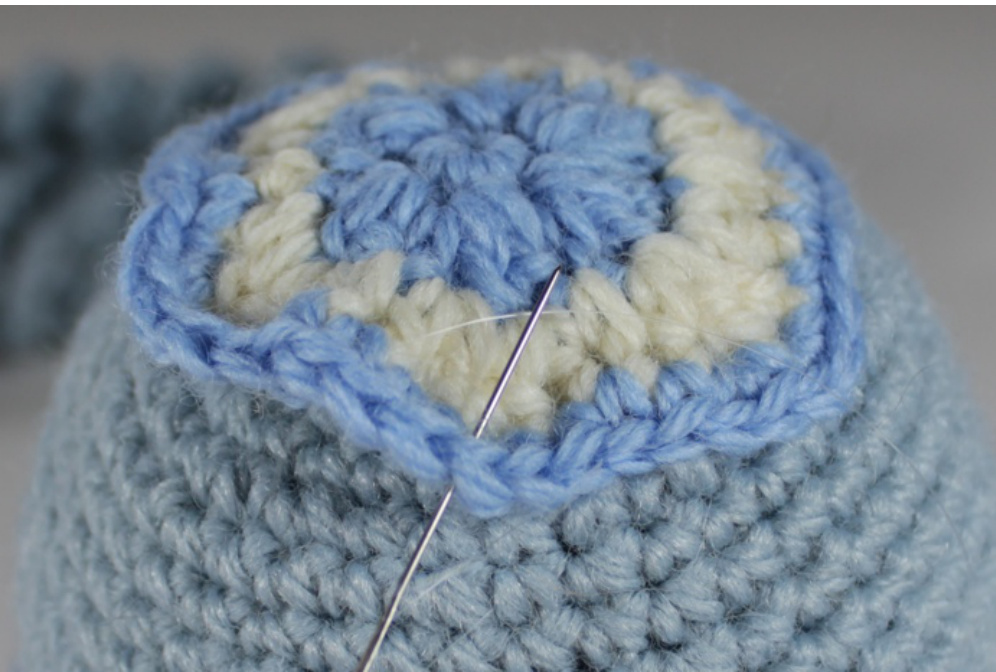
ASSEMBLY-UPPER BODY
Stitch rosette to upper body using transparent mending thread. Make these stitches around the 'post' of the sc stitches made in round 4 of the rosette, so as not to flatten the edge of the rosette.
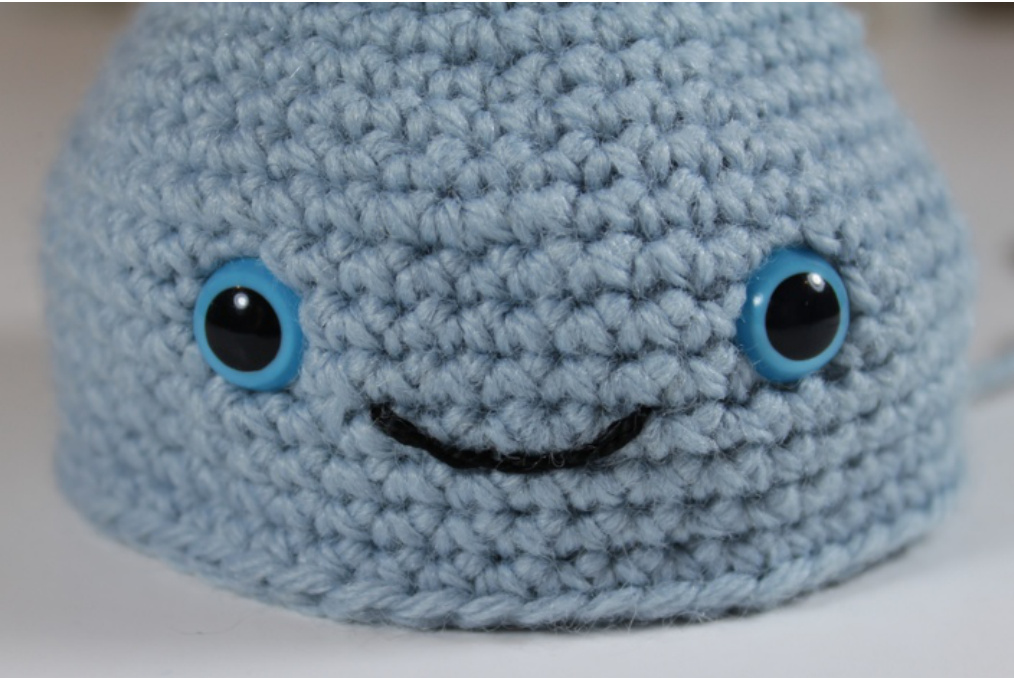
Embroider a month in stem stitch, using DMC perle cotton #310 as shown below. Space it so the bottom of the smile is three stitches from the base of the body, and the smile is five stitches wide and one stitch high. Attach the eyes so their lower edge lines up with the top of the smile, and there is a gap of about 1cm /0.5" between the top corner of the smile and each eye.
ASSEMBLY - LOWER BODY
Take one tentacle and thread the starting and finishing tail ends through the lower body, two stitches in from the outside edge and one stitch apart, so the tentacle faces the right side of the lower body piece.
Tie the ends in a knot on the wrong side of the lower body piece. Repeat for the other five tentacles, spacing them evenly around the lower body, always two stitches in from the edge. If you expect your jellyfish to receive heavy play you can strengthen the tentacles by weaving the loose ends into the wrong side of the lower body piece, or by placing a dot of glue on each knot. Otherwise just the knot will be fine!
PREPARE YOUR PLASTIC
Cut a circle of plastic approximately 0.5cm/0.25" smaller than the lower body piece. I find the easiest way to do this is to find a drinking glass or container with the right diameter, and use it to trace around. You could also use a compass.
JOINING AND RUFFLE
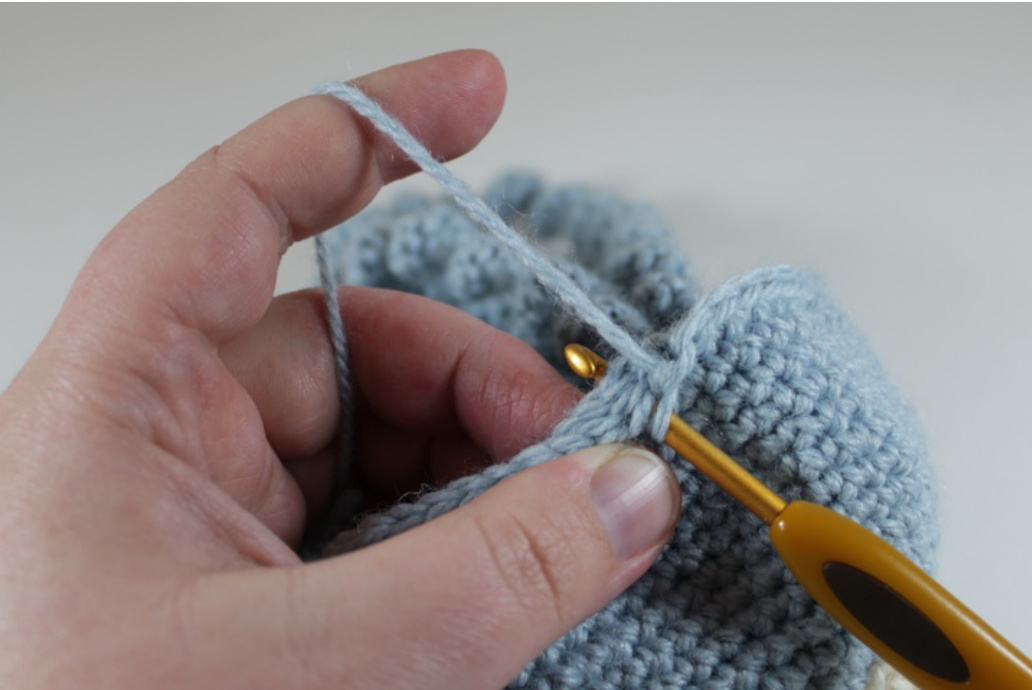
The upper and lower body pieces are joined by crocheting the first round of the ruffle through both of them at once. The ruffle is worked in a spiral, do not join rounds. Hold the jellyfish with the upper piece facing towards you, as shown below.
Using main colour yarn:
Round 1: sc in each st of upper and lower body pieces, working through both loops of both pieces. [48st]
When you have crocheted about 75% of the way around, fill the upper body firmly with stuffing and insert the plastic circle so it sits flat against the lower body. Continue to finish the round, adjusting the stuffing to your preference before the last few stitches close the gap.
Switch to CC2 yarn:
ound 2: \*dc 2 in next stitch, hdc 1 in next 2 stitches\* repeat 16 times [64 si
Switch to CC1 yarn:
Round 3: \*dc 2 in each of next 2 stitches, scdec over next 2 stitches\* repeat 16 times [80 st] Weave in all loose ends and enjoy your fancy jellyfish!


