RACHEL KONIAR KNITTING PATTERN
Knitting the Mitten
Cuff CO 18 sts in red RSK2 P2 rep to end Follow K2P2 rib pattern till it measures 3"
Body
Change color to grey. RS K WSP \*RS P 3 sts, M1, K to last 4 sts. M1, Plast 3 sts WSP Repeat from \* 2 more times. 24 total sts RS P 3 sts, K 3 sts, place marker, M1. P last 3 sts. WSP \*RS P 3 sts, K 3 sts, M1 after place marker. K to last 3 sts, P last 3 sts. WS P Repeat from \* 27 total sts RS P 3 sts, K 3 sts, M1. Kto last 4 sts, P last 3 sts. Remove place holder after this row. WS P to last 4 sts. Place these 4 on a stitch holder. Turn. \*RS P3K18 P3 WSP Repeat from \* until piece measures 6" from stitchholder
Decreases
Change color to red. \*RS P 3 sts, ssk, K tll 5 sts remain, k2tog, P 3 sts WSP Repeat from \* until 12 sts remain. BO
Thumb
Place 4 sts from stitch holder onto a needle. Pick up 2 sts from mitten body, next to the thumb. Using red yarn, work in garer st till it measures 2 and a half inches long. RS ssk, K2, k2tog WS K across RS ssk, k2tog Tie off.
Tension
8.5 sts / 2" in St st on US size 10 needles. 13 sts / 8 cm in St st on 6 mm needles.
Materials
Yarn · Cascade 220 · one skein of each color · Needles · US size 10 · 6 mm ·Knitting Supplies · tapestry needle· stitch marker · stitch holder pins/safety pins Felting Supplies·zippered pillowcase · washing machine
Loop
Take one to three colors, cut three 12 inch lengths. Braid, securing each end with a knot. Atach to the cuff, opposite end from the thumb.
Felting
While there are many methods in felting, I like to throw felt right in with the laundry. This practice yields unpredictable results, which is just fine for these as exact size isn't important. If you do a lot of felting, an accumulation of loose wool fibers can clog and potentially ruin your washing machine. A mesh bag or zippered pillowcase bag can prevent this. Heat and friction are what causes the fibers of your wool bowl to felt. I usually use the "normal" and "warm" settings on my washing machine. If opt for the "hot" seting, be aware that colors may bleed, especially if you are using red. When in doubt, place your knit bowl in your sink prior to felting and rinse with boiling water until it comes out clear. Of course you can run your felt solo, but I prefer to get a bit of laundry done at the same time. When felting is completed, block to form.
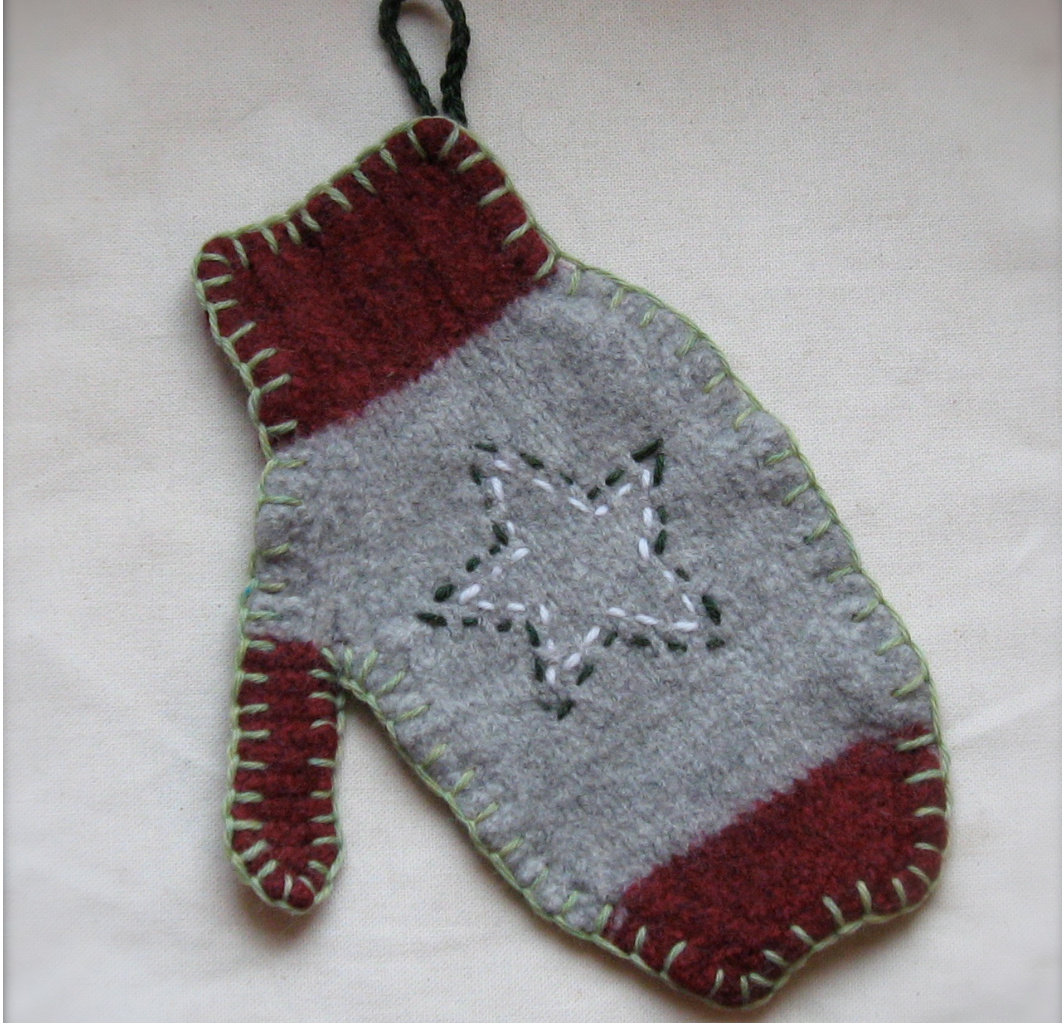
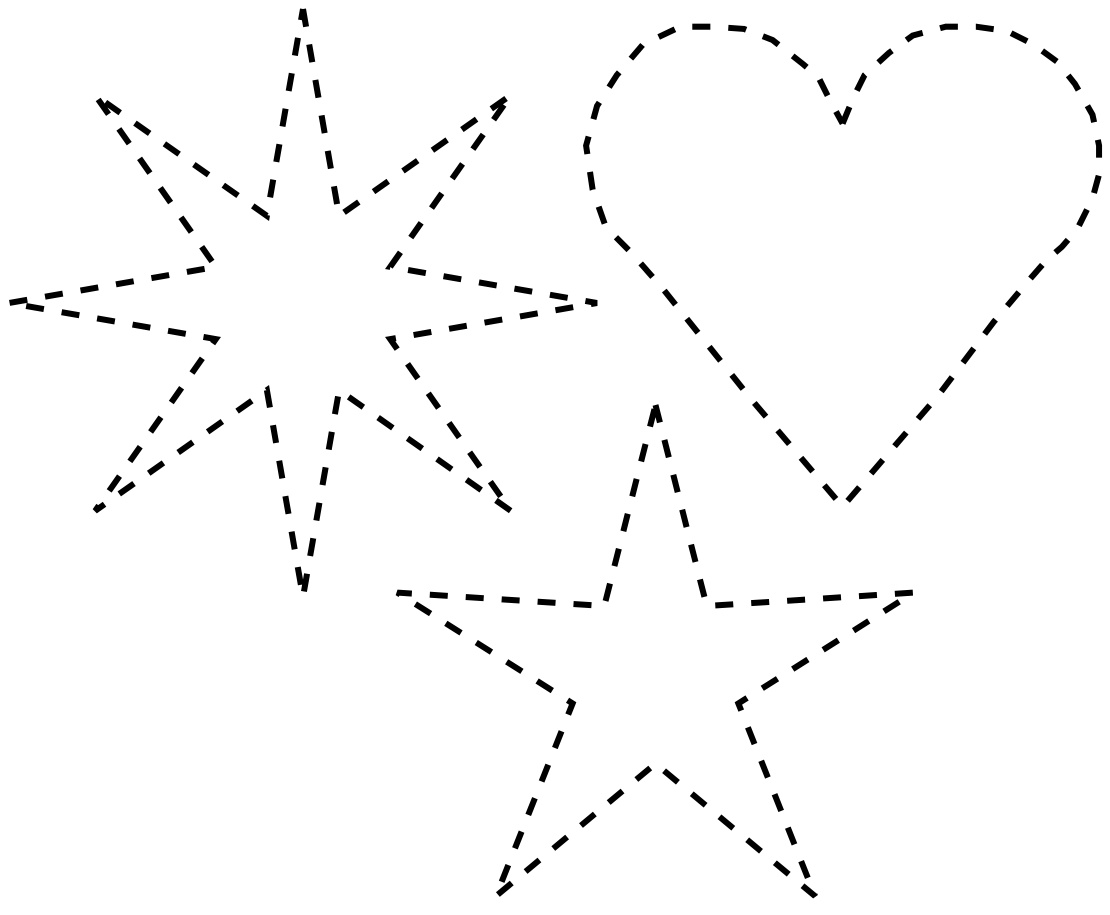
Embroidery
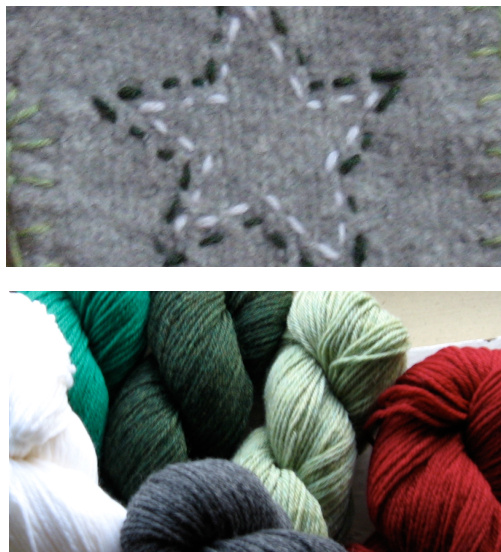
Cut out desired shape and pin to felted mitten. Stitch around the shape once or twice. Personalize with french knots, swirls, or monograms. Complete the edging with light green, in a blanketstitch.
Abbreviations
BO bind off CO cast on dec decrease Kknit k2tog knit together M1 make one Ppurl rep repeat RS right side ssk slip, slip, knit sts stitches St st stockinette WS wrong side Cascade 220 Colors by Number grey 9491 white 8505 red 4008 dark green 2445 light green 9407
Rachel Koniar
see www.koniar.net email · Rachel@Koniar.net buy · SecretSnowBird.Etsy.com


