BEEHIVEBEANIE #1
WHAT YOU'LL NEED: ( FOR BEANIE #1 OR BEANIE #2) 1 SKEIN OF LION BRAND WOOL-EASE THICK & QUICK GREEN KNTTING LOOM (I'M USING THE KNIFTY KNITTER) LOOM HOOK LARGE NEEDLE
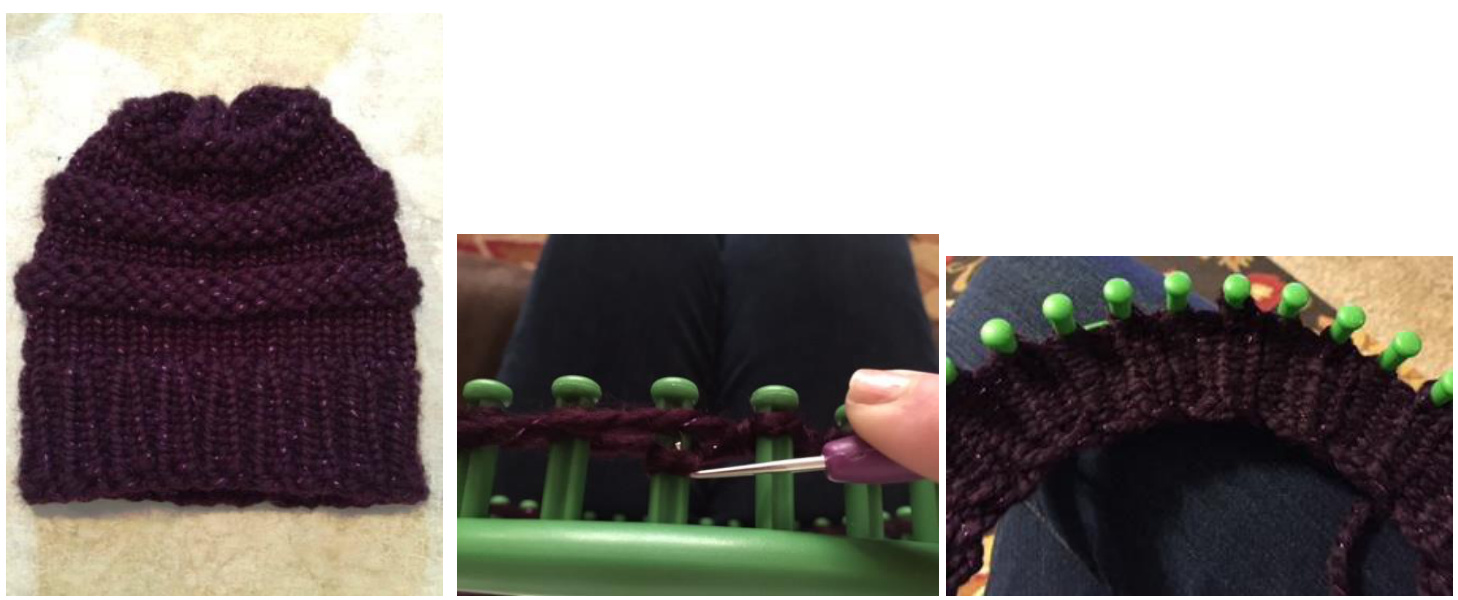
Picture of flat knit stitch Brim of beanie #1 \*\*\* All knits are worked as FLAT KNIT STITCH - not E-wrap\*\*\*
BRIM OF HAT
E-Wrap all 24 pegs 1X. Row 1 - 11: K1, P1 all the way around ( remember all knits are worked in Flat Knit Stitch, this produces a tighter stitch ) Row 12 - 19: Knit all pegs for a total of 8 rows Row 20 - 22: Purl all pegs for a total of 3 rows Row 23 - 30: Knit all pegs for a total of 8 rows Row 31 - 33: Purl all pegs for a total of 3 rows We will now start decreasing the amount of Rows we do. Row 34 - 40: Knit all pegs for a total of 7 rows Row 41 - 42: Purl all pegs for a total of 2 rows Row 43 - 49: Knit all pegs for a total of 6 rows. Wrap your working yarn around % of the loom & cut. This willeave a long enough yarn tail to sew up the hat and weave in the end. With a large eyed needle thread your yarn tail.
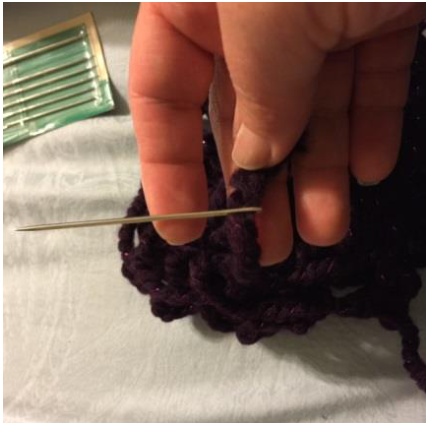
leedle with your yarn tail thru the bottom of the peg to the top, pull off the loc
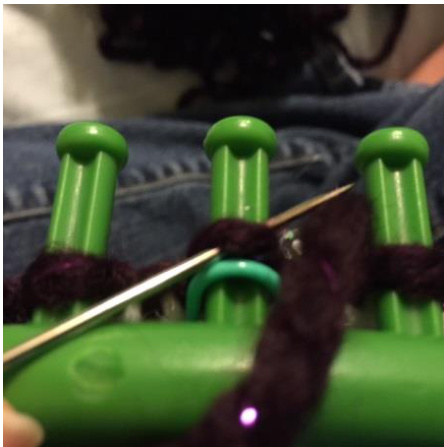
Do this step for all 24 pegs. Once you have all the stitches (loops) on your yarn tail pull tight to close the top of the hat. Take your needle down thru the center and turn the beanie inside out. Pull your needle with yarn tail through and stitch making a small loop and run your needle back through the that loop. This will give you a knot. Before pulling the needle off work as much of the yarn tail through stitches on the inside of the beanie. Cut the tail and your done.
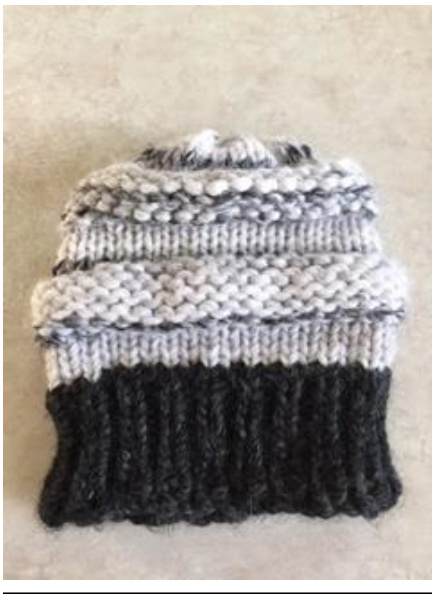
BEEHIVE BEANIE #2
\*\*\*\*This beanie is slightly smaller (having less rows)\*\*\*\*
\*\*\* Allknits are worked as FLAT KNIT STITCH - not E-wrap\*\*\*
BRIM OF HAT
E-Wrap all 24 pegs 1X. Row 1 - 11: K1, P1 all the way around ( remember all knits are worked in Flat Knit Stitch, this produces a tighter stitch ) Row 12 - 19: Knit all pegs for a total of 8 rows Row 20 - 26: Purl all pegs for a total of 5 rows Row 26 - 33: Knit all pegs for a total of 8 rows Row 34 - 37: Purl all pegs for a total of 4 rows Row 38- 47: Knit all pegs for a total of 10 rows
BINDING OFF
Wrap your working yarn around /2 of the loom & cut. This willeave a long enough yarn tail to sew up the hat and weave in the end. With a large eyed needle thread your yarn tail. Bring your threaded needle with your yarn tail thru the bottom of the peg to the top, pull off the loop. Do this step for all 24 pegs. Once you have all the stitches (loops) on your yarn tail pull tight to close the top of the hat. Take your needle down thru the center and turn the beanie inside out. Pull your needle with yarn tail through and stitch making a small loop and run your needle back through the that loop. This will give you a knot. Before pulling the needle off work as much of the yarn tail through stitches on the inside of the beanie. Cut the tail and your done.


