Chess Board
By Stephanie Horn Materials: 20yds of Red Heart Eco-Cotton. You can use almost any worsted weight yarn in it's place 1/2 ball each ILove This Yarn Sport Weight in black and white It's important that this yarn is acrylic, so you can permanently set the stitches later. size 8 $(5.0\mathrm{mm})$ straight needles tapestry needle abreviations used: k - knit p -purl sts - stitches
Gauge: After killing the acrylic, each square will be $1~\%$ inches wide. Special Notes: You can chose to knit this stranded or with bobbins. If you knit it stranded, you will have to kill the acrylic, or it will constantly curl. Bobbins allow for a much cleaner finished product, but in my experience, lead to more tangles and frustration while knitting. I have knit this both ways, and think it comes out just as well either way. For the stranded version, I divided my worsted weight into 2 balls.
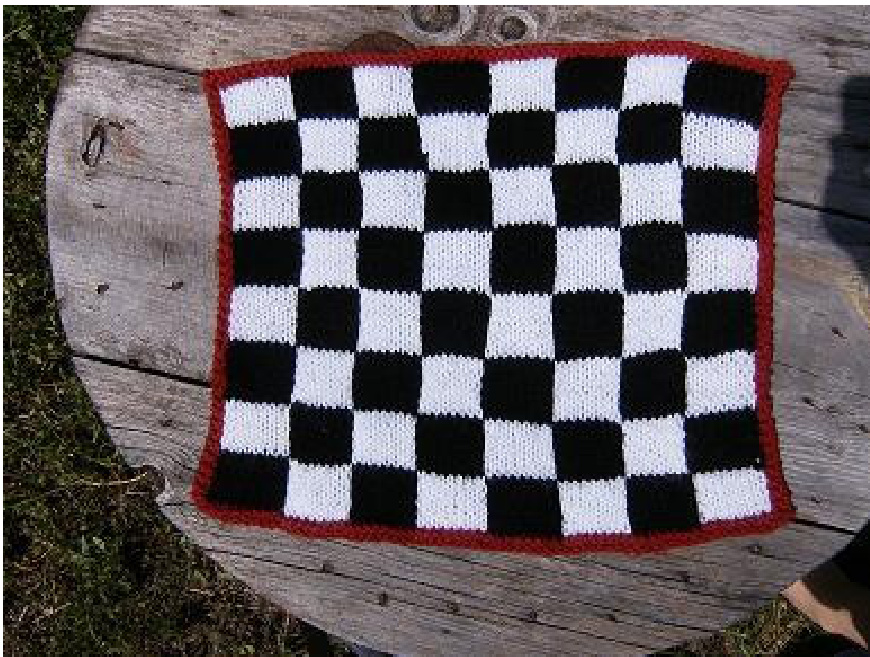
Pattern: With your worsted weight yarn, cast on 68 st using the long-tail method. row 1-2: k to end. row 3: k 2. k 8 in black, then 8 in white. follow this black are 2 sts left. k 2 with the worsted weight yarn. row $4{:}\,\mathrm{k}2$ . purl 8 in white, then 8 in black. This should ensure that the white square will end up on the right side of the board. Follow this black and white pattern until there are 2 sts left. k 2 with the worsted weight yarn. This will create a stockinette body with a garter stitch edge. Repeat rows 3 and 4 until you have 9 rows of black and white. Then reverse the placement of the white and the black. Each square will be 8 sts wide, and 9 sts tall. You will make a total of 64 squares. When you have completed the squares, cut off the black and white yarn. Using the worsted weight yarn, $\mathtt{k}\,2$ rows. Bind Off. If you used the stranded method, you will need to kill your acrylic. To do so, you need a flat surface, an iron, and a towel. Get the towel wetter than damp, but not dripping wet. Turn your iron
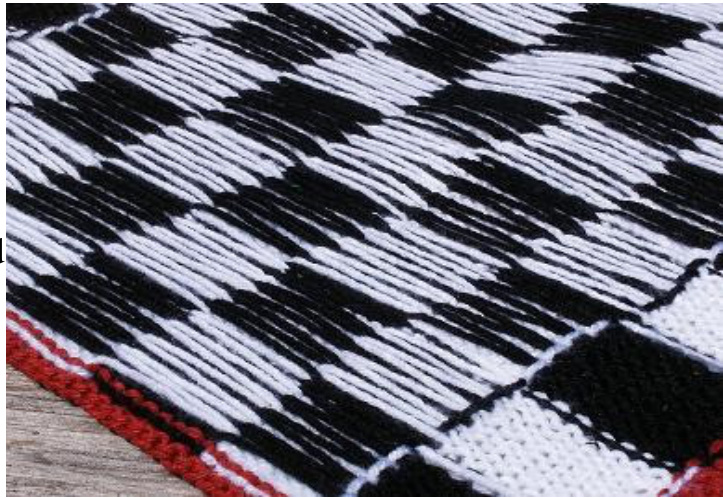
on. I set mine to the "synthetic" setting, but I don't think it makes much of a difference. Get your piece laid out exactly how you want it. I've found that pulling on the strands from the back helps get it laying properly. Place the towel on top of the piece, and press the iron on the towel. Do not iron, just press. I've found you only need to press for a few seconds before you can move on to another section. If your towel dries out, re-wet it. Whatever you do, don't put your hot iron directly on the acrylic yarn. It will ruin it, get stuck to your iron, and make a horrible, smelly mess.


