Catnip Bunnies
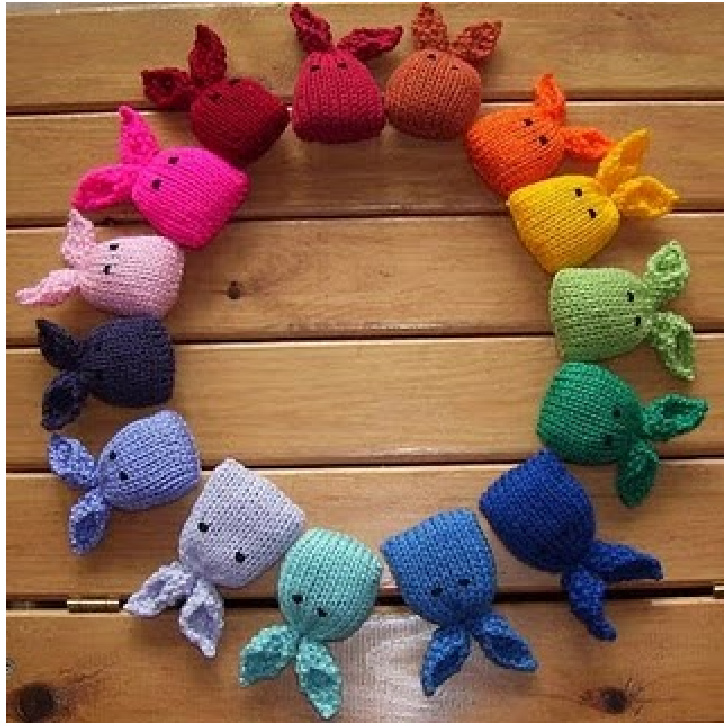
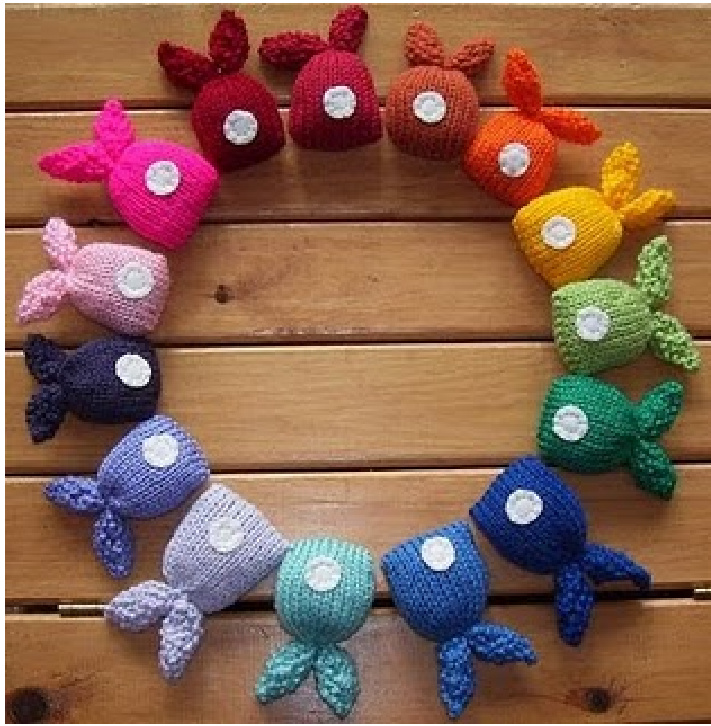
These are the bunnies I've been knitting for Cats Protection. They're small, quick to knit, ever-so-simple 2 needle affairs with only the tinsiest bit of seaming required on the ears. Perfect for using up scrappy bits of yarn, and spreading kitty happiness :) I thought $\Sigma^{\prime}{\mathsf{d}}$ offer my pattern on here for anyone who'd also like to give them a whirl. This is the first pattern I've written up, so apologies for it being so waffly. I've included lots of photos to help you decipher what $\ I^{\prime}m$ talkina about!
You will need:
· scraps of dk yarn (thicker yarns/larger needles would also work, but I wouldn't go any finer for kitty toys or they'll be too tiny) one pair of 3.25mm (UK10, Us3) needles black embroidery thread or black yarn for eyes white felt for the tail toy stuffing catnip Start by casting on 22 stitches
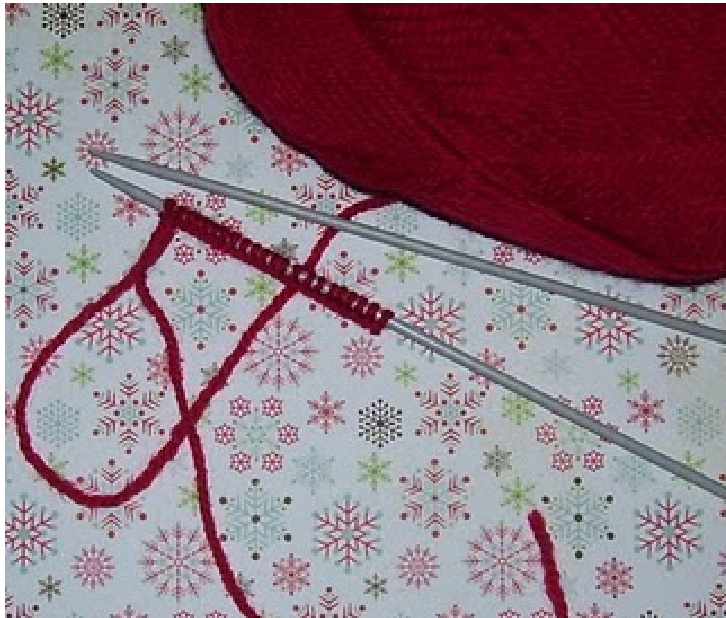
Work 32 rows as follows - k1,slip 1 repeat to end. Make sure the first knit stitch of each row is quite tight so you don't end up with a ladder at eachside. This method creates an inside-out pouch - no seaming, woo!
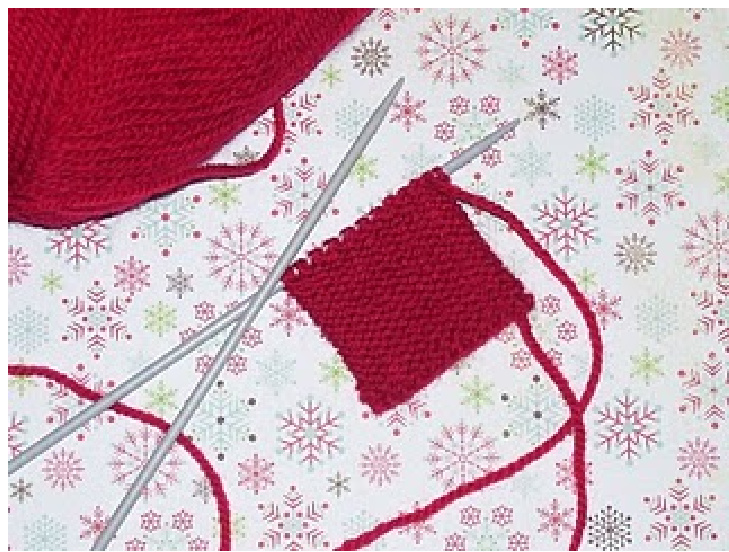
Break yarn leaving a good 8 inch tail and thread a needle on it ready. Carefully slip all the stitches off of the knitting needle, pinch each side and gently open up the end of the pouch. Pass the yarn through the stitches, but don't draw it up yet. Turn right side out.
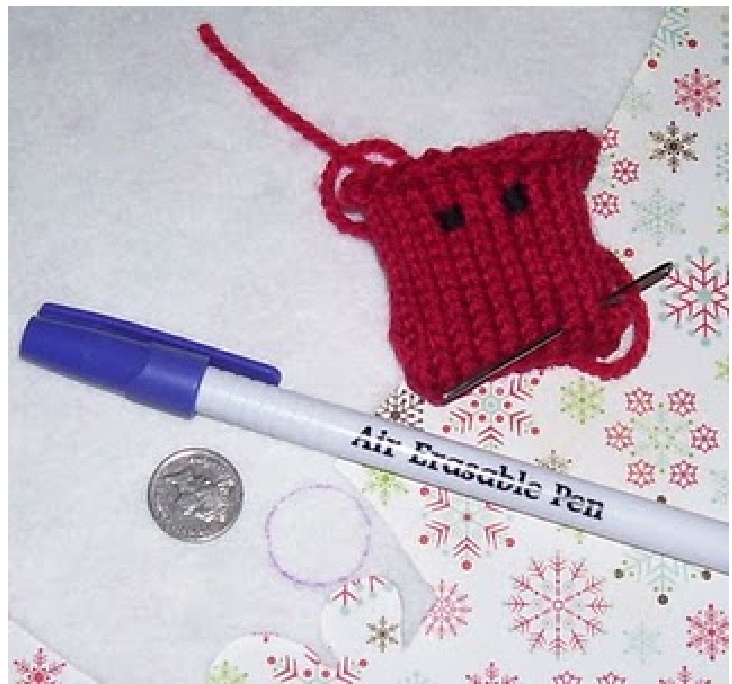
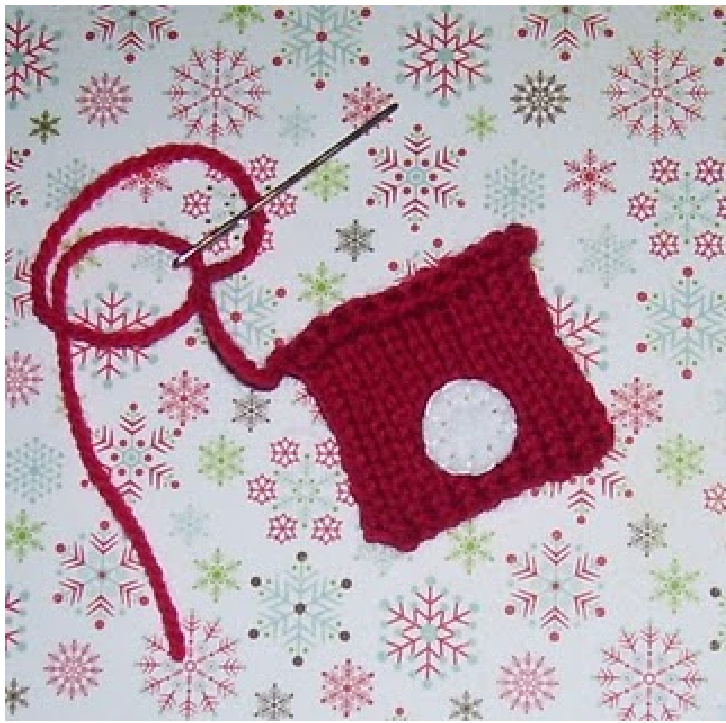
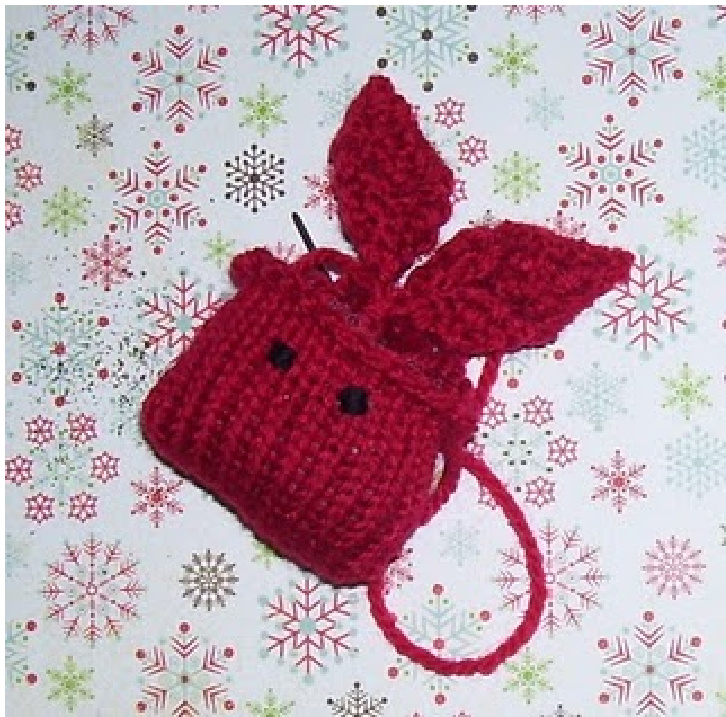
Using the black embroidery thread, give bunny some eyes. I wrap a stitch 4 times with the thread for each eye. Next, give bunny a tail. An English 5p is the right size to draw around for the tail, but you can always go freehand if your circles aren't as wonky as mine using that method.
ears. Blanket stitch to bunny's bottom and set aside while bunny is waiting for
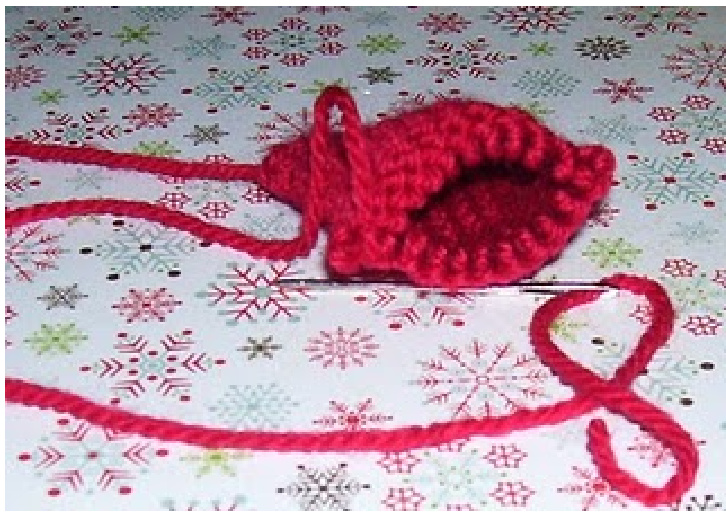
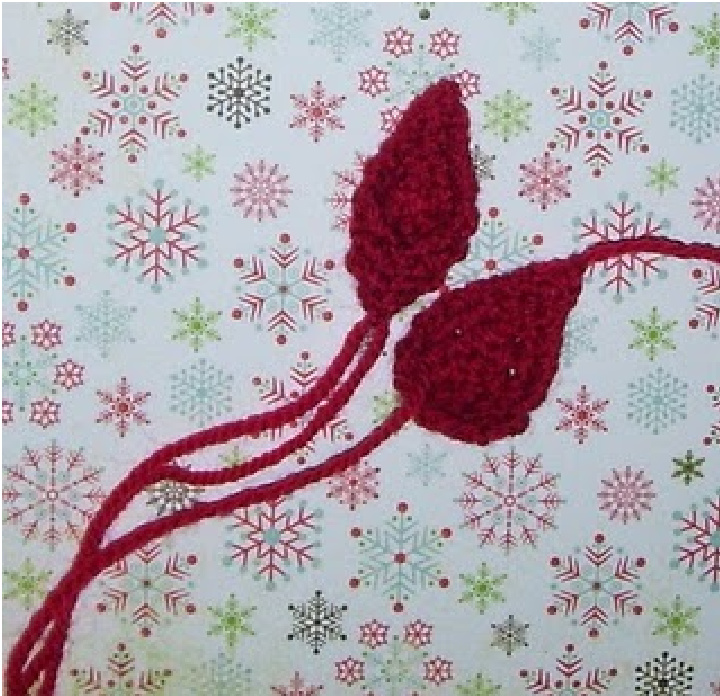
Ears - cast on 9 stitches. Work 5 rows of k1,p1 moss stitch. Row 6 - k1,p1,k1,p3tog,k1,p1,k1 Row 7 - k1,p1,k1,p1,k1,p1,k1 Row 8 - k1,p1,k3tog,p1,k1 Row 9 - k1,p1,k1,p1,k1 Row 10 - k1,p3tog,k1 Row 11 - k1,p1,k1 Row 12 - k1, k2tog, pass first stitch over Break yarn and pass it through the remaining stitch on the needle. Weave this end down through the middle of the ear. Using the cast-on tail, fold the ear in half and stitch the cast on edge together (picture shows one unfinished ear, and one finished) Make second ear as first.
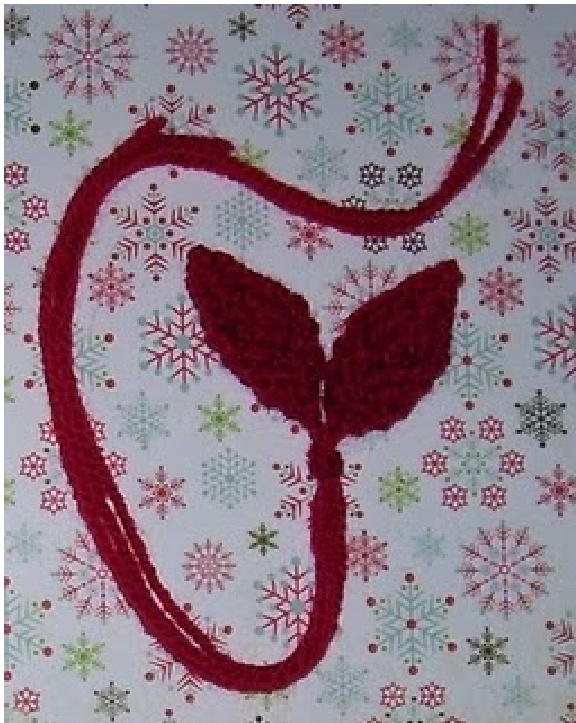
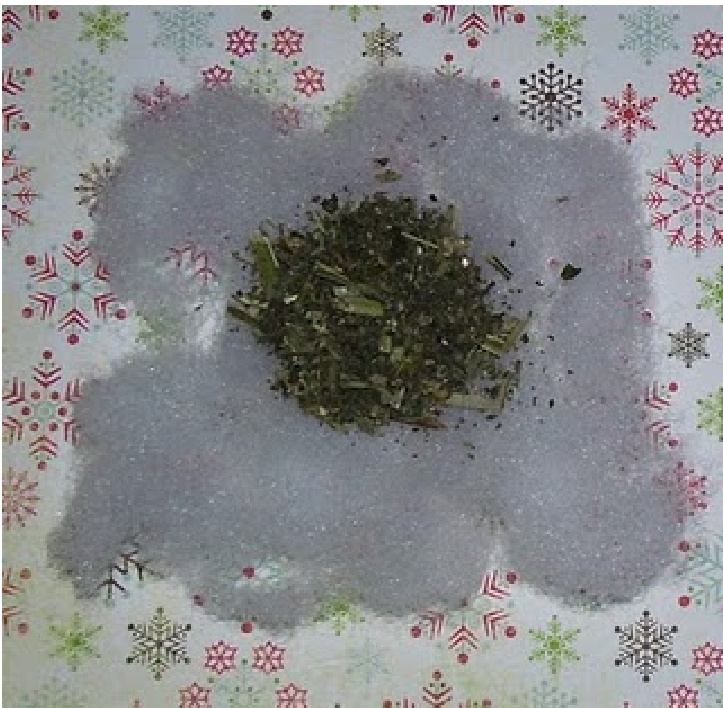
I find it easiest to knot both ears together at this stage Next, take a small amount of toy filling and add generous amounts of catnip. I flatten the filling out, heap catnip in the middle and then draw the edges to the middle so it doesn't escape whilst stuffing it into bunny.
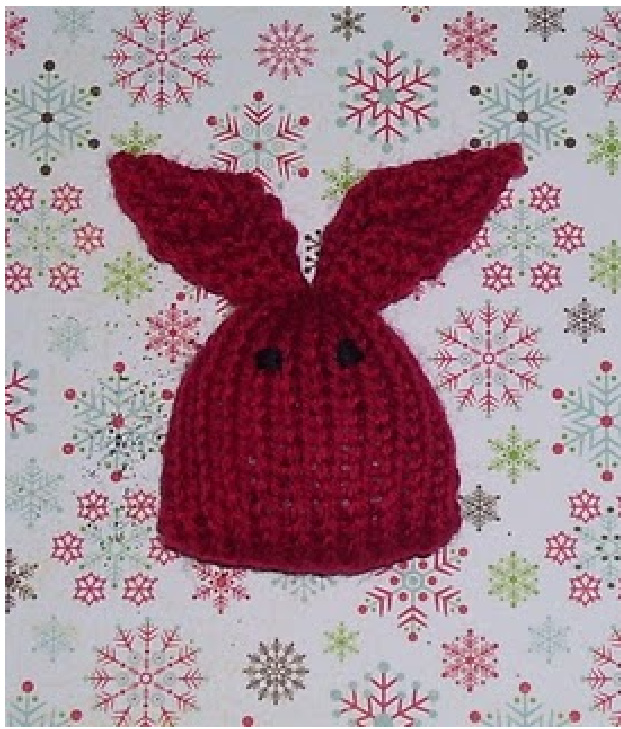
Pop the filling into Bunny, and stuff the ears on top - the knot will help give something for the body to "choke" around when you pull up the threads. Draw it up as tight as possible, and add enough stitches to Tada! One catnip bunny in plenty of time for Easter to treat your feline master with. Or make lots for your local cats protection shelter and spread the kitty happiness further.
secure.
The End :)
copyright Coffee And Cream 2010 This pattern can be printed for your personal use, but please don't sell or copy it. Finished pieces may be sold for charity fundraising only.


