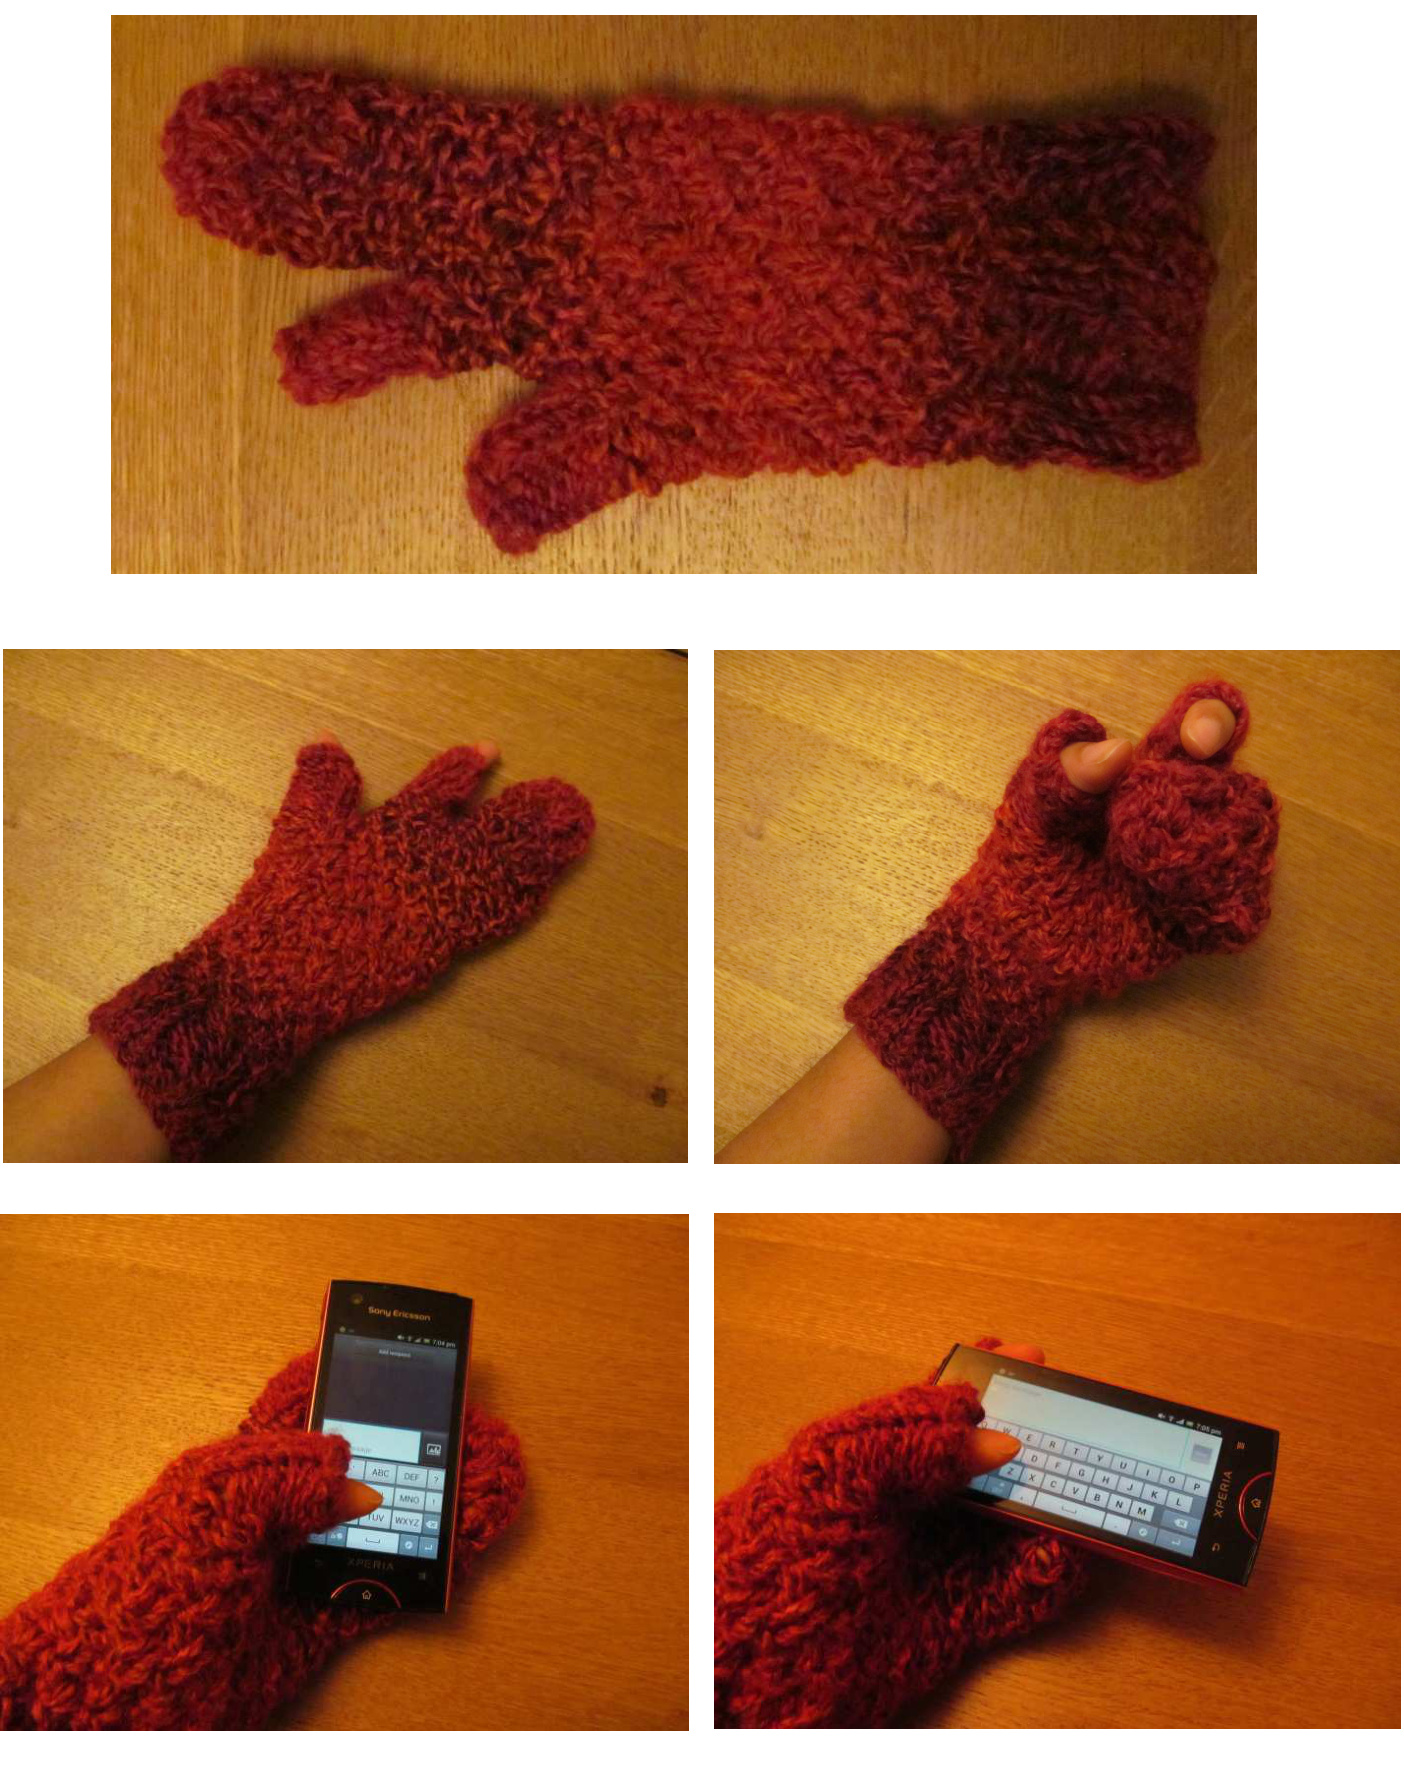
Smartphone MiTTS
Danielle Sammy (http://themusicalnomad.tumblr.com) a.k.a. 'OK', 'trigger-finger', lobster' mitts
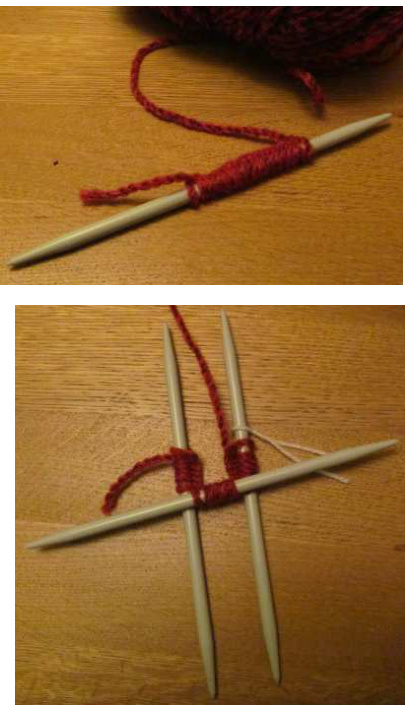
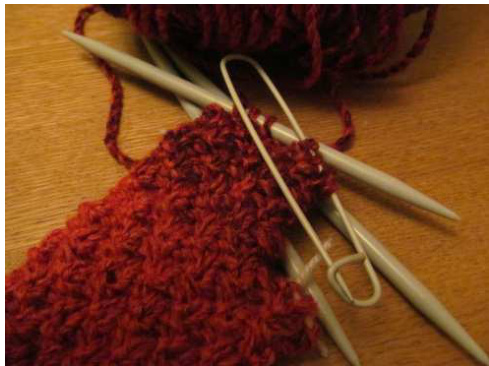
Size: small adult hand Yarn Needed: 150 metres/ 164 yards of chunky/bulky yarn. Yarn Used: James C. Brett 'Marble Chunky' Acrylic, Colourway MC14 Needles: 6mm/US size 10 double pointed needles Other items: Stitch Marker, two Stitch Holders (or pieces of contrasting colour yarn), Yarn Needle, optional Crochet Hook (any size, but I used 5mm) This pattern includes links to tutorials and photographs so beginners can knit along as well. It assumes you will know how to cast on, cast off, knit and purl. Instructions will be in small type. For more experienced knitters, note that this is not using the traditional glove/mitt thumb, so it may look weird when not being worn. But it fits like a normal glove! 1) Cast on 20 stitches 2) Distribute stitches evenly across three needles. Learn how to use double pointed needles with Staci from VeryPink Knits here: http://youtu.be/XqkldJ3WSzA
3) (K2, P2) for 8 rows 4) Create moss stitch for 20 rows. Mossstitch Rows 1&2 - (K1, P1) Rows 3&4 -(P1, K1) This will be repeated 5 times to make 20 rows.
5) Create thumb.
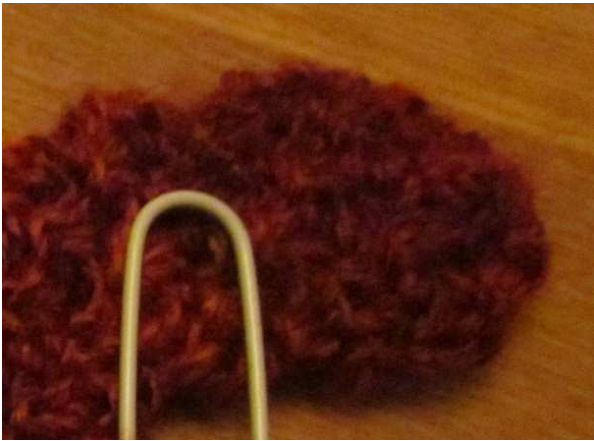
K1, P1, K1, P1, then pass 5 stitches onto a stitch holder (or piece of contrasting colour yarn that you can tie). Continue P1, K1, P1, K1 etc until the end of the row. Count this as row 1. Check out this tutorial about how to use stitch holders from New Stitch A Day: http://youtu.be/p02AXgpj2Vk ontinue moss stitch for 8 rows, with the row you just made in step 5 being row 1. Row 2 will be K1, P1, K1, P1, P1, K1, P1, K1, P1, K1, P1, K1, P1, K1, P1. Row 3 will be P1, K1, P1, K1, K1, P1, K1, P1, K1, P1, K1, P1, K1, P1, K1. Notice, every time you pass the place where the stitches are being held, you will need to repeat either knit or purl, rather than alternate. Everything else is the same as moss stitch.
7) Create first finger.
K1, P1, then pass 4 stitches onto a stitch holder (or piece of contrasting colour yarn that you can tie). Continue P1, K1, P1, K1 etc until the end of the row. Count this as row1.
8) Continue moss stitch for 13 rows, with the row you just made in step 5 being row 1. Keep the tension relatively loose from now on. Row 2 will be K1, P1, P1, K1, P1, K1, P1, K1, P1, K1, P1. Row 3 will be P1, K1, K1, P1, K1, P1, K1, P1, K1, P1, K1. Notice, every time you pass the place where the stitches are being held, you will need to repeat either knit or purl, rather than alternate. Everything else is the same as moss stitch. 9) For row 14, start to decrease stitches for the mitten section: P1, K2tog, P2tog, K2tog, P2tog, K2tog Learn how to K2tog with The Knit Witch: http://youtu.be/sBpbLmgwHFA 10) For row 15: K2tog, P2tog, K2tog 11) Cut the yarn with a tail. Using a yarn needle, draw the tail through the three loops on your knitting needles and pull to close the mitten. Use the remaining tail to reinforce the mitten top.
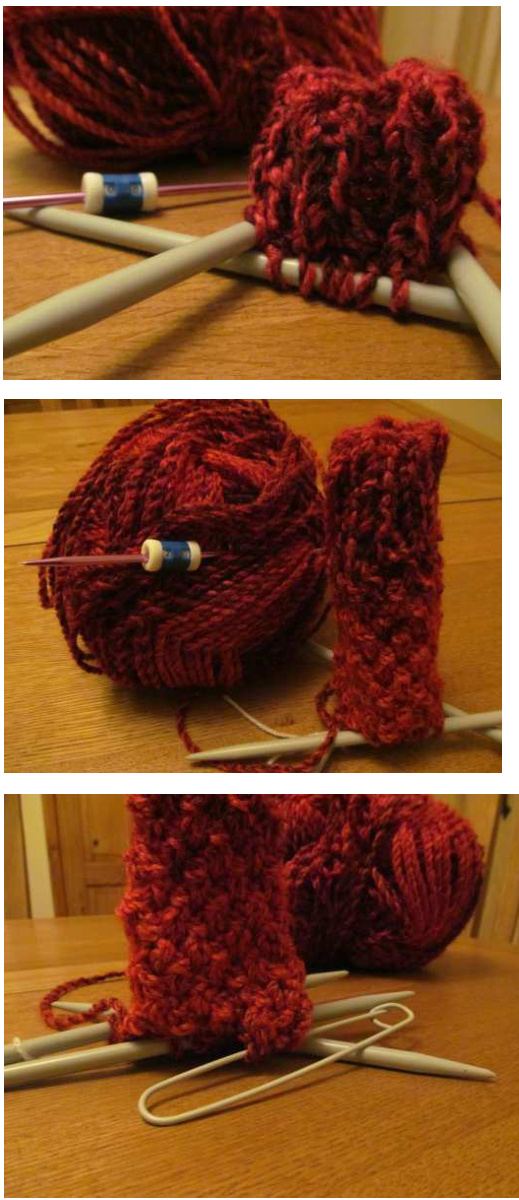
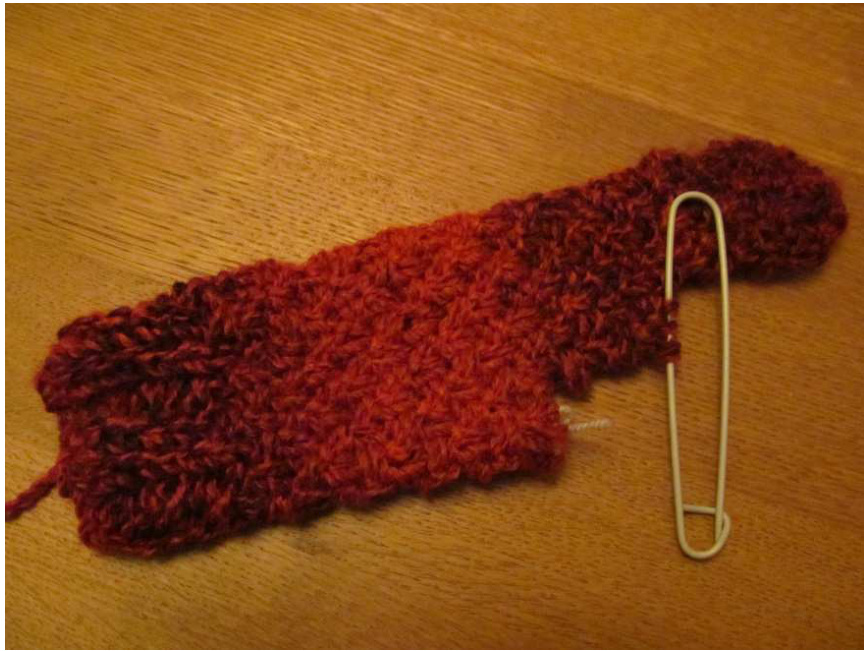
THE SMARTPHONE MITT...SOFAR
Return the held stitches onto your double-pointed needles. Using a crochet hook, chain stitch one loop onto the row below, on the main-fingers mitten seam. If you can't crochet, use a crochet hook or your fingers to: 1)Create a slip knot 2)Wrap the yarn under a stitch in the row below 3) Pull this yarn through the slip knot 4) A loop has now been created. Put this loop on your knitting needle. It is the first stitch of this new row. 13) Continue the row by K1, P1, K1, K1. Now, you will need to pick up some stitches with your knitting needle. 14) Use your knitting needle to pick up two stitches at the connection between the first finger and the mitten, on the side of the seam closest to wear you have been working. P2tog these stitches. Row 1 is now complete! 15) Continue to (K2, P1) until the tube will fit your first finger. Cast off.
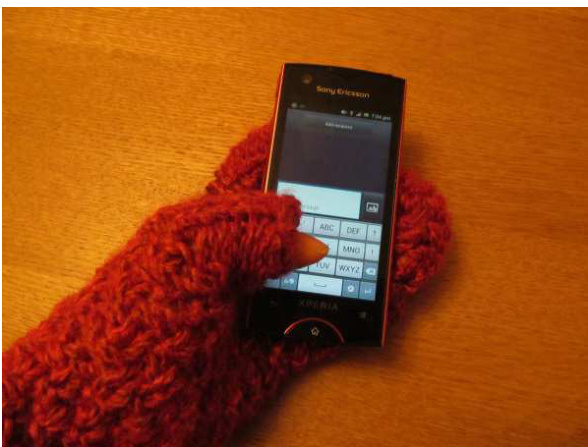
You can push down the tube to reveal your finger when you need to use a smartphone, and pull it up when you want to keep warm. 16) Return to the thumb Return the held stitches onto your double-pointed needles. Using a crochet hook, chain stitch one loop onto the row below, on the first-finger seam. If you can't crochet, follow the instructions in step 12. 17) Continue the row by K1, P1, P1, K1, P1. Now, you will need to pick up some stitches with your knitting needle. 18) Use your knitting needle to pick up two stitches at the connection between the thumb and the first finger, on the side of the seam closest to wear you have been working. P2tog these stitches. Row 1 is now complete! 19) Continue to (K2, P2) until the tube will fit your thumb just under the nail 20) Your mitt should now be complete! It may look a bit different than you are used to when laid out, but when on your hand it will look like and feel like a mitten/glove.