Dimensions: 155cm x 11cm
You will need:
Yarn: 8 ply/ DK Red Green Purple White Yellow Blue Pink Small amount of black yarn or thread for face embroidery 4mm 60/80cm circular needle 1 set of 4mm dpns Tapestry needle and/or crochet hook (optional) Small amount of toy stuffing
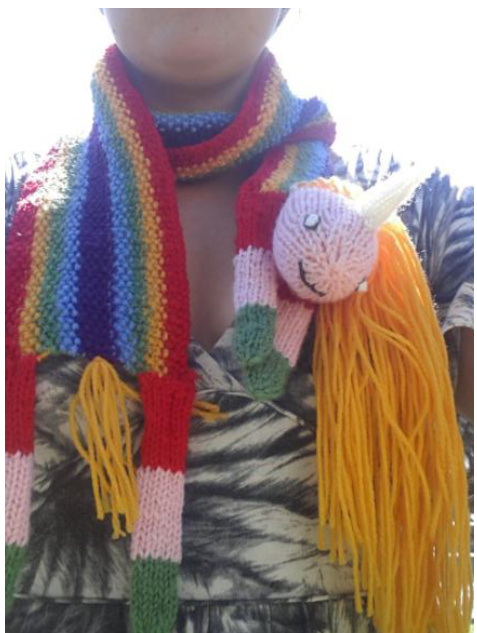
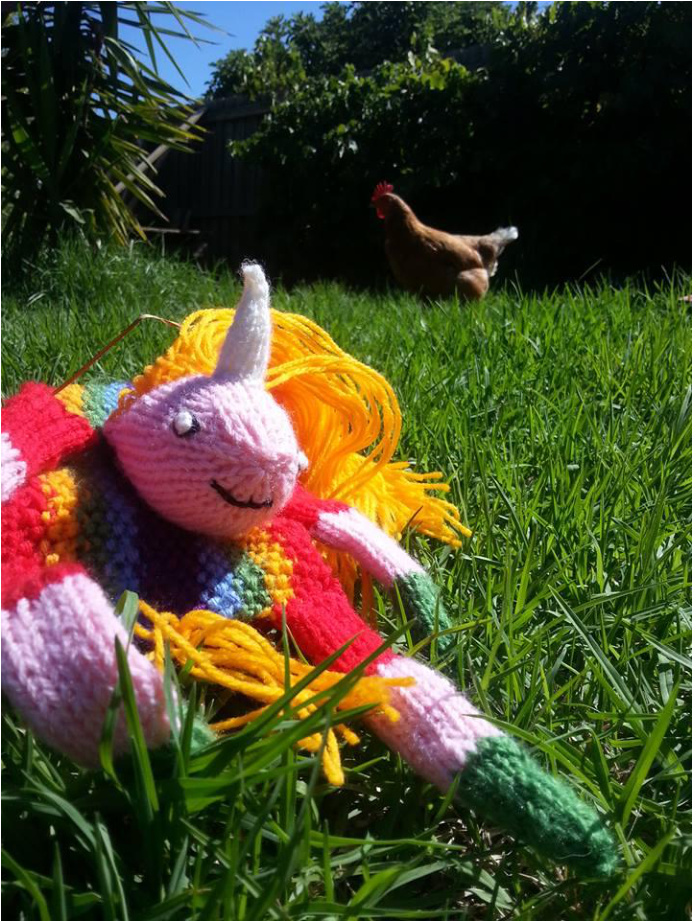
Scarf/Body
Dimensions: 130cm x 11cm The scarf is knitted LENGTHWAYS in SEED STITCH throughout, as written below.
SEED STITCH
Row 1: \*K1, P1\* rep to end Row 2: \*P1, K1\* rep to end If you want a longer scarf, simply add more stitches as you cast on. Remember that adding the legs will result in the finished project being 155cm x 11cm. If you want a wider scarf, consider adding an extra row of knitting for EACH colour. I suggest using a circular needle to knit the scarf, rather than straight needles, as you have such a large amount of live stitches it may not all fit onto a regular needle. Rather than joining in the round as you normally do on circular needles, simply turn your work at the end of eachrow.
Since you will be casting on so many stiches, don't worry too much about being totally exact with the number of stitches you cast on. Just pay attention to whether you have an even or odd amount of stitches. If even, knit in pattern as above. However, if you have an ODD amount of stitches, simply adjust pattern to "Row 2: \*K1, P1\* rep to end" instead. When knitting, you want to be knitting on a knit stitch, and purling on a purl stitch. So, if you end a row on a knit stitch (which means you have an ODD number) then you start the next row with a knit stitch.
Cast on 250 stitches in RED.
Row 1-4: Continuing in RED, knit in seed stitch Row 5-8: CC to YELLOW, continue in pattern Row 9-12: CC to GREEN, continue in pattern Row 13-16: CC to BLUE, continue in pattern ow 17-24: CC to PURPLE, continue in pattern (Knit 8 rows this s Row 25-28: CC to BLUE, continue in pattern Row 29-32: CC to GREEN, continue in pattern Row 33-36: CC to YELLOW, continue in pattern Row 27-40: CC to RED, continue in pattern Cast of in RED loosely. To be sure that you aren't casting off too tight, I recommend using a slightly larger needle to cast off (Il used 5mm).
Legs (make 4)
Dimensions: 12cm x 2.5cm (when flattened) The legs are knit in the round in stockinette stitch. This means you will knit every round. Using 4mm dpns, cast on 10 stitches in RED and divide among 3 needles. Row 1-12: Continue in RED, knit every round Row 13-24: CC to PINK, knit every round Row 25-34: CC to GREEN, knit every round Row 35: \*K2tog\* to end (5 stitches) Row 36: Knit Cut yarn, leaving a long tail. Thread tail though all remaining stitches to close the bottom of leg. Secure thread with a smallI and pull tail to inside of leg.
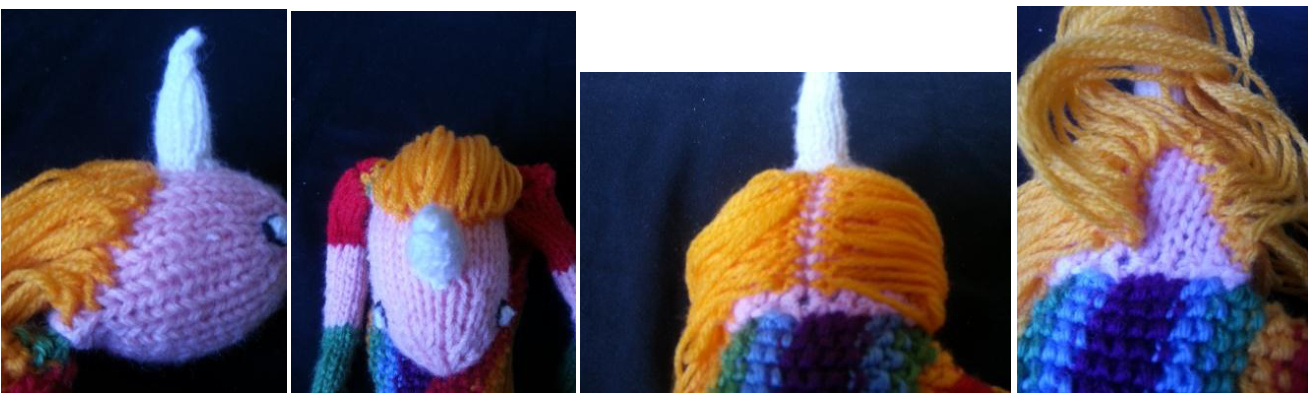
Head
Dimensions: 8cm x 5.5cm The head is knit in the round, in stockinette stitch, in PINK. Cast on 24 stitches in PINK Row 1-17: Knit all rounds Row 18: K2tog, \*K\* to end of round (23 stitches) Row 19: K7, K2tog, \*K\* to end of round (22 stitches) Row 20: K14, K2tog, \*K\* to end of round (21 stitches) Row 21: K1 \*K2tog, K1\* K1 (14 stitches) Row 22: Knit Row 23: \*K2tog, K1\* (9 stitches) Row 24: Knit (9 stitches) Cut yarn, leaving a long tail. Thread tail though all remaining stitches to close the front of head. Secure thread with a small knot, and pull tail to inside of head. Stuff head with toy filling. Sew shut.
Unicorn Horn
Using 4mm DPNs, cast on 6 stitches in WHITE Row 1-5: Knit Row 6: K2tog, K4 (5 st) Row 7: Knit Row 8: K1, K2tog, K2 (4 st) Row 9: Knit Row 10: K2, K2tog (3 st) Cut yarn, leaving a long tail Thread tail though all remaining stitches to close the top of the horn. Secure thread with a small knot, and pull tail to inside of horn. Stuff horn with toy filling. DO NOT sew shut. Place horn on centre of head and with tapestry needle and some extra white yarn, carefully sew to head, keeping bottom of horn circular.
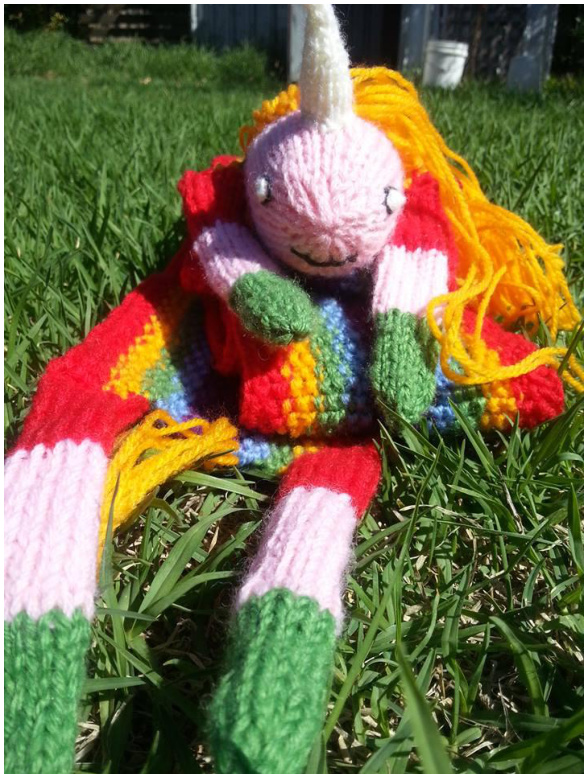
Make Up
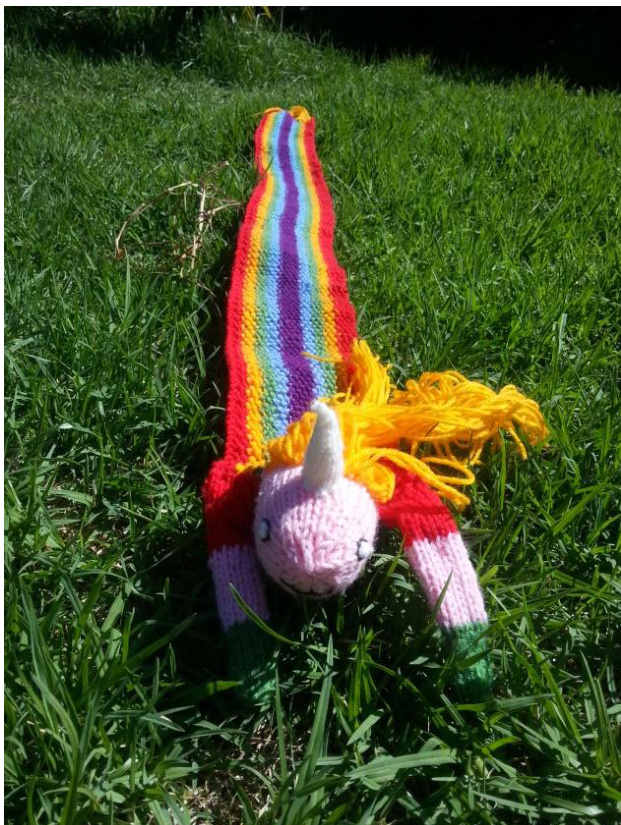
Using either a tapestry needle or a crochet hook, attach legs and head to scarf. For legs, I used RED yarn as thread, and for the head I used the PiNK yarn. Using white yarn, stitch on eyes. Using black yarn/embroidery thread, stitch mouth and a border around the eyes. 40 strands of yellow yarn around 60cm long, or as many as are Mark with a pencil the hairline you wish, and a part down the middle. You will only attach hair along this hairline and part. This is so that the hair can fall two ways, but you don't have to fill in the whole head.
Insert crochet hook (or use tapestry needle) into ONE stitch along the hairline and pull 1 yellow strand through under the stitch. Secure with simple knot. Repeat process all along marked hairline and part until finished.
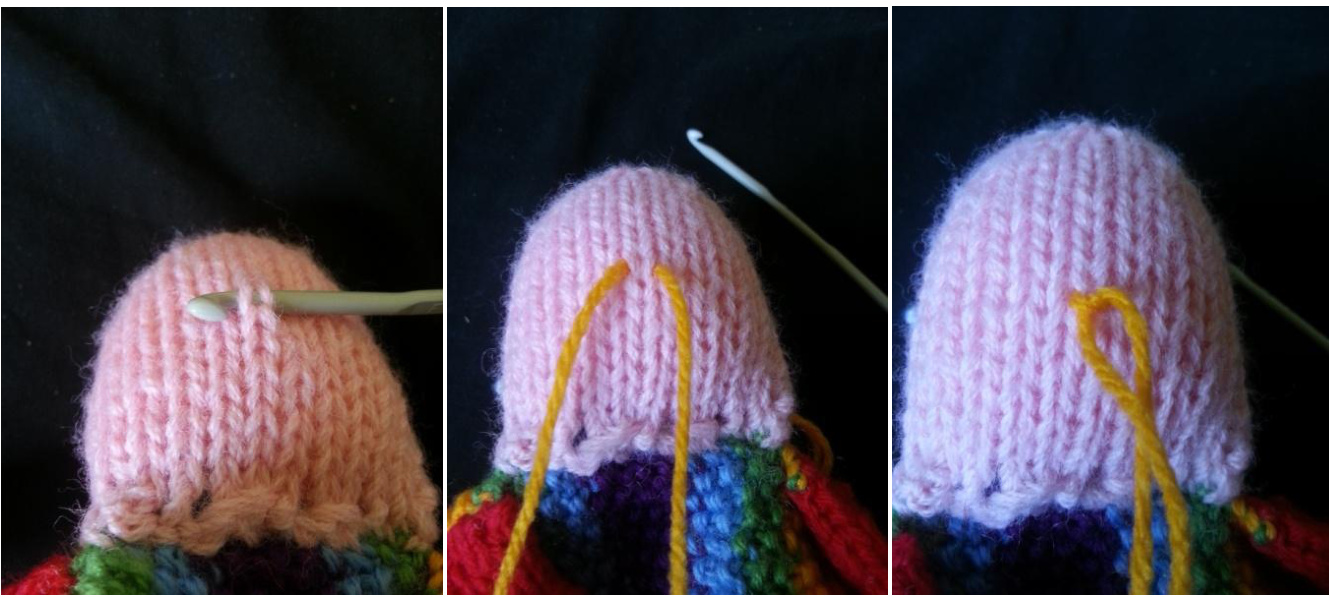
There are lots of youtube videos about how to attach a doll's hair, if this isn't clear then I suggest watching one of these videos for some more information.
Tail
Cut approx 7 strands of yellow yarn, around 15-20cm long. Using crochet hook/tapestry needle, pull one strand through where you want to attach the tail - I suggest in the very centre at the bottom of the scarf. Leave loose. With the remaining strands in a bunch, tie the first strand around the middle of the bunch tightly, a simple shoelace knot. If you want to be extra secure, tie each strand as well.