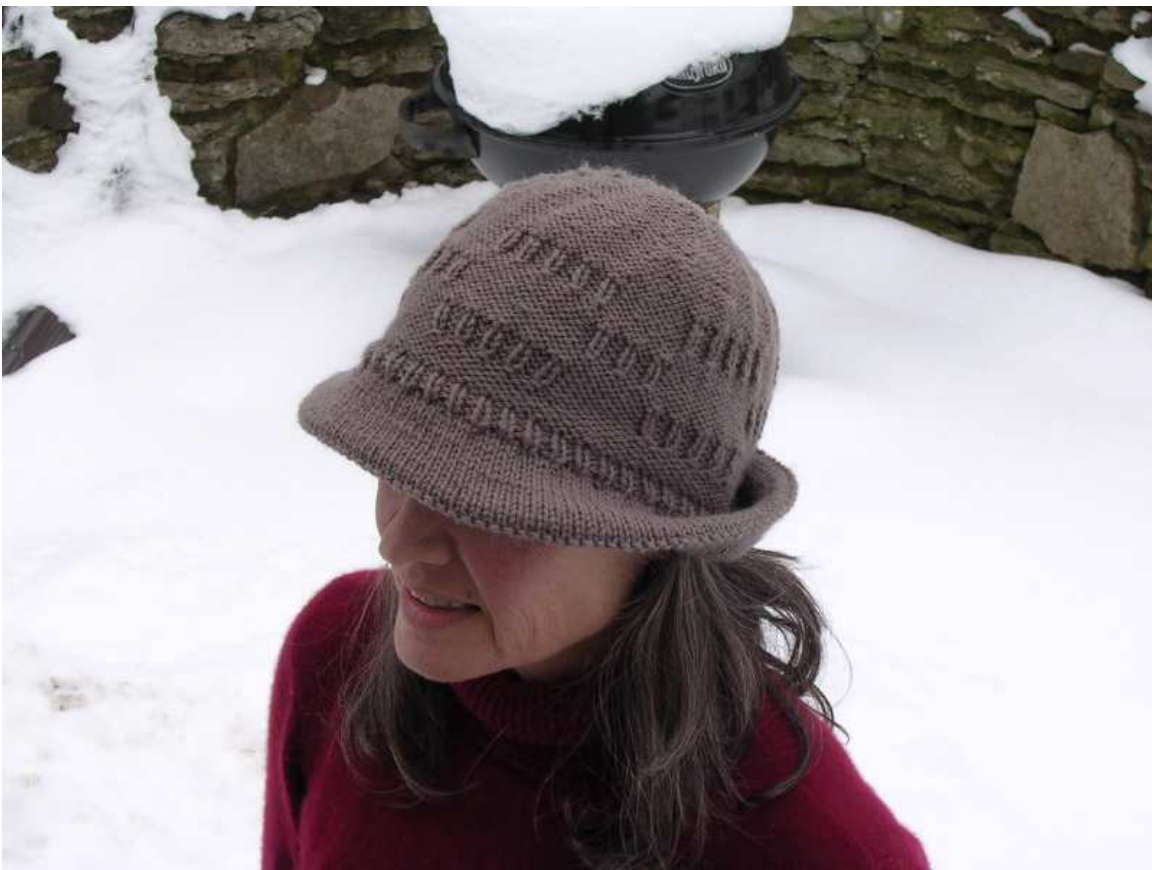
Brimming
I like a hat with a brim - it keeps rain and snow off my face, and shades my eyes on the rare, sunny day during an Ohio winter. This hat does all that and more. Knitted at a tighter than recommended gauge, it also helps keep me warm, even on a windy day. Whether you're 17 or 95 (or somewhere in between), I think this hat looks great on everyone. Knit it for yourself or someone else - it would be a great gift.

SIZE 21-23 inch head circumference [NOTE: For a 23" head circumference follow the directions in ()]
FINISHED MEASUREMENTS
Height: When folded in half, 8.5(9) inches from tip of brim to top of crown Brim: 1.75(2) inches Side: 4.25(4.5) inches (includes K1, P1 rib ) Crown: 2.5 inches Circumference: 18 inches, unstretched Will stretch to comfortably fit 21-23 inch head circumference. MATERIALS Yarn Cascade 220 Wool (100% Peruvian Highland Wool, 220yd/201m per 100g skein), color: Color #8408 Smoke; 1 skein Recommended Needle Size 1 16" US #6/4.0mm circular needle 1 set US #6/4.0mm double-point needles Notions Yarn needle Stitch marker
GAUGE
20 sts/28 rows = 4" in stockinette stitch
PATTERN NOTES
Yarn is worked at a smaller gauge than recommended to produce a dense, stiff fabric, making the hat more wind- and water-resistant. The stiffness is also useful for brim shaping options. Hat is worked from the bottom up, in the round. Switch to double-point needles when necessary.
DIRECTIONS
Brim
With 16" circular needle, CO 90 sts, leaving a 36" tail (for brim seaming). Join & work in the round. Mark end of round with a marker and slip marker every round. (Note: After being whipstitched in place, the K1, P1 ribbing may loosen with wear. I solve this problem by leaving a piece of the ‘tail’ (see FINISHING below) exposed so that I can pull on it, and tighten the ribbing as necessary.) K1, P1 for 3 rnds Next rnd: K2, K1f&b, repeat to marker (30 sts increased, total sts = 120) K next 12(14) rnds P one rnd (fold line) K next 12(14) rnds Next rnd: K2, K2tog, repeat to marker (30 sts decreased, total sts = 90) K1, P1 for 4 rnds
Side
·P next 5 rnds Next rnd: \*[K1f&b, P1] 4 times, K1, P9\* repeat \* \* 4 more times. (20 sts increased, total sts = 110) Next 3 rnds: \*[K1, P2] 4 times, K1, P9\* repeat \* \* 4 more times P next 3(4) rnds Next 4 rnds: P14 \*[K1, P2] 2 times, K1, P15\*, repeat \* \* 3 more times, [K1, P2] 2 times, K1, P1 P next 3(4) rnds Next 4 rnds: \*[K1, P2] 4 times, K1, P9\* repeat \* \* 4 more times ?P next 5 rnds
Crown
Switch to dpns when necessary Rnd 1: P9, P2tog, repeat 9 more times (10 sts decreased, total sts = 100) Rnd 2: P one rnd Rnd 3: P4, P2tog, \*P8, P2tog\*, repeat \* \* 8 more times, P4 (10 sts dec. total sts = 90) Rnd 4: P one rnd Rnd 5: P7, P2tog, repeat 9 more times (10 sts decreased, total sts = 80) Rnd 6: P one rnd Rnd 7: P3, P2tog, \*P6, P2tog\*, repeat \* \* 8 more times, P3 (10 sts dec. total sts = 70) Rnd 8: P one rnd Rnd 9: P5, P2tog, repeat 9 more times (10 sts decreased, total sts = 60) Rnd 10: P one rnd Rnd 11: P2, P2tog, \*P4, P2tog\*, repeat \* \* 8 more times, P2 (10 sts dec. total sts = 50) Rnd 12: P one rnd Rnd 13: P3, P2tog, repeat 9 more times (10 sts decreased, total sts = 40) Rnd 14: P one rnd Rnd 15: P1, P2tog, \*P2, P2tog\*, repeat \* \* 8 more times, P1 (10 sts dec. total sts = 30) Rnd 16: P one rnd Rnd 17: P1, P2tog, repeat 9 more times (10 sts decreased, total sts = 20) Rnd 18: P one rnd Rnd 19: P2tog, repeat 9 more times (10 sts decreased, total sts = 10) Cut yarn leaving enough for sewing. Pull through sts on needles twice and draw up tightly to fasten. Secure end inside.
FINISHING
Turn bottom of brim to inside of hat along fold line, and with yarn tail from cast on, whipstitch ribbing in place. Cut yarn leaving a section of the tail exposed for tightening ribbing as necessary.


