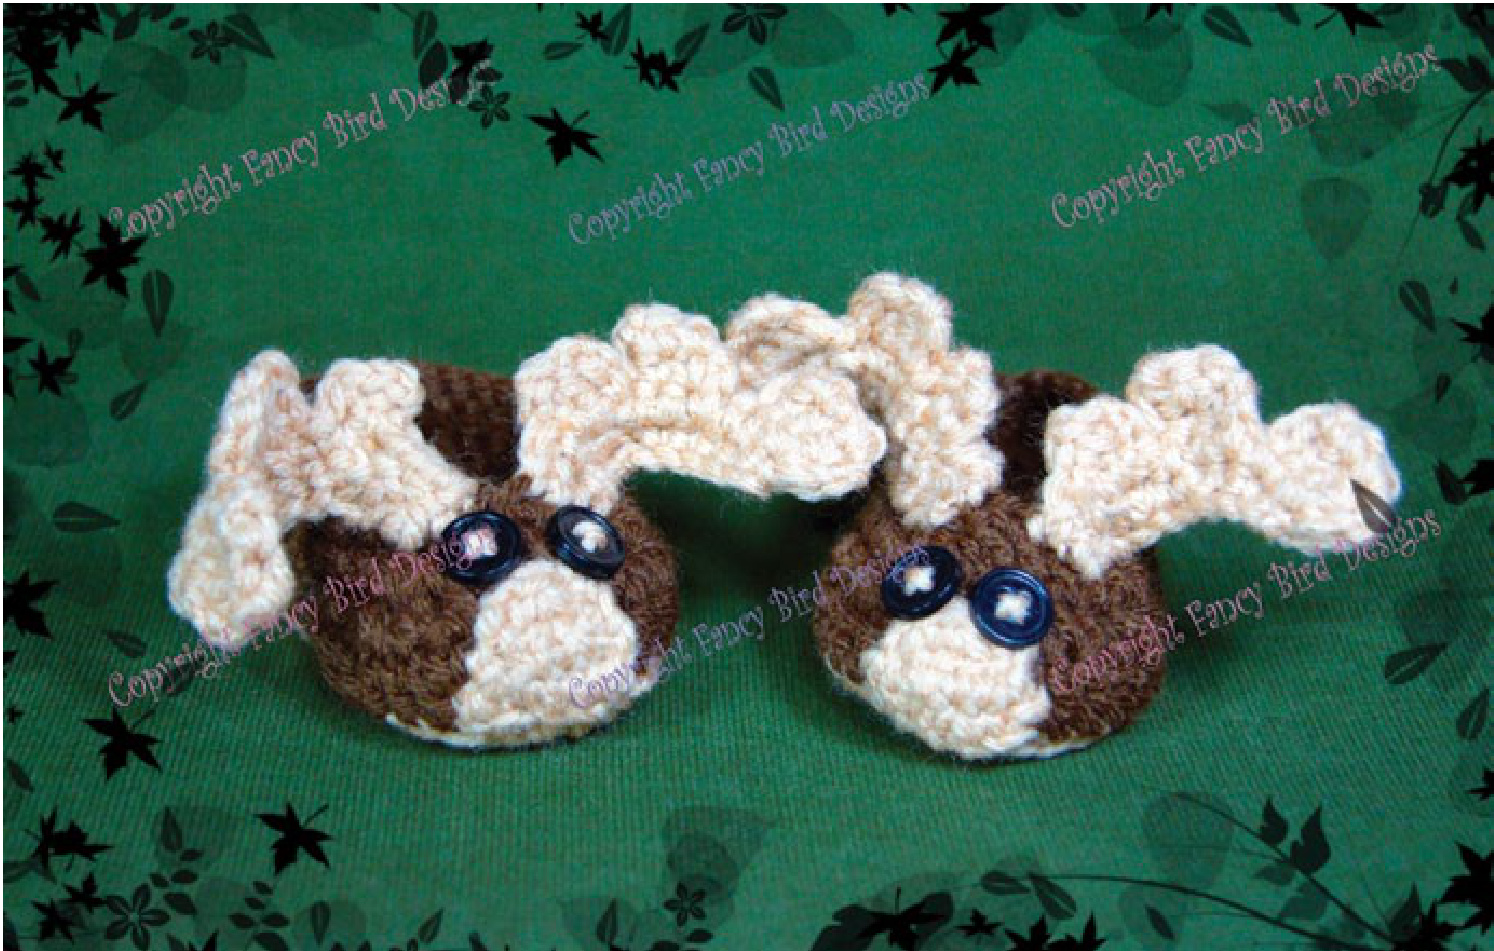
Fancy Baby Moose Shoes
Finished Size: O-12mo (2 sizes) Pattern Level: Intermediate
@ 2014 Fancy Bird Designs | www.etsy.com/fancybirddesigns | www.sewtheline.blogspot.com
Materials
Worsted weight yarn in two colors Light brown yarn (main color) Dark brown yarn (contrasting color) 3.5mm hook (0-3 mo.) 4.0mm hook (3-6 mo., 6-9 mo., 9-12 mo.) 3/8" buttons (2 for each shoe) Upholstery needle
Notes
This pattern was made using worsted weight Red Heart light brown yarn, and I Love This Yarn in brown. Stitch counts are are color-coded to help you follow along for the size you want. (0-3, 3-6, 6-9, 9-12). In a round beginning with ch1, the ch1 never counts as the first stitch. Stars (\*) around a set of instructions indicate that those instructions will be repeated. For example, \*2hdc in next st, hdc in next\* x5, means that you will perform the instructions between the two stars 5 times in total. Terms
| mc | main color | sc2tog | single crochet 2 together | |
| CC | contrastingcolor | hdc | half double crochet | |
| ch | chain | hdc2tog | half double crochet 2 together | |
| st(s) | stitch(es) | hdc3tog | half double crochet 3 together | |
| sl st | slip stitch | dc | doublecrochet | |
| SC | single crochet | dc2tog | doublecrochet2together |
① 2014 Fancy Bird Designs. You have permission to sell the finished product made from this pattern. Rewriting, distributing, selling or copying the pattern itself is prohibited. www.etsy.com/fancybirddesigns | www.sewtheline.blogspot.com
Shoes
0-3mo (3.5") 3.5mm hook; 3-6mo (4") 4.0mm hook
\*\*Ch1 DOES NOT count as first st\*\* \*\*Measure sole after R3 \*\*
Sole:
R1: With light brown yarn (CC), Ch11(13). 2sc in second ch from hook, sc 5(6), hdc 3(4), 6hdc in last ch. Working up the other side, hdc 3(4), sc 5(6), 2sc in last st. Join to top of first st with sl st. (26, 30) R2: Ch1. 2Sc in same st, 2sc in next st. Sc 8(10), 2sc in next 6 sts, sc 8(10), 2sc in last 2 sts. Join to top of first st with sl st. (36, 40) R3: Ch2. Hdc in same st, hdc in next st. 2hdc in next st, hdc in next st. Hdc 9(11), \*2hdc in next st, hdc in next\* x5, hdc 9(11), \*2hdc in next st, hdc in next\* x2. Join to top of first st with sl st. (45, 49). Fasten off CC.
Sides/Top
\*\* Join dark brown yarn (MC) with sl st. R4: Ch3, dc in BLO of next st and each st around. Sl st to join. (45, 49) R5: Ch1, sc2tog, sc 12(14), hdc2tog x3, hdc, hdc3tog, hdc, hdc2tog x3, sc 12(14), sc2tog, sl st to join. (35, 39) R6: Ch2, hdc 11(13), dc, dc2tog x2, dc, dc2tog x2, dc, hdc 12(14). Sl st to join (31, 35) R7: Ch1, sc in same st and in each st around. Sl st to top of first st to join. Fasten off and weave in all ends. (31, 35)
6-9 mo (4.33") 4.0mm h0ok; 9-12 mo (4.75") 4.00mm
\*\*Ch1 DOES NOT count as first st\*\* \*\*Measure sole after R3.\*\*
Sole:
R1: With light brown yarn, Ch11(13). 2sc in second ch from hook, sc 5(6), hdc 3(4), 6hdc in last, hdc 3(4), sc 5(6), 2sc in last. Join to top of first st. (26, 30) R2: Ch2, hdc in same st, 2 hdc in next st. hdc 8(10), 2hdc in each of next 6 sts, hdc 8(10), 2hdc in last two sts. Join to top of beg chain. (36, 40) R3: Ch2, hdc in same st, hdc in next st, 2hdc, hdc, hdc 9(11), \*2dc, dc\* x5, hdc 9(11), \*2hdc, hdc\* x2. Join top top of beg chain. (45, 49) Fasten off CC.
Sides/Top
\*\* Join dark brown yarn (MC) with sl st. R4: Ch3. DC in BLO of next st and each st around. (45, 49) R5: Ch1. Sc2tog, sc in next 12(14), hdc2tog x3, hdc, hdc3tog, hdc, hdc2tog x3, sc 12(14), sc2tog. Join. (35, 39) R6: Ch2, hdc 11(13), dc, dc2tog x2, dc, dc2tog x2, dc, hdc 12(14). Join. (31, 35) R7: Ch1, sc in same and next 12(14), hdc2tog, hdc, hdc2tog, sc 13(15). Join. (29, 33) R8: Ch1. Sc same st and in each st around. Join. (29, 33) Fasten off and weave in ends. ① 2014 Fancy Bird Designs | www.etsy.com/fancybirddesigns | www.sewtheline.blogspot.com
Antlers
With CC, make 2 for each shoe Row 1: Ch11, sc in second ch from hook and sc across. Turn. Do not chain. Bump 1: Sl st in first two st. Sc in next three. Ch 1. Turn. Sc2tog, sc. Turn and sl st evenly down to row 1. Bump 2: Sc in next 3. Ch1, turn. Sc in next 3. Ch1, turn. Sc2tog, sc. SI st evenly down to row 1. Bump 3: 2sc in next st, 3sc in next st. Ch1, turn. Sc2tog, sc in next 3. Ch1, turn. Sc2tog, sc2tog. Sl st evenly down to row 1. Weave in beginning tail. When you weave in the finishing tail, weave it all the way through row 1 and pull gently so that it creates a slight (about 45°) bend in the antler. Weave a little more to secure the kink and make sure the excess comes out at the little end of the antler. Don't cut yet. We'll use that long leftover tail to sew the antler to the shoe.
Nose
With CC, make one for each shoe. Round 1: Ch6. Sc in second ch from hook, and each across. Ch1, turn, sc2tog, sc, sc2tog, ch1, turn, sc3tog. Leave a long tail for sewing.
Construction
This will walk you through the best way to sew on the nose, button eyes, and antlers. If you need to, use the cover image as a guide. Center the nose on the toe of the shoe, lining up the center of the nose with the dc in row 6 of the sides of the shoe. The bottom row of the nose should butt up to row 3 of the sole. Use the finishing tail to sew onto the shoe. Weave in the tail a bit, but do not cut excess. You'll use the extra tail to sew on the eyes. Place the button eyes just above the sc2tog of the nose making sure that they are overlapping the nose just a little bit. Use the leftover tail from the nose to sew on the button eyes in an X pattern. Weave the tail back into the nose to finish. Place one antler just above each button eye. Using the tail, sew the bottom of the antler onto the shoe up to the point just below the bend you made. Now secure the top of the antler from just above the bend to the end where you started sewing. See the pictures for a visual guide.


