
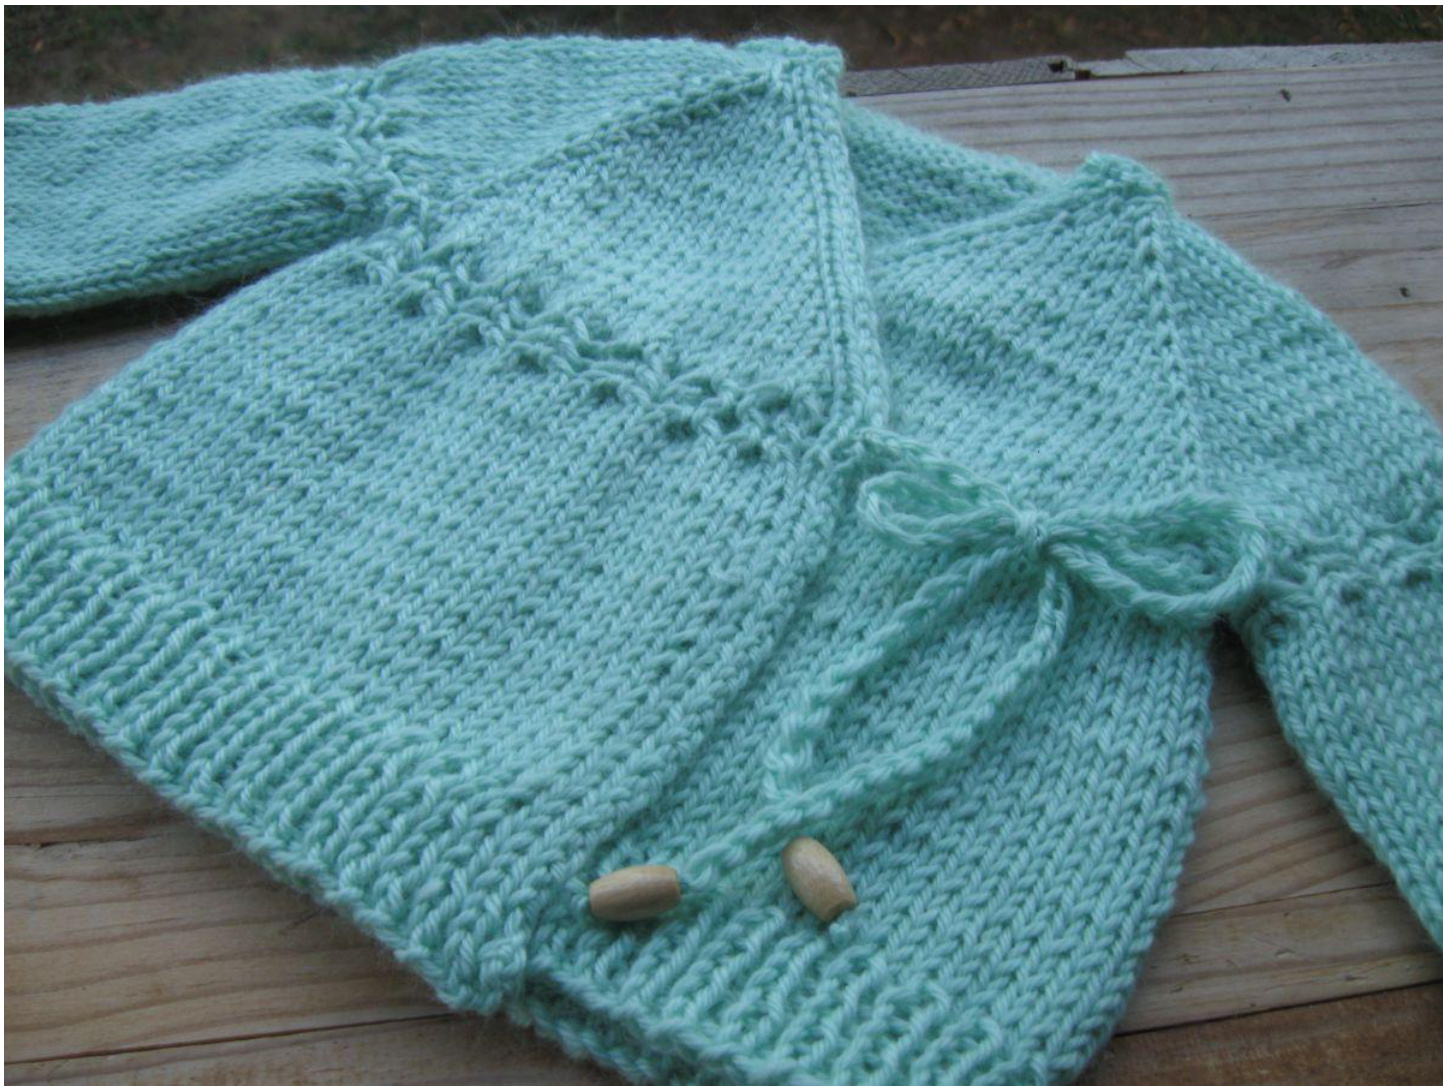
This little Cardigan is designed for those first few months where babies are at their newest, they are growing pretty fast and clothing is outgrown so quickly. A wrap style opening to this garment means that chest size is adjustable, going from a tiny 16 inches to a plump 19 inches. (approximately newborn to 6 months) Your babe will outgrow the sleeves before anything else!
Materials:
4mm needle. Cable needle. (optional) 250 yards 8ply yarn. (see below for ideas) Tapestry needle and waste yarn. 2 beads or pom poms for ties. (Optional) 6 stitch markers 4mm crochet hook.
Suggested Yarns.
Pear tree Super-soft 8ply (blue cabled version). Red Riding Hood 'belle' 8ply. ?Bendigo Luxury 8ply. Woolganic knitter's yarn 8ply (striped version). Little Plum Yarns Superwash Merino 8ply.
PatternAbbreviationy.
| K | Knit1stitch |
| P | Purl1 stitch |
| M1 | Create new stitch by picking up the bar in the middle of your stitches with your left needle and knit it creating a new stitch. |
| Sm | (seereferencechapter) Slip marker from left needle to right needle. |
| (RS) | Rightsideofknitting |
| (WS) | Wrong side of knitting. |
| Kfab | Knitintothefrontandthebackofthesamestitch. |
Gauge/Tensiow: 20stitches and 24 rows per 4 square inches. (measured on blocked stockingette)
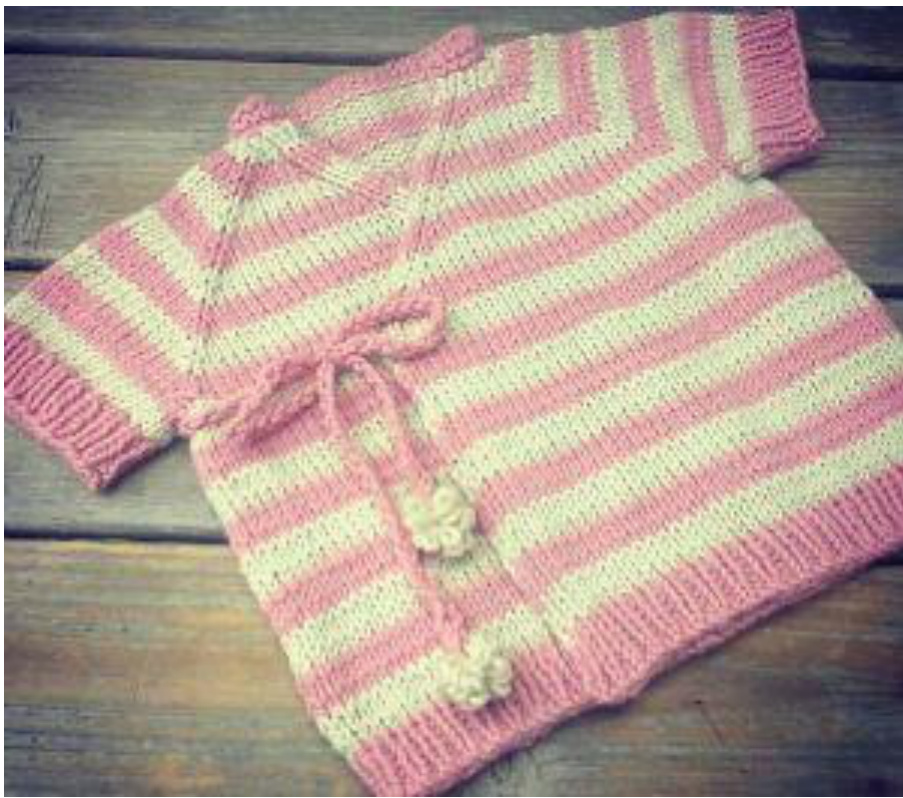
If using a stripe pattern throughout the cardigan, make sure your colour changes are on the wrong side (purl rows) of your knitting. If omitting the cable please take note of light blue instructions as you knit the pattern.

The knitting:
Cast on 34 stitches. Row 1-4: Knit. Knit next row placing four markers as follows: Row 5: (ws) K4, pm, k2, pm, k22, pm, k2, pm, k4. Row 6: (placing two more markers) (rs) K1, p1, k1, p1, place marker, m1, sm, kfab, kfab, sm, k1, m1, k20, m1, k1, sm, kfab, kfab, sm, m1, place marker, p1, k1, p1, k1. Row 7: (ws)P1, k1, p1, k1, sm, p1, sm, p4, sm, p24, sm, p4, sm, p1, sm, k1, sm, k1, p1, k1, p1. Row 8: (rs)K1, p1, k1, p1, sm, m1, k to one stitch before marker, kfab, sm, kfab, k to one stitch before marker, kfab, sm, kfab, k to one stitch before marker, kfab, sm, kfab, k to one stitch before marker, kfab, sm, kfab, k to marker, m1, sm, p1, k1, p1, k1. Row 9: (ws) P1, k1, p1, k1, sm, purl to last 4 slipping markers as you come to them, sm, k1, p1, k1, p1. Repeat row 8 and 9 until you have the following stitch count:
| Edge | Front | Sleeve | Back | Sleeve | Front | Edge | Total |
| 4 | 29 | 30 | 50 | 30 | 29 | 4 | 176 |
sleeve separation:
Row 1: (rs) K1, p1, k1, p1, sm, m1, knit to 1 stitch before marker, kfab, remove marker, cast on 2 stitches, put all sleeve stitches onto waste yarn, remove marker, knit into the 1st back stitch, knit to 1 stitch before next marker, kfab, remove marker, cast on 2 stitches, put all sleeve stitches onto waste yarn, remove marker, knit into the 1st front stitch. Knit until marker, m1, sm, p1, k1, p1, k1. Row 2: (ws) P1, k1, p1, k1, sm, purl to last 4 slipping markers as you come to them, sm, k1, p1, k1, p1. Stitch count:
| Edge | Body | Edge | Total |
| 4 | 108 | 4 | 116 |
Body of Cardigan:
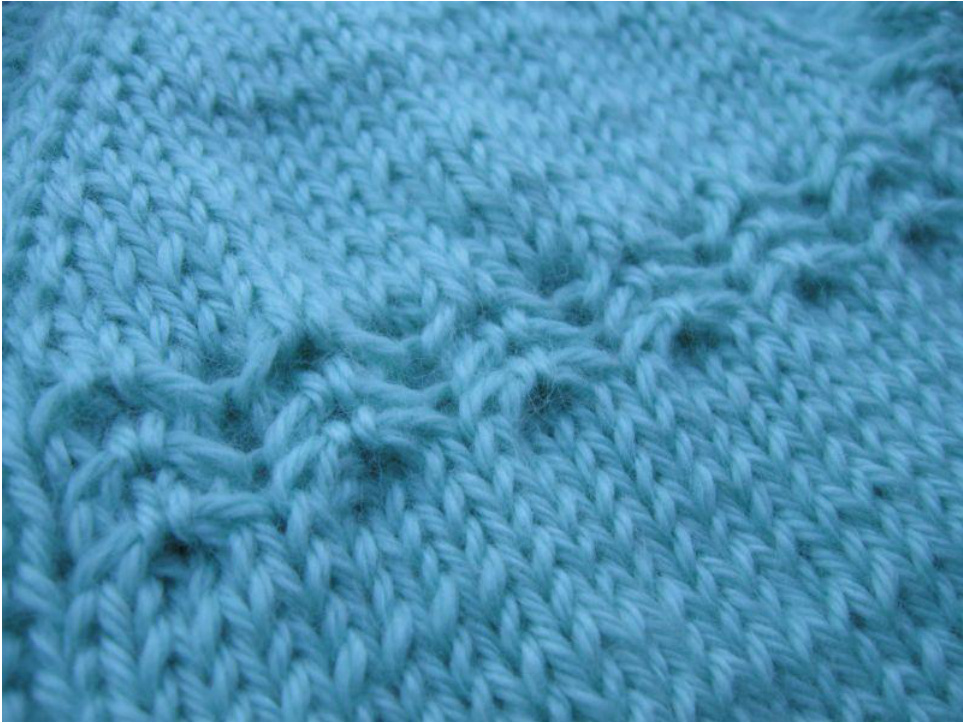
(Please refer to reference section for tutorial on how to work these two cables without a cable needle.) If not working cables, move to row 7 and 8. Row 1: (Rs)K1, p1, k1, p1 sm, repeat first cable chart row to the next marker, sm, P1, k1, p1, k1. Row 2: (Ws) P1, k1, p1, k1, sm, purl to next marker, sm, p1, k1, p1, k1. Continue working all 6 rows of the cable chart then move onto Row 7. Row 7: (RS) k1, p1, k1, p1, sm, knit to the next marker, sm, P1, k1, p1, k1. Row 8: (Ws) p1, k1, p1, k1, sm, purl to next marker, sm, p1, k1, p1, k1. Repeat rows 3 and 4 until work measures 5inches/13cms from underarm.
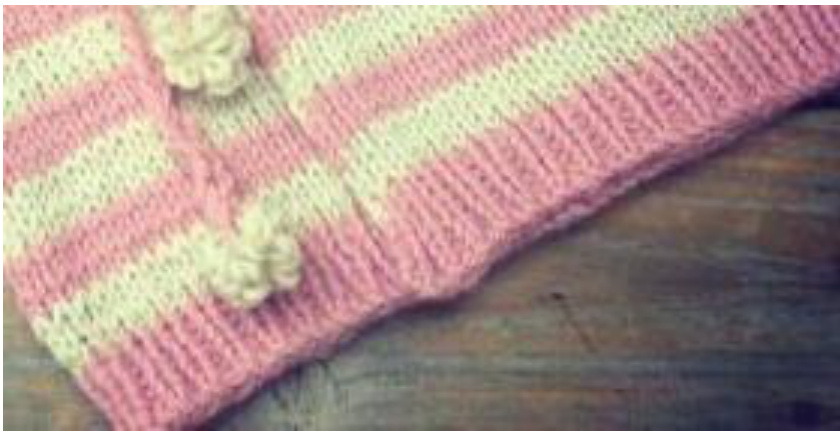
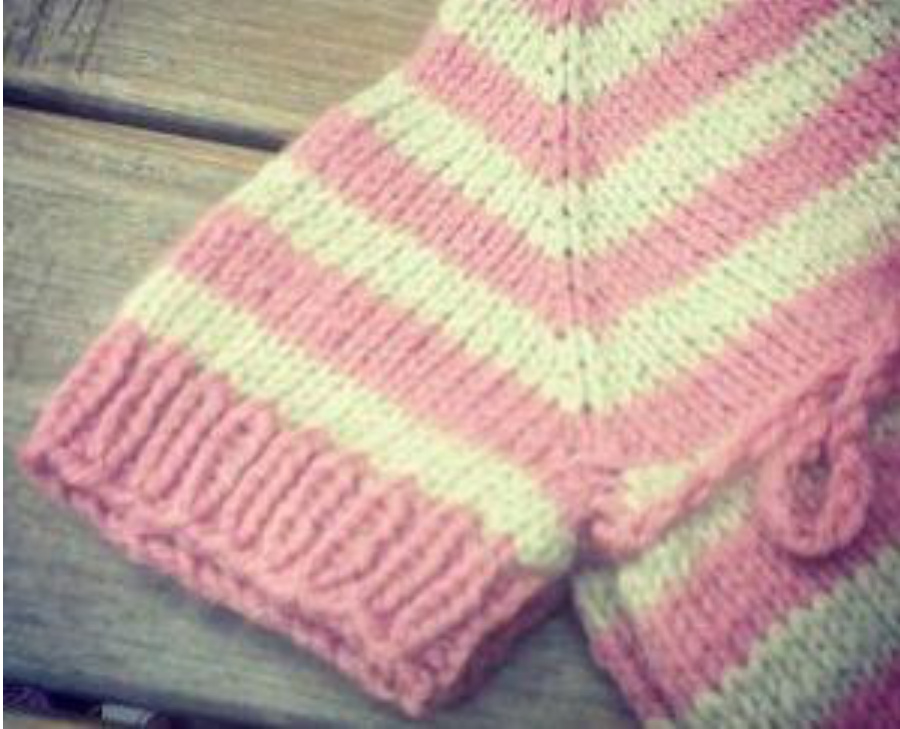
Hemline:
(If working using contrast colours, knit one row in the colour you intend for your ribbing, prior to ribbing. This enables a smooth colour change) Row 1: K1, p1, continue across row. Work this ribbing for 1 inch. Cast off gently in pattern.
sleeves:
Long:
Put all the stitches on waste yarn, on a small diameter circular needle or magic loop cable and tips. Pick up 3 stitches, place marker. Pick up and knit 3 more stitches. (36).
Short:
The short sleeved version is without cables even if you worked them for the body of thecardigan. Row 1: \*p1, k1 repeat to end of round. Repeat round 1 for one inch. Cast off gently in pattern. Repeat for other sleeve.
Knit 2 rows If working cable: Work cable chart, repeated across the round, changing all purled rows into knit rows. Knit 3.5 inches/9cms of stockingette stitch measuring from where the cables finished. (4.5inches from underarm if not doing cable) K1, p1, repeat across round. Work this round for 1 inch and then cast off gently in pattern. Repeat for other sleeve.
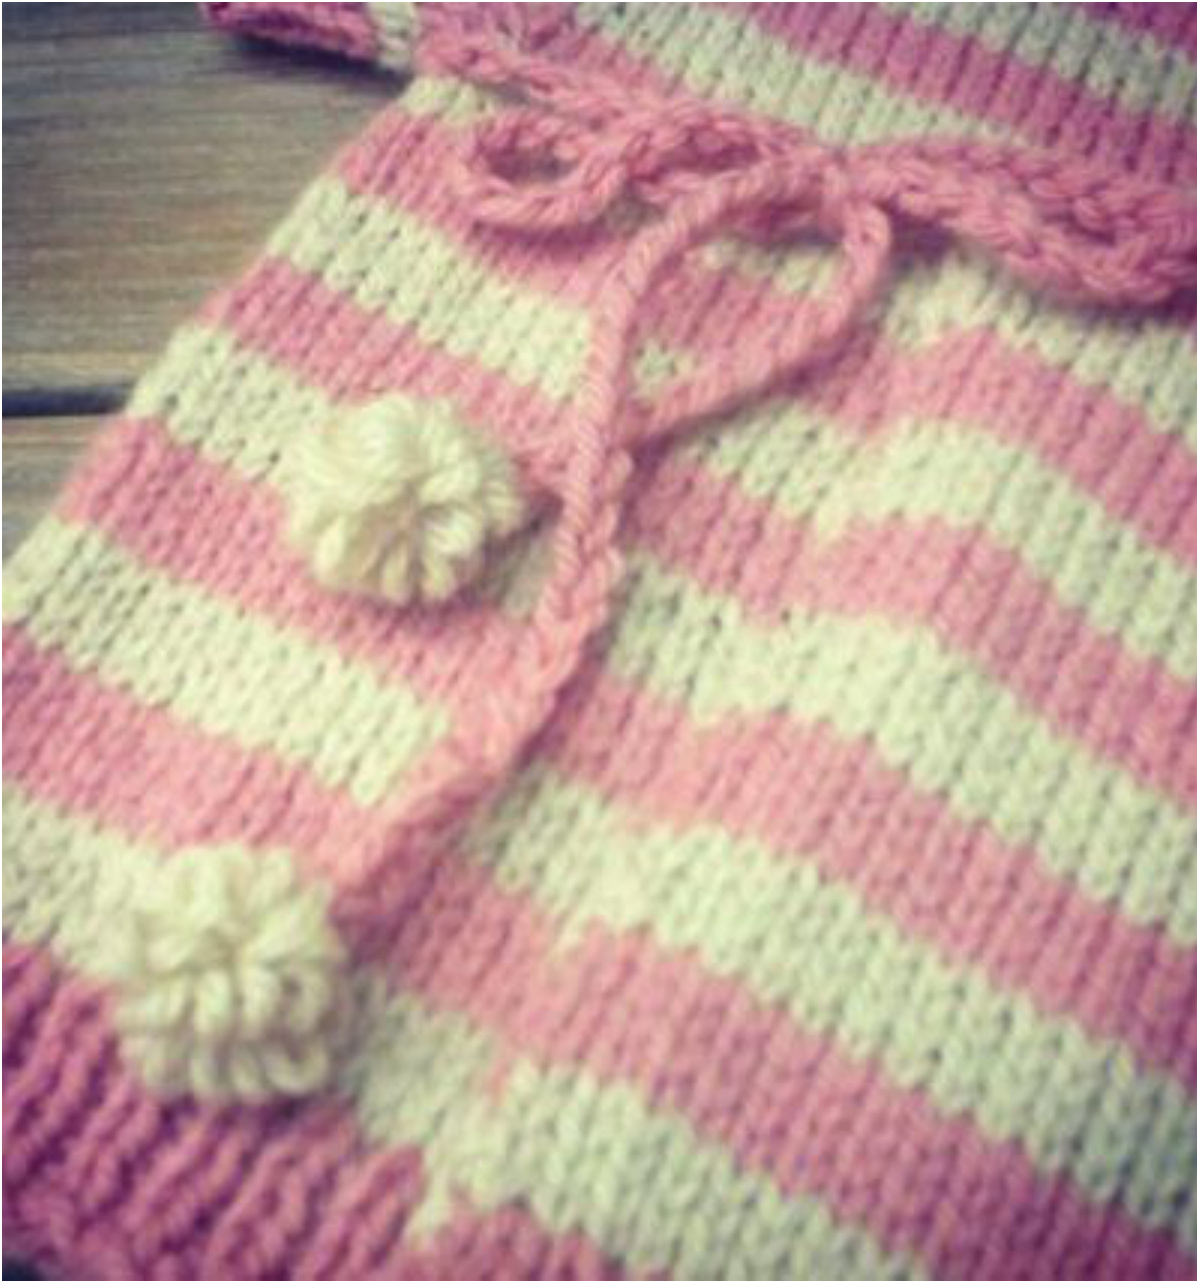
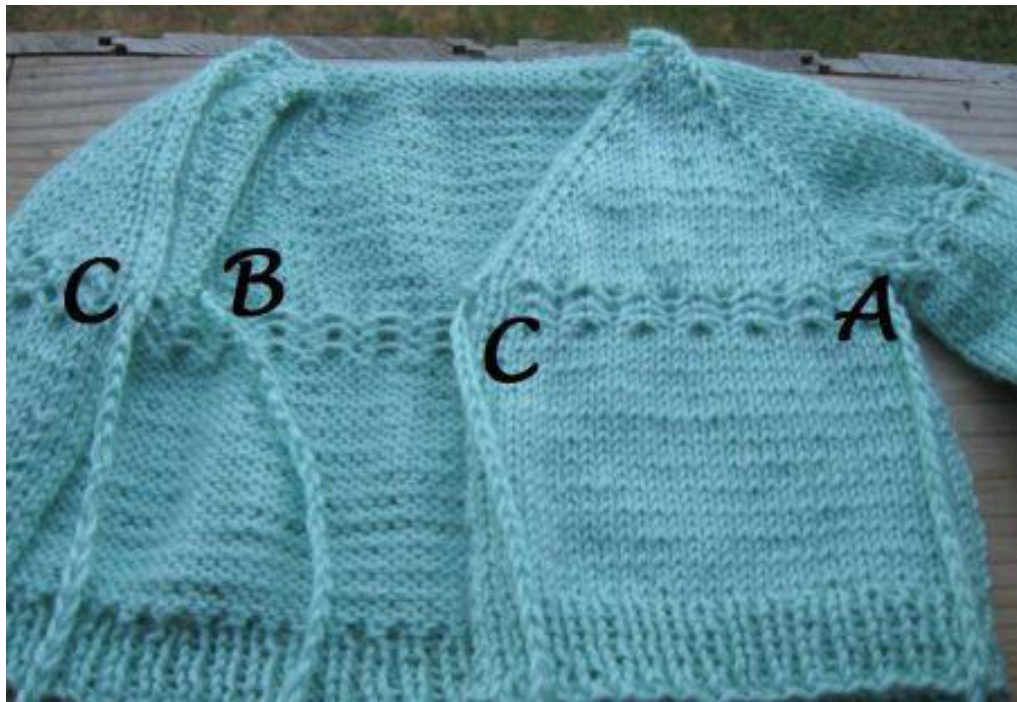
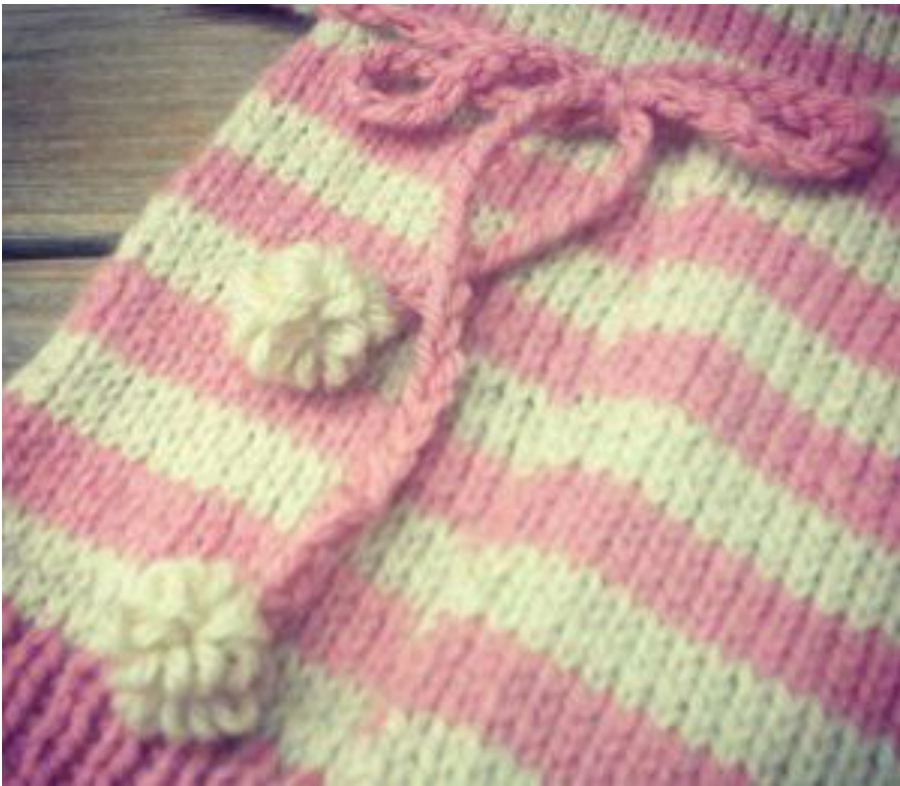
Crochet four single chain lengths 10inches/25cms long. (crochet chain tutorial link is in reference section) Attach as follows to your cardigan: (A) 1 under right armpit on the outside. (B) 1 under left armpit on the inside. (C) 2 each on the front flaps where the cables start. See picture below:
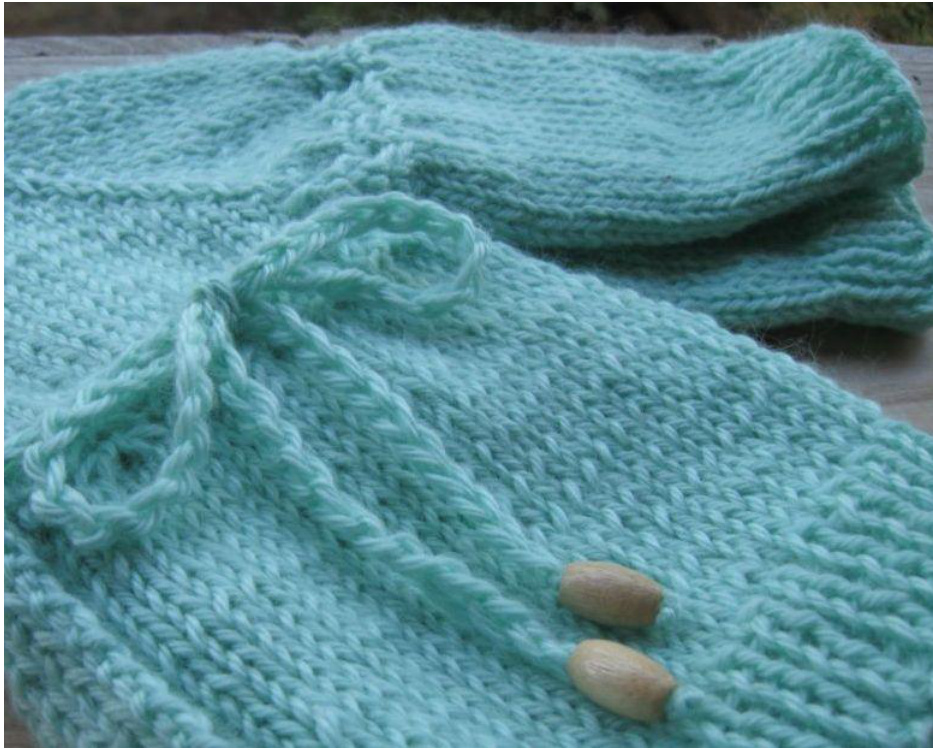
You can add finishing touches to your ties. For example beads, like I have, or pom poms (tutorial for pom poms in reference section) Weave all ends in and gently wet block to shape (see reference section on blocking).
Cable Chart:
Chart:
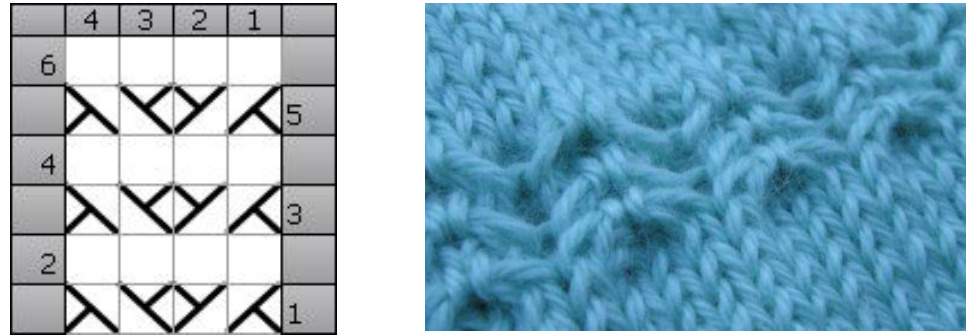
Key:
| Symbol | Dercription |
| C2b Slip 1 stitch to the cable needle and hold at the back, knit the | |
| next stitch, and then knit the stitch from the cable needle. C2f Slip 1 stitch to the cable needle and hold at the front, knit the next stitch, and then knit the stitch from the cable needle. |
Cable Written : (refer to cable chart key for abbreviations) Row 1: (rs)\*c2b, c2f, repeat from \* to end of row. Row 2: (ws) purl if flat knitting (body), knit if in the round (sleeves). Row 3: (rs)\*c2b, c2f, repeat from \* to end of row. Row 4: (ws) purl if flat knitting (body), knit if in the round (sleeves). Row 5: (rs)\*c2b, c2f, repeat from \* to end of row. Row 6: (ws) purl if flat knitting (body), knit if in the round (sleeves).
Copyright and thank-you:
Reference section:
How to make a crochet Chain: http://www.youtube.com/watch?v=OtmOEzmOxQ The copyright of this pattern remains with the author. Feel free to knit ‘In a pear tree' for your friends and family or charities, but don't reproduce this pattern in all or parts, for commercial use. Products made from any or parts of this pattern are also not allowed to be sold. Lifetime cottage licences are available for a small one off fee. Thank-you very much to my testers, without you this pattern would not be possible. ?
How to make easy quick Pom poms: http://www.youtube.com/watch?v=aTTDVryeFbY Knitting cables (c2b and c2f) without a cable needle. http://www.youtube.com/watch?v=dT84v90Lc I Make one (m1): http://www.youtube.com/watch?v=qCvovcoYim4 Wet Blocking: http://www.youtube.com/watch?v=iKuylR5Pbk Fork Flowers: (as shown on cords of striped version) http://www.crochetgarden.com/crochetblog/?p=74


