Mister Writs
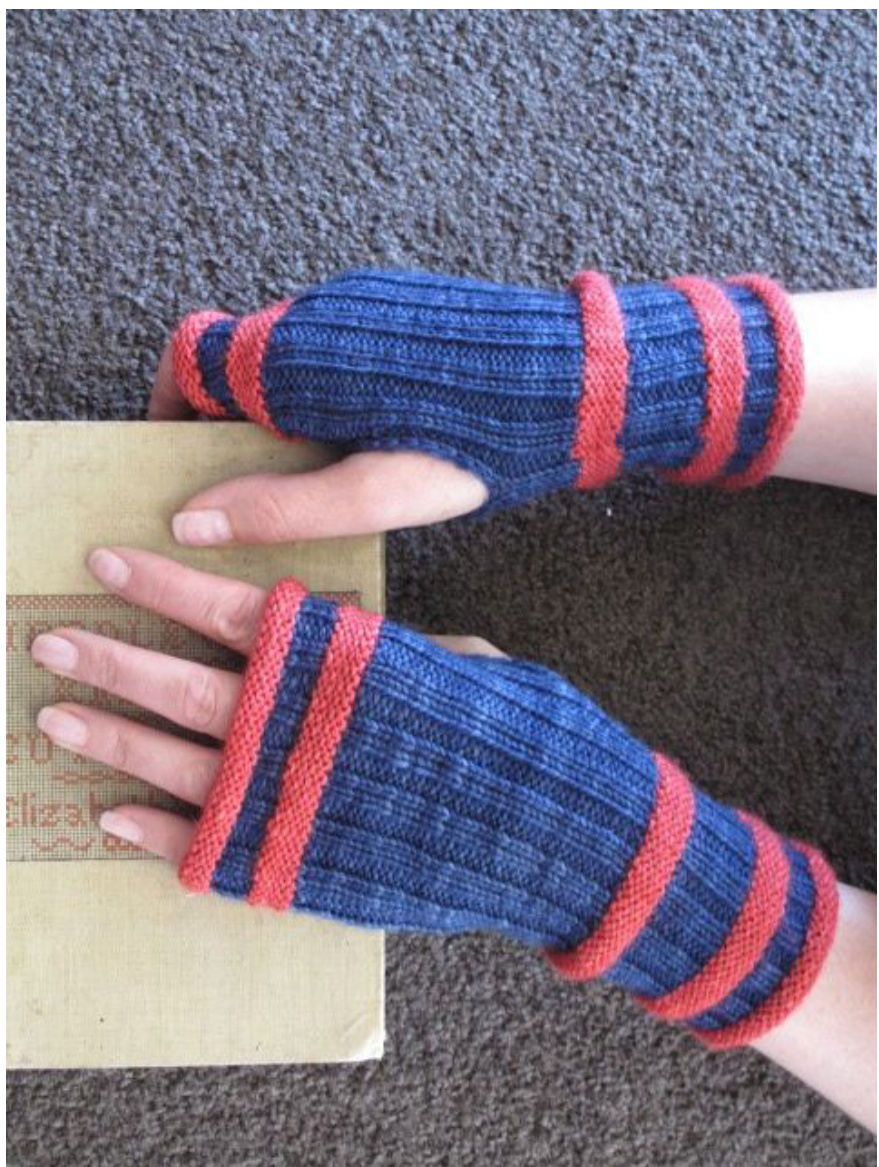
What could be better? Fingerless mitts that become wristers that become mitts again. They won't get lost and will keep your hands warm indoors and out. These are a quick knit with a few extra twists to improve fit. They are perfect for using scraps and could be made in one, two or more colours. Yarn: Fingering weight: Main colour - less than 30g Needles: 3mm for casting on and off Size: stretchy so should fit most adult hands. If you did want to change the size do it in increments of 4 stitches (48 stitches for smaller, 56 stitches for larger) Gauge: seriously - these are just mitts, and stretchy at that. If your knitting is super tight then go up to 2.75mm, if super loose then drop down to 2.25mm but the 2.5mm should be just fine Abbreviations: k - knit p-purl M - main colour CC - contrast colour wyif - with yarn in front wyib - with yarn in back k2tog - knit 2 together Thumb Increase: I've used different coloured rows to show this. First knit a stitch (the green yarn in photo) and then knit into the stitch that is 2 rows below the green stitch (which is now on the Right needle) in the blue row. I just poke the needle into the middle of the stitch.
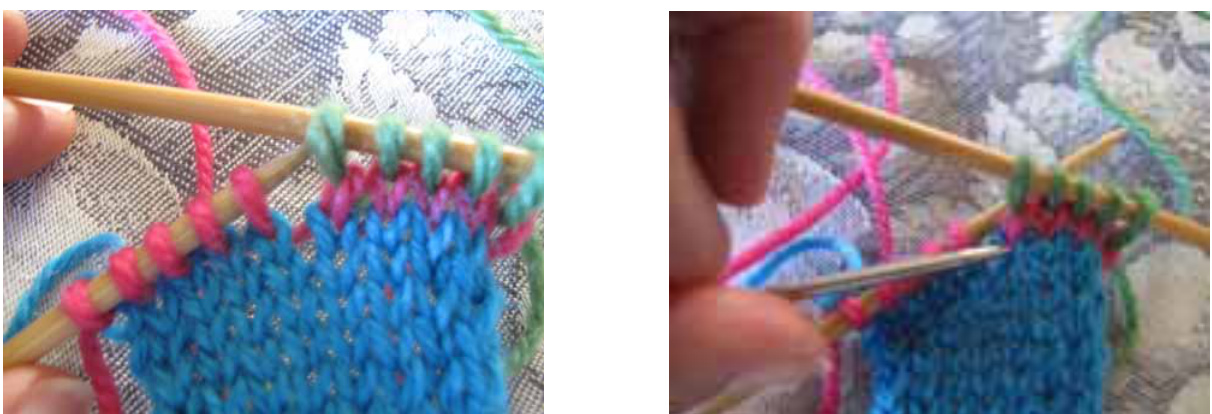
Secondly knit into the stitch below the pink stitch on the Left needle (in the blue row) - once again just poke needle into the centre. Then knit into the stitch above (on the Left needle) - the pink stitch. Using the 3mm needle and CC cast on 52 stitches using the Old Norwegian Cast On or your own favourite stretchy cast on. I used around 36 inches of yarn for the tail. Change to 2.5mm needles and join to work in the round. Purl for 6 rows. Change to M. Knit one row then 5 rows of k2, p2 rib Change to CC. Knit one row then purl 5 rows Change to M. Knit one row then 10 rows of k2, p2 rib Change to CC. Knit one row then purl 5 rows Change to M. Knit one row then 10 rows of k2, p2 rib Thumb: Increase Row: OK - read carefully. Knit the first stitch and then knit into the stitch that is 2 stitches below (it will be on your Right needle by now). Keep the yarn really tight - now knit into the stitch below the next stitch (on the Left needle) then into the stitch above it that is on the needle. With any luck you should now have an extra 2 stitches. Resume the rib - p2 and k,2, p2 to end. Now, keeping yarn tight, knit the first 2 stitches of the next row and turn your work. working flat/backwards and forwards to create the thui Row 1 (Wrong side) wyif slip 2 purlwise then keep yarn firm for next stitch as this creates the rolled edge and k2, p2 to end Row 2 (Right side) wyib slip 2 purlwise then keeping yarn firm for next stitch p2,k2 to end Repeat Rows 1 and 2 another 7 times (total of 16 rows) Rejoin in the round, keep yarn tight, k2tog, p2, then k2,p2 to the last 2 stitches. K2tog then transfer this stitch back to the Left needle. Keeping yarn really tight for the first 2 stitches - k2,p2 to end. Knit another 10 rows of k2, p2 rib Change to CC. Knit one row then purl 5 rows Change to M. Knit one row then 5 rows of k2, p2 rib Change to CC. Knit one row then purl 5 rows. Cast off purlwise using 3mm needle. Now make another one for your other hand; same pattern. Sew in ends and enjoy your new wrister/mitts.


