VERTIZONTAL
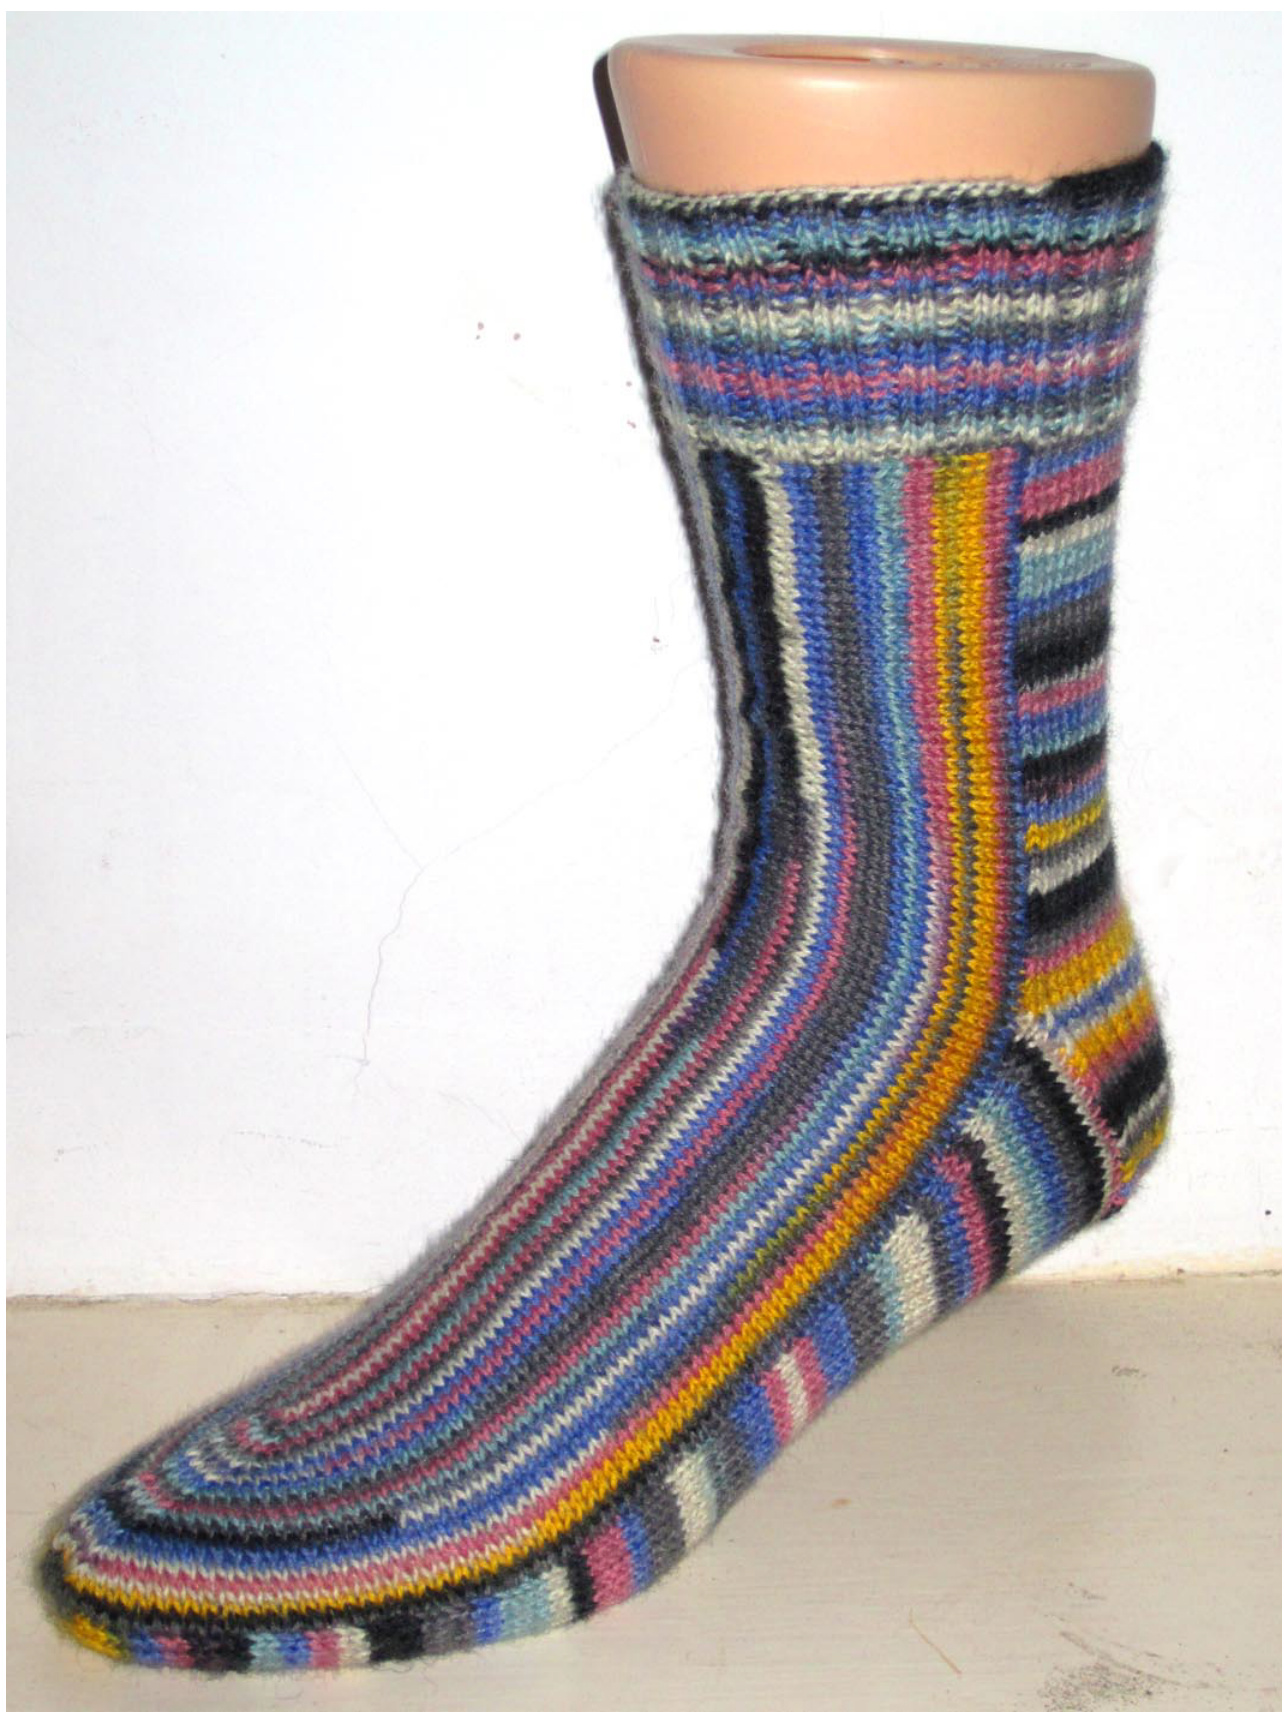
COPYRIGHT ? GENERAL HOGBUFFER 2011 I know that name is a bit of a mouthful, but I wanted to reflect that it is half vertical, half horizontal, and that was the best I could come up with...
Size:
The dimensions I am using are designed to create a sock that will fit like a 64 st plain sock. If you need a different size, the numbers should be easy to re-calculate, but feel free to message me on Ravelry if you need help with the conversion.
Material:
100gr sock wool in 4 ply / fingering weight, ideally self-striping. This would also look very good with stripes in plain coloured yarn or even left-overs.
Needle size:
2.5 mm or size needed to get the right dimensions. You will need 2 circulars of at least 80 cms cable length, I would really NOT recommend doing these on DPNs, sorry.
Further requirements:
Tapestry needle You will also enjoy this a lot more if you LovE purling and grafting.
Glossary:
St, sts stitch, stitches Kknit Ppurl SI slip Tbl through the back loop K2tog knit 2 stitches together SSK slip, slip, knit. Slip 2 stitches separately as if to knit, insert left needle into these two stitches from the right and knit onto right needle. P2togpurl 2 stitches together SSP slip, slip, purl. Slip 2 stitches separately as if to knit, slide them back onto left needle and purl them together through the back loop K3tog knit 3 stitches together SSSK slip, slip, slip, knit. Slip 3 stitches separately as if to knit, insert left needle into these three stitches from the right and knit onto right needle.
Before you start:
If you can only access one end of your yarn, or if you are knitting the first half TAAT from both ends of your yarn cake, then start by cutting about 1.5 mtrs / 5 feet of your yarn and put it aside for later. I always try and knit my socks in one continuous length (that's because I frog so often...), and setting this small length aside will prevent you from cutting the thread after the first half. You'll see what I mean later.
Cuff:
Using your favourite cast-on method, cast on 80 sts and close to a round, taking care not to twist the cast-on. Work K2, P2 rib for as many rounds as you would like your cuff to be, I did 24 rounds for my sample. This is the only part of the sock that will be knit in the round, so enjoy it while it lasts.
Leg (back):
K the first stich onto your second needle. This is the new start of the row. K11, K2tog, K10, SSK, K11 - these are the 34 sts you will work the back portion of the sock on. Move the remaining 3 unworked sts onto the second needle (you should have a total of 44 sts on that needle now) and park them there for the front of the sock. Starting with a P row, work the back leg in stocking stitch rows as follows: Row1: P every st Row2: K every st It is very important that you do NOT slip the first or last sts to get a nicer edge, as this would prevent you to pick up the required number of sts later on. ng as you would like it to be, I did 54 rows on my sample. End with a K ror
Heel:
Slip the first and the last st on your needle onto a stitch marker that can be opened (a paperclip will work as a replacement) and work the heel on the middle 32 sts as follows: Row1: sl1, P to end Row2: [sl1, K1] to end Work the heel flap for 39 rows, ending with a row 1. Turn the heel as follows: Row1: sl1, K16, SSK, K1 turn (leaving 12 sts unworked) Row2: sl1, P3, P2tog, P1, turn (leaving 12 sts unworked) Row3: sl1, K to 1 st before gap, SSK, K1, turn Row4: sl1, P to 1 st before gap, P2tog, P1, turn Repeat rows 3 and 4 until you have used up all the sts either side. You should be ready to work a K row, with 18 sts on your needle. Picking up for the gusset may sound a bit complicated, but this is again to avoid cutting the thread, so bear with me. [Sl1, K1] 9 times over your 18 heel sts. Pick up and K 1 st in the first slipped st on the side of the heel flap. Skip the next slipped st and pick up and K 1 st in the third slipped st. Continue in this way, picking up a total of 10 sts. Bring the parked edge st back onto your left needle and knit it. Turn. Sl the st you just knitted. Pick up and P the slipped edge st that is immediately before the next st. Slip the previously picked up st. Work this way back down the side of the flap, picking up and P the slipped edge sts and slipping the sts already on the needle, until you have picked up a total of 20 sts. You should have you 18 heel sts left on the left needle. Work across these by purling the sts that have been slipped, and slipping the sts you knitted in the previous row. Pick up and P each of the slipped sts on the other side of the flap for a total of 20 new sts, bring the parked st back onto the left needle and purl it, turn. The point of all this was to bring the yarn back to the side of the row by working every stitch only once; if you are struggling with this feel free to cut the yarn after the heel turn and re-attach it to the side, working the pick up row across the whole heel portion to the other side.
Gusset and sole:
Row1: K2, SSK, K to 4 sts before end, K2tog, K2. turn Row2: P every st Repeat these 2 rows until you have reached the original st count of 34. Again, It is very important that you do NOT slip the edge sts but work them normally. Once you are back to 34 sts, work in straight stocking stitch until your sole is the correct length, about 5cm / 2 inches less than your foot measurement. Work the toe on the sole part as follows: Row1: K2, SSK, K to 4 sts before end, K2tog, K2 Row2: P Row3: K Row4: P Row5: as Row1 Row6: P Row7: K Row8: P2, P2tog, P to 4 sts before end, SSP, P2 Row9: K Row10:P Row11: as Row1 Row12: P Row13: as Row1 Row14: P Row15: as Row1 Row16: P Row17: as Row1 Row 18: as Row8 Repeat the last two rows until you have 6 sts let, you should be ending on a P row. This completes the back / sole part of your sock. Doesn't look like much yet, does it ?
Front of sock:
You should start this with 44 sts from the cuff on a holder at the top, and 6 sts from the toe stillive at the bottom. Put the 6 toe sts on a holder or a spare DPN, and distribute the cuff sts on 2 circular needles, 22 on each. I magine the sock when it is finished and is being worn. You need to start on the left side when worn. Attach the length of yarn you cut at the very beginning, and pick up and K the sts for the front. You need to make sure you pick up exactly one st from the side, and you need to pick up 5 sts for every 7 rows. The best way to achieve this is to [pick up 3 sts, skip one row, pick up 2 sts and skip another row] all along the leg, gusset and sole, until you reach the 6 toe sts. Drop the cut yarn length, and work with the yarn that comes from the ball from now on. K3 of the 6 toe sts. This is the end of needle one, and the centre front of your sock. Count the sts on your needle1, making a careful note of how many you have picked up. On my example this looked as follows: 22sts from cuff + 113sts picked up + 3sts from toe = 138sts total With the free end of needle 2, K the remaining 3 toe sts. Pick up and K the same number of sts you did for the first half (113 in my example), following the same rhythm. This should bring you neatly to just before the cuff. Turn. You will now work the front in very long rows that resemble a U shape, and each start and end of each row will consume one st of the cuff sts, thus attaching the front to the cuff. Work this as follows: Row1: Sl the first st as if to K, put this st and the first cuff st back onto the left needle and Ptog tbl. P all the way to the last st on needle 2, P2tog this last st with the first of the cuff sts. Turn. Row2: Sl the next cuff st to your left needle, K2tog. K all the way to the last st on needle 1, SSK that st with the next of the cuff sts. Turn. These were your two foundation rows, on the remaining rows you will need to decrease for the toe shape asfollows: Row3: Sl the first st as if to K, put this st and the next cuff st back onto the left needle and Ptog tbl. P all the way to the last 3 sts on needle1, SSP, P1. On needle 2, P1, P2 tog, P to the last st on needle 2, P2tog this last st with the next cuff st. Turn. Row4: SI the next cuff st to your left needle, K2tog. K all the way to the last 3 sts on needle2, K2tog, K1. On needle1, K1, SSK. K to last st on needle 1, SSK that st with the next of the cuff sts. Turn. Keep alternating these two rows until you have worked a total of 21 rows (including the first two rows without decreases). You should have just one cuff st left over either side, and you will be ready to work a K row as follows: Sl the last cuff st to your left needle, K2tog. K all the way to the last 3 sts on needle2, SSSK. On needle1, K3tog. K to last st on needle 1, SSK that st with the last of the cuff sts. You are now ready to graft the remaining sts together. Fun Fun Fun.. Unless you are absolutely running out of yarn, I would recommend to leave a tail about 4 times the length of the seam you are about to sew, as this is the one place where you do NoT want to run out of yarn. Starting at the cuff end, hold your needles together and graft the stitches of needle 1 and needle 2 together until you reach the toe end. When I kitchener long seams, I prefer to do it relatively loosely, and when the seam is closed and all the sts are secure, I start at the beginning again and pull the seam sts into the right size, picking up the slack as I go along. This may be time consuming, but that's really the only way to get a perfectly invisible join. Sew in the yarn ends on the inside while you're still holding that sewing needle. A bit of blocking and gentle steaming notwithstanding, you have now finished your first sock. I'd suggest you make another one... Pattern for personal use only, Copyright @ General Hogbuffer 2011


