Rhubard Puffy Hat
Materials: 1 skein Georga $100\%$ wool 5.0 and $5.5~\mathsf{m m}$ hooks optional: stitch markers
Gauge:
11 stitches and $8\,\mathsf{r o w s}=4$ in Pattern stitches:
Modified hdc2tog Puffy Stitch
Work this modified hdc2tog stitch into last stitch worked and next stitch as follows: YO, insert hook into last stitch worked, yo and draw up a loop. YO and insert hook into next stitch, yo and draw up a loop. YO and pull hook through first 2 stitches. YO and pull through remaining 4 stitches - one puffy stitch completed.
Modified hdc3tog stitch - decreasing stitch
YO, insert hook into last stitch worked, yo and draw up a loop. YO and insert hook into next stitch, yo and draw up a loop. YO and pull hook through first 2 stitches. YO and insert hook into next stitch again, yo and draw up a loop. YO and pull hook through first 2 stitches. YO and pull through remaining 5 stitches
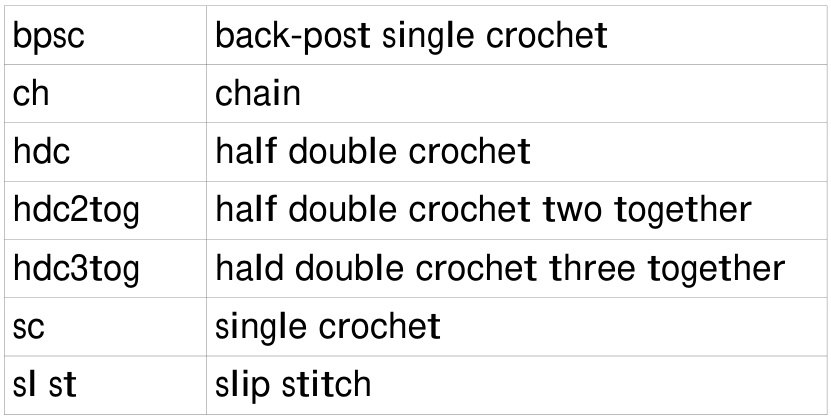
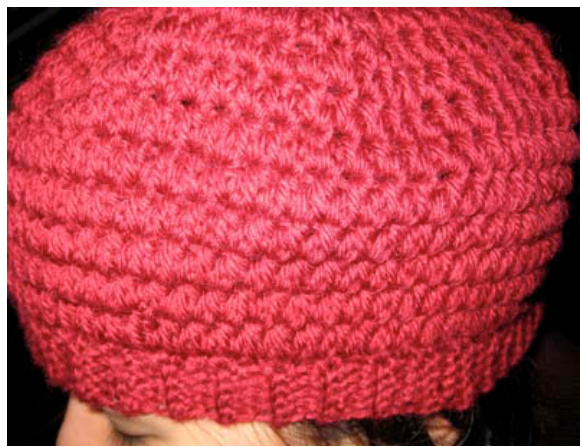
Band:
With smaller hook, ch 6. Sc in 2nd ch from hook and in each ch across. Turn. 5 sc. Ch 1. Sc in back loop of each sc across. Work 72 rows. Fasten off, leaving a long enough tail to join ends together using a slip stitch.
Body of hat:
Body is worked in the round. With larger hook, and right side facing, work 72 sc around, starting at the seam. Join to first sc with sl st. Work 8 rows of pattern stitch. Divide work into 6 sections. At the start of each section, work modified hdc3tog, 6 decreases in the round. Work 2 rows ofdecreases.
Crown:
Work one row of bpsc (back-post sc) around. Work one row of sc into each bpsc. To achieve the appearance of stockinette stitch, all the remaining sc stitches are made into the body of the sc in the row below, ie. below the 3 horizontal threads and between the 2 vertical posts. This is called shallow single crochet in some crochet books. I found this stitch quite tight, so you might need a smaller hook to help insert into the body.
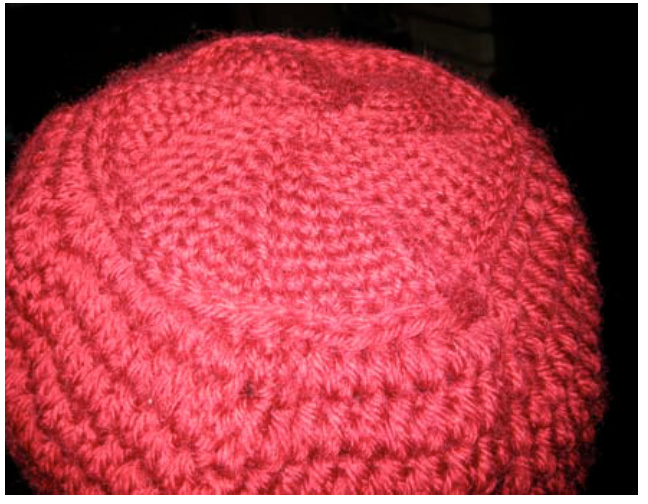
Decreasing rounds:
Divide the remaining 60 stitches evenly into 6 parts. Working in the round, shallow sc into every stitch. Work sc2tog at the start of each section. Work 9 rows until 6 stitches remain. Fasten off, leaving a long enough tail to weave through remaining sts. Draw up firmly and fasten off. Weave in ends. Blocking should not be necessary. Abbreviations used: