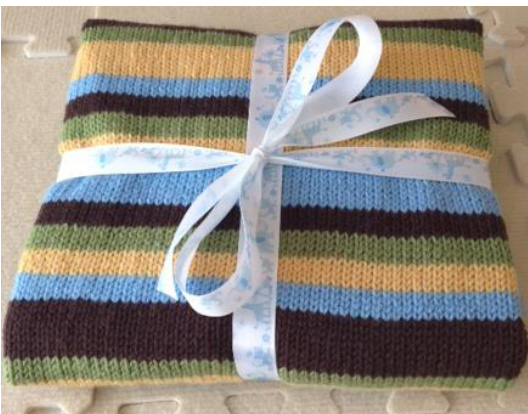
Twin Stripes Stroller Blanket
Inspired by a friend who was pregnant with twin baby boys, I needed something that would knit up quick (well, two things), but also had enough visual interest to keep baby's and knitter's attention. These instructions also include tips to add a piece of flannel to the back of the blanket, making it extra cozy for those chilly San Francisco nights.
Finished Size
Approx. 25 x 31
Yarn
Four (4) skeins of Cascade 22o Superwash in different colors, or approx.175 yards of an equivalent worsted weight yarn. Pictured yarn: A. Caribbean (847); B. Daffodil (821); C. Moss (841); D. Chocolate (819).
Needles & Notions
US 7 needles and darning needle. To line the back with flannel, one yard of flannel (or size as needed), pins, needle, and thread that matches the color of the flannel. The body of the blanket is stockinette stitch, and the borders are created using seed stitch: five (5) rows at the beginning, five (5) rows at the end, and five (5) stitches at beginning and end of each row. The color pattern is created using one wide stripe, then four (4)
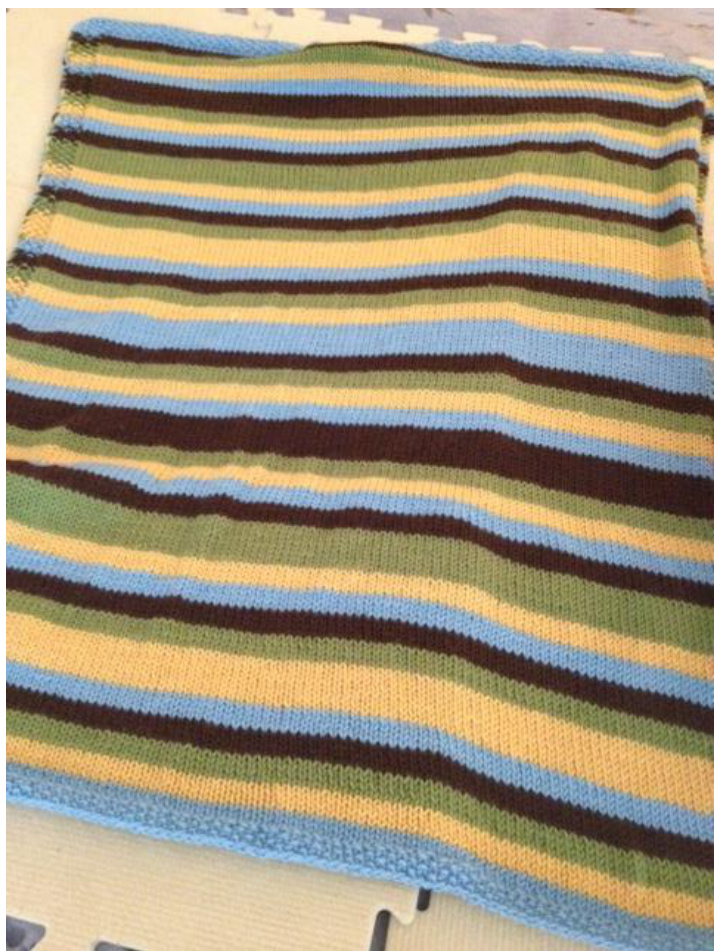
narrow stripes, allowing the wide stripe to rotate around the cycle of colors. The wide stripes are eight (8) rows, and the narrow stripes are four (4) rows. Cast on with 11o stitches.

Detailed Instructions
Decide the order of the colors. Using Color A, cast on 11o stitches. First Row: Knit (K) 1, Purl (P) 1. Second Row: K1, P1. Repeat for a total of five rows, which will complete bottom border in seed stitch. Row 6 (wrong side): K1, P1, K1, P1, K1; P 10o (until 5 stitches remain), then K1, P1, K1, P1, K1. Row 7 (right side): K1, P1, K1, P1, K1; K10o (until 5 stitches remain), then K1, P1, K1, P1, K1. Repeat Row6. Change to Color B. Continue alternating in the pattern of Row 6 and Row 7 for a total of 4 rows. Change to Color C. Repeat pattern for 4 rows. Change to Color D. Repeat pattern for 4 rows. Change to Color A. Repeat pattern for 4 rows. One set of stripes is now complete. Each set of stripes starts with 8 rows of one color, then 4 rows of each of the four colors maintaining the same order. The next set starts with eight rows of Color B. Continue with 4 rows of C, 4 rows of D, 4 rows of A, and 4 rows of B. The second set of stripes is now complete.
When you have completed 8 SETS, you should be ready to start with Color A. Continue with three rows in the same pattern, then 5 rows in seed stitch (Row 1 & Row 2). Bind off. Tuck in all loose ends.
Flannel Backing
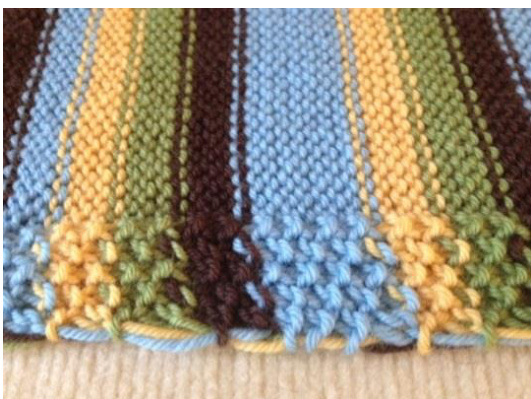
Reasons NOT to back with flannel: It is an extra step; washing becomes a bear because the knit stretches like crazy; and the flannel does not. However, there are several reasons to back the blanket. 1. This makes it super cozy, soft, and snuggly; 2. The back of the pattern is unsightly, (However, if you decide not to back the blanket, note that it is the back, and who really cares? Certainly not the newborn who may or may not be spitting up on it anyway); 3. I was too lazy to cut and tuck in all the loose ends with all of the color changes (see picture above), and the backing hides all of the yarn that I brought up along the side; 4. There is some REALLY cute flannel out there. 5. Warmth.
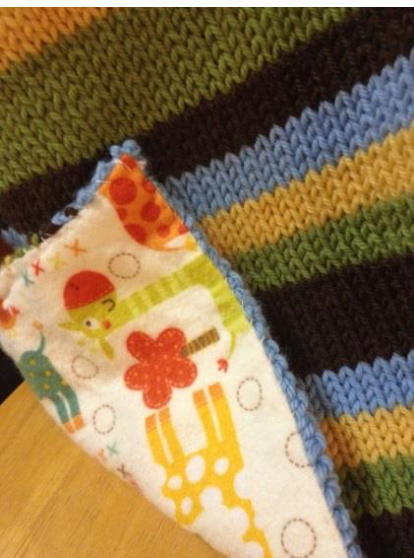
So, are you in? OK! Start by blocking your knit piece. Use an aggressive blocking method, because the piece will widen significantly after any wash. Once you have the newly stretched out dimensions, buy your piece of flannel. (lf you buy the fabric beforehand, it might not be big enough after blocking. Trust me.) Wash the flannel in hot water, and put it in the dryer to ensure it has completed all of its shrinking. If you have an iron, it may help to iron it..but I don't have one, so I skipped this step. Lay the knit piece back side up. Place the flannel (pattern side up) onto the knit piece. Tuck under the edges of the flannel, aligning the two edges, carefully pinning as you go. Try your best to smooth out any wrinkles or puffiness, so that when complete, both the knit piece and flannel are the same size. With the needle and thread, use a whip stitch (also called an overcast stitch) to sew the edges of the pieces together (more detailed info here: http://techknitting.blogspot.com/20o8/o5/best-way-to-attachlining-fabric-to.html). Lightly block one more time, and enjoy!